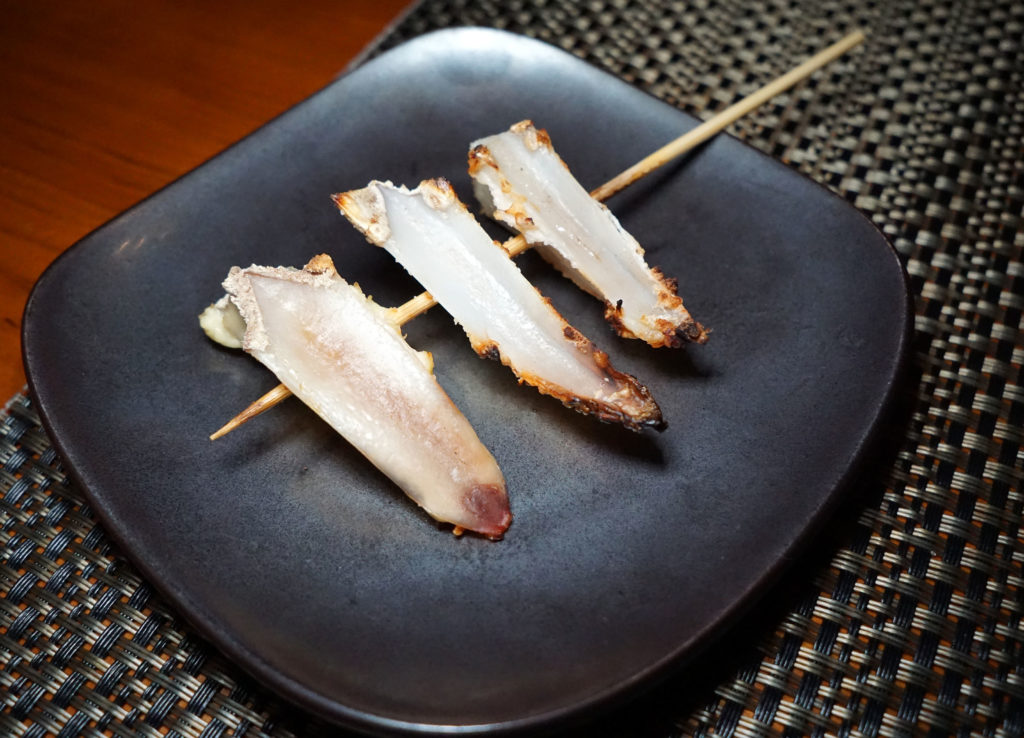
My wife and I stopped in here for a quick meal since we are both big fans of yakitori. We tried a bunch of shit.
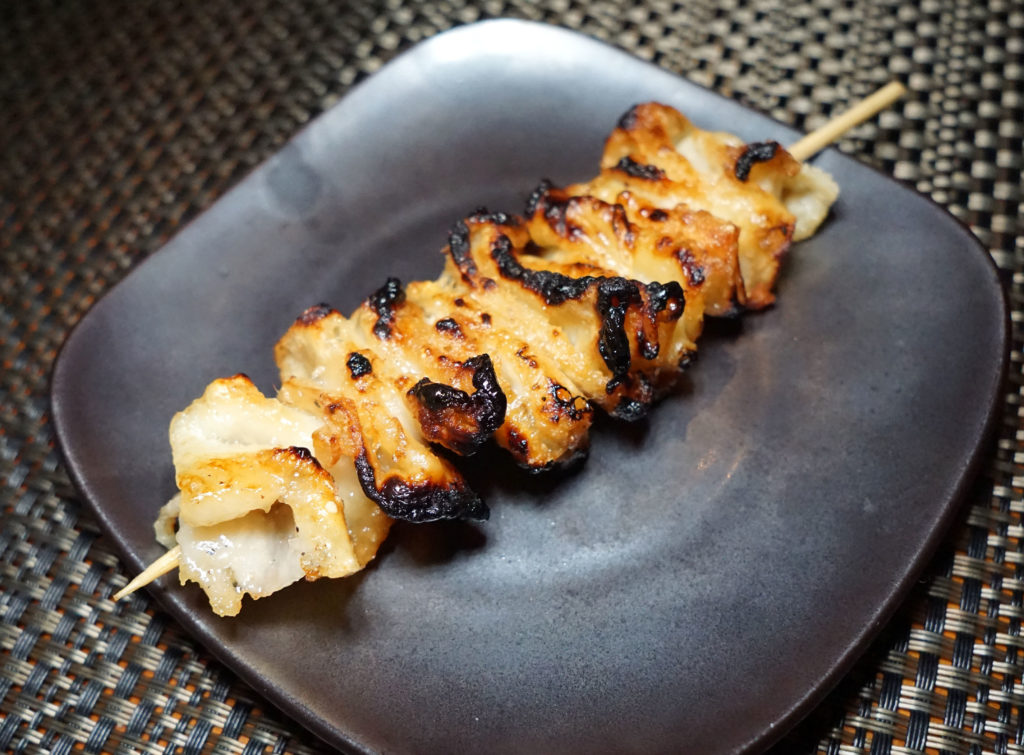
First was the “soft bone,” which is essentially the cartilage found near the breast meat of the chicken. I thought there would be more of this, since it is generally abundant on the animal and a throw-away item in so many cultures. It was tasty though, I must admit.
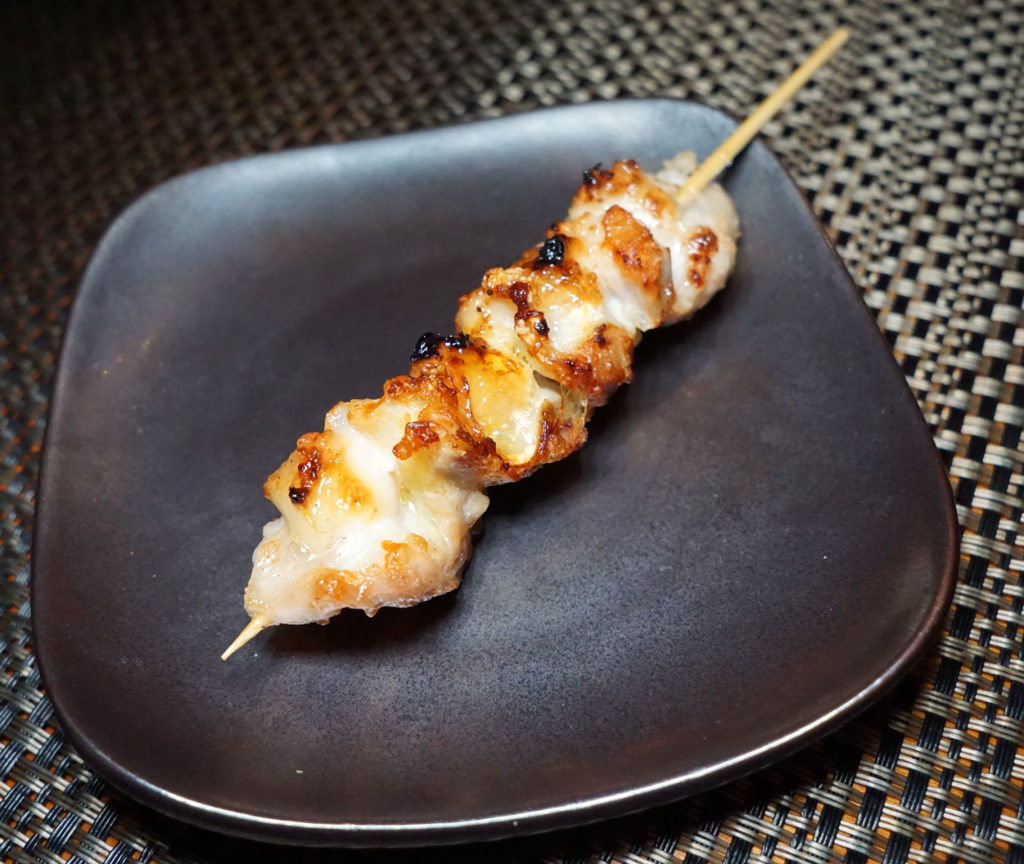
Next was chicken skin. Since this is grilled, it doesn’t quite develop the crunchy texture you might expect from something that’s broiled, baked or roasted for a long period of time. It wasn’t rubbery or fatty though, so I liked it.
Next up, knee bone. This was probably my least favorite of the skewers, but I know my wife likes the weird crunchy bits, so I’m pretty sure she liked this.
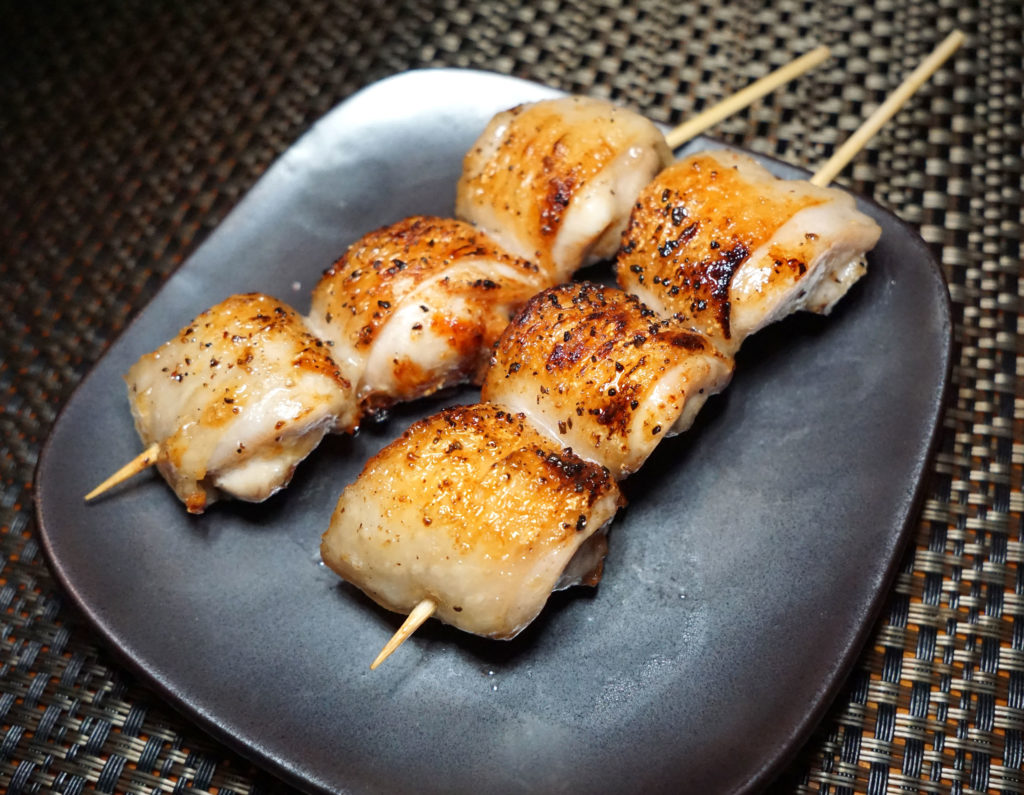
These skewers are chicken oysters, tender lumps of meat found beneath the thigh of the chicken, near the ass. They’re so soft and juicy. One of the best skewers (we ordered two).
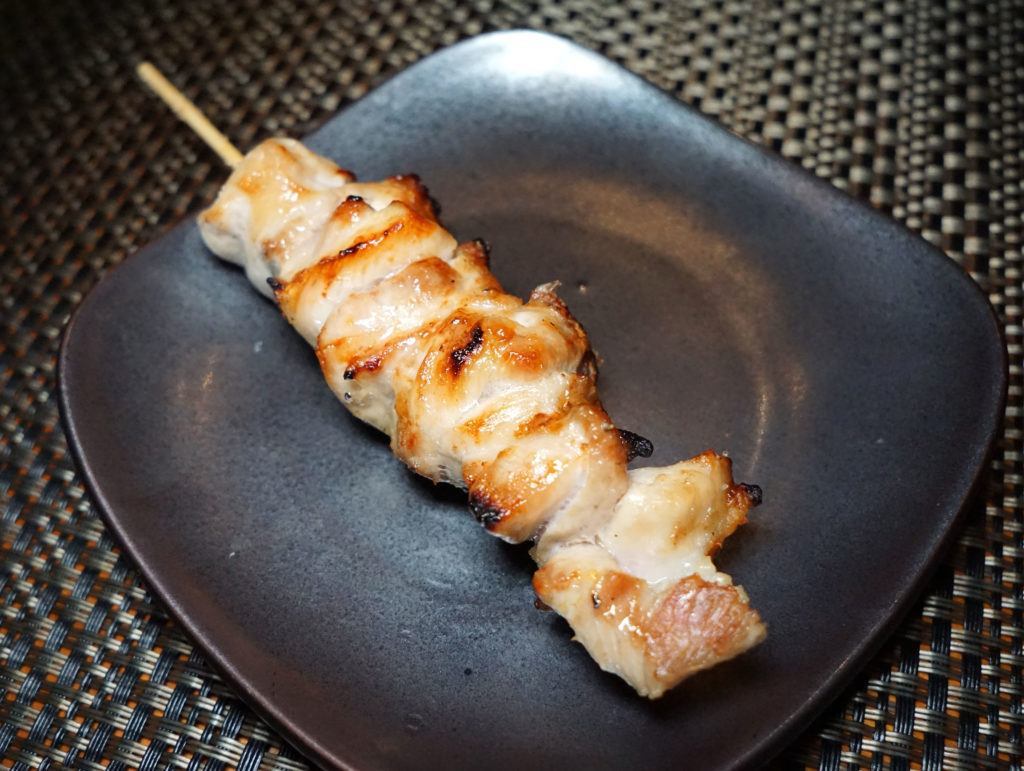
Our last skewer was the chicken thigh. These were my favorite. Nice and tender, as expected. Good fat content, lots of flavor.
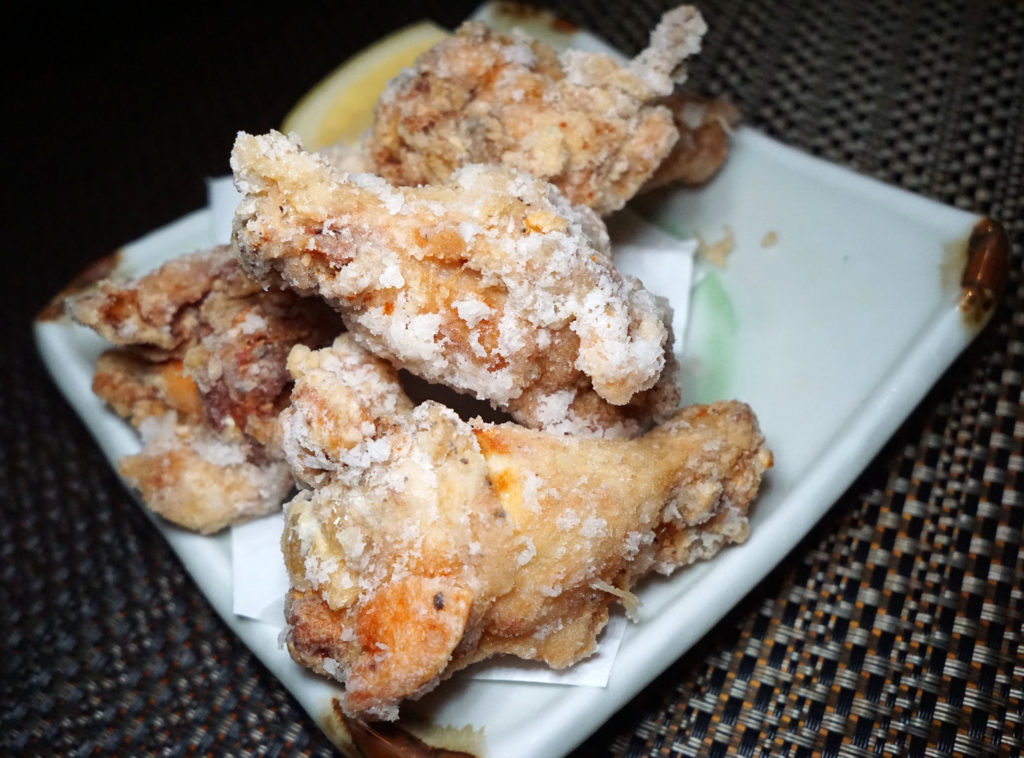
We also tried both of their fried chicken apps. At $9 these were a little pricey (just four drumettes per order).
This is the regular order – just fried and lightly seasoned, served with lemon wedges.
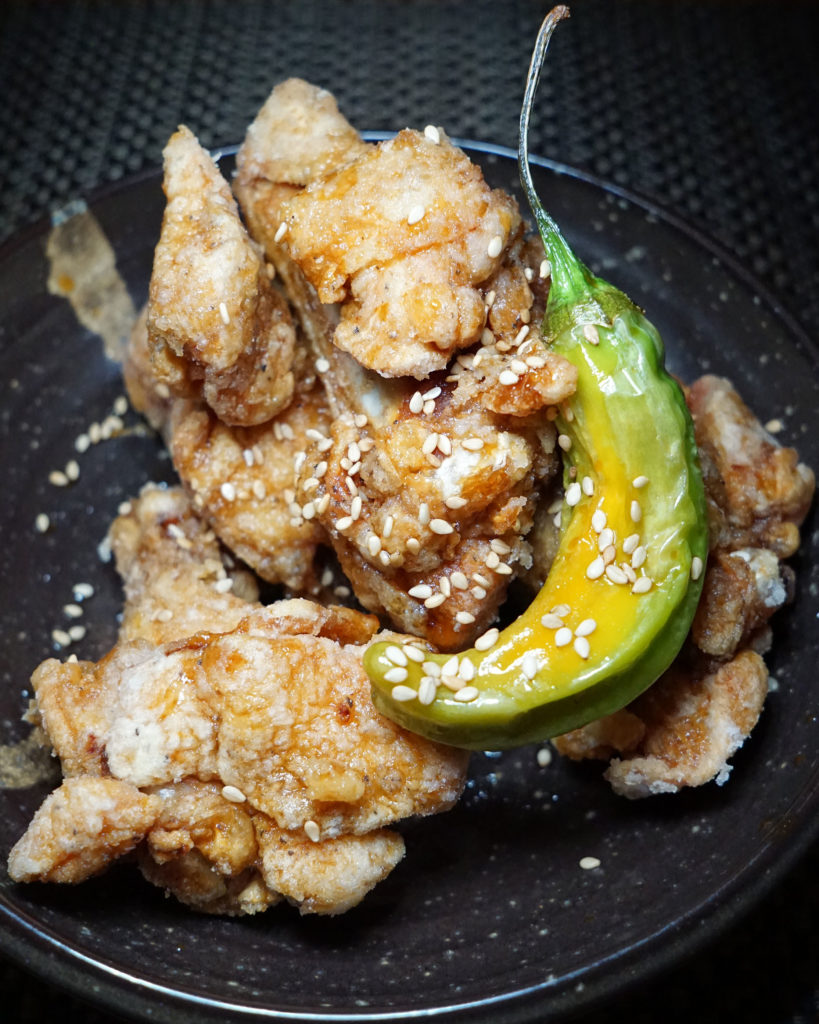
And this is the flavored version, with a sweet sauce, a grilled shishito pepper and sesame seeds. We both liked this dish better.
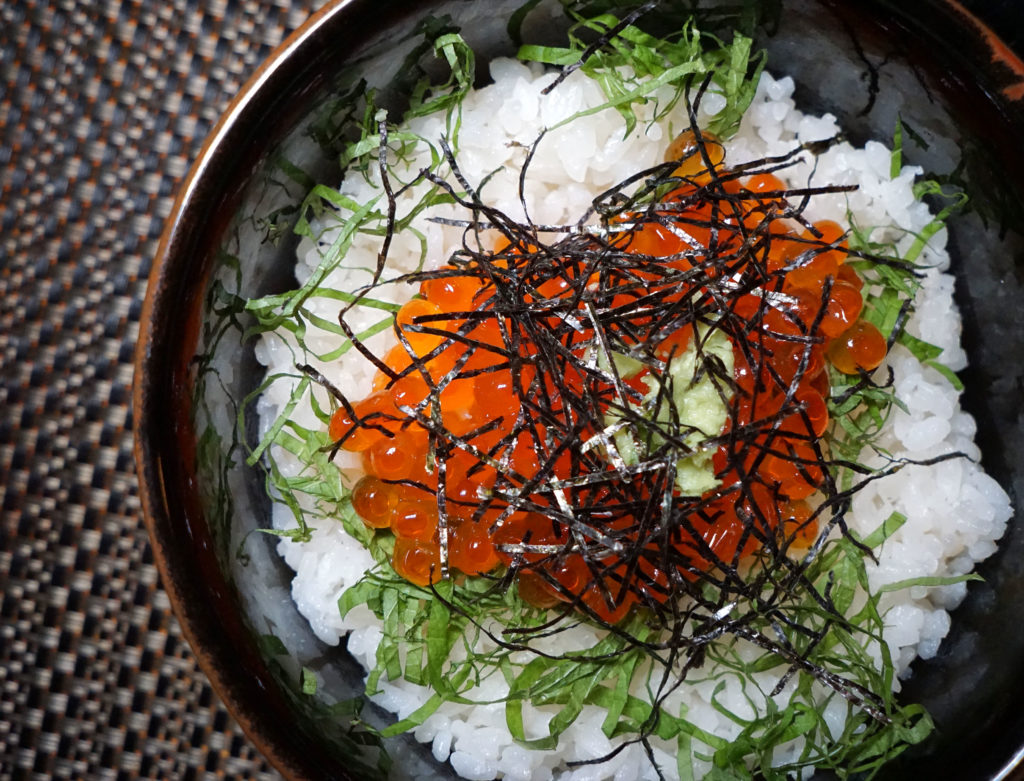
Last, we had an order of ikuri: rice with roe. It also comes with a blob of fresh wasabi, shredded nori, shredded scallions, a nice seaweed broth and Korean/Japanese style pickles. Not bad for $13.
We really liked this place. The skewers range from like $3 to $10 (for special meats). Ours were all $3 or $3.50. It all came to $50-something bucks, which I thought was cheaper (and better) than other yakitori joints in the area.
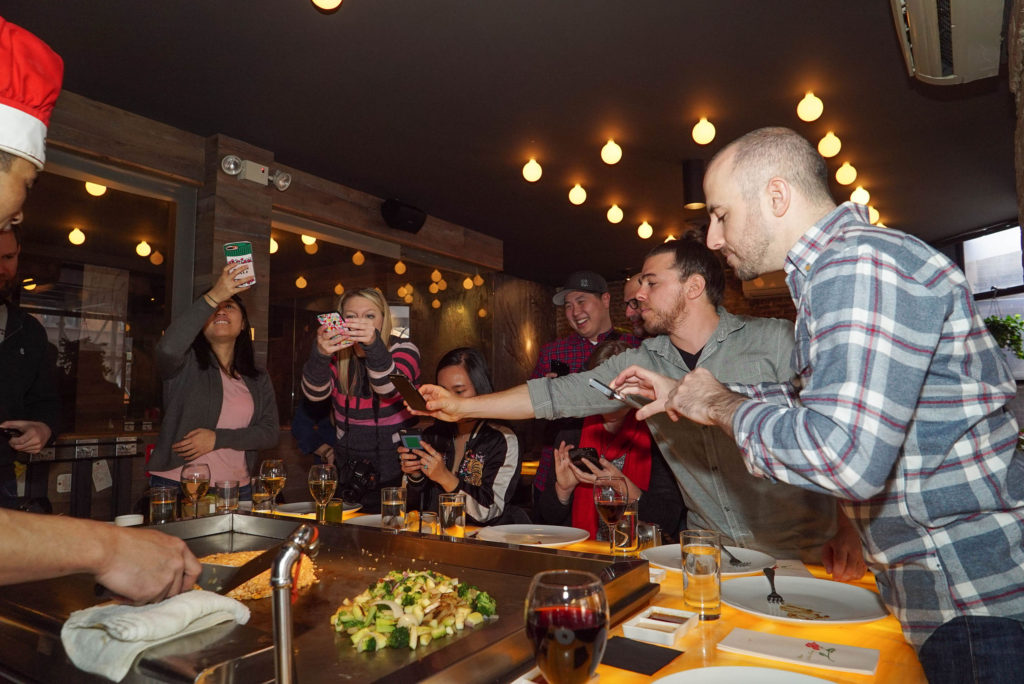
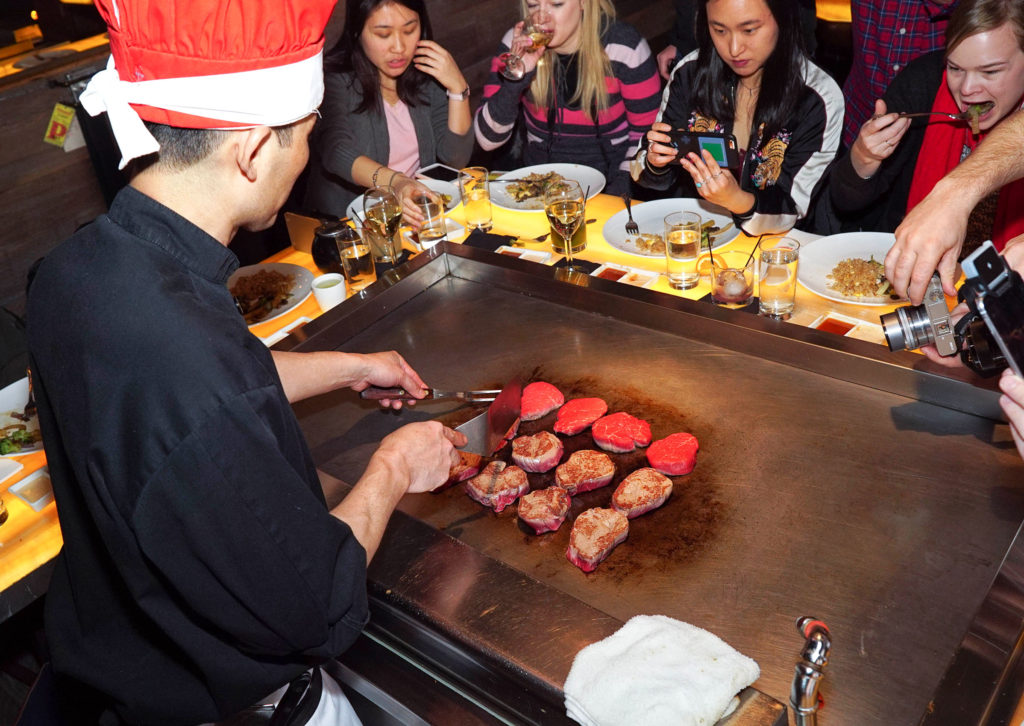
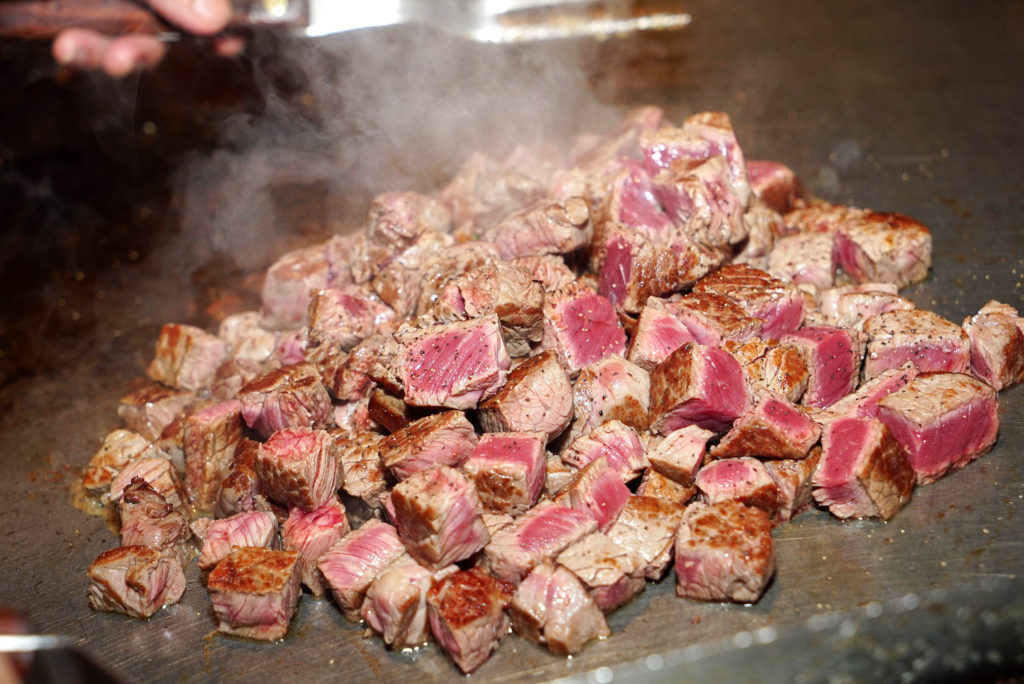
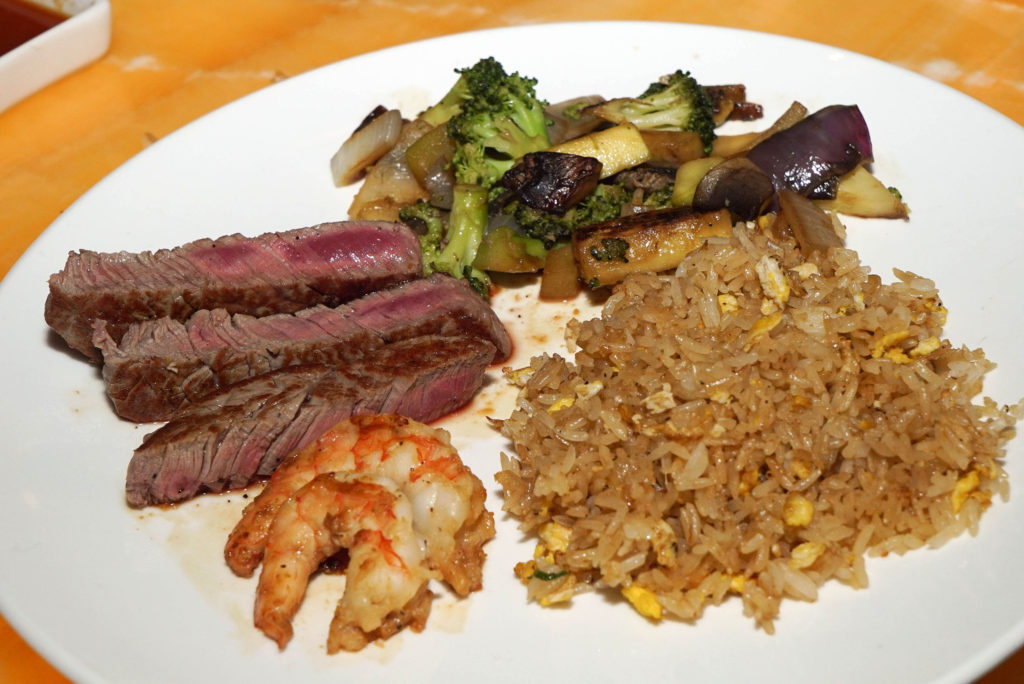
Flame is a pretty large hibachi joint on the upper west side. I was recently invited in for a hibachi meal with a bunch of lunatic foodies.
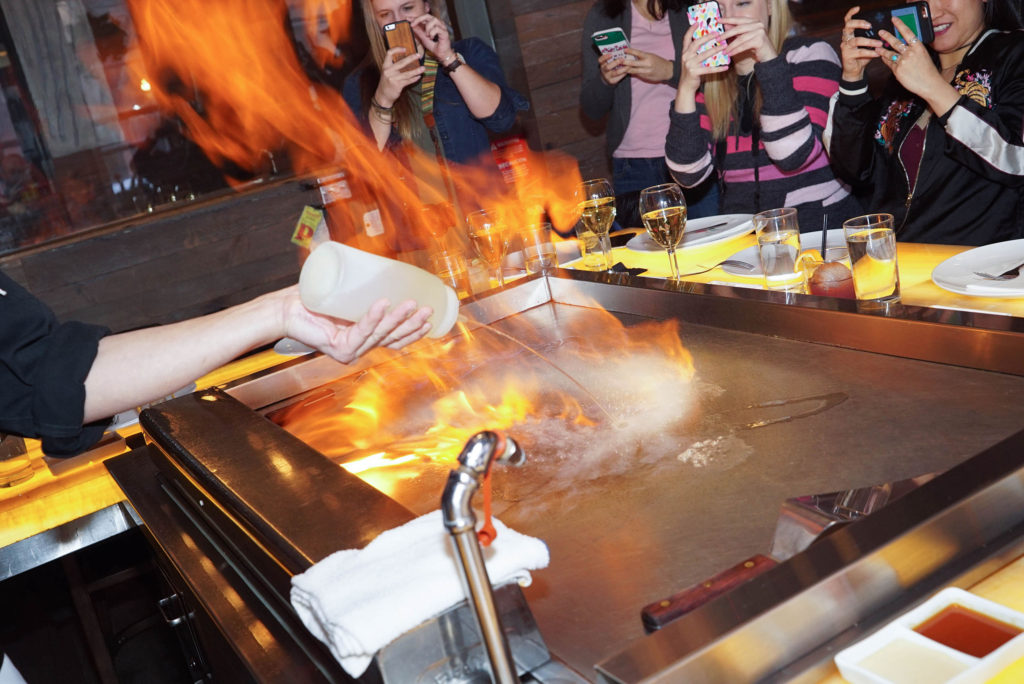
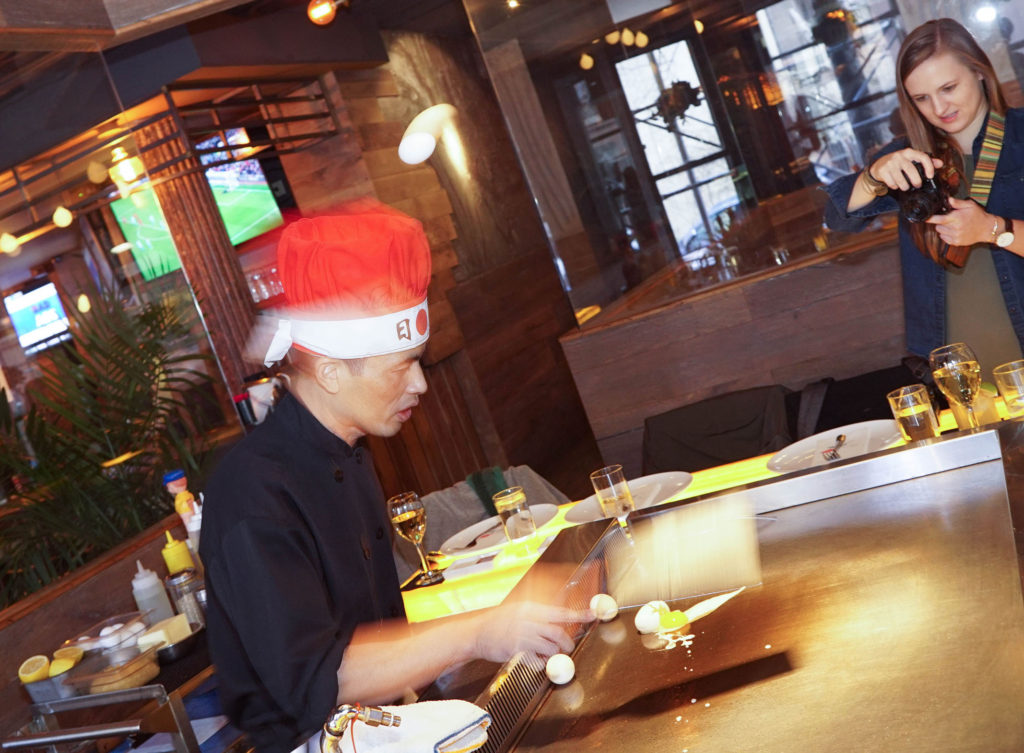
They put on a great show here, I must say.
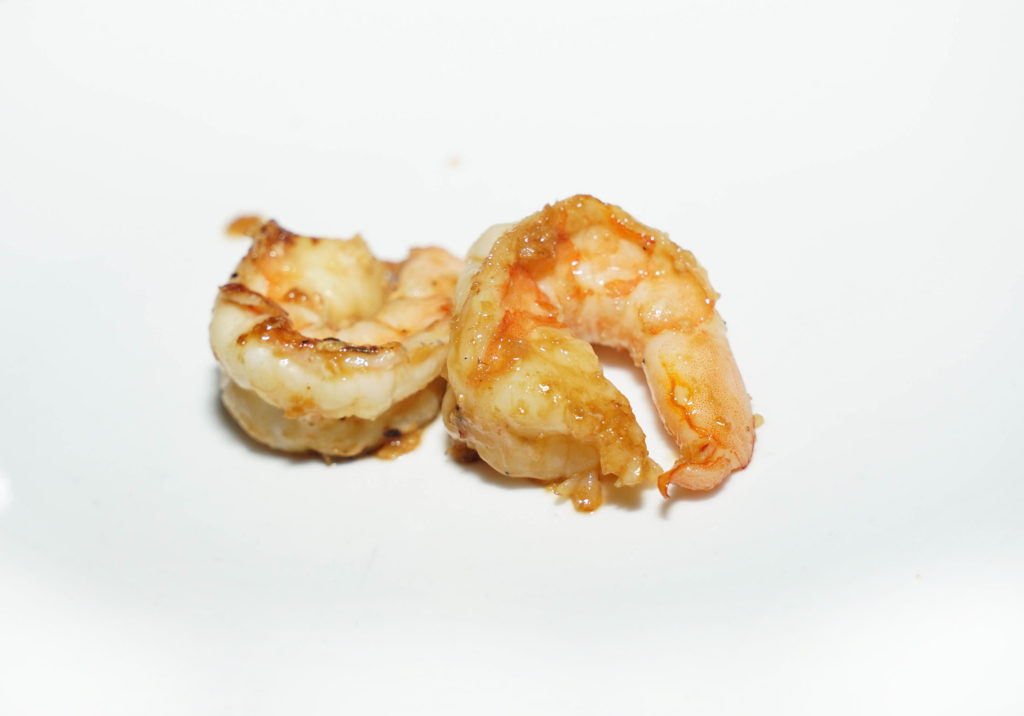
We started off with a pair of shrimp.
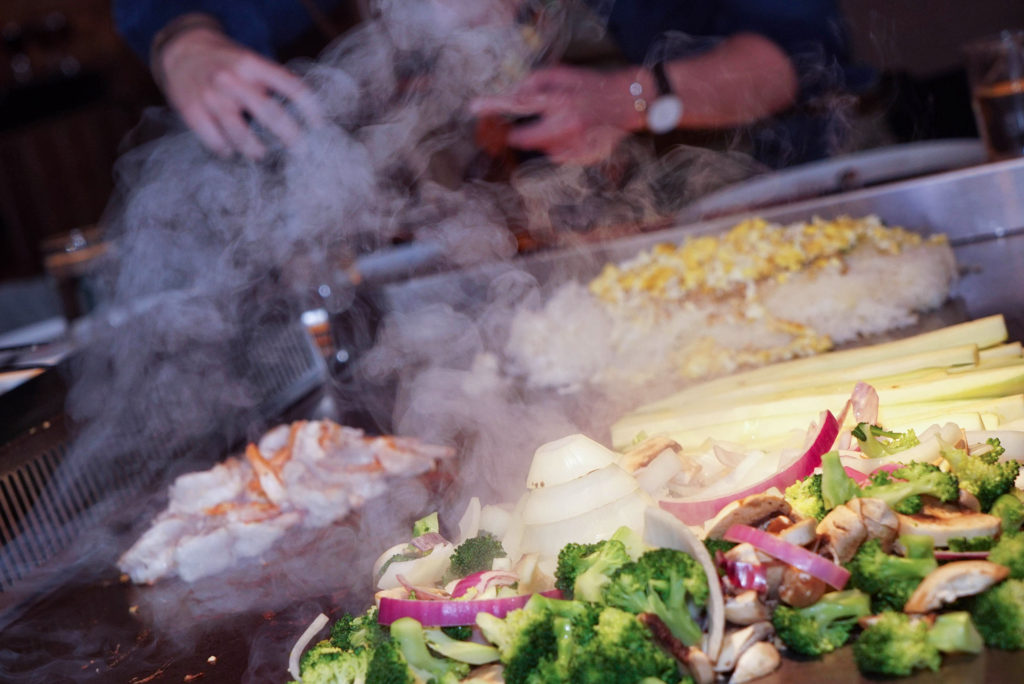
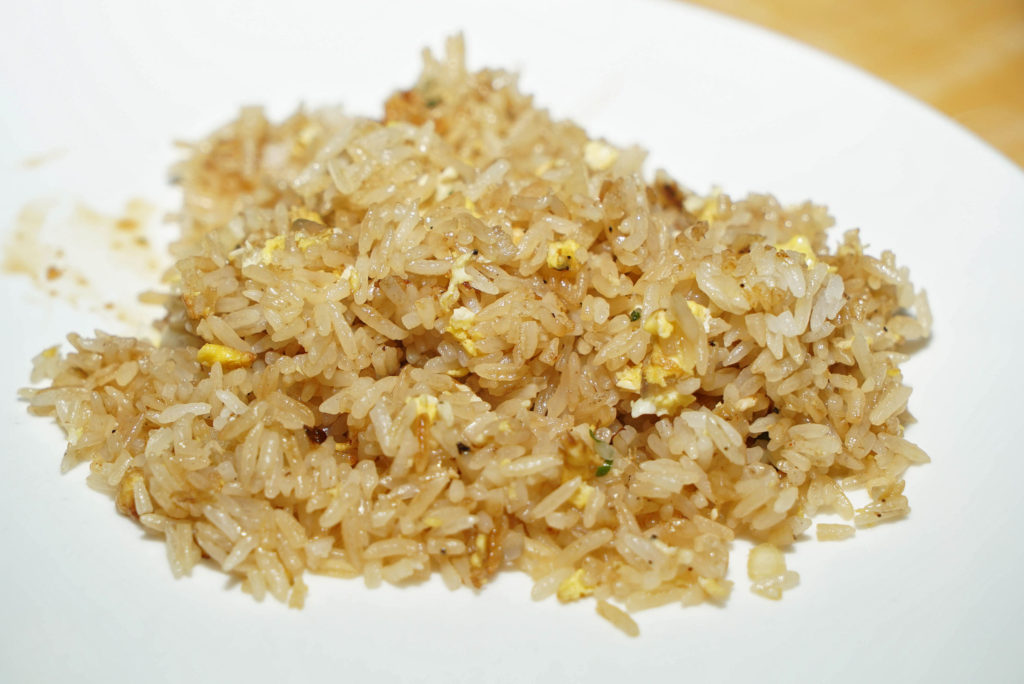
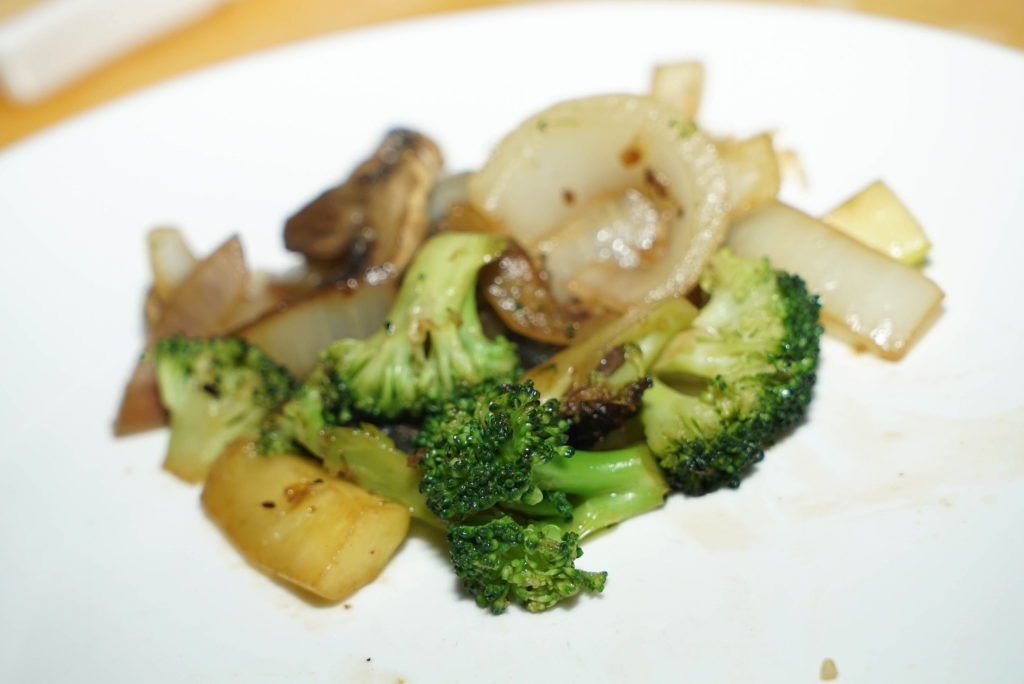
Then some fried rice and veggies.
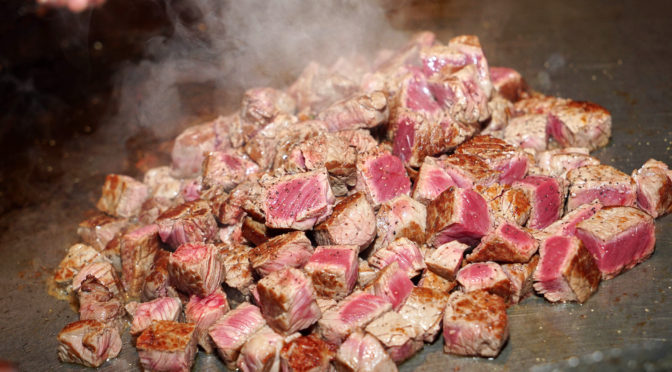
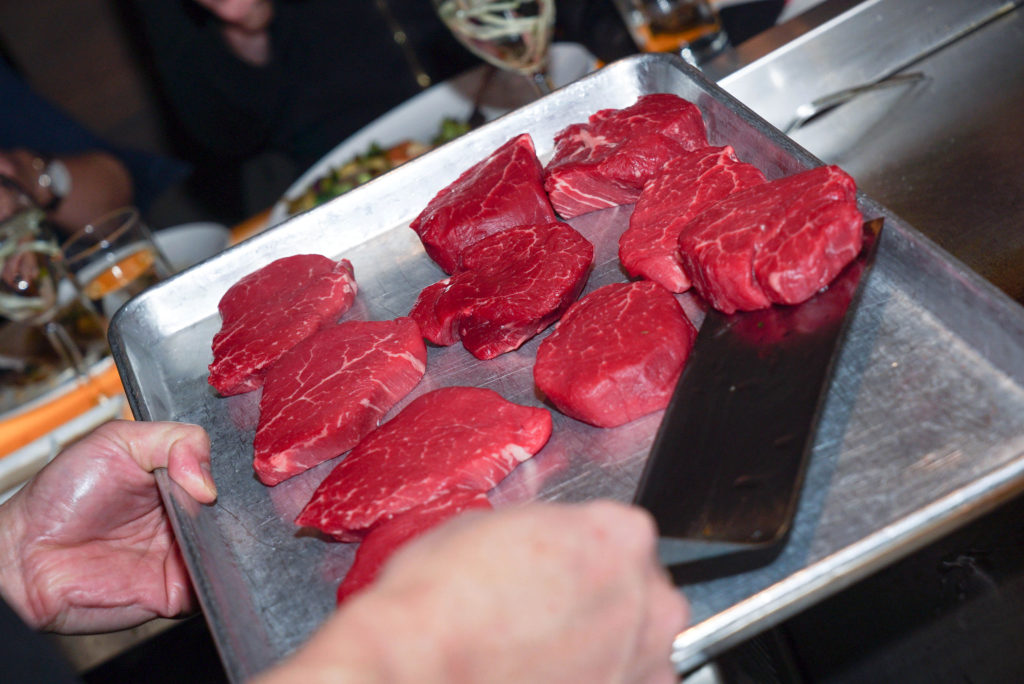
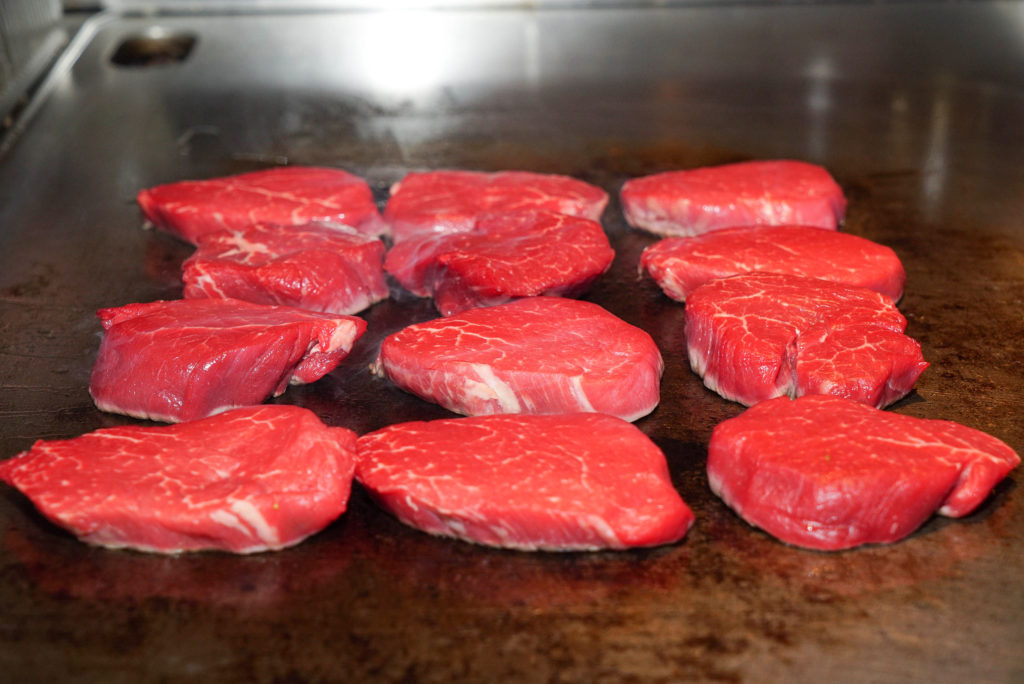
And then the steaks came out!
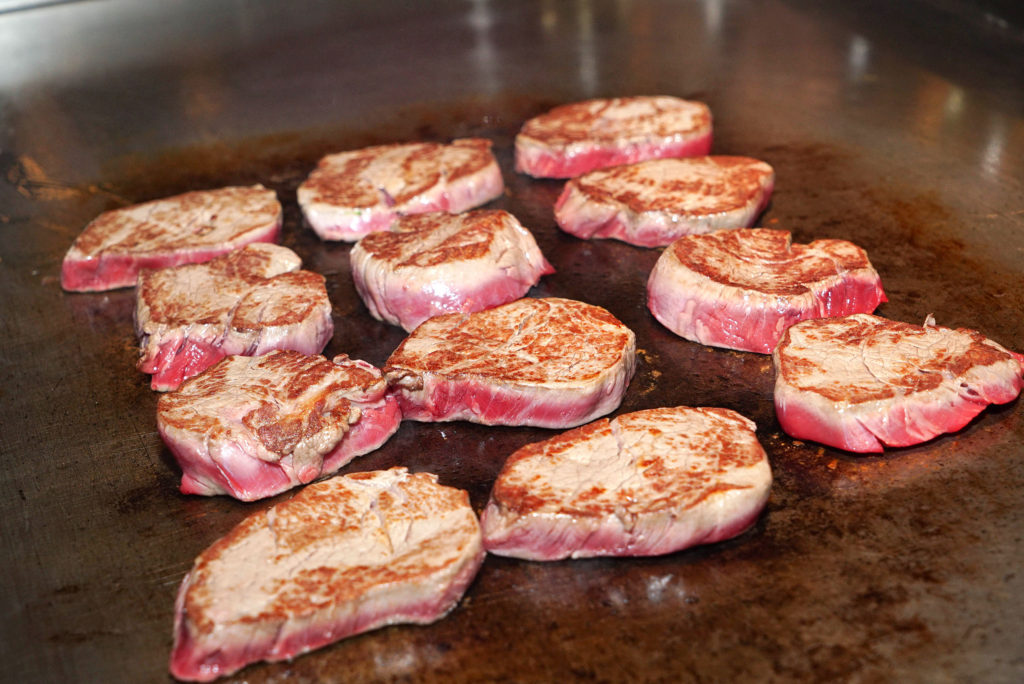
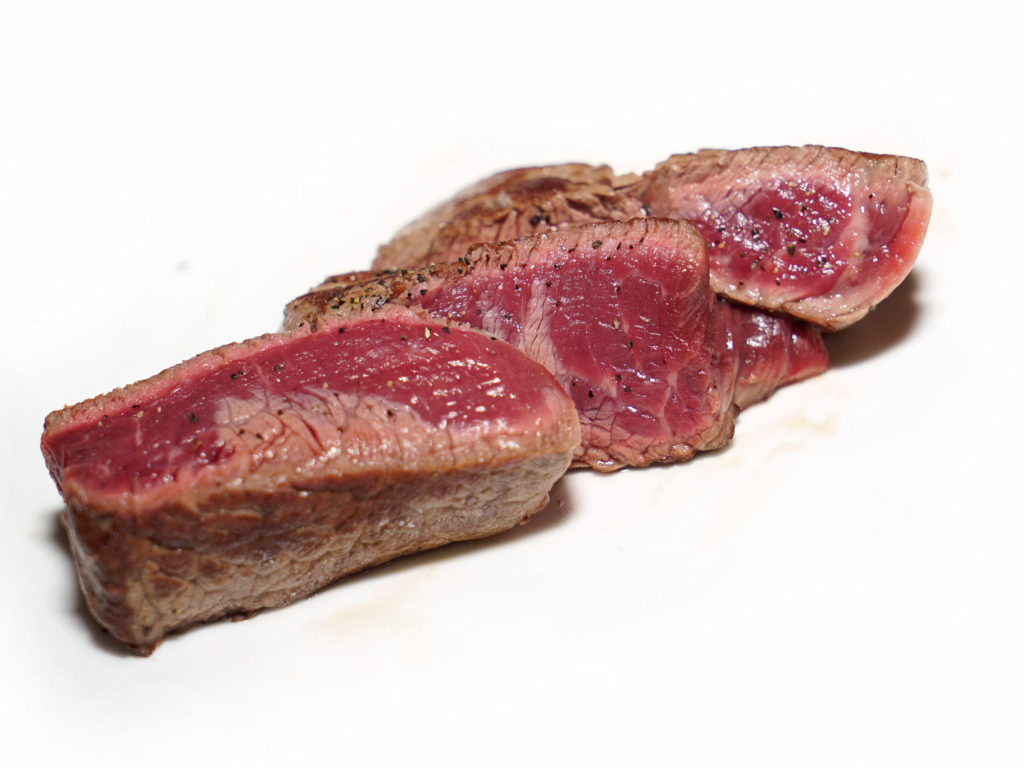
Very simply prepared, and nicely cooked.
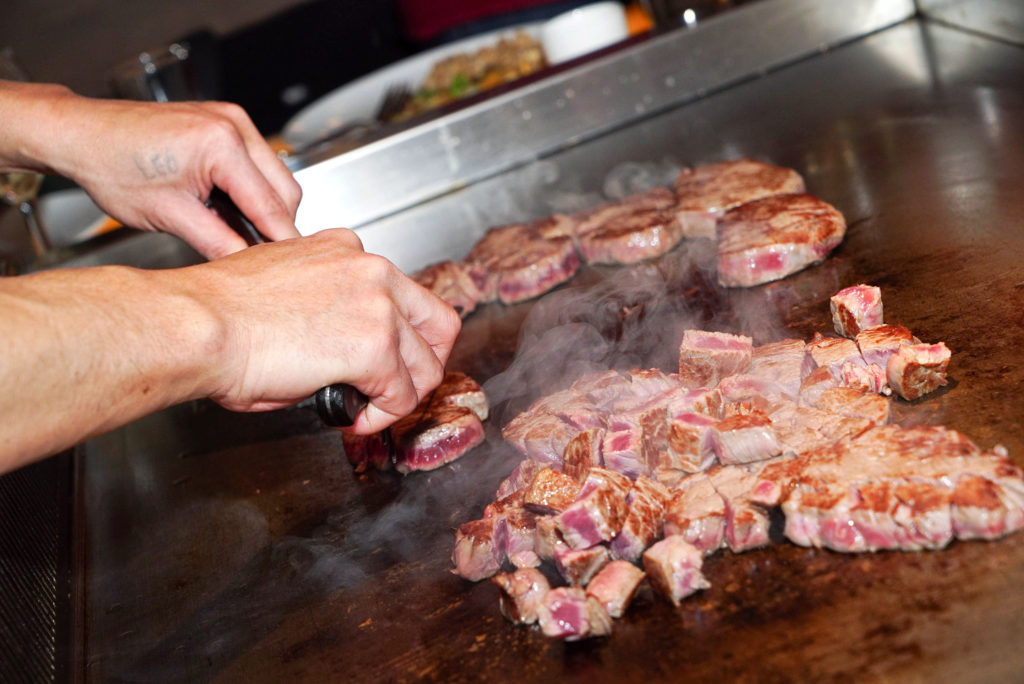
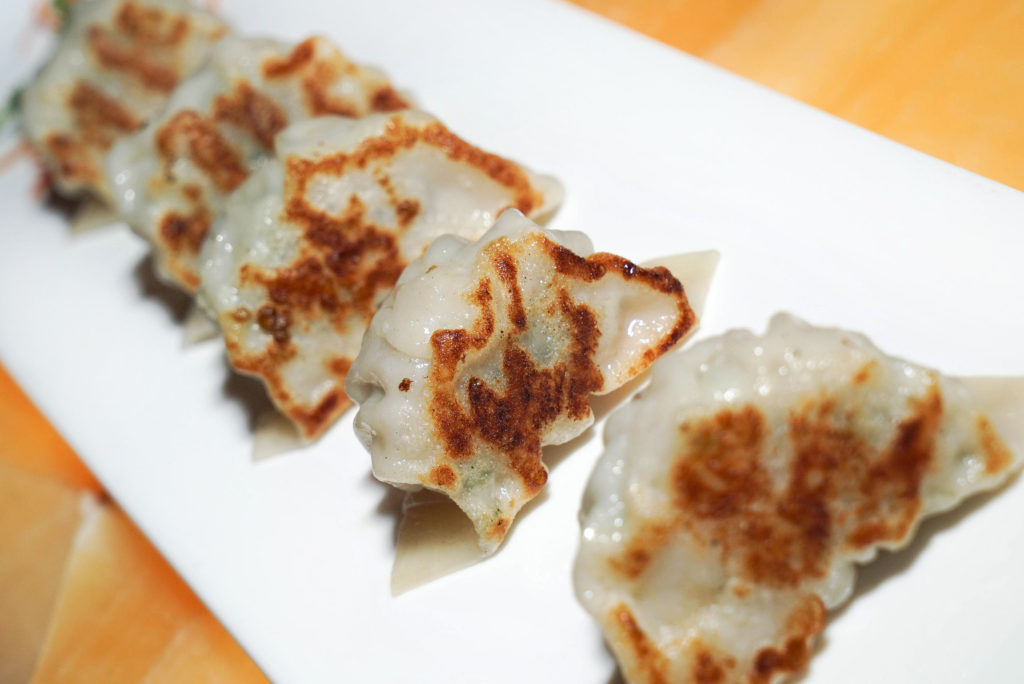
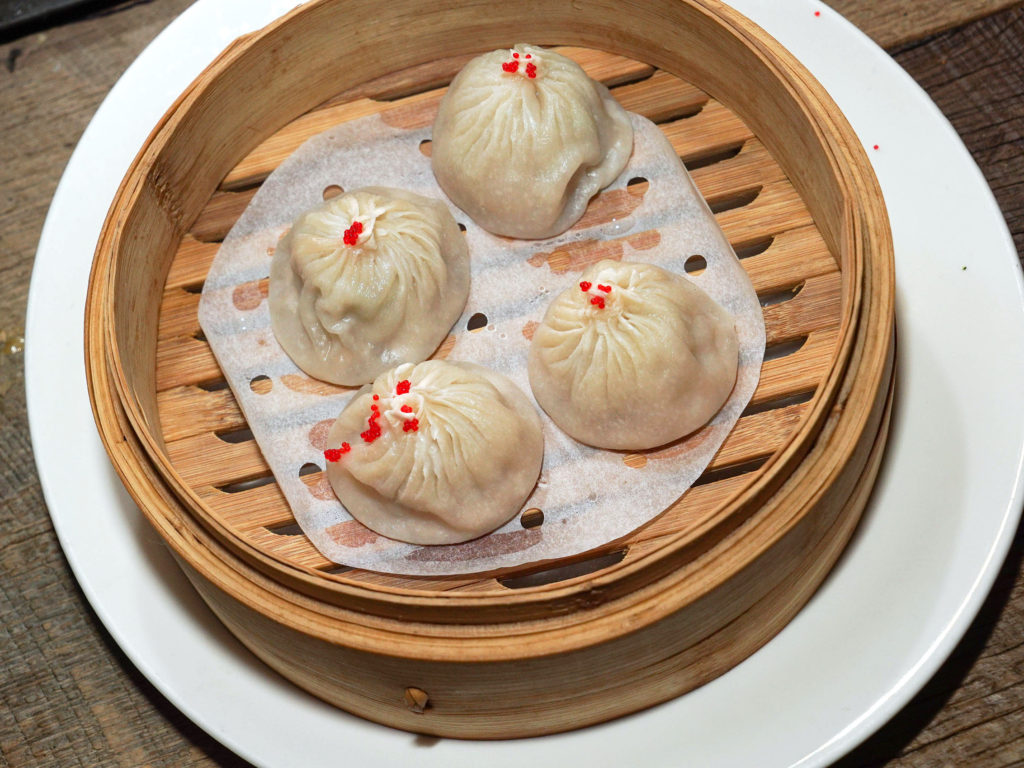
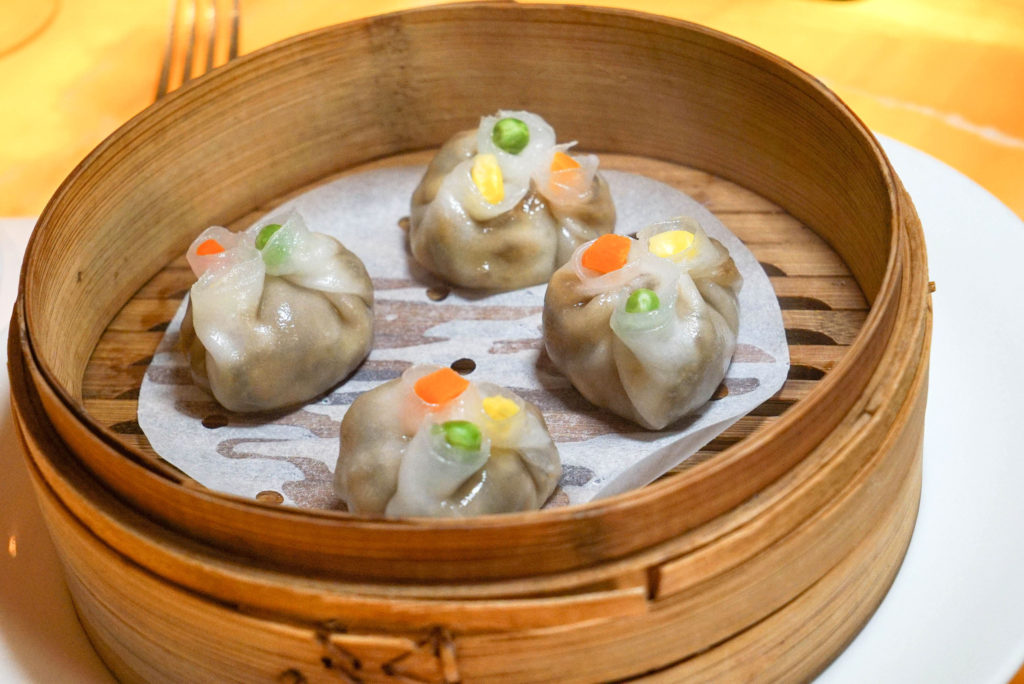
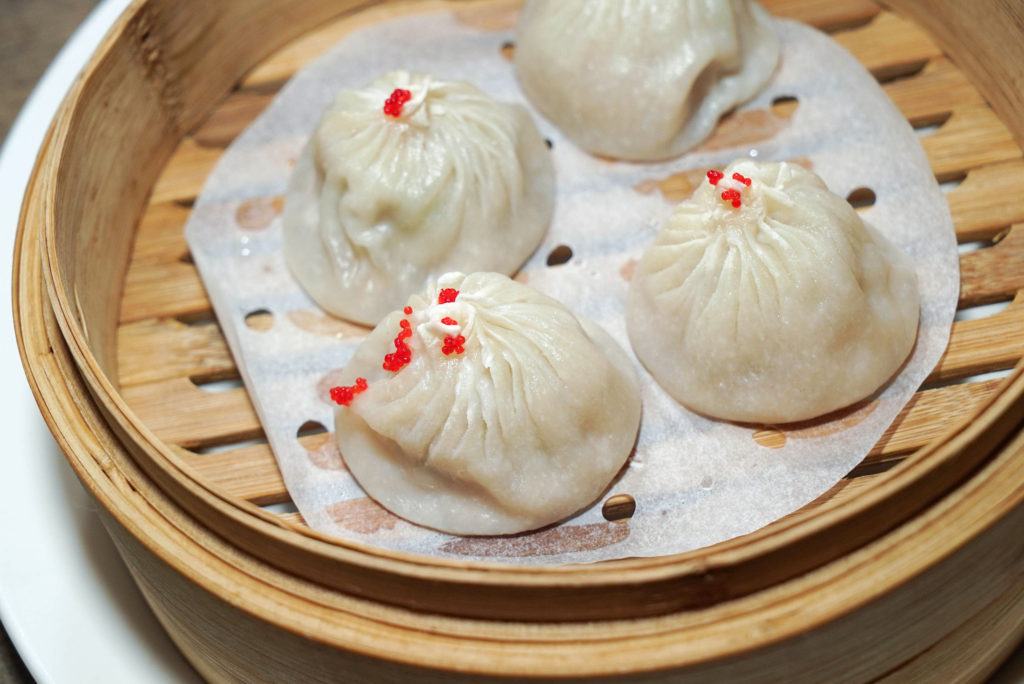
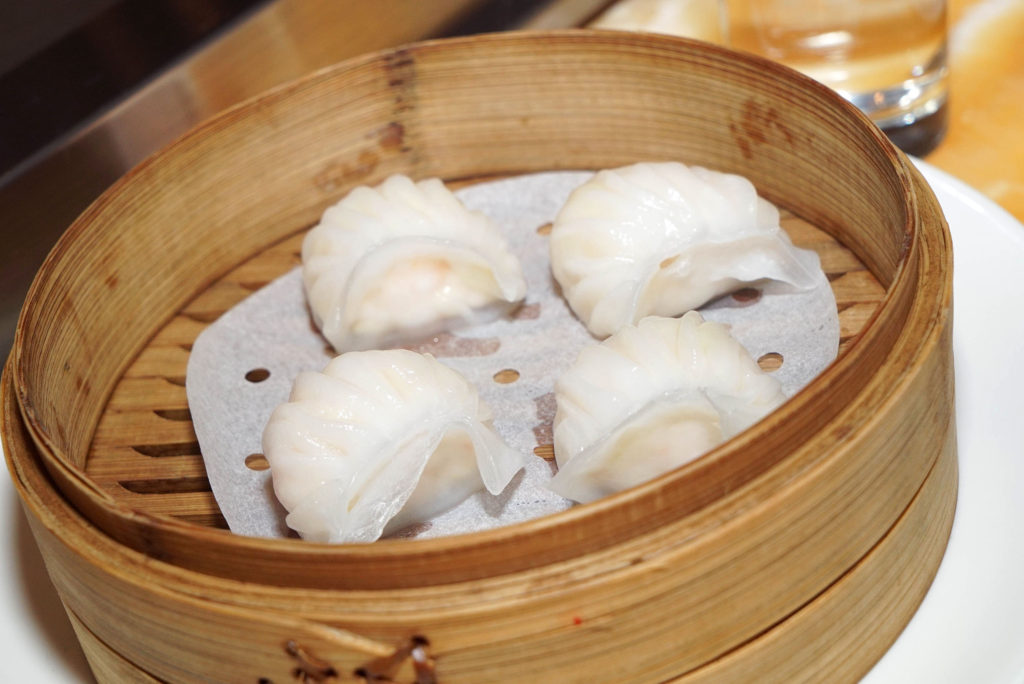
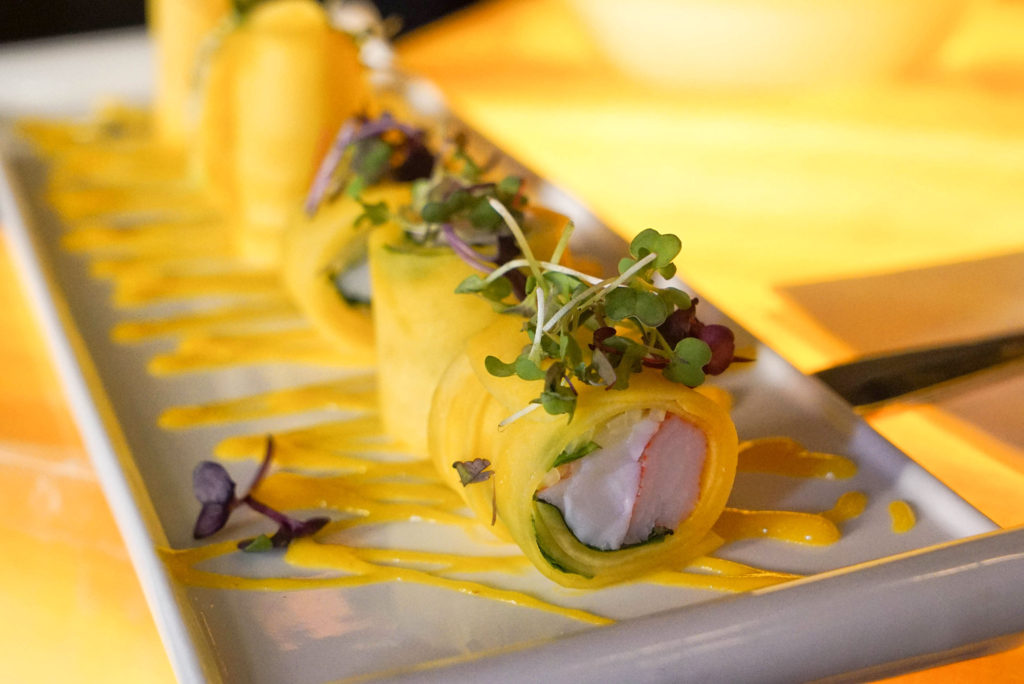
As far as hibachi goes, this is one of the best I’ve experienced. But that’s not where the action stops. They also serve a variety of nice dumplings, sushi and other seafood.
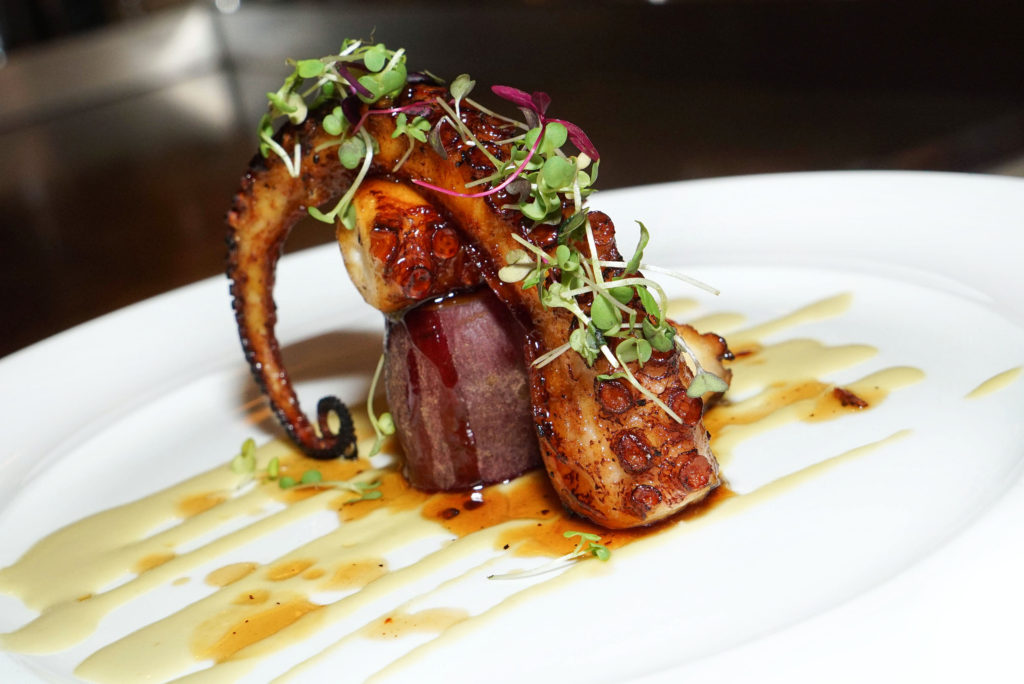
Everything was great; especially that miso octopus tentacle. I highly recommend this joint. There’s a lot of space, really beautiful tables and decor, and even some really nice mixed cocktails.
Every food-oriented website out there, whether it’s Eater, Grub Street, Thrillist or what have you, has their own version of “The Ultimate Guide for Cooking a Steak,” or whatever it may be. Many of them do offer good information, but they’re almost all incomplete. They set you up with one method for one cut of meat. This piece will serve as a place where you can get instructions for cooking several different cuts of steak via several methods. Let’s get right to it.
GRILLING
This is probably the method that most people are familiar and comfortable with. Since it is actually my least favorite way to cook one of the four major cuts, I will discuss it first, up front, with the caveat that I do actually prefer grilled skirt steak to any other cut that’s done on the grill. That said, there are some significant pros and cons for grilling. Depending on what you want out of your steak eating experience, you should take these into consideration before deciding if this is the right method for you. What time of year is it? Summer, winter? Are you grilling over charcoal or propane?
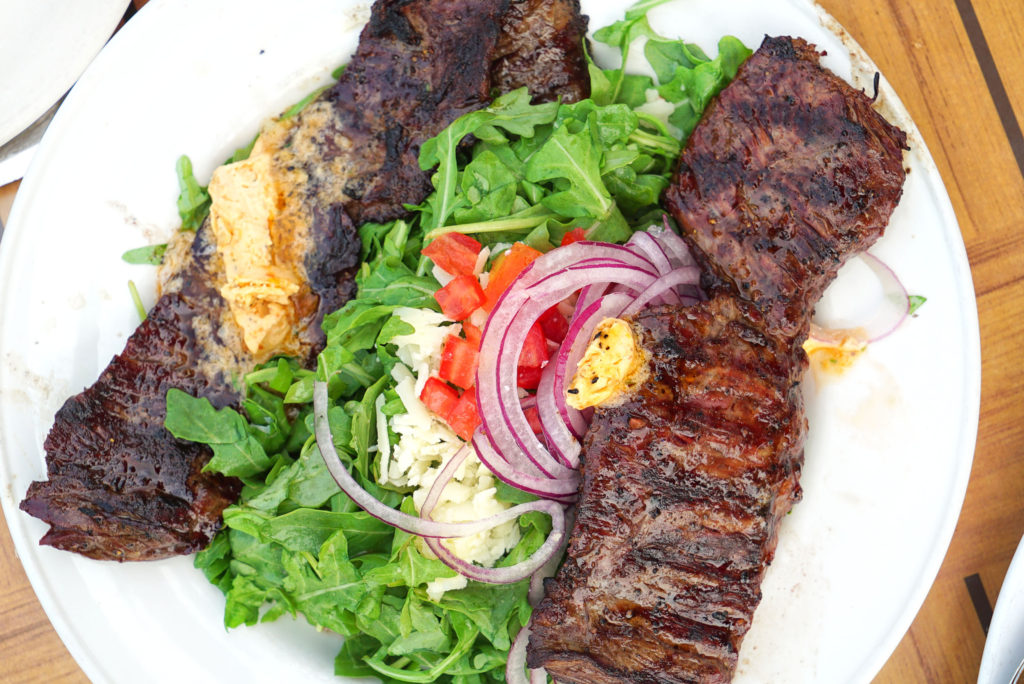
Johnny’s Preferred Cuts for Grilling: Skirt, Flank, Hanger
Pros
Easily accessible
Familiar and comfortable to most home cooks
No smells or smoke indoors
Can easily cook many steaks at once
Cons
Fat, flavor and juices fall through the grill bars
Can be difficult to control heat levels
Lowered ability to sear evenly
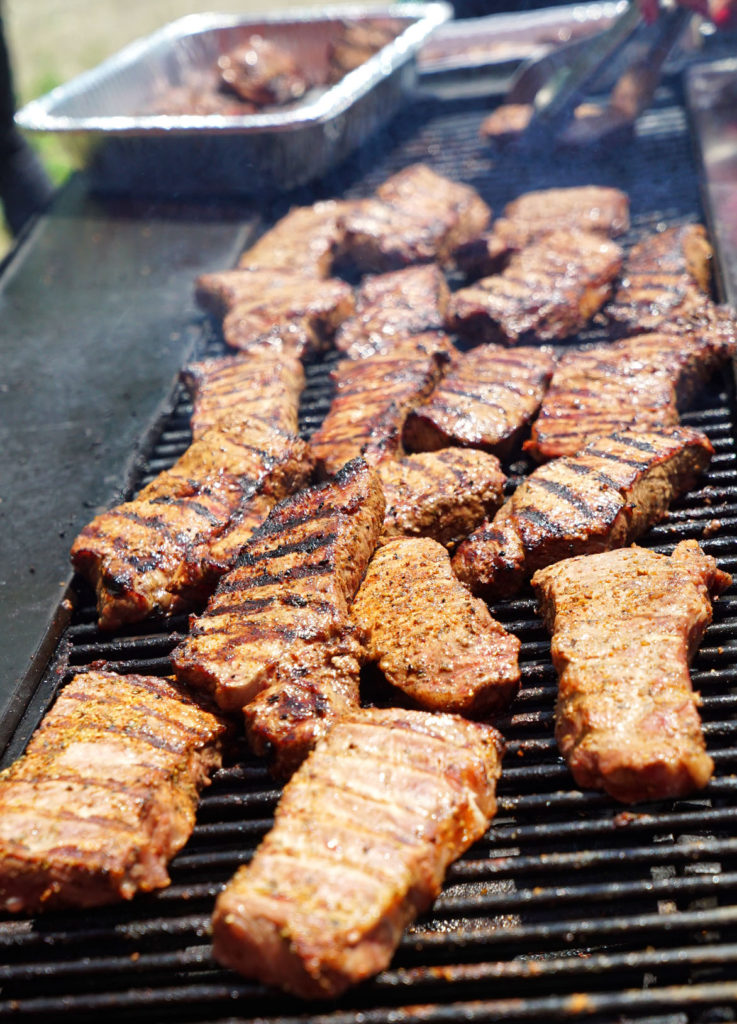
Grilling is perfect for outdoor cooking in the warm months, and especially for large groups of people. You don’t get any lingering smells in your home, and you can enjoy the day like a good American, beer in hand as you cook. Since I like a good even sear across the entire cut of meat, I generally don’t like cooking the four major cuts of beef in this manner. Generally I go for skirt or flank, something that benefits from a good, fast blast of heat; something where I don’t mind if I lose a little fat or juice through the grill bars; and something cheap that can be sliced up and served family style. Charcoal is a tough medium to master. Some people are experts at creating and maintaining even heat levels for a cooking session. Others use propane. This is easier, cleaner, and more convenient, but you lose some of that desired charcoal and smoke flavor unless you’re adding soaked wood chips to the grill as you cook. If grilling is right for you, then read on below.
Instructions
Get your steak up to room temperature and pat it dry.
Crank up your grill to as high as it will possibly get.
Season the skirt/flank generously with salt and pepper.
Grill the meat with the grill top open. Do not poke, prod, press or move the meat once it is set down on the grill bars. Allow the bars to create nice markings on your meat.
After a few minutes, flip once and repeat the previous step.
Use a meat thermometer or the “hand test” to ensure that your steak is properly cooked to medium rare. Remove it from the grill at 125F.
Let the steak rest for a few minutes on an elevated and porous surface, like a metal baking rack. During this time the meat will continue to cook a bit more while off the flames, and it will retain more juices during the next step.
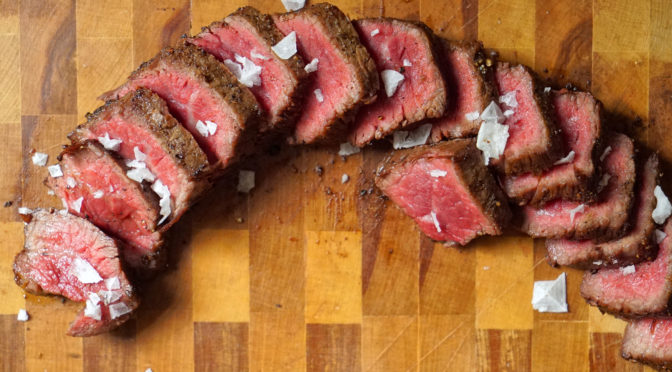
Slice against the grain of the meat, or “against the bias,” and serve.
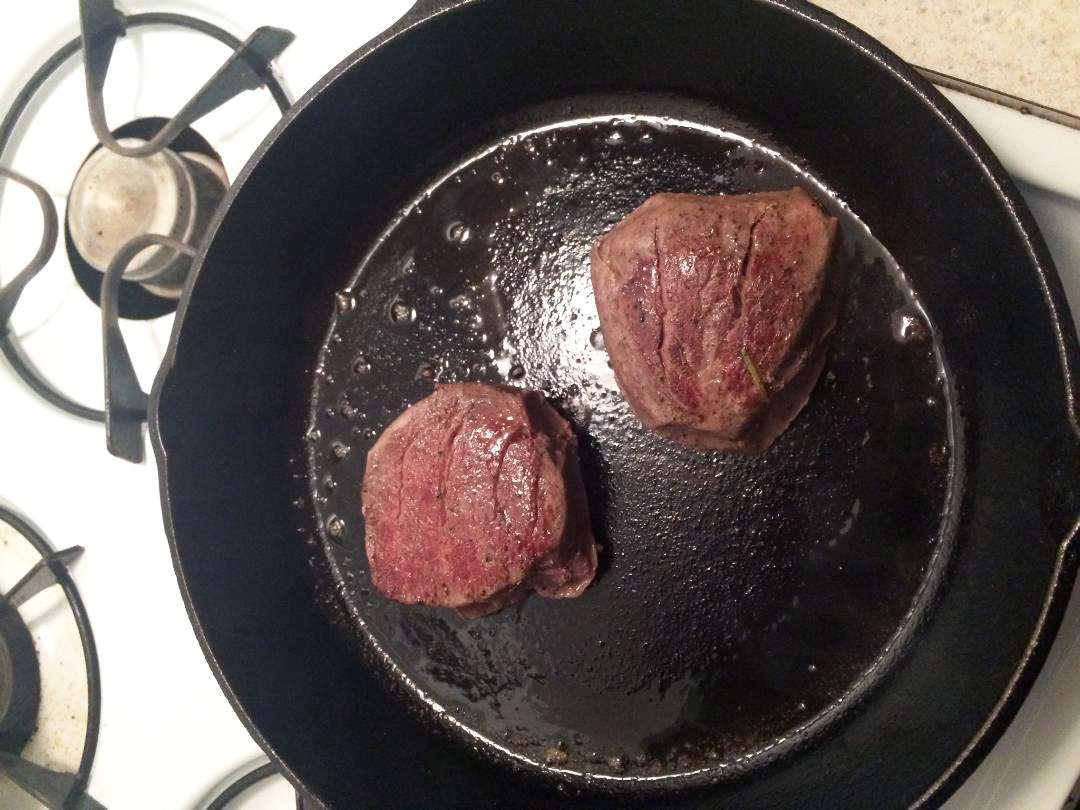
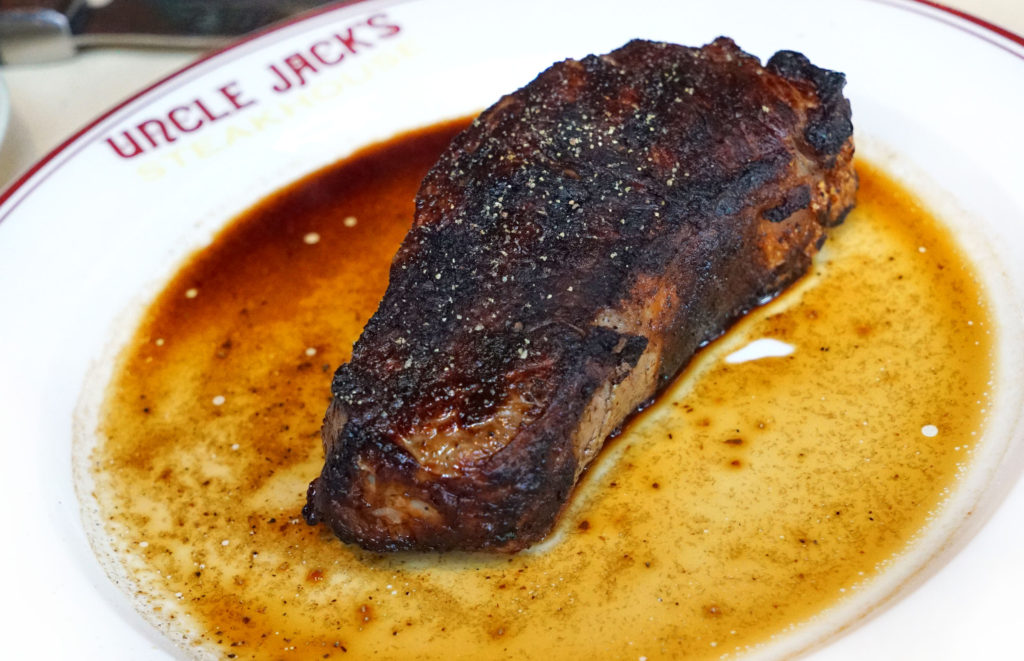
PAN SEARING
This is probably my favorite method for cooking steak. I always try to use a cast iron skillet, as they just work better for creating that crusty sear that we have all come to know as steak lovers. If you can’t get your hands on one, then a standard pan will do.
Smoke smell can permeate the home, set off smoke detectors
Pan cleanup can be annoying
Large pan needed for big or multiple cuts
Cast iron not ideal for glass electric cook tops
Instructions
Get your steak up to room temperature and pat it dry.
Crank up your burner to as high as it will possibly get, and heat up the pan with a small amount of butter.
Season the steak generously with salt and pepper.
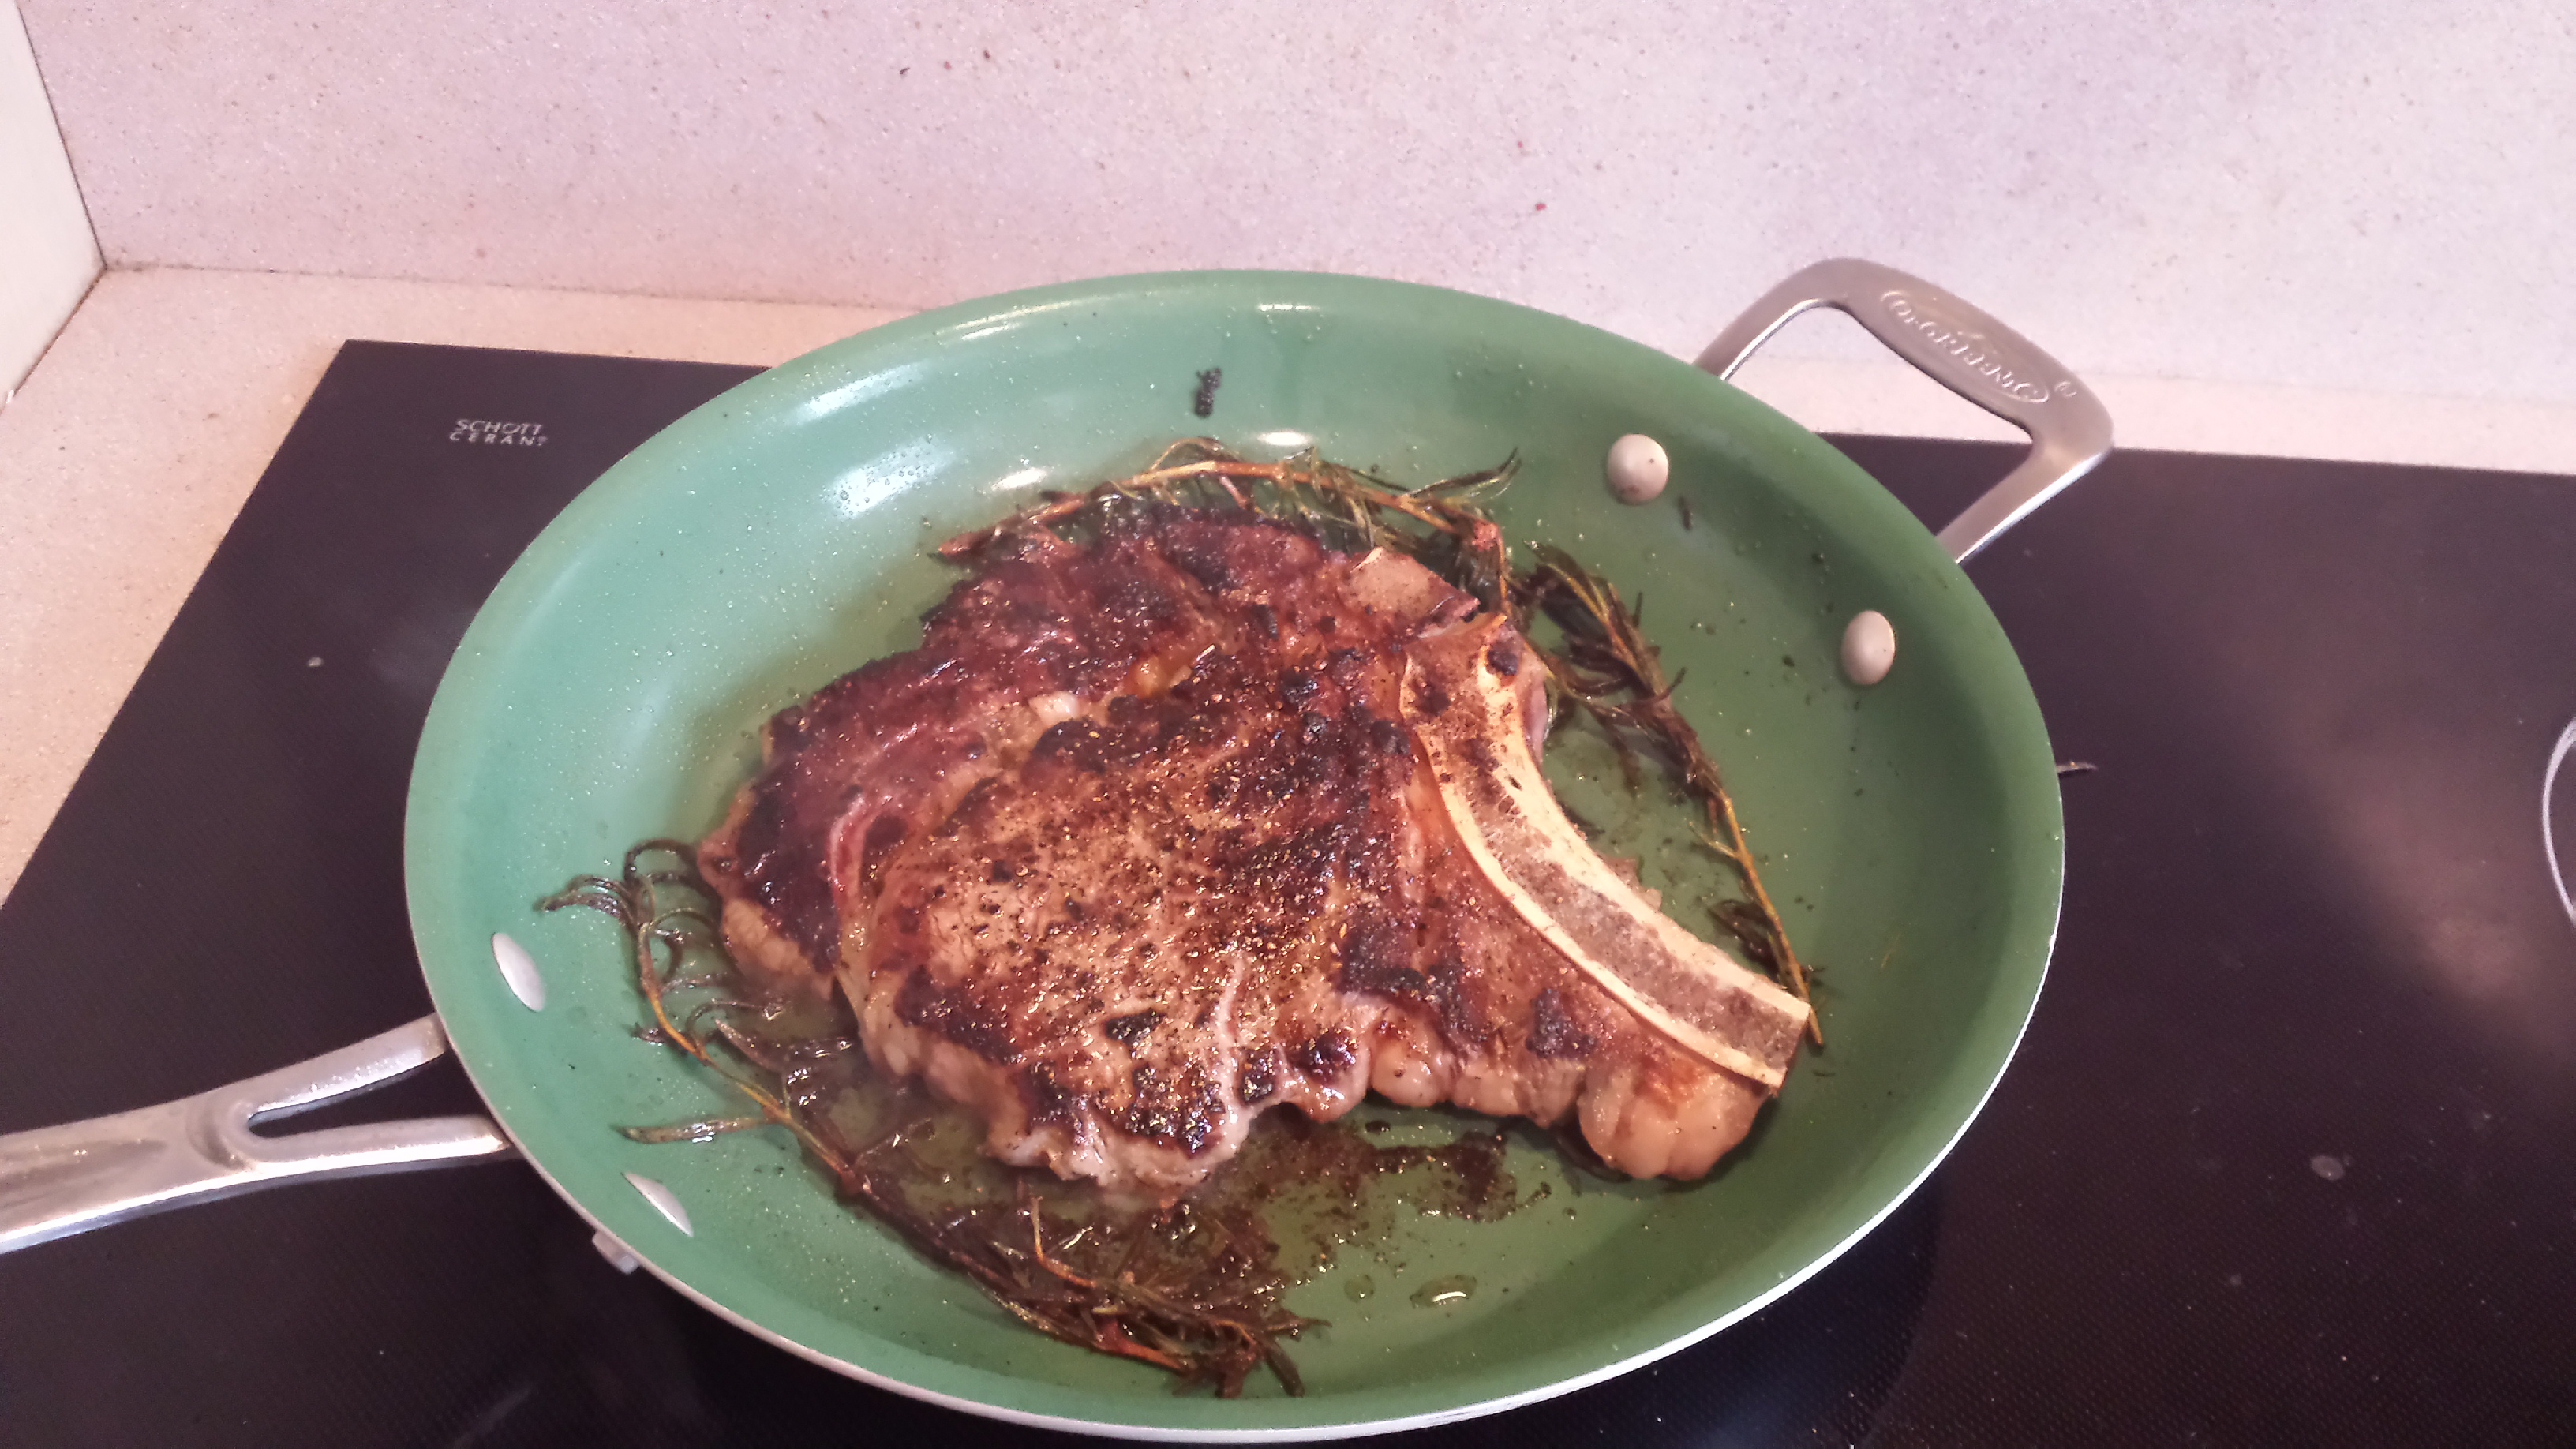
Sear the shit out of your steak, and add a wad of butter to melt in the pan. Throw in some rosemary and garlic too, if you like. Do not poke, prod, press or move the meat once it is set down. Allow the meat to stick to the pan a bit, with as much of the bottom surface touching the pan as possible.
Spoon the melted butter over the top as the meat cooks, basting it in flavor.
After a few minutes, flip the cut with tongs and do the same thing of the other side of the steak.
Once both sides are seared, then you should also sear the edges if you are working with a thick-cut steak. Anything over an inch and a half should get a little side sear if possible.
Use a meat thermometer or the “hand test” to ensure that your steak is properly cooked to medium rare. Remove it from the pan at 125F.
Let the steak rest for a few minutes on an elevated and porous surface, like a metal baking rack. During this time the meat will continue to cook a bit more while out of the pan, and it will retain more juices.
Alternative Instructions From Step 8 Onward
This secondary step is helpful if you have a very thick cut of steak, and a good, hard sear is all you can really get from the pan without overcooking. You want your meat to be pink from top to bottom, with no “grey band” in sight. To achieve this on thick cuts, lots of people will put the steak into the oven at a low temperature, like 250-300F, to allow the internal temperature to come up to medium rare once the pan-searing steps (1-7) are complete. Here, a meat thermometer is key to ensure that your meat is cooked to the proper temperature inside.
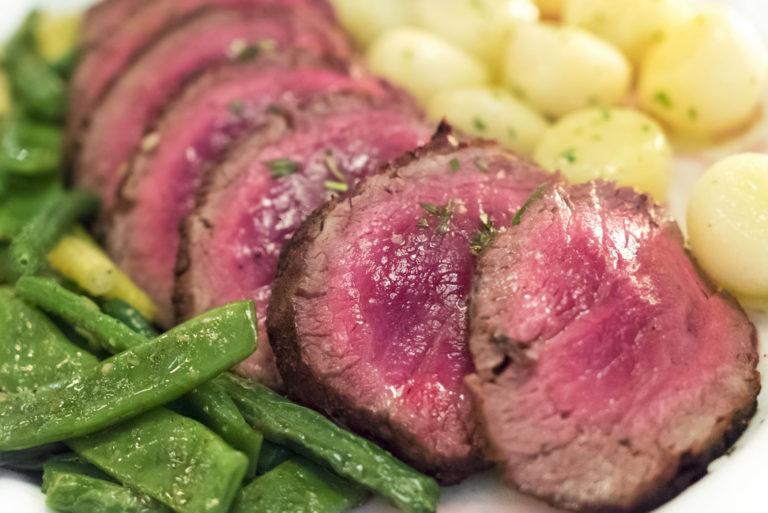
REVERSE SEARING
This is very similar to searing with an oven finish, like above, only done in the reverse order.
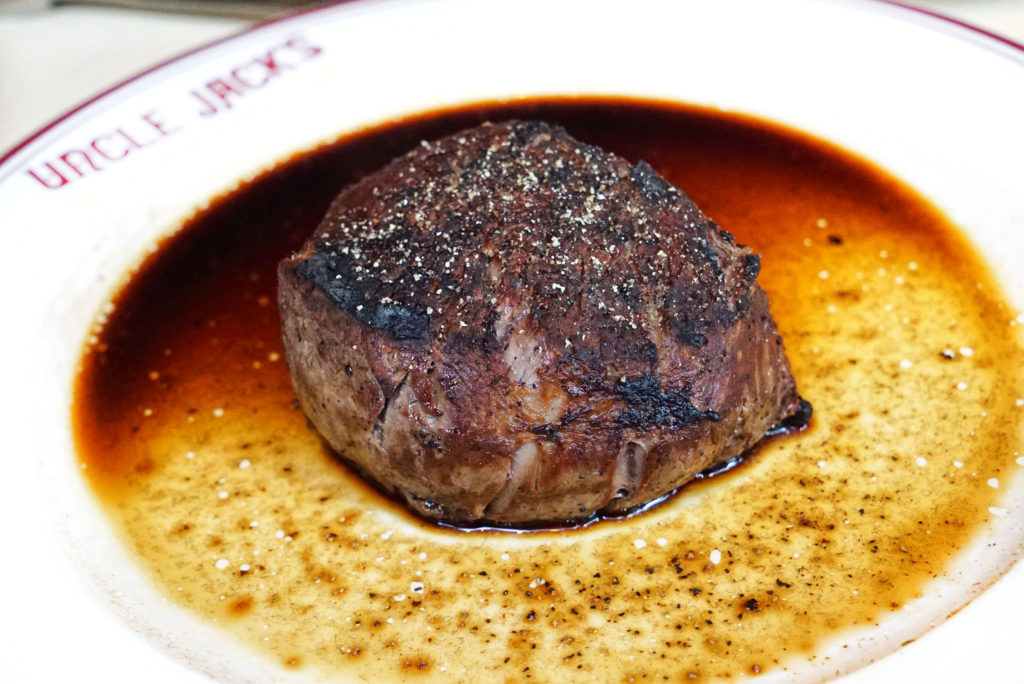
Johnny’s Preferred Cuts for Reverse Searing: Thick Cuts of Filet Mignon, Strip, Porterhouse, Rib Eye
Pros
Even sear across entire steak
Juices stay put
Cons
Slightly more difficult to execute than a simple sear
Multiple cooking steps and waiting
Instructions
Here, the first step is to cook your steak in the oven at a low temperature, like 250-300F, to allow the internal temperature to come up to rare or medium rare. Again, use a meat thermometer to ensure accuracy. Once that step is done, the steak gets finished in the hot searing pan with butter. This will form the desired crust on your steak. You just have to be careful not to overcook your steak in the pan as you are trying to get that crust to form. I recommend allowing your steak to cool down to room temperature before searing it off, and/or getting that pan screaming hot before you put the steak in.
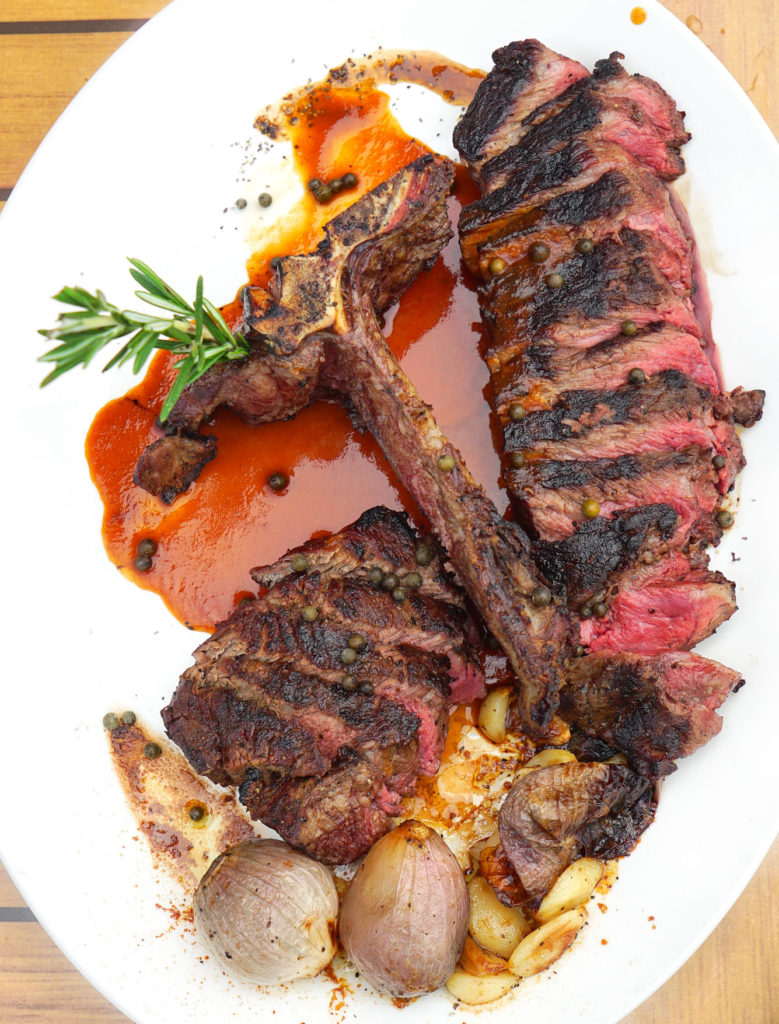
BROILING
Generally speaking, broiling means that the heat source is coming from above the meat and close to the meat. Contrast with baking, which means that the heat source is below and more diffused or distant from the meat. Broiling a steak gives you more direct exposure to the heat source than baking, whether it’s an open flame (gas oven) or the heating element (electric). While not as direct as, say, touching a hot pan, broiling is better for cooking traditional cuts of steaks than baking, because you can get a charred outer crust easier and still get the inside of the meat to the desired temperature. Baking is better suited for roasting meats, since the heat source is often diffused a bit by the oven bottom when baking.
Johnny’s Preferred Cuts for Broiling: Thick Cut Bone-In Porterhouse, Thick Cut Bone-In Rib Eye, Bone-In Tenderloin, Bone-In Strip, Large T-Bone
Why the bones, you ask? When cooking with “surrounding” heat, like roasting or broiling in an enclosed oven, bones are very effective at radiating heat into the center of the meat tissue. This method, therefore, also makes large/thick cuts easier to work with.
Pros
Cleaner, less smoke and permeating odors
Relatively easy to execute
Easier to get an evenly cooked center of your meat
Cons
Easy to overcook if not careful
Requires meat thermometer (puncturing meat is never good)
Harder to get the desired crust than other methods
Instructions
Get your steak up to room temperature and pat it dry.
Set your oven to broil.
Season the steak generously with salt and pepper.
Bring your oven rack close to the heat source (near the top) and place steak in the oven in a shallow roasting pan that can catch any drippings.
Once the top crisps up a bit, flip the meat in the roasting pan to get the crust on the other side as well.
Use a meat thermometer to ensure that your steak is properly cooked to medium rare. Remove it from the oven at 125F.
Let the steak rest for a few minutes in the roasting pan. During this time the meat will continue to cook a bit more, and it will retain more juices.
Slice the major muscles off the bone, slice the muscle against the bias, and arrange the meat on a platter for serving.
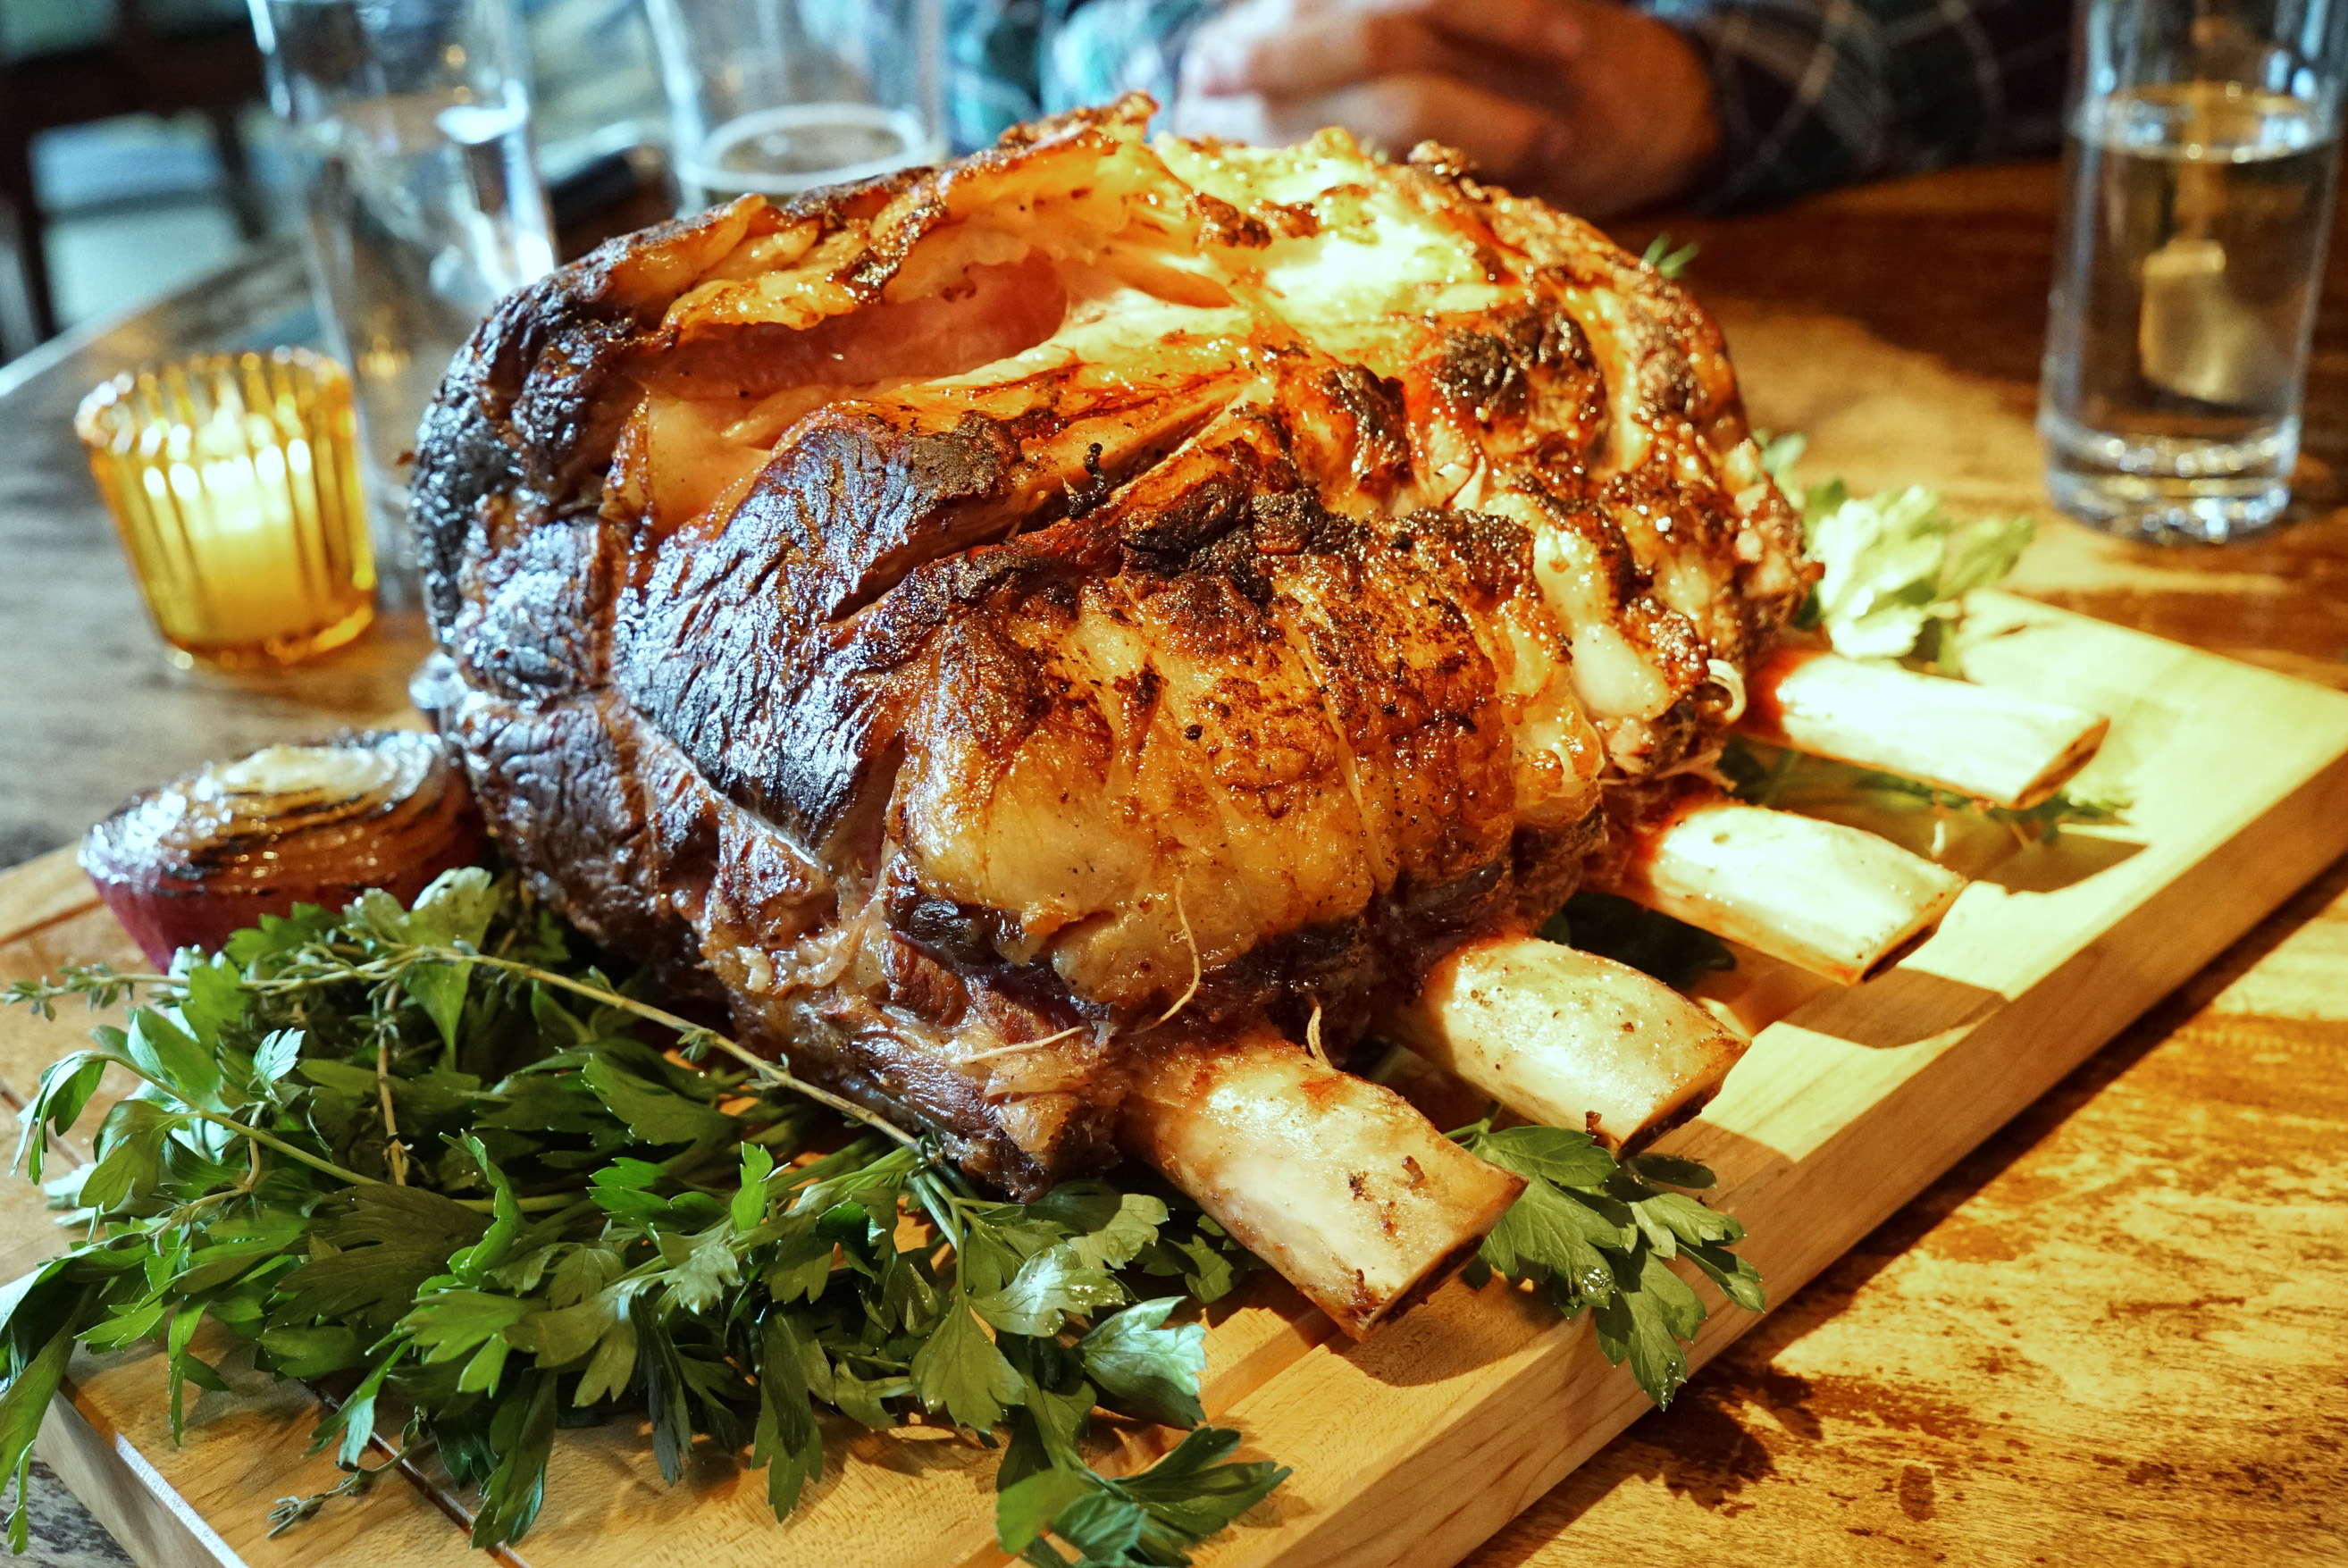
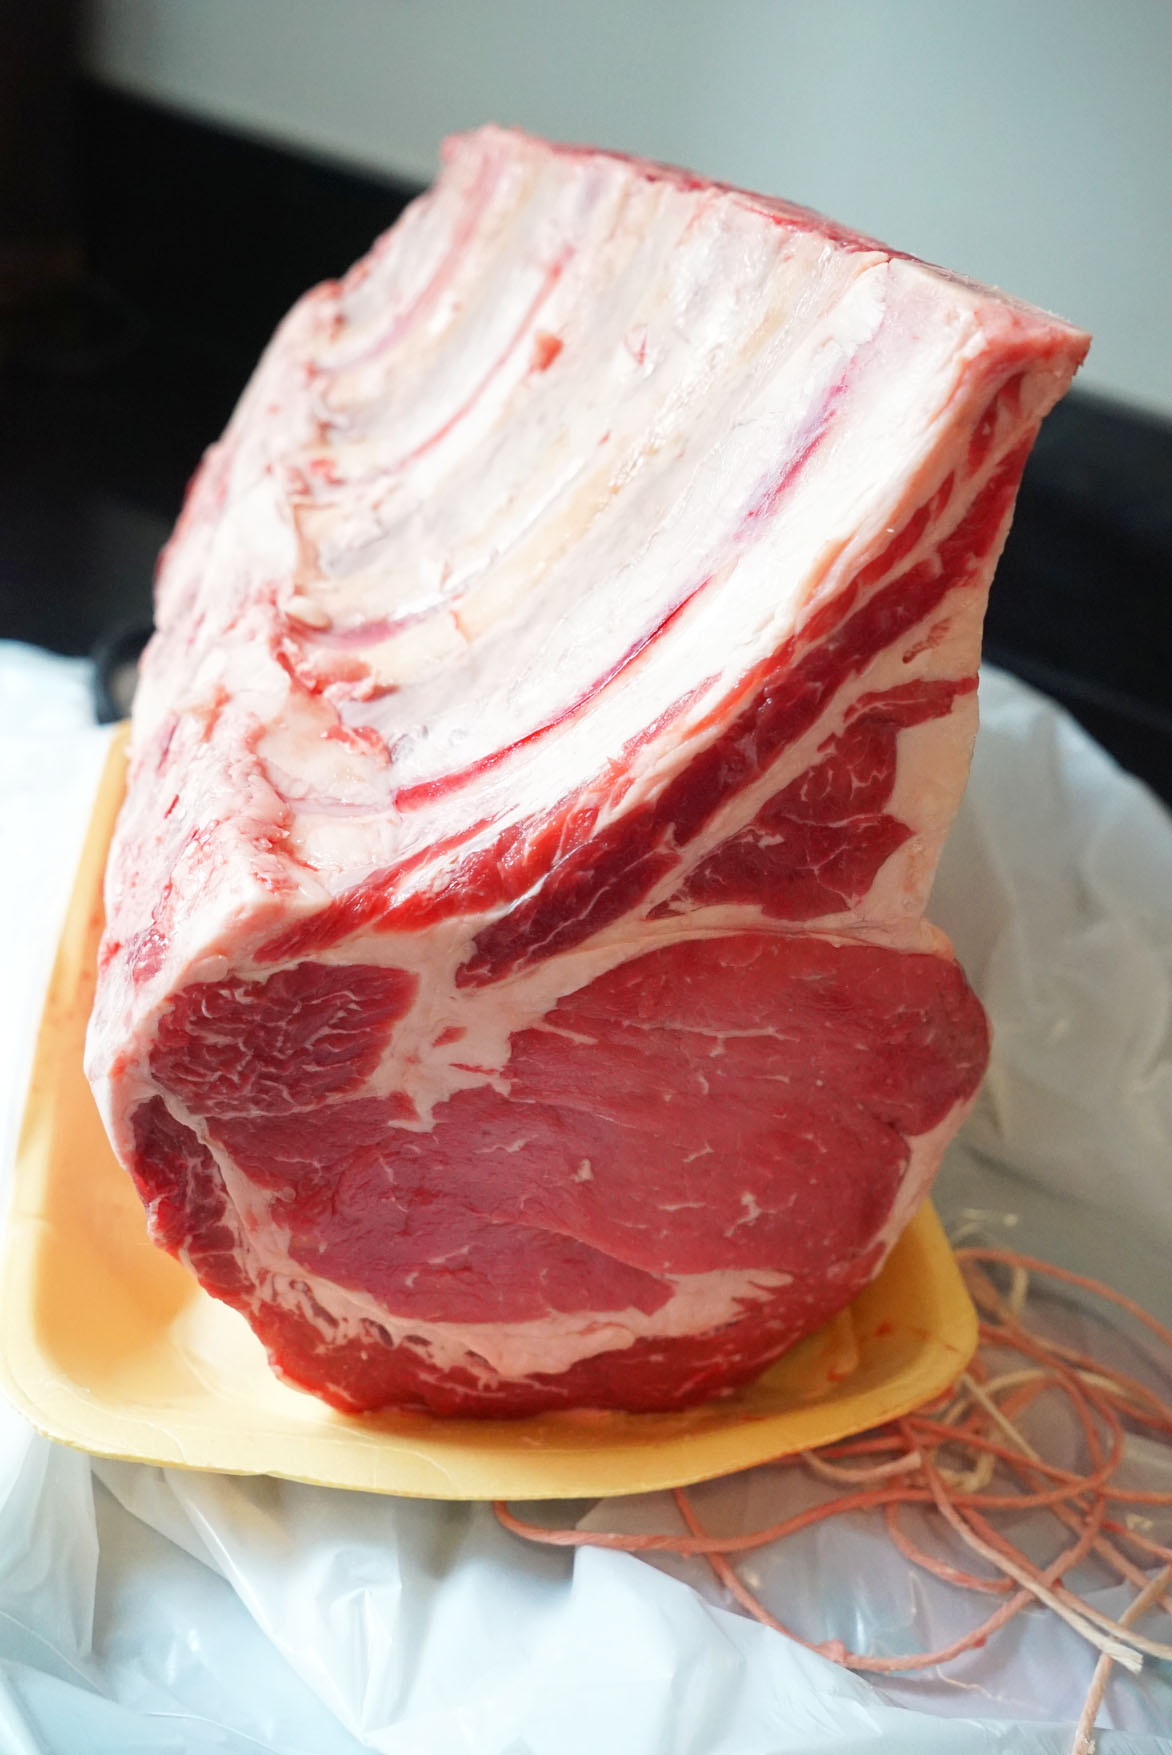
ROASTING
Roasting is synonymous with low and slow diffused heat from a bottom source, or all around the meat, from all sides. This method is best suited for large hunks of meat that take a long time to cook down to the center, generally for serving many people.
Johnny’s Preferred Cuts for Roasting: Standing Rib Rack Roast, Chateaubriand, Large Brisket
Pros
Great for large format dining
Easy to execute
Result is very juicy, tender and delicious
Cons
Takes a long time to finish
May require extensive carving
Generally lacks outer crust like a standard cut of steak
Instructions
Many people like to brine their meats before roasting. While this is generally more common with pork roasts or fowl, some steps can be taken with beef to increase flavors. You can crush up some garlic and stuff it into your roast (flavor injectors), or rub it on the outside of the meat; you can rub it with rosemary or roast it on a bed of herbs; and you should season it generously with a multitude of spices. You want all those flavors to permeate deep into the meat, so massaging, rubbing and pushing into the meat is all recommended. If you use a flavor injector, I suggest getting a lot into one or a few injections, that way you don’t pierce the meat too many times.
Set your oven to a low bake temperature, like 350F.
Place your meat on a roasting pan to catch any drippings, and set it in the center/middle rack of your oven.
Place your meat thermometer into the center of the roast.
As the meat cooks, use a turkey baster to suck up liquids from the bottom of the roasting pan, and squirt it over the top of the roast occasionally. This will add some flavor to the outside and help to create a flavorful edge to the roast.
Remove it from the oven at 125F. Let the meat rest for a few minutes in the roasting pan. During this time the meat will continue to cook a bit more, but the resting phase will help the meat retain more juices for the next step.
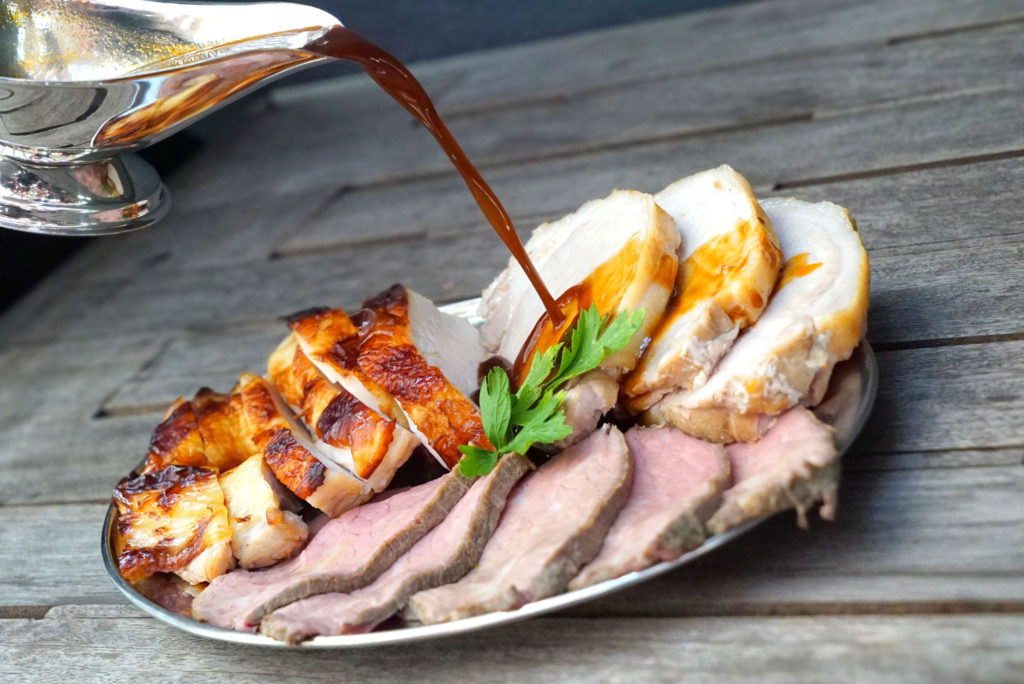
Slice and carve for serving. Sliced roast beef pairs perfectly with both hot gravy and cold horseradish sauces (either cream-based or tomato-based).
SOUS VIDE
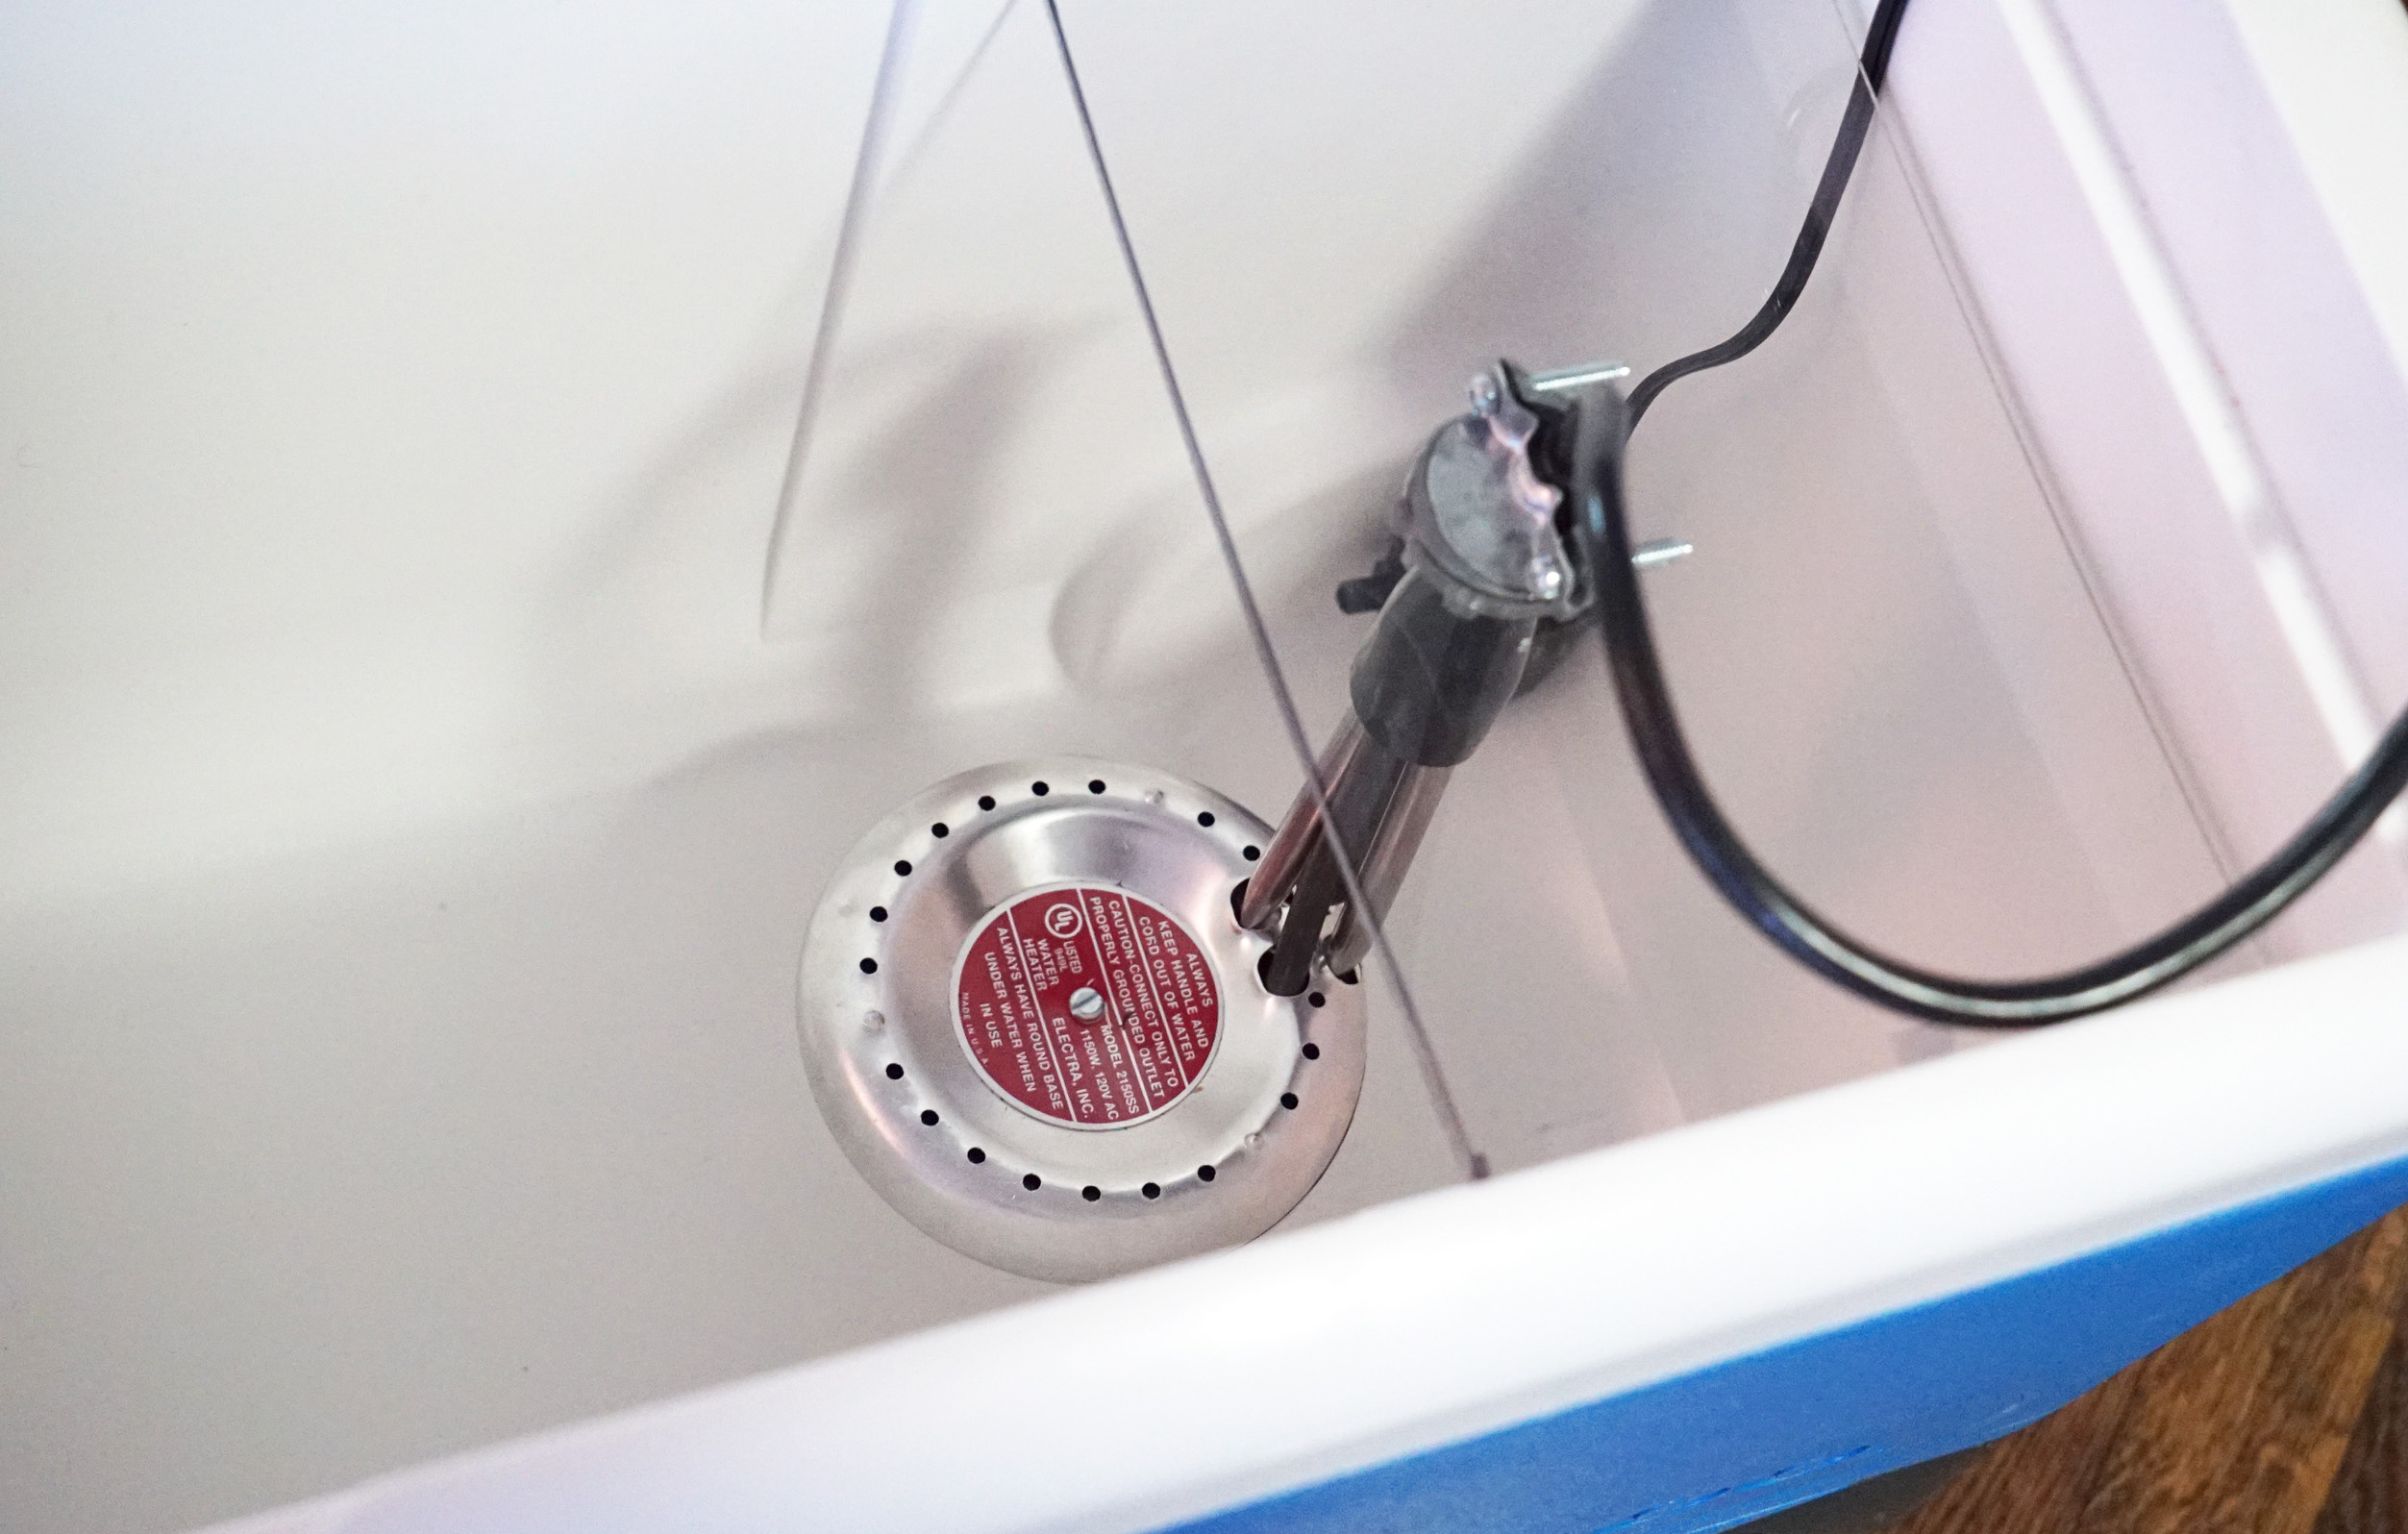
Sous Vide means “under vacuum” in French. In this method of cooking, you are cooking your steaks in vacuum sealed bags by submerging them in a hot water bath to precisely the desired temperature, and then finishing them in a pan as a secondary step. This may sound like high tech restaurant science only kind of stuff, but there are items available in the consumer market to do this with great results at home.
Johnny’s Preferred Cuts for Sous Vide: Thick Cuts of Filet Mignon, Boneless Strip, Boneless Rib Eye, Bavette, Denver Cut/Blade Steak
Pros
Perfect internal temperature every time
No monitoring necessary
Easy to achieve success
Cons
Requires a special unit or item, a vacuum sealer and bags
Wait time can be lengthy
Still need to use a pan (or torch) to sear the outside
Instructions
Lucky for you all, I’ve got a nice discussion of the sous vide cooking method here, with pretty pics and everything. In any case, here is the gist of it:
Season the steak however the you want. I use salt, pepper, garlic powder, garlic oil and crushed red pepper.
Place steak into vacuum seal bag and seal it up with some butter and herbs inside (rosemary is always nice).
If you’re a poor bastard and can’t afford a vacuum sealer, you can use ziplock bags. Place your meat into the bag and begin to submerge the bag into the water bath. Once you are all the way close to the zipper, zip it shut. The water surrounding the outside of the bag will push out all the air from inside. This is the poor man’s vacuum sealer. If you do this, you may want to put a smooth, clean rock in there too, just for good measure, to keep the meat from floating.
Set your temperature to however you like your steak cooked. I put mine at 125F for a nice medium rare. I’m dealing with grocery store meat here, people. Don’t give me any shit about that being too well done.
Wait about an hour or two. Don’t panic! You can’t overcook your steak in a sous vide bath. That’s the whole point of it!
Remove your steak from the water bath and let it cool back down to room temperature.
Re-season it a bit, if so desired.
Sear it. I use a Searzall, because why not? But you can easily just toss this baby into a real hot cast iron pan with some more butter and herbs to get that brown and crispy coating.
DIRECT FROM FROZEN
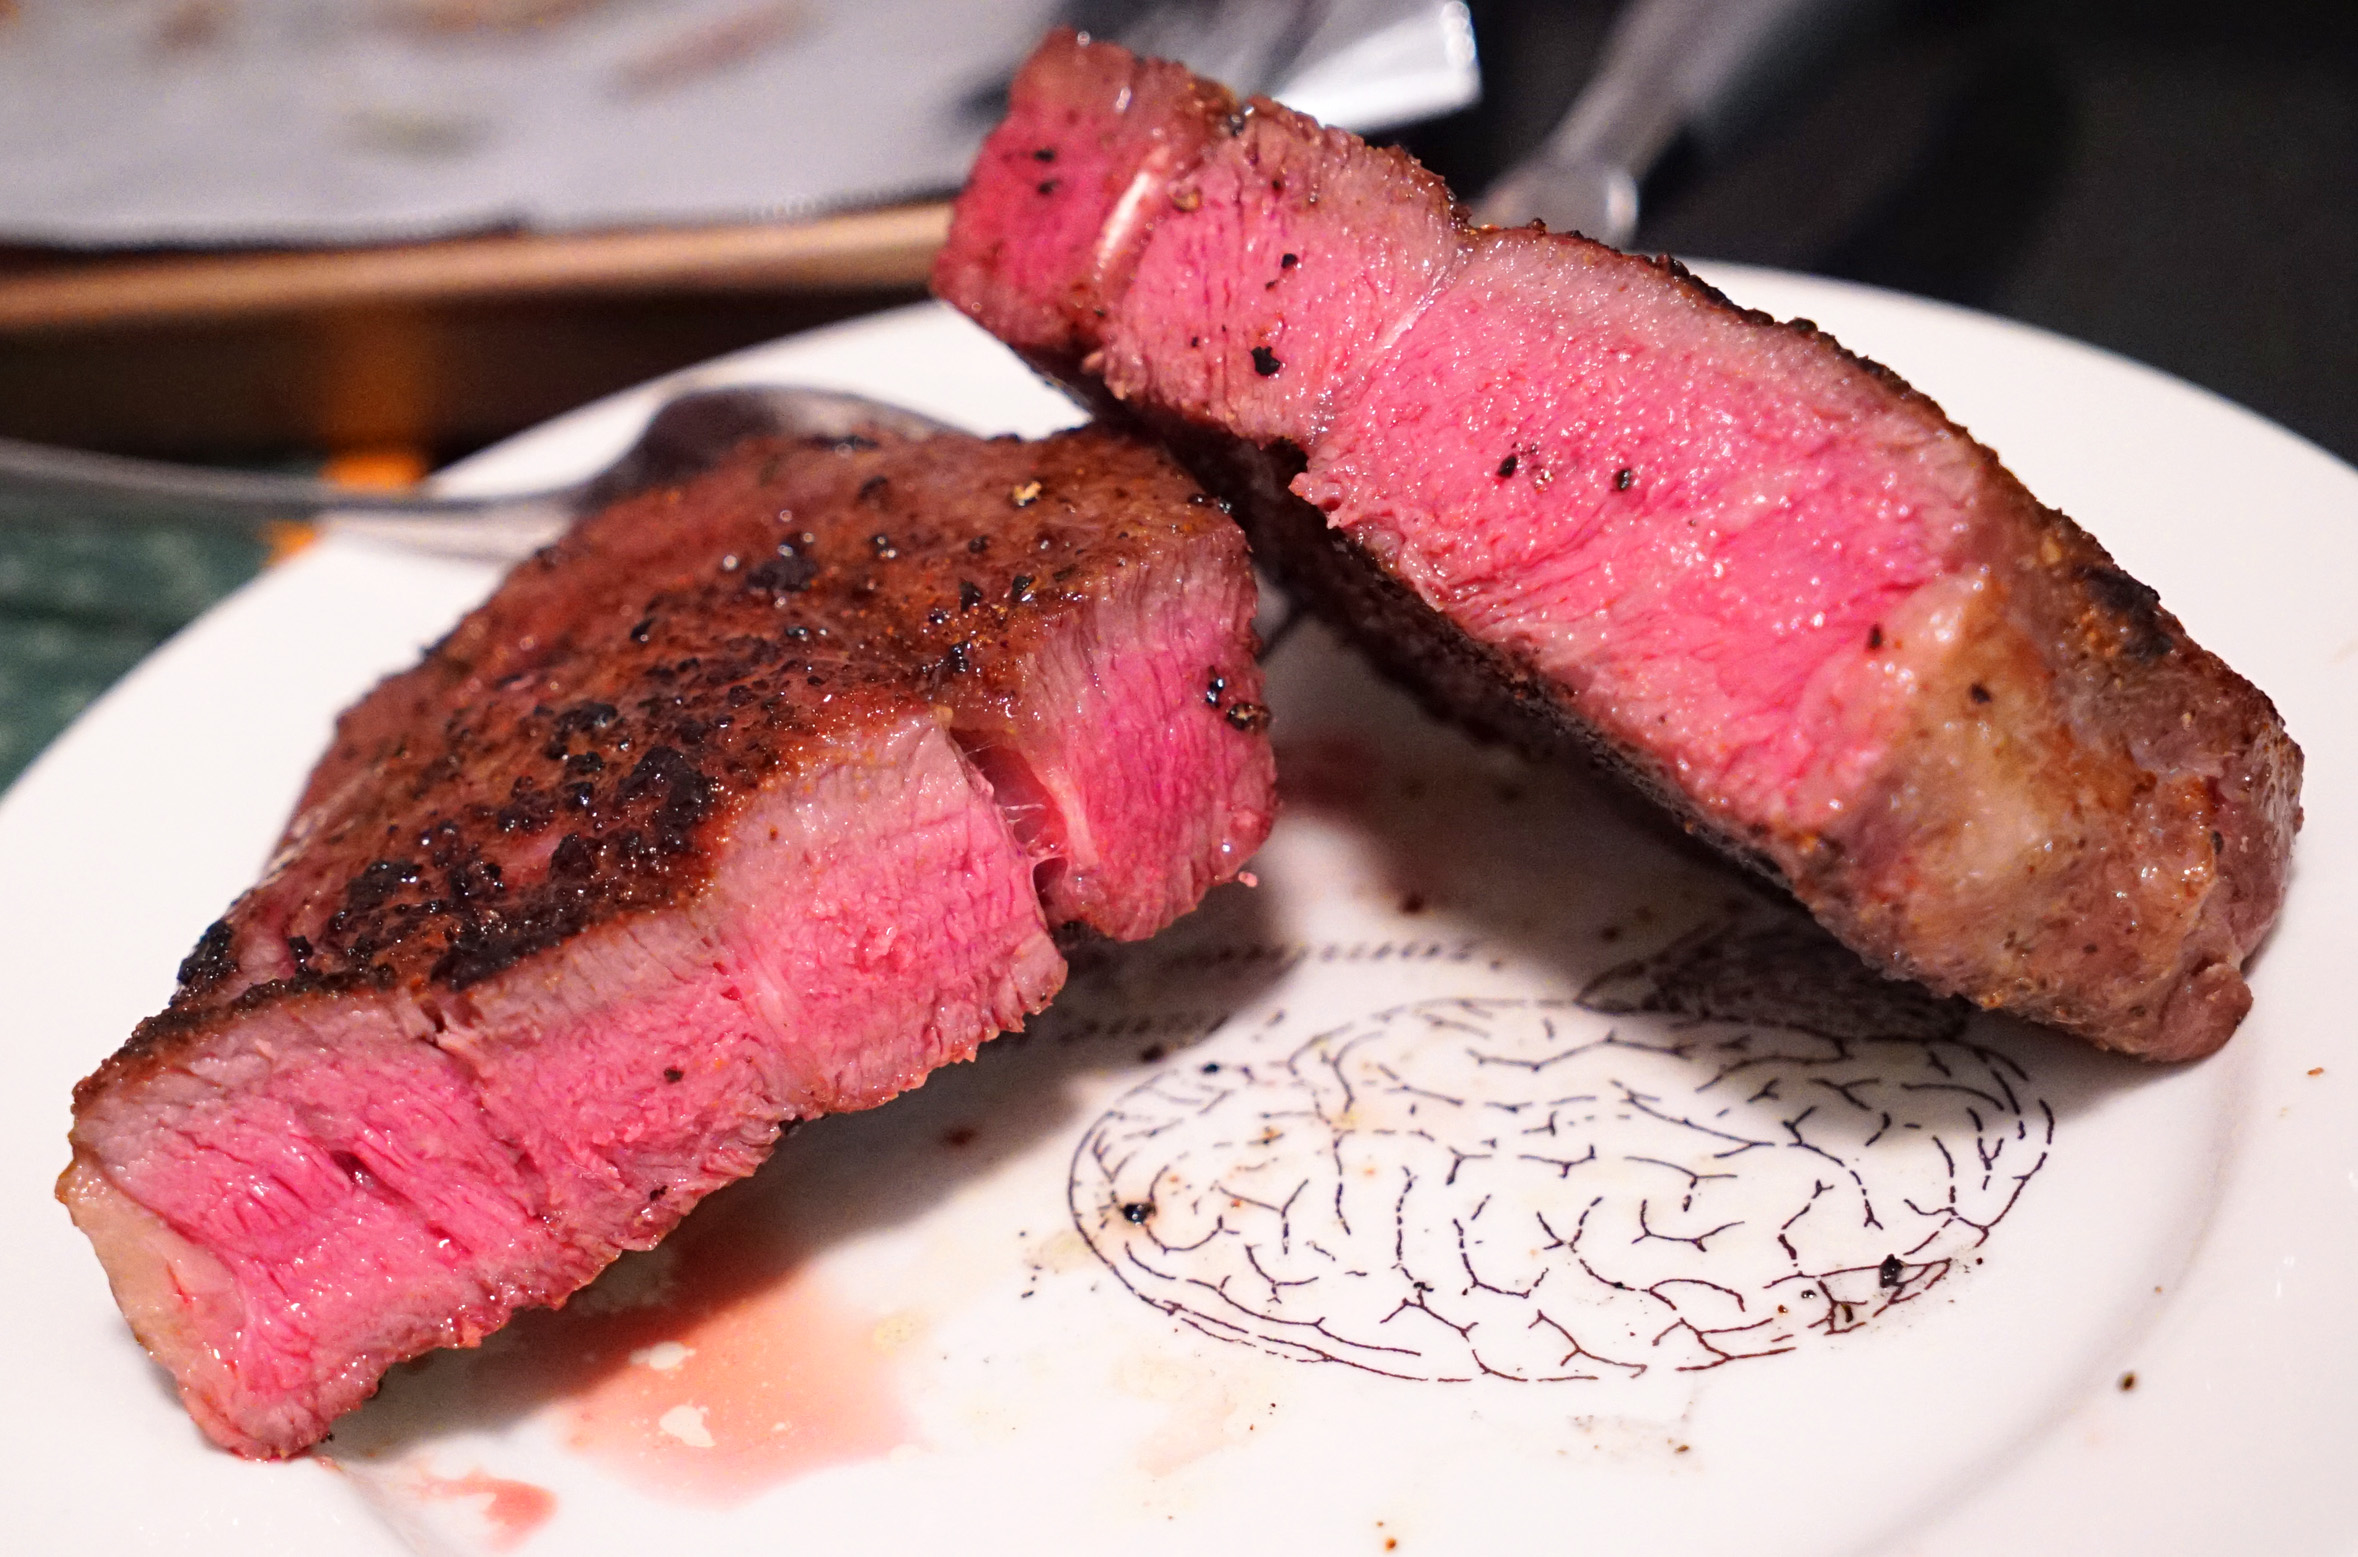
Some food scientist people were messing around and cooking strip steaks in a test kitchen; some cuts were thawed in a fridge overnight, and others were still frozen. The results stunned them. The steaks were cooked more evenly, with less “grey band” when cooked direct from frozen, and those steaks retained more juices (they lost less moisture during the cooking process). While they took longer to cook, they still browned at nearly the same rate as a thawed steak.
I think a major issue that home cooks with have here is that it may be difficult to prevent ice crystals to form on the outside of the meat during the freezing process. When cooking, these ice crystals will melt into water or sublimate into water vapor. At that point you are either boiling or steaming the bottom of your steak in the pan, which is bad. When doing that, you won’t ever achieve the crust that we carnivores all desire.
The scientists attempt to solve this problem by freezing the steaks in a special way at first, uncovered and flat. Once they’re frozen, they are then wrapped and bagged for storage. If you’re going to attempt this you will want to be very careful to replicate the freezing technique that the scientists utilized, to avoid excessive ice crystals from forming on the outside of the meat.
This method involves cooking in a pan that contains a good amount of oil. This is done to ensure that the nooks and crannies of the steak surfaces all get cooked the same amount, and it helps to displace any water that may melt out of ice crystals. Second, it also retains more heat, so you can bring the steak surface up to browning point faster, without overcooking any of the interview (which should still remain pretty cold since it is frozen). The result is less grey banding, and a more end-to-end pink steak interior.
You will still need to finish the steak in the oven, however, since the interior will likely be too rare or still frozen if you only use the pan.
In any event, here is my analysis:
Scientists’ Preferred Cuts for Frozen Steak Cooking: Strip
Pros
No waiting for steak to thaw or come to room temperature
Less meal planning needed ahead of time
Nice, even cook temp throughout
Cons
Difficult to avoid ice crystals
Complicated freezing technique
Still requires second step in the oven
Instructions
Refer to this link and the embedded video below for proper steak preparation and cooking instructions.
DIRECT ON COALS
I haven’t tested this method out myself yet, so you’ll have to take this with a grain of salt, as above, with the “Direct from Frozen” method. My first exposure to this method was when I saw Alton Brown discuss it on his blog. I was intrigued enough to include it here, but since I no longer have the ability to cook often with real wood, I have never tested this out.
Alton’s Preferred Cut for Coal Cooking: Skirt
Pros
Fast
Natural flavors
Cons
Covering in foil step essentially steams the meat
Potential for soot contamination
Instructions
I think the best bet here is to just follow the directions from Master Alton, since he’s a culinary wizard, and I’m a mere apprentice. One thing I’m apprehensive about, which I noted in the “cons” section, is the part where Alton wraps the hot steak in foil. This means the meat will cook in steam. He then tosses it back into the juices. All of this makes me think “wet steak,” and that turns me off.
___
For more specific recipes, as opposed to these more general methods of cooking, check out my recipe page.
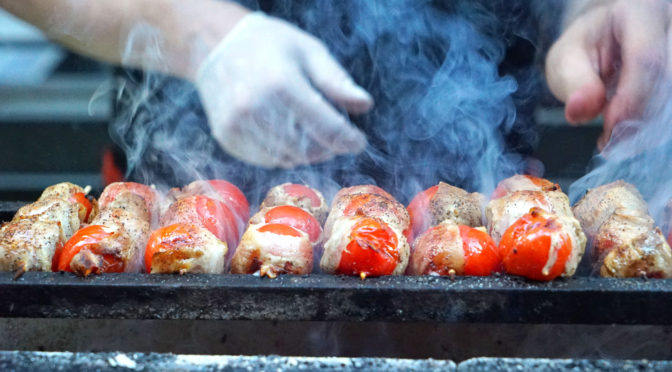
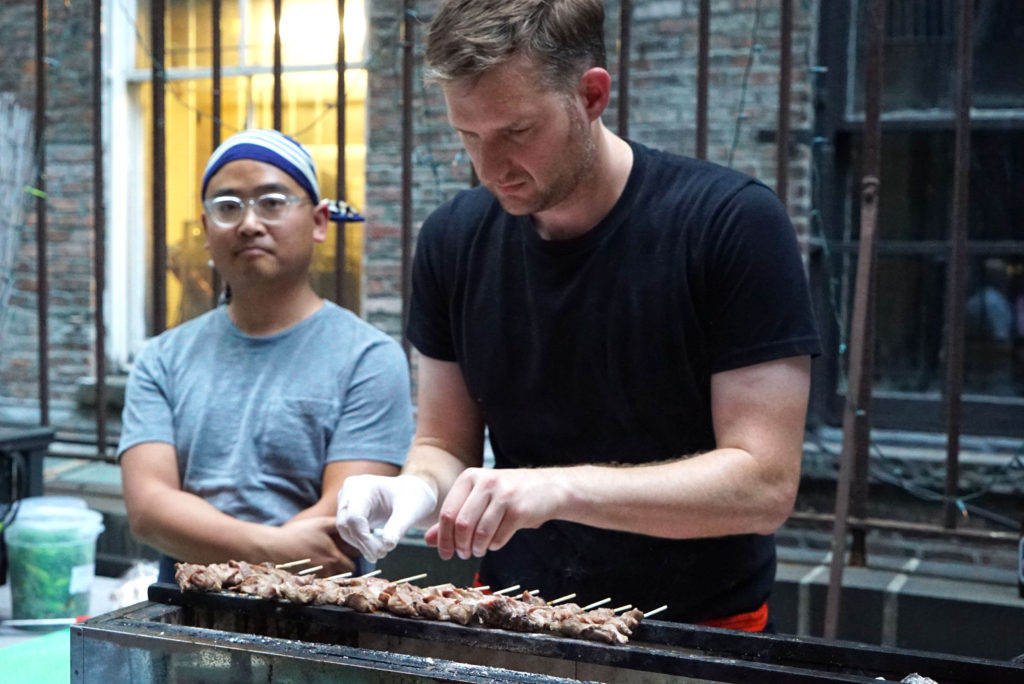
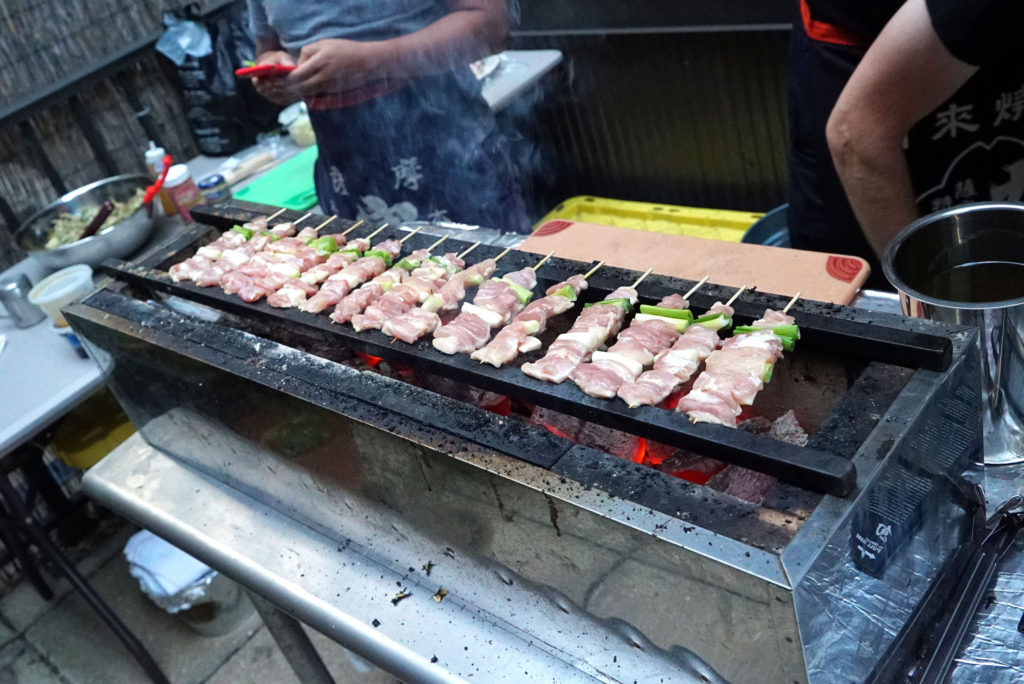
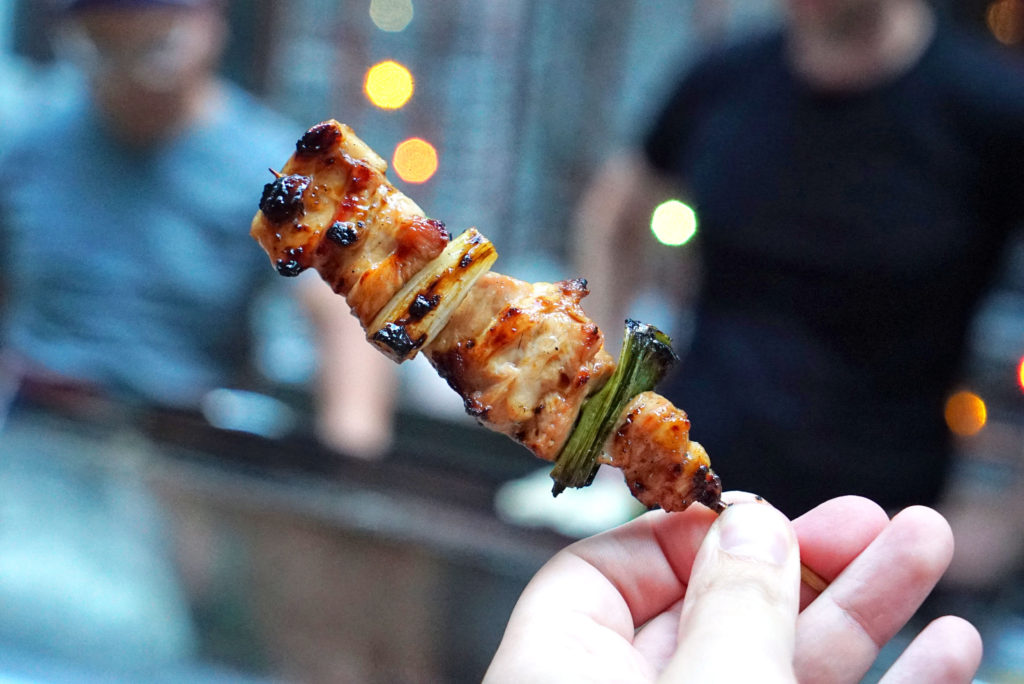
Yakitori By Neal is a Japanese style grilled chicken operation out of Brooklyn that pops up at various locations and events around the city, like Project Parlor and Sumo Stew (at The Brooklyn Kitchen).
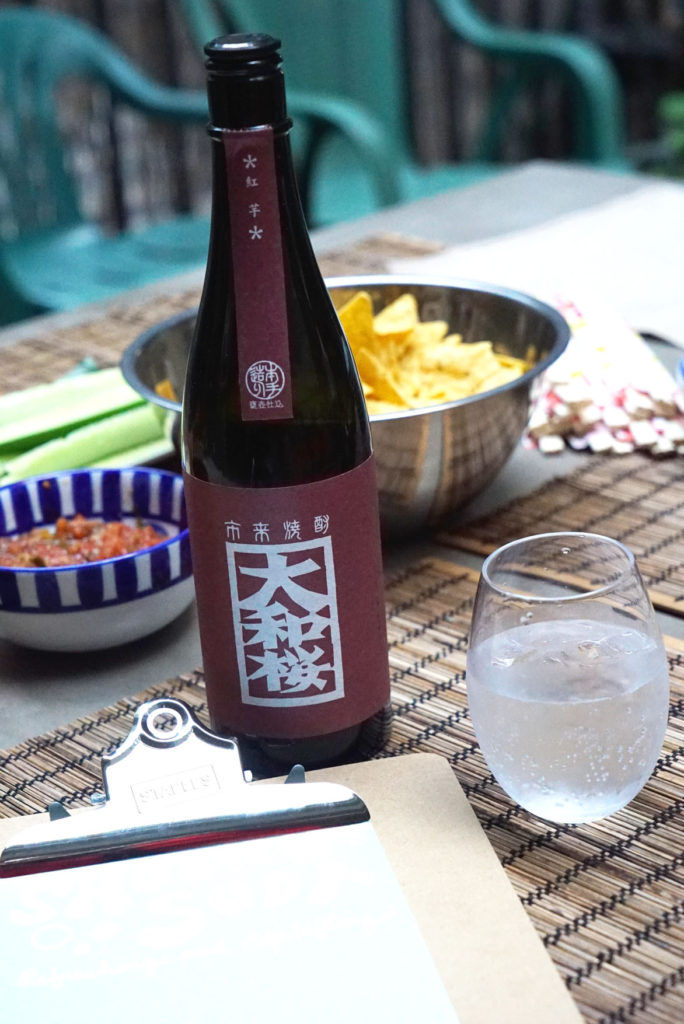
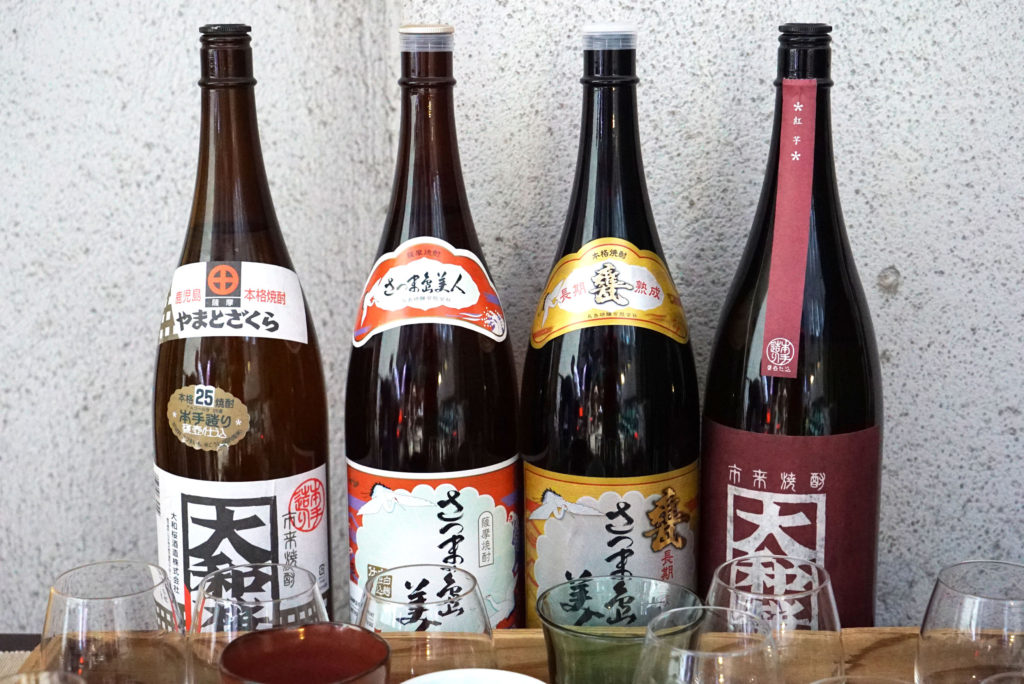
I had the pleasure of tasting some of Neal’s delicious grillings at a private backyard yakitori and shochu party. Guests sampled four different bottles of shochu while nibbling on tasty yakitori skewers.
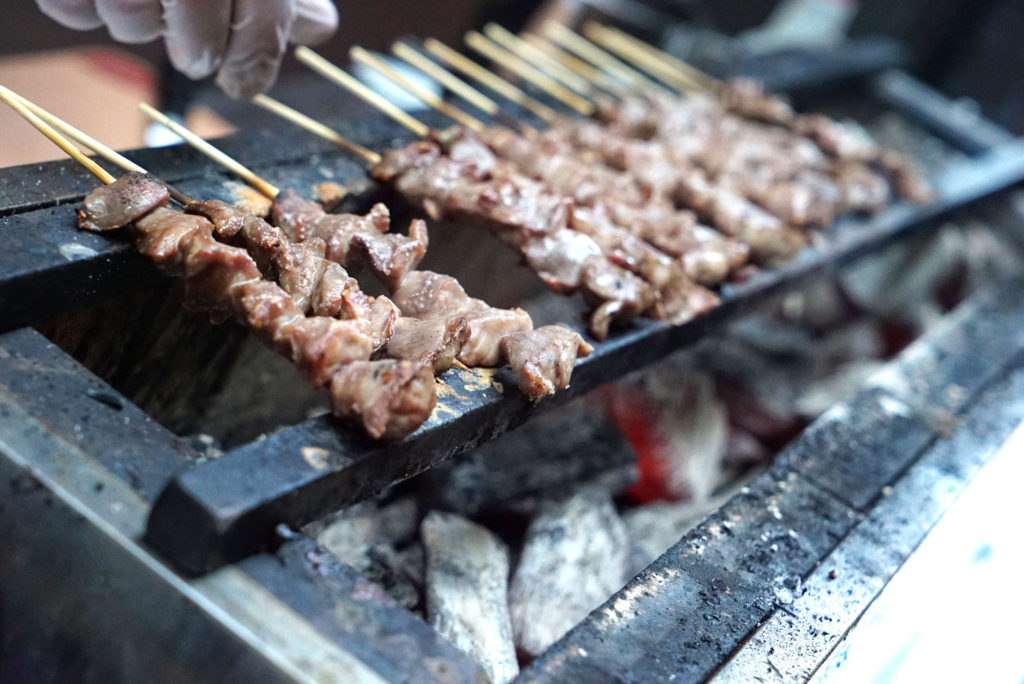
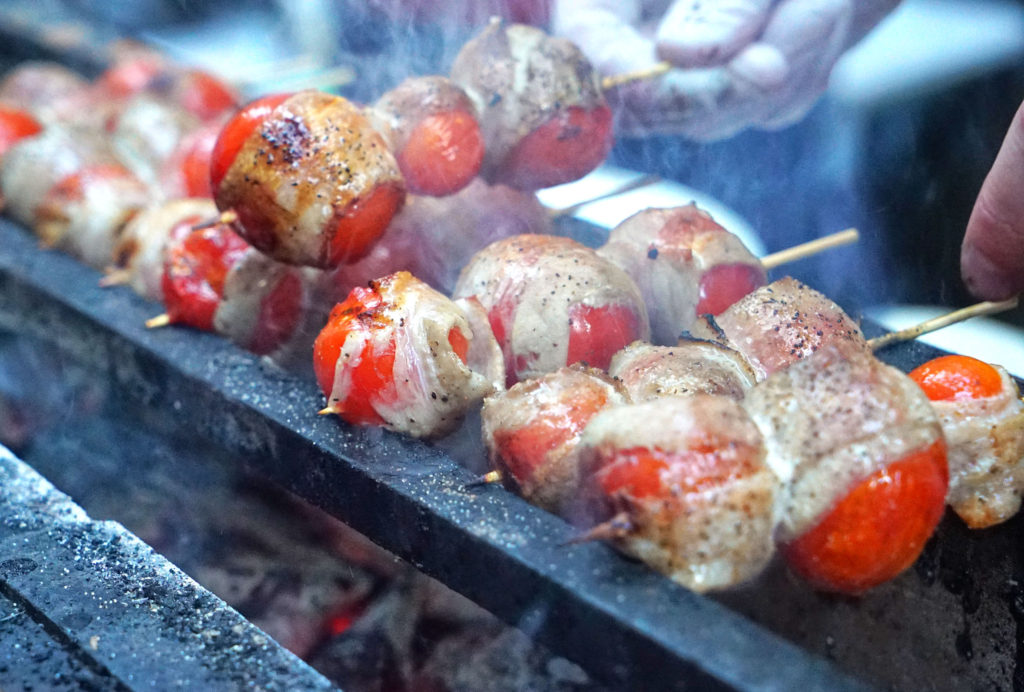
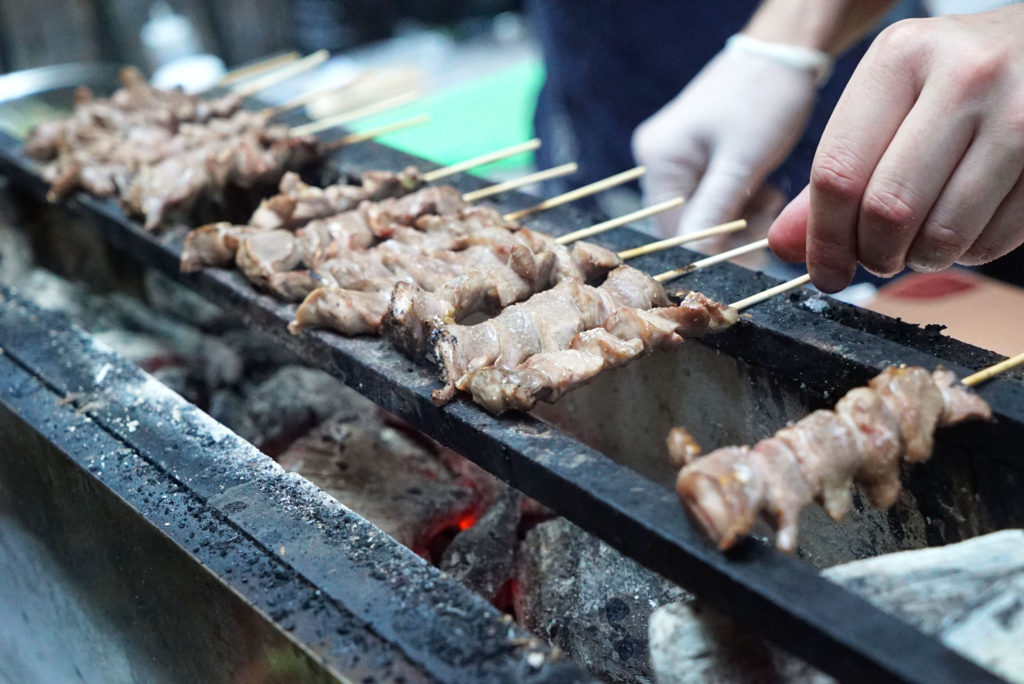
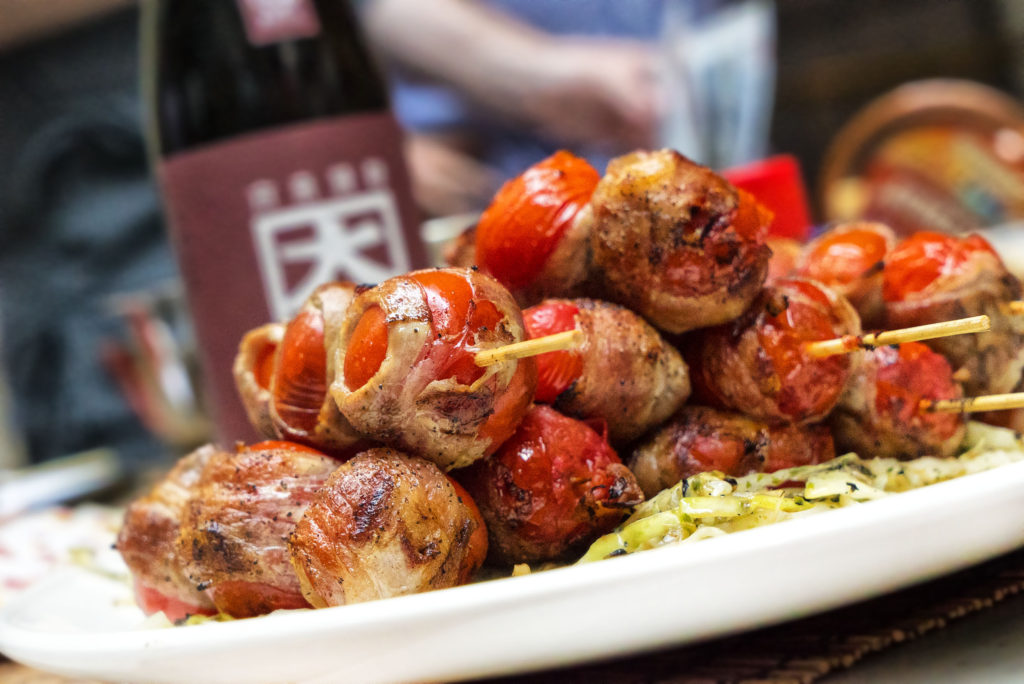
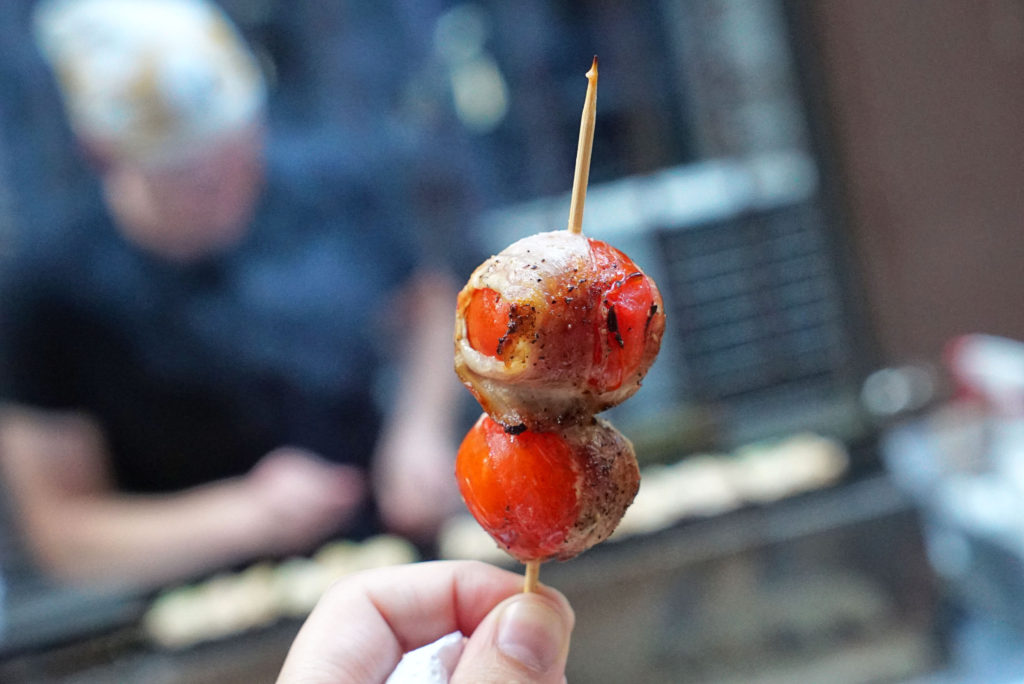
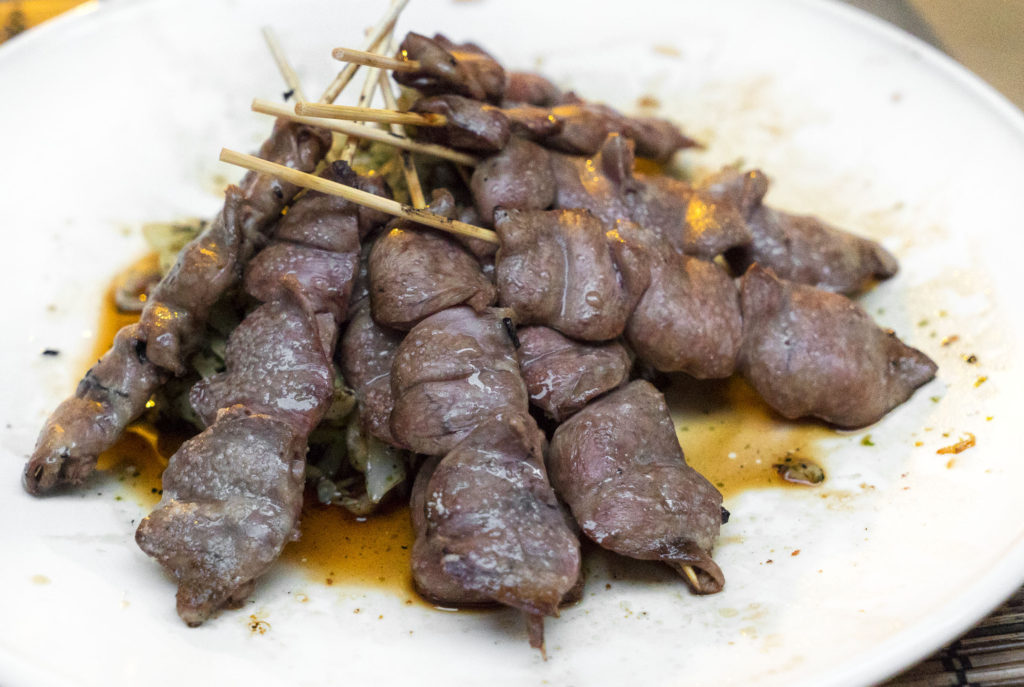
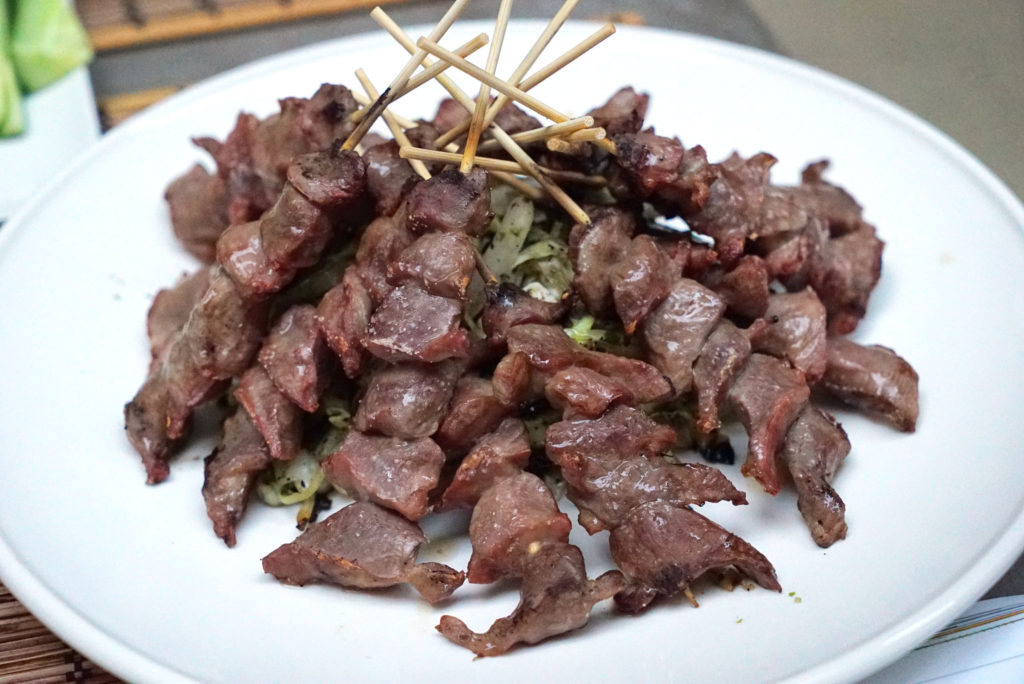
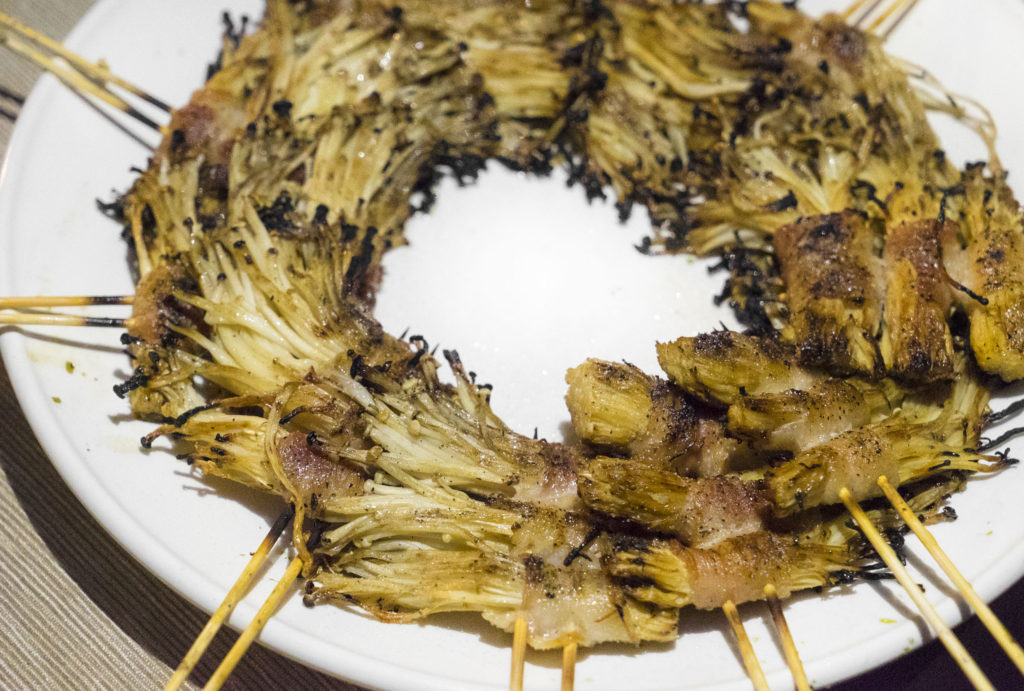
We had chicken gizzard, heart, and thigh, and shishito peppers, bacon wrapped tomatoes, bacon wrapped mushrooms, pork belly and hamachi (both belly and filet).
Everything from the grill was really delicious; the meats were masterfully seasoned and had a great, smoky charcoal flavor.
The shochu bottles varied in intensity and character. Two had the distinct flavor of mezcal, but with a more mellow, rounded and mild finish. These were great for drinking on the rocks or with soda.
The other two, which were aged three and five years, were remarkably smooth, clean and sip-able. One was so light in flavor that it was almost like water, yet it had 25% alcohol.
YAKITORI BY NEAL
Various Pop-Up Locations
Brooklyn, NY
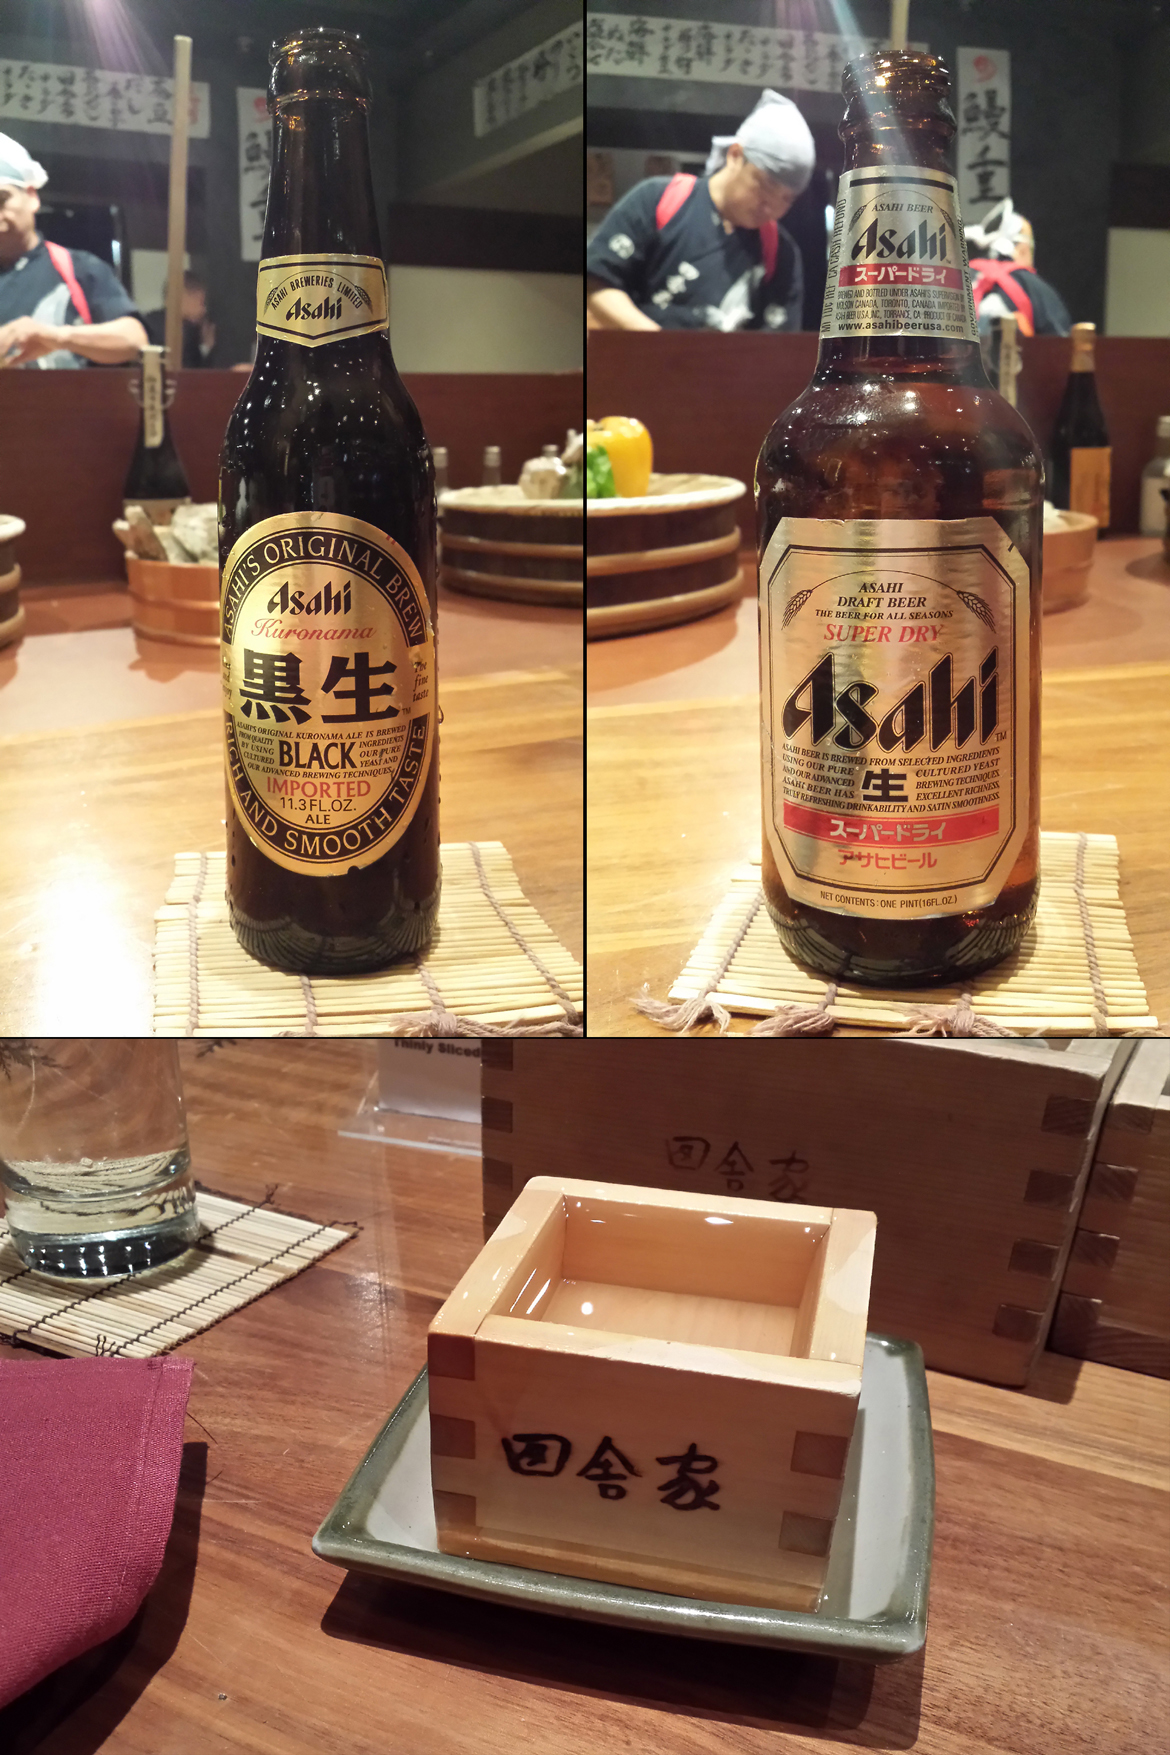
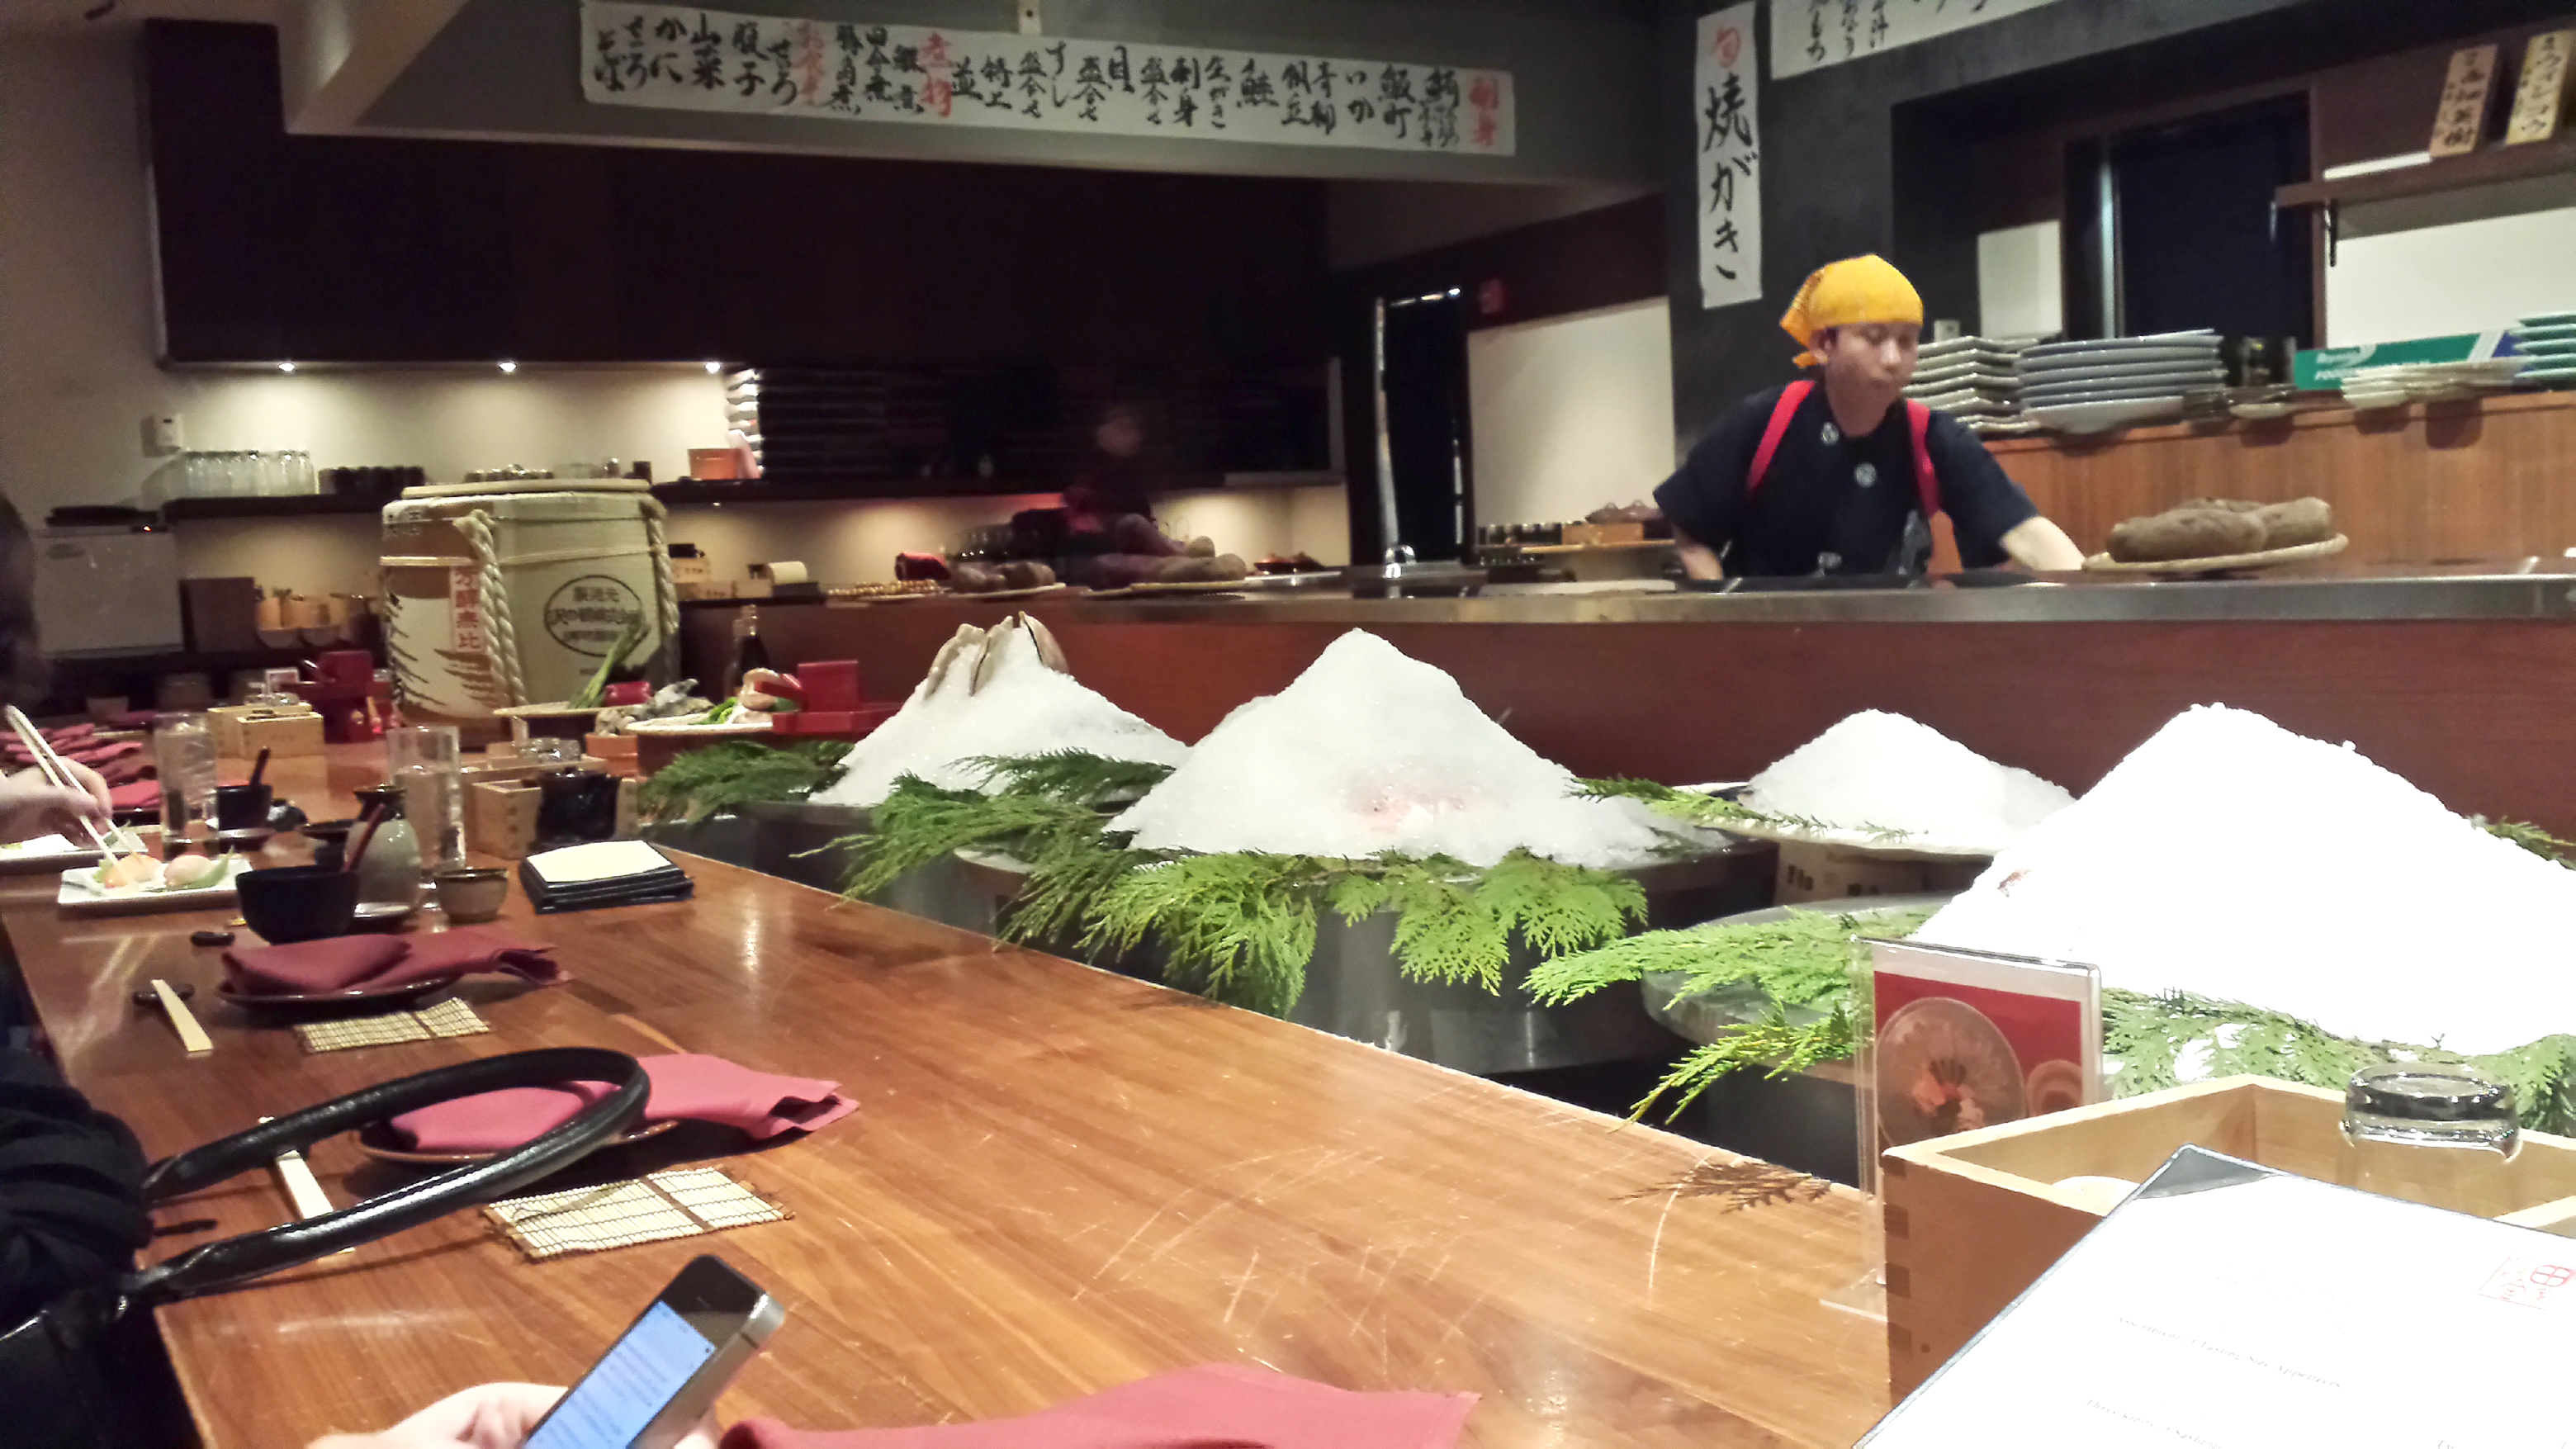
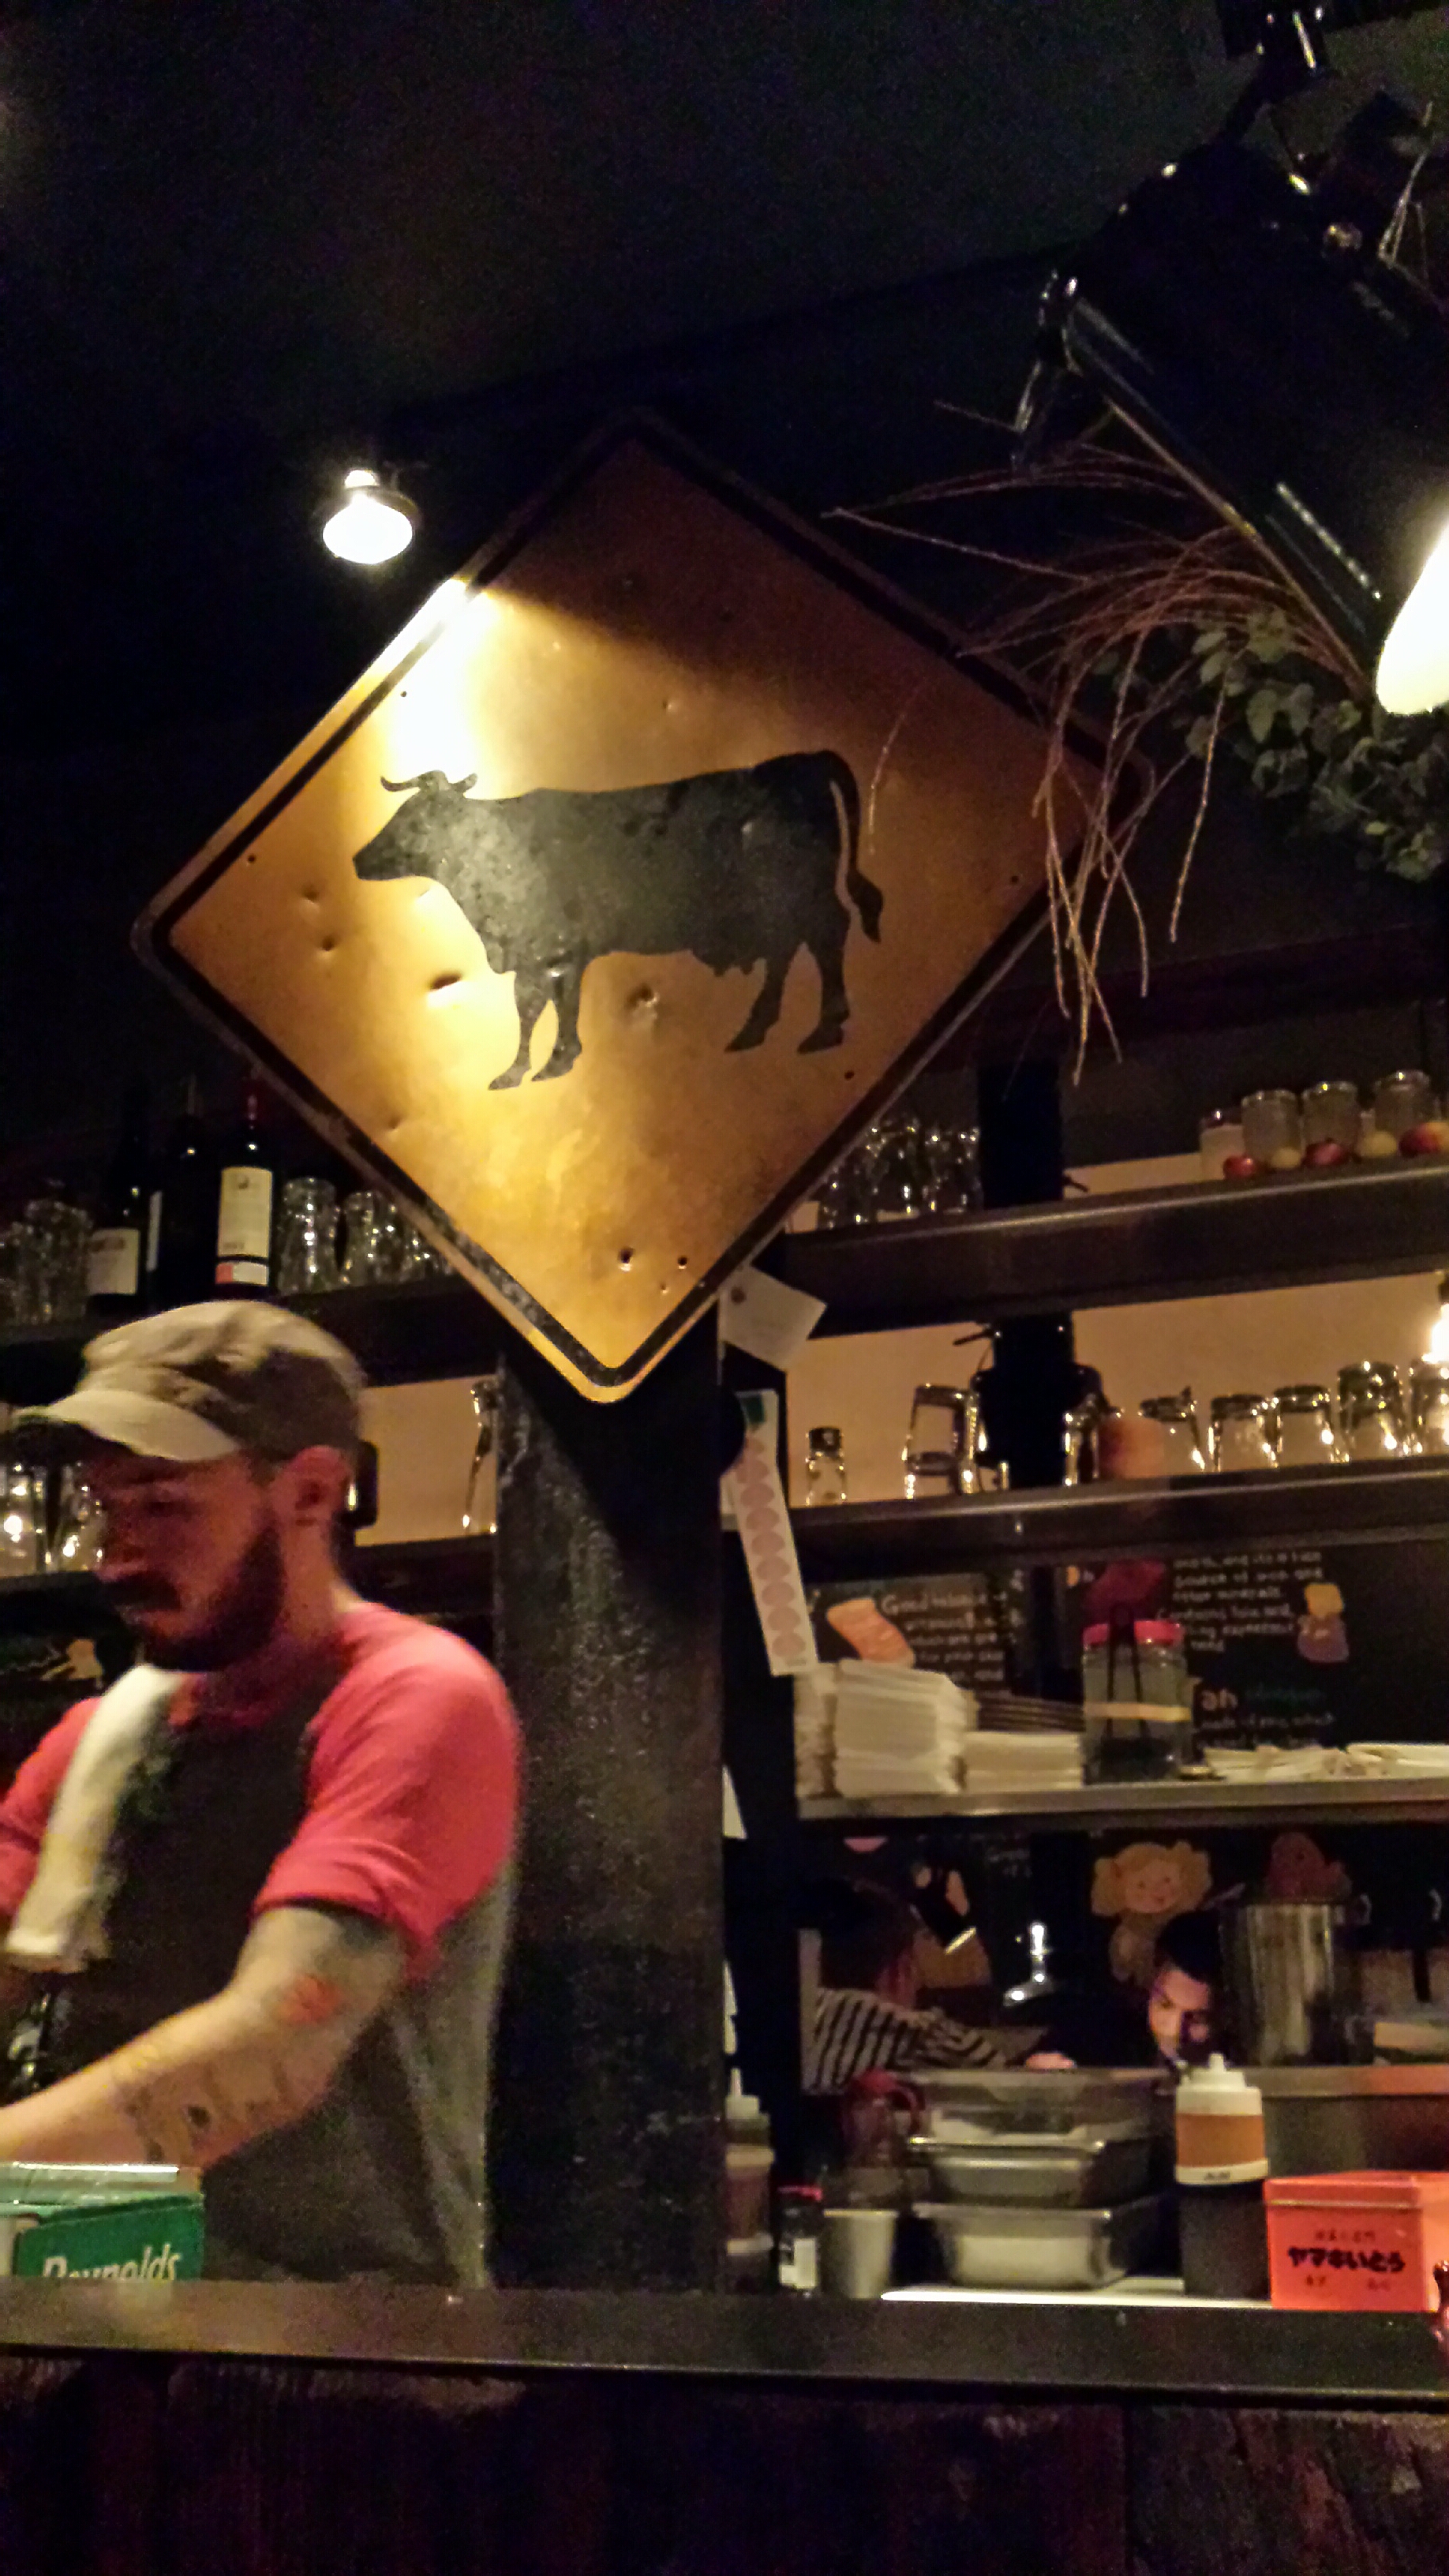
Inakaya gets some flack for being a big, thematic Japanese joint that’s right near the armpit of NYC, Port Authority. The area is essentially a wretched hive of scum and villainy, the likes of which make the Mos Isley Cantina look like a comforting, safe place.
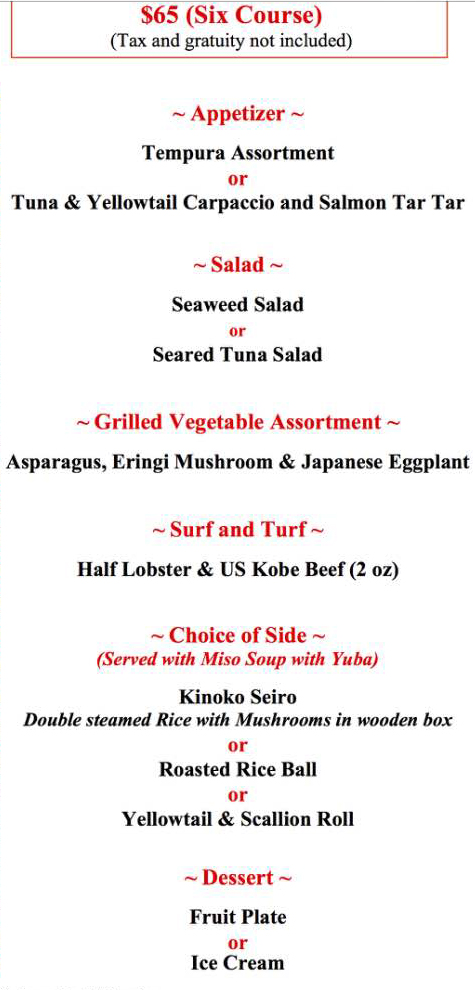
But the restaurant? Really nice. I was thoroughly impressed with the six course tasting menu for two that my wife scored for less than the price of one.
We essentially tried one of each, with the exception of the roasted rice ball, which looked delicious.
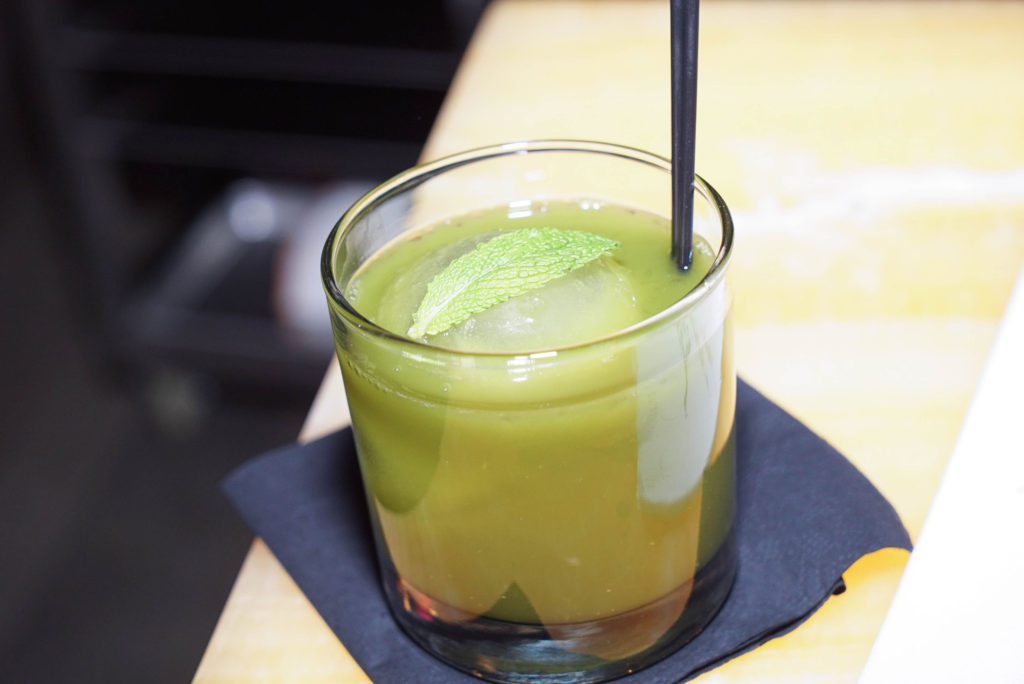
We started with drinks. I guzzled down these two Asahi beers, a dark and the super dry, while my wife sipped on a traditional box o’ sake.
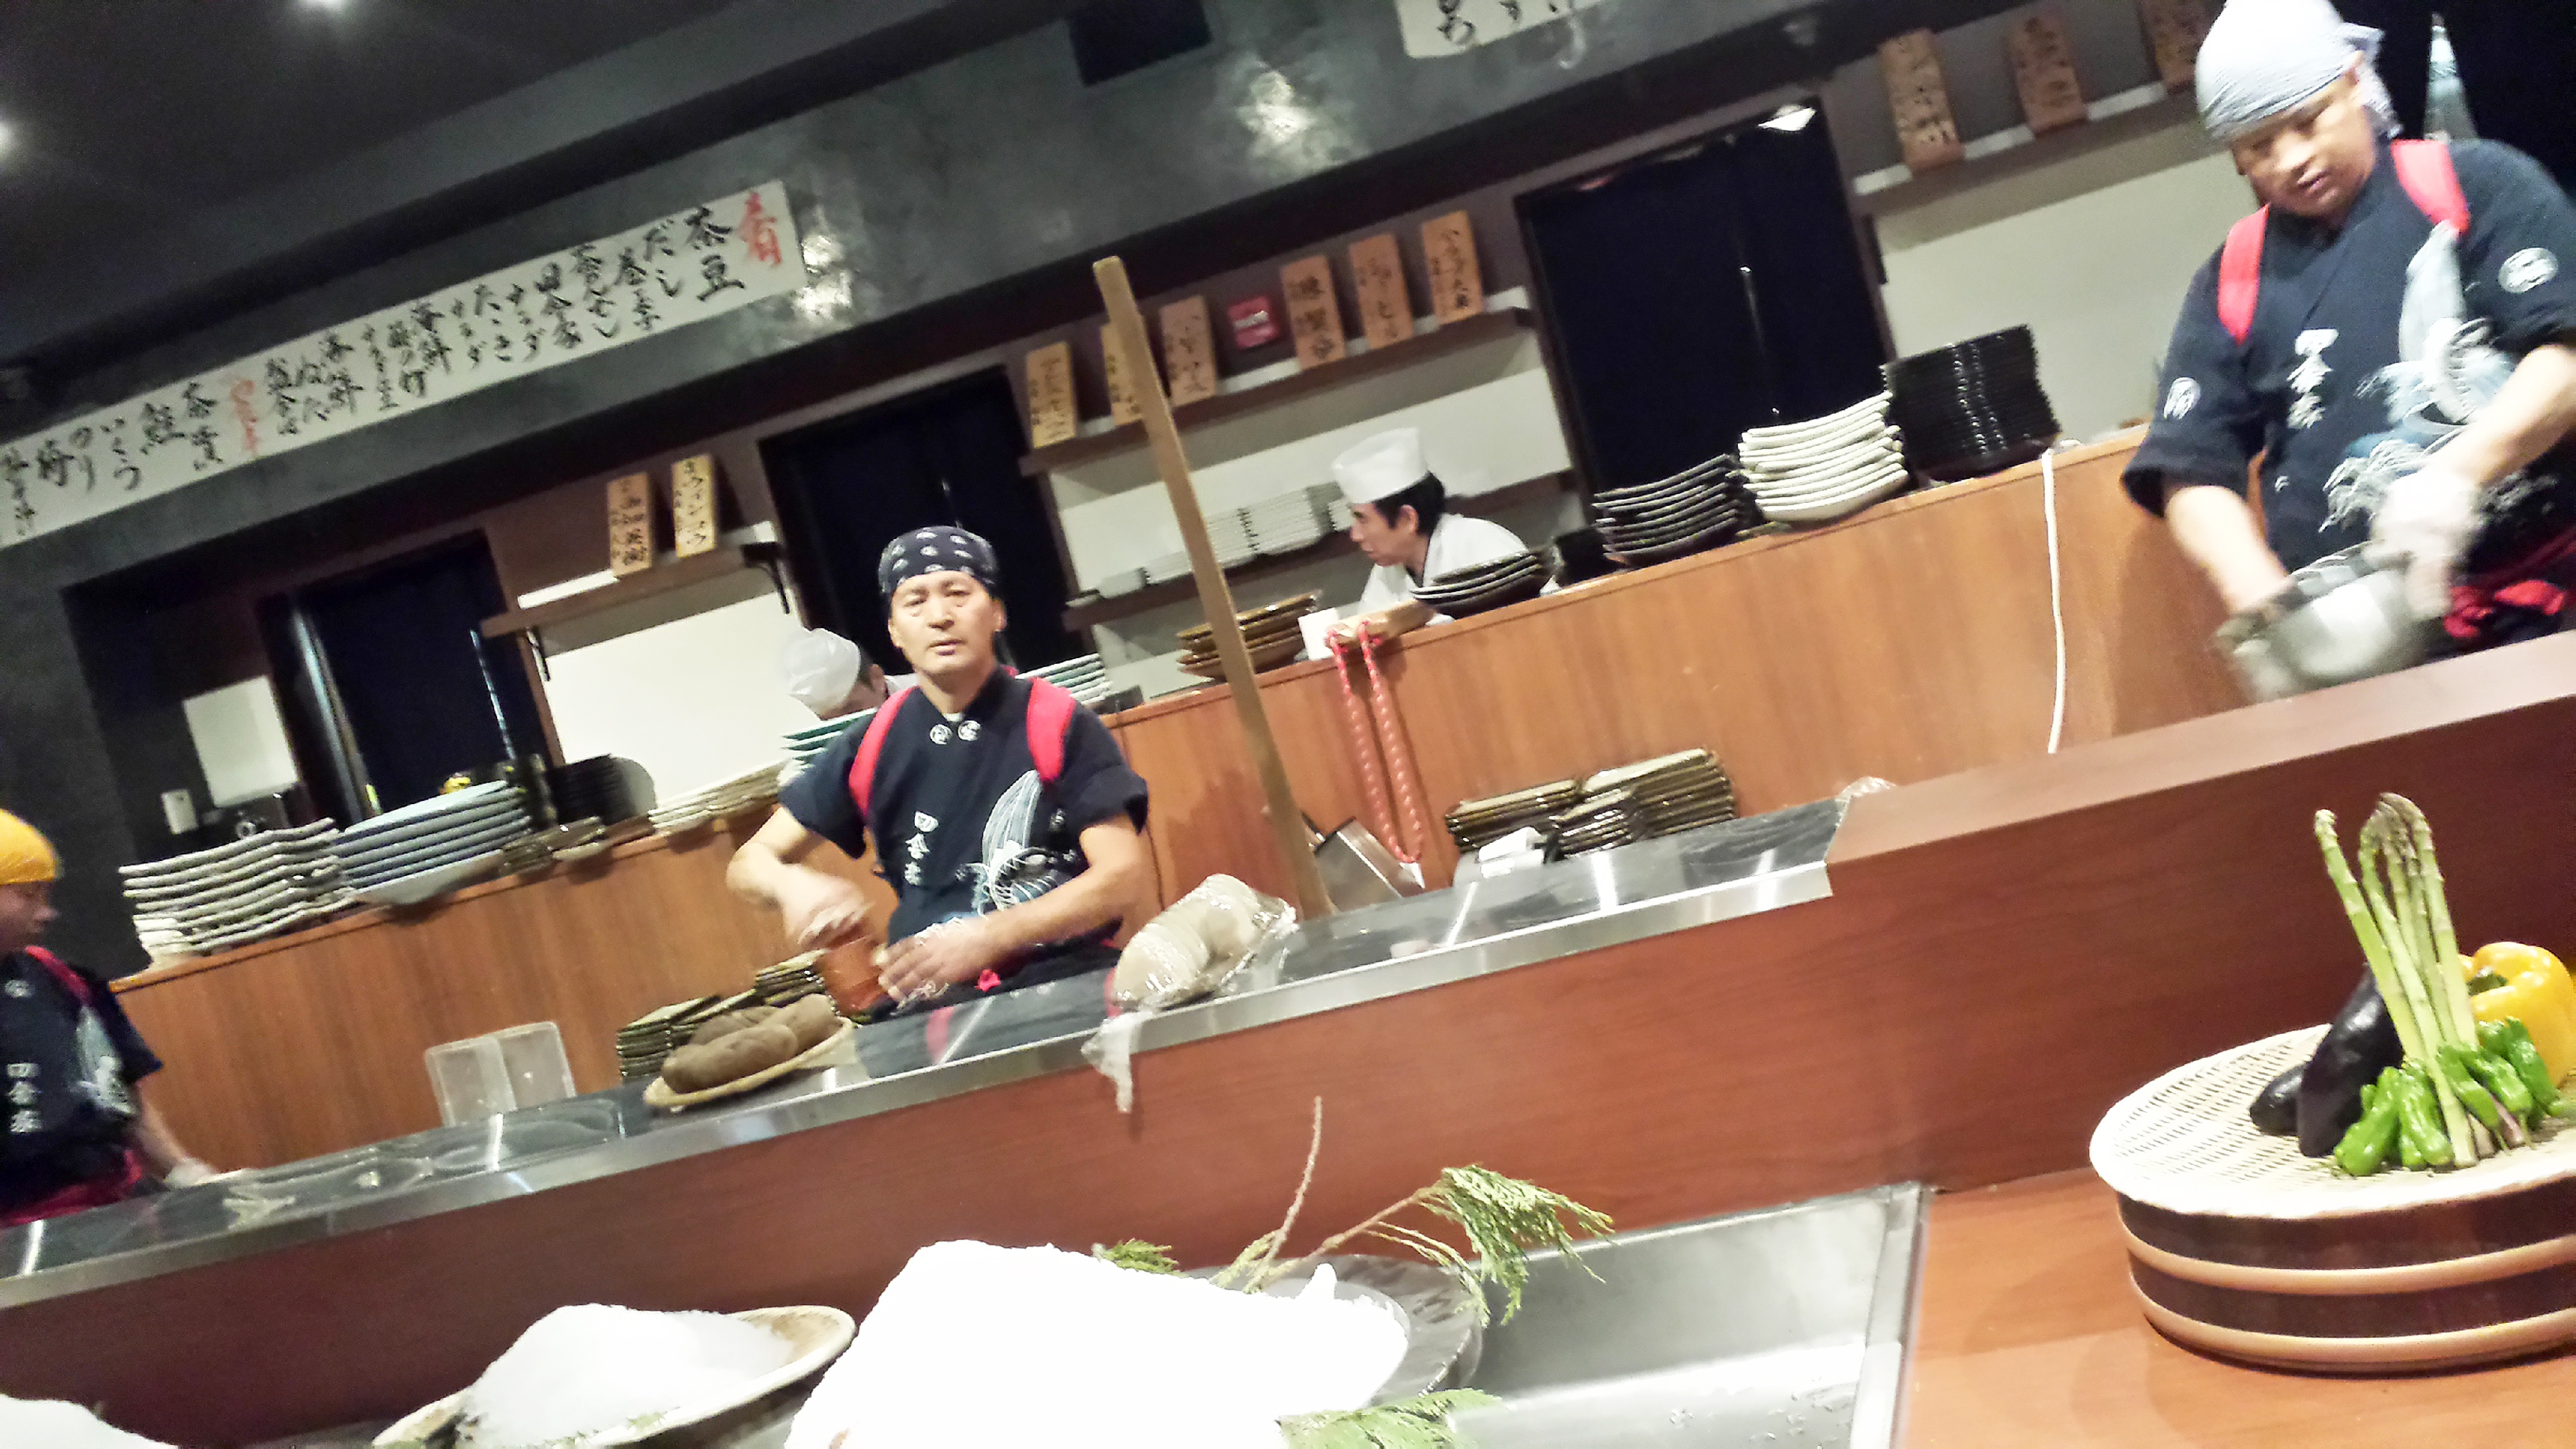
I loved the fact that the guys cooking behind the bar would serve up each drink or food course on a long wooden paddle that they stretched out across the bar table. Pretty fucking mint:
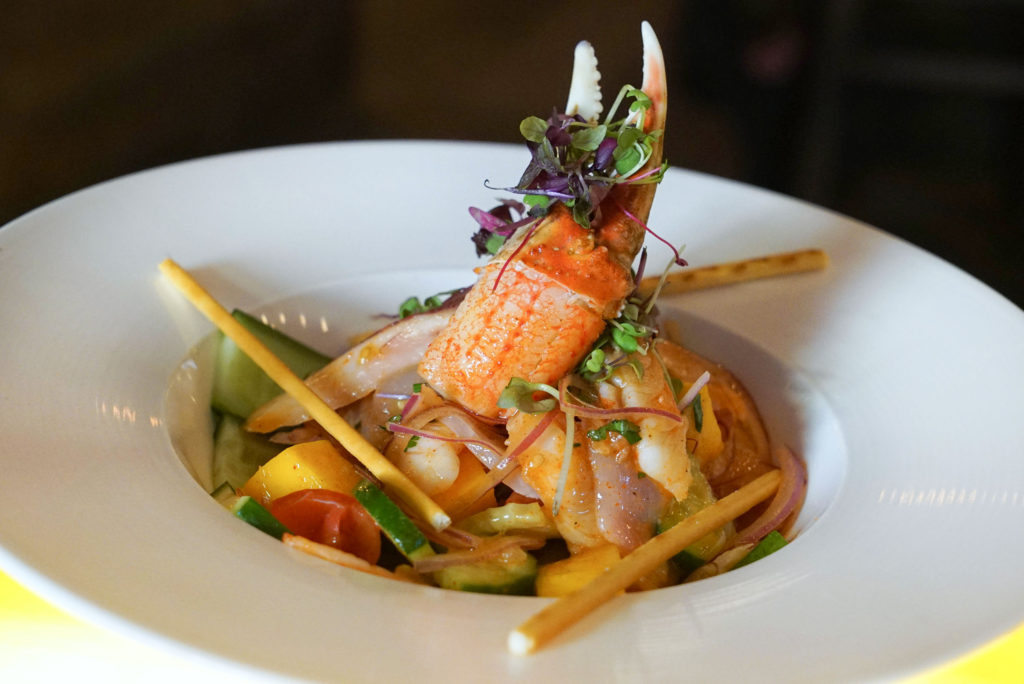
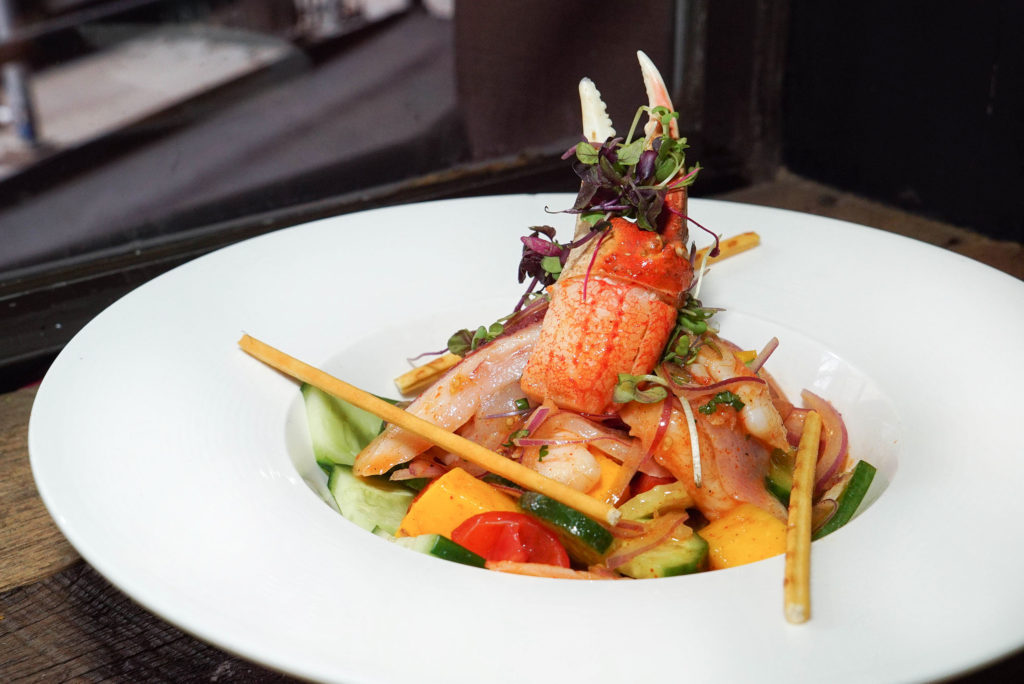
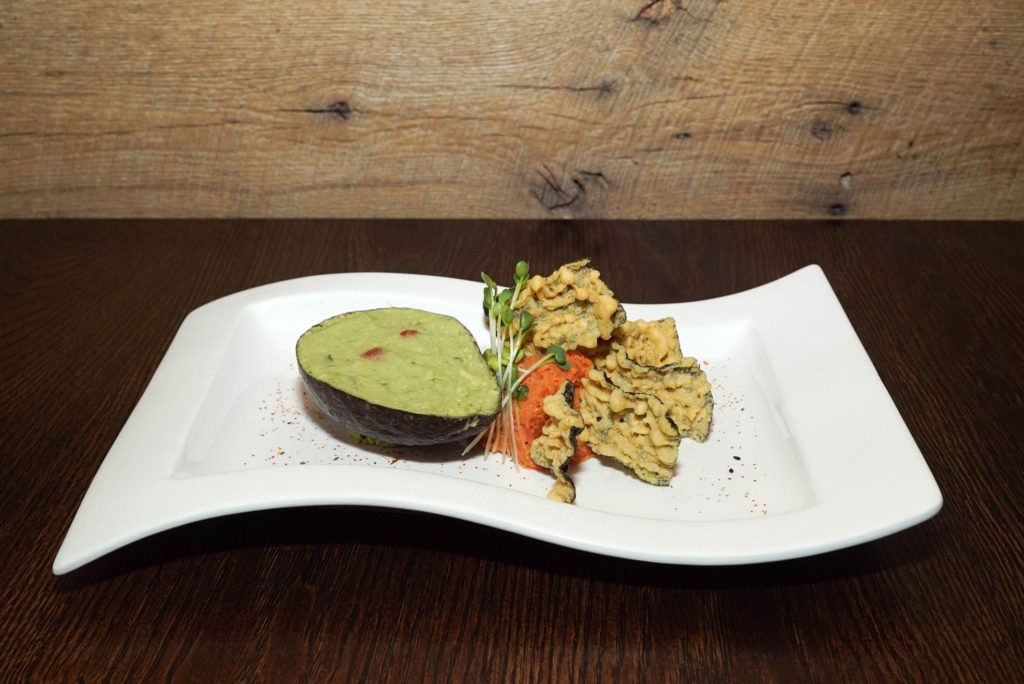
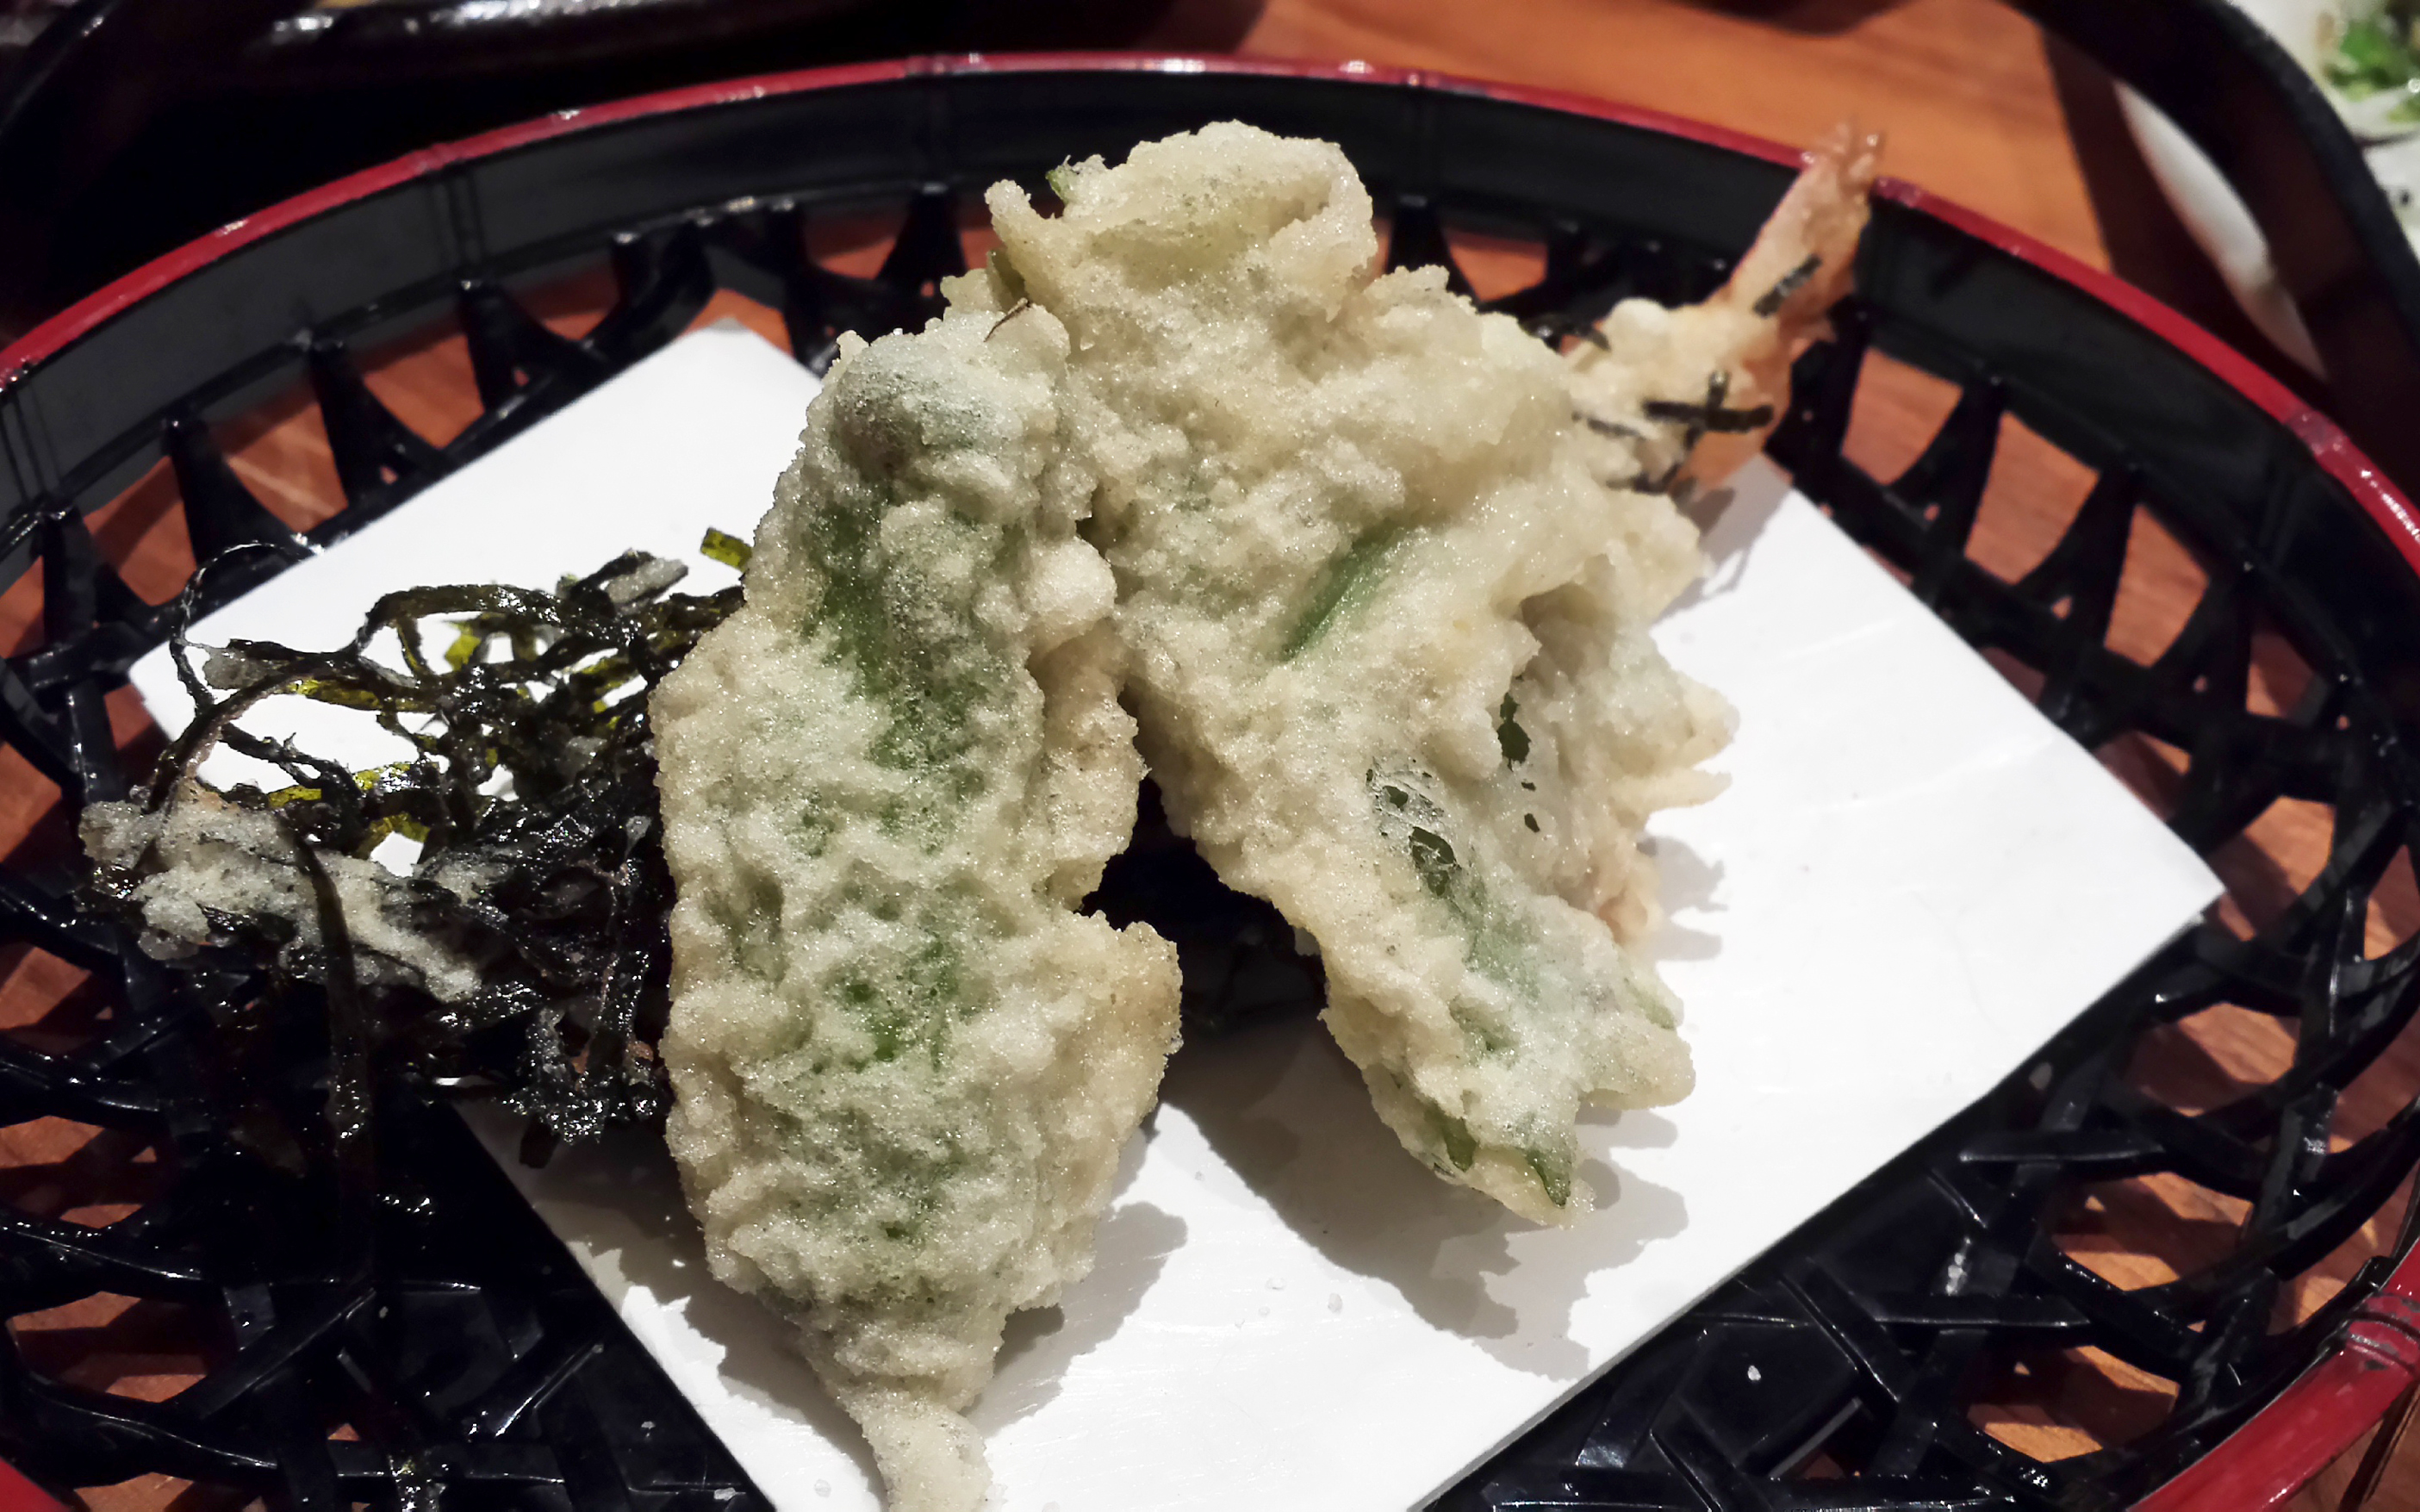
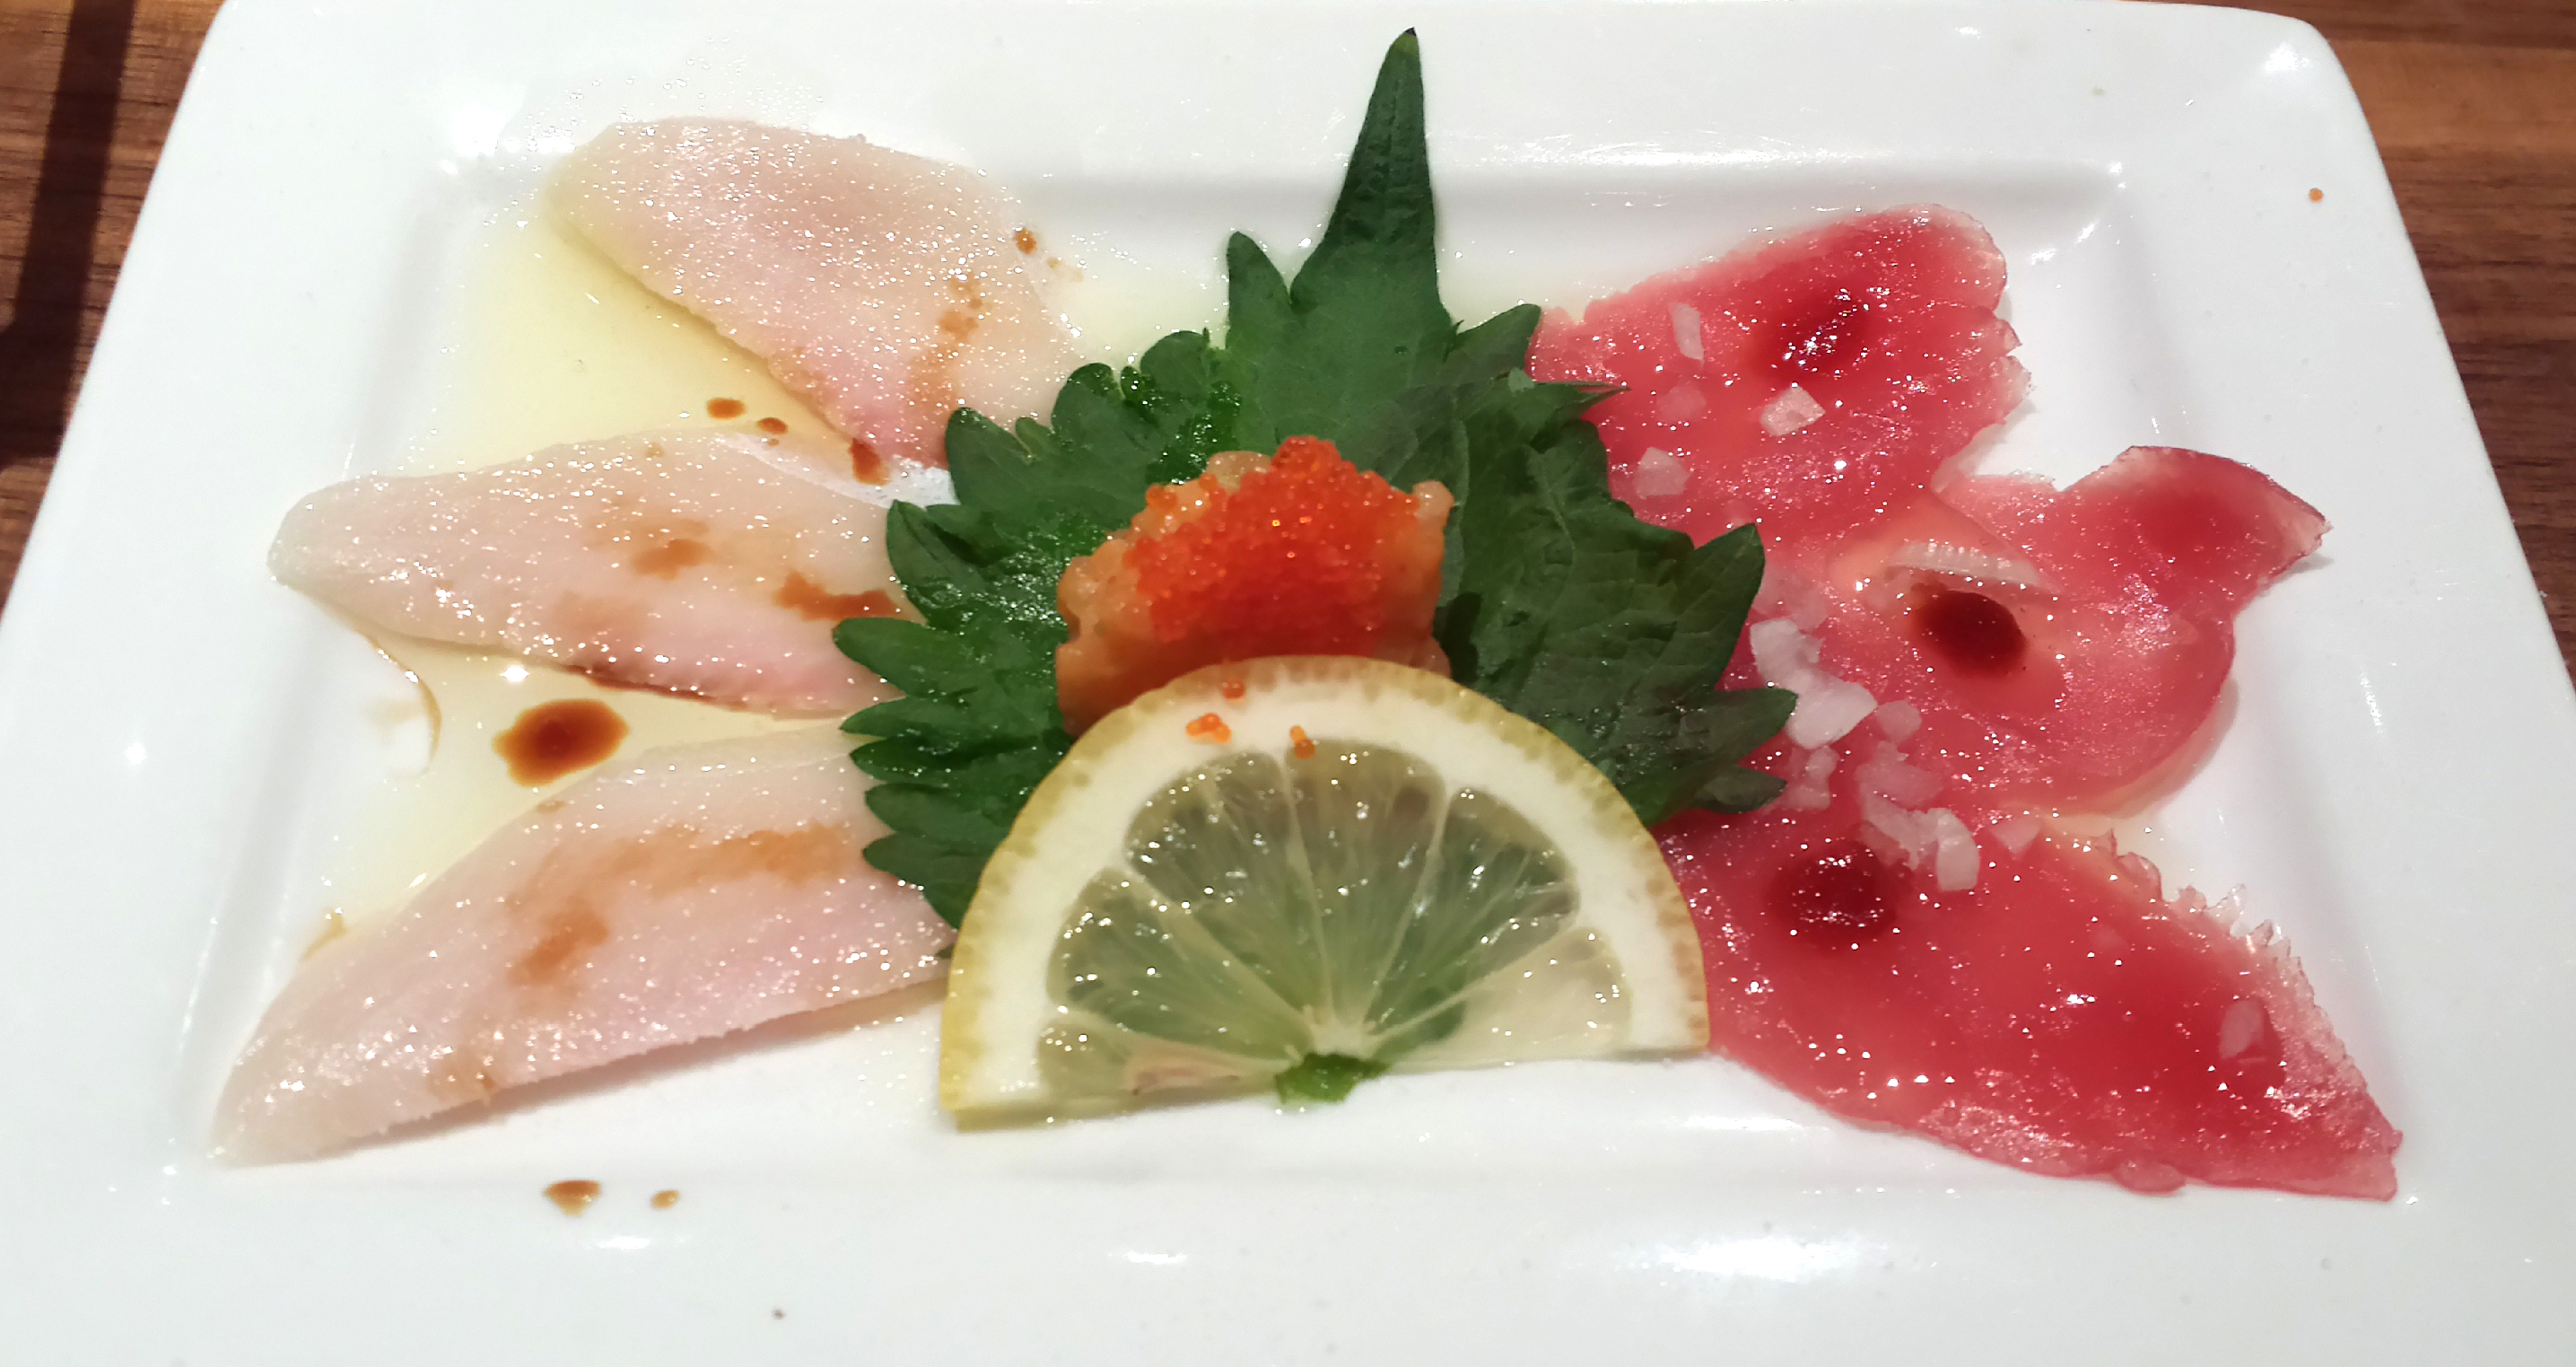
Starters were the tempura (shishito pepper, fish, and shrimp with shredded nori) and the tuna and yellow tail carpaccio with salmon tartare. These were delicious. The tempura was perfectly crispy and light, and the fish dish was garnished with paper-thin salt flakes that really made the flavors pop.
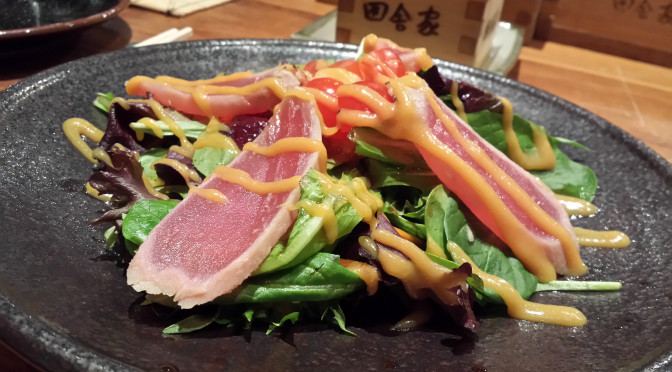
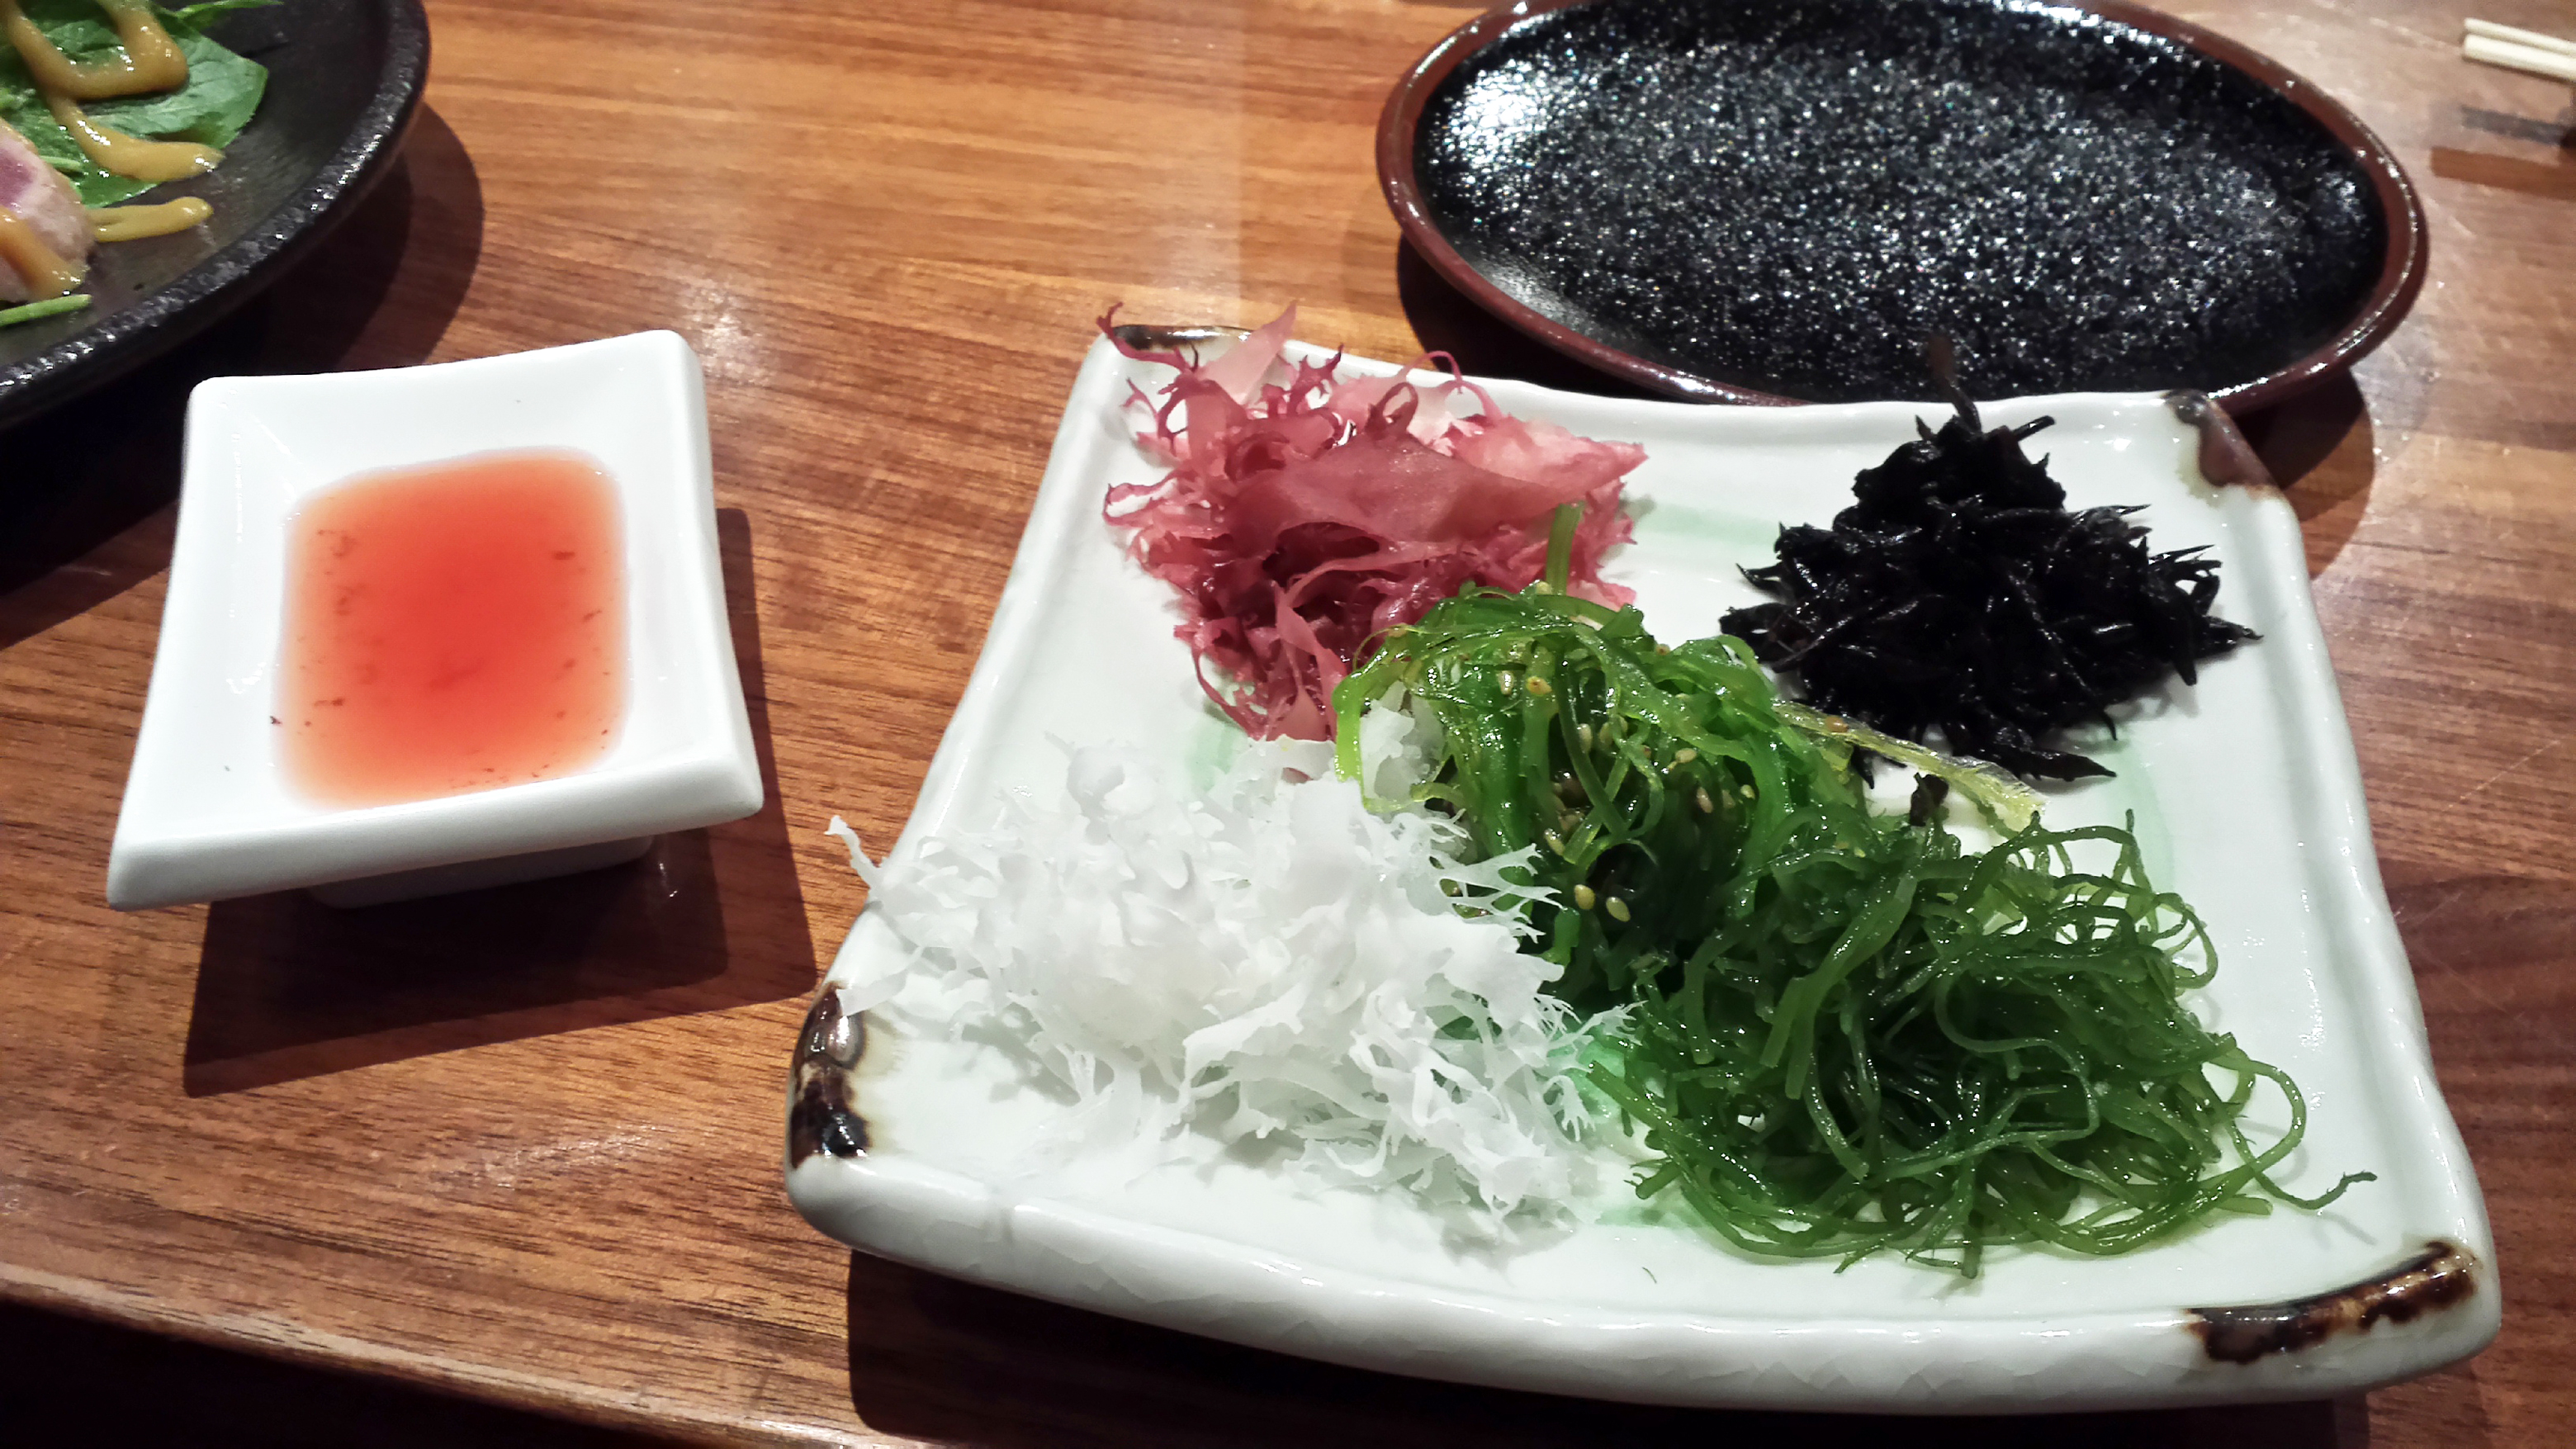
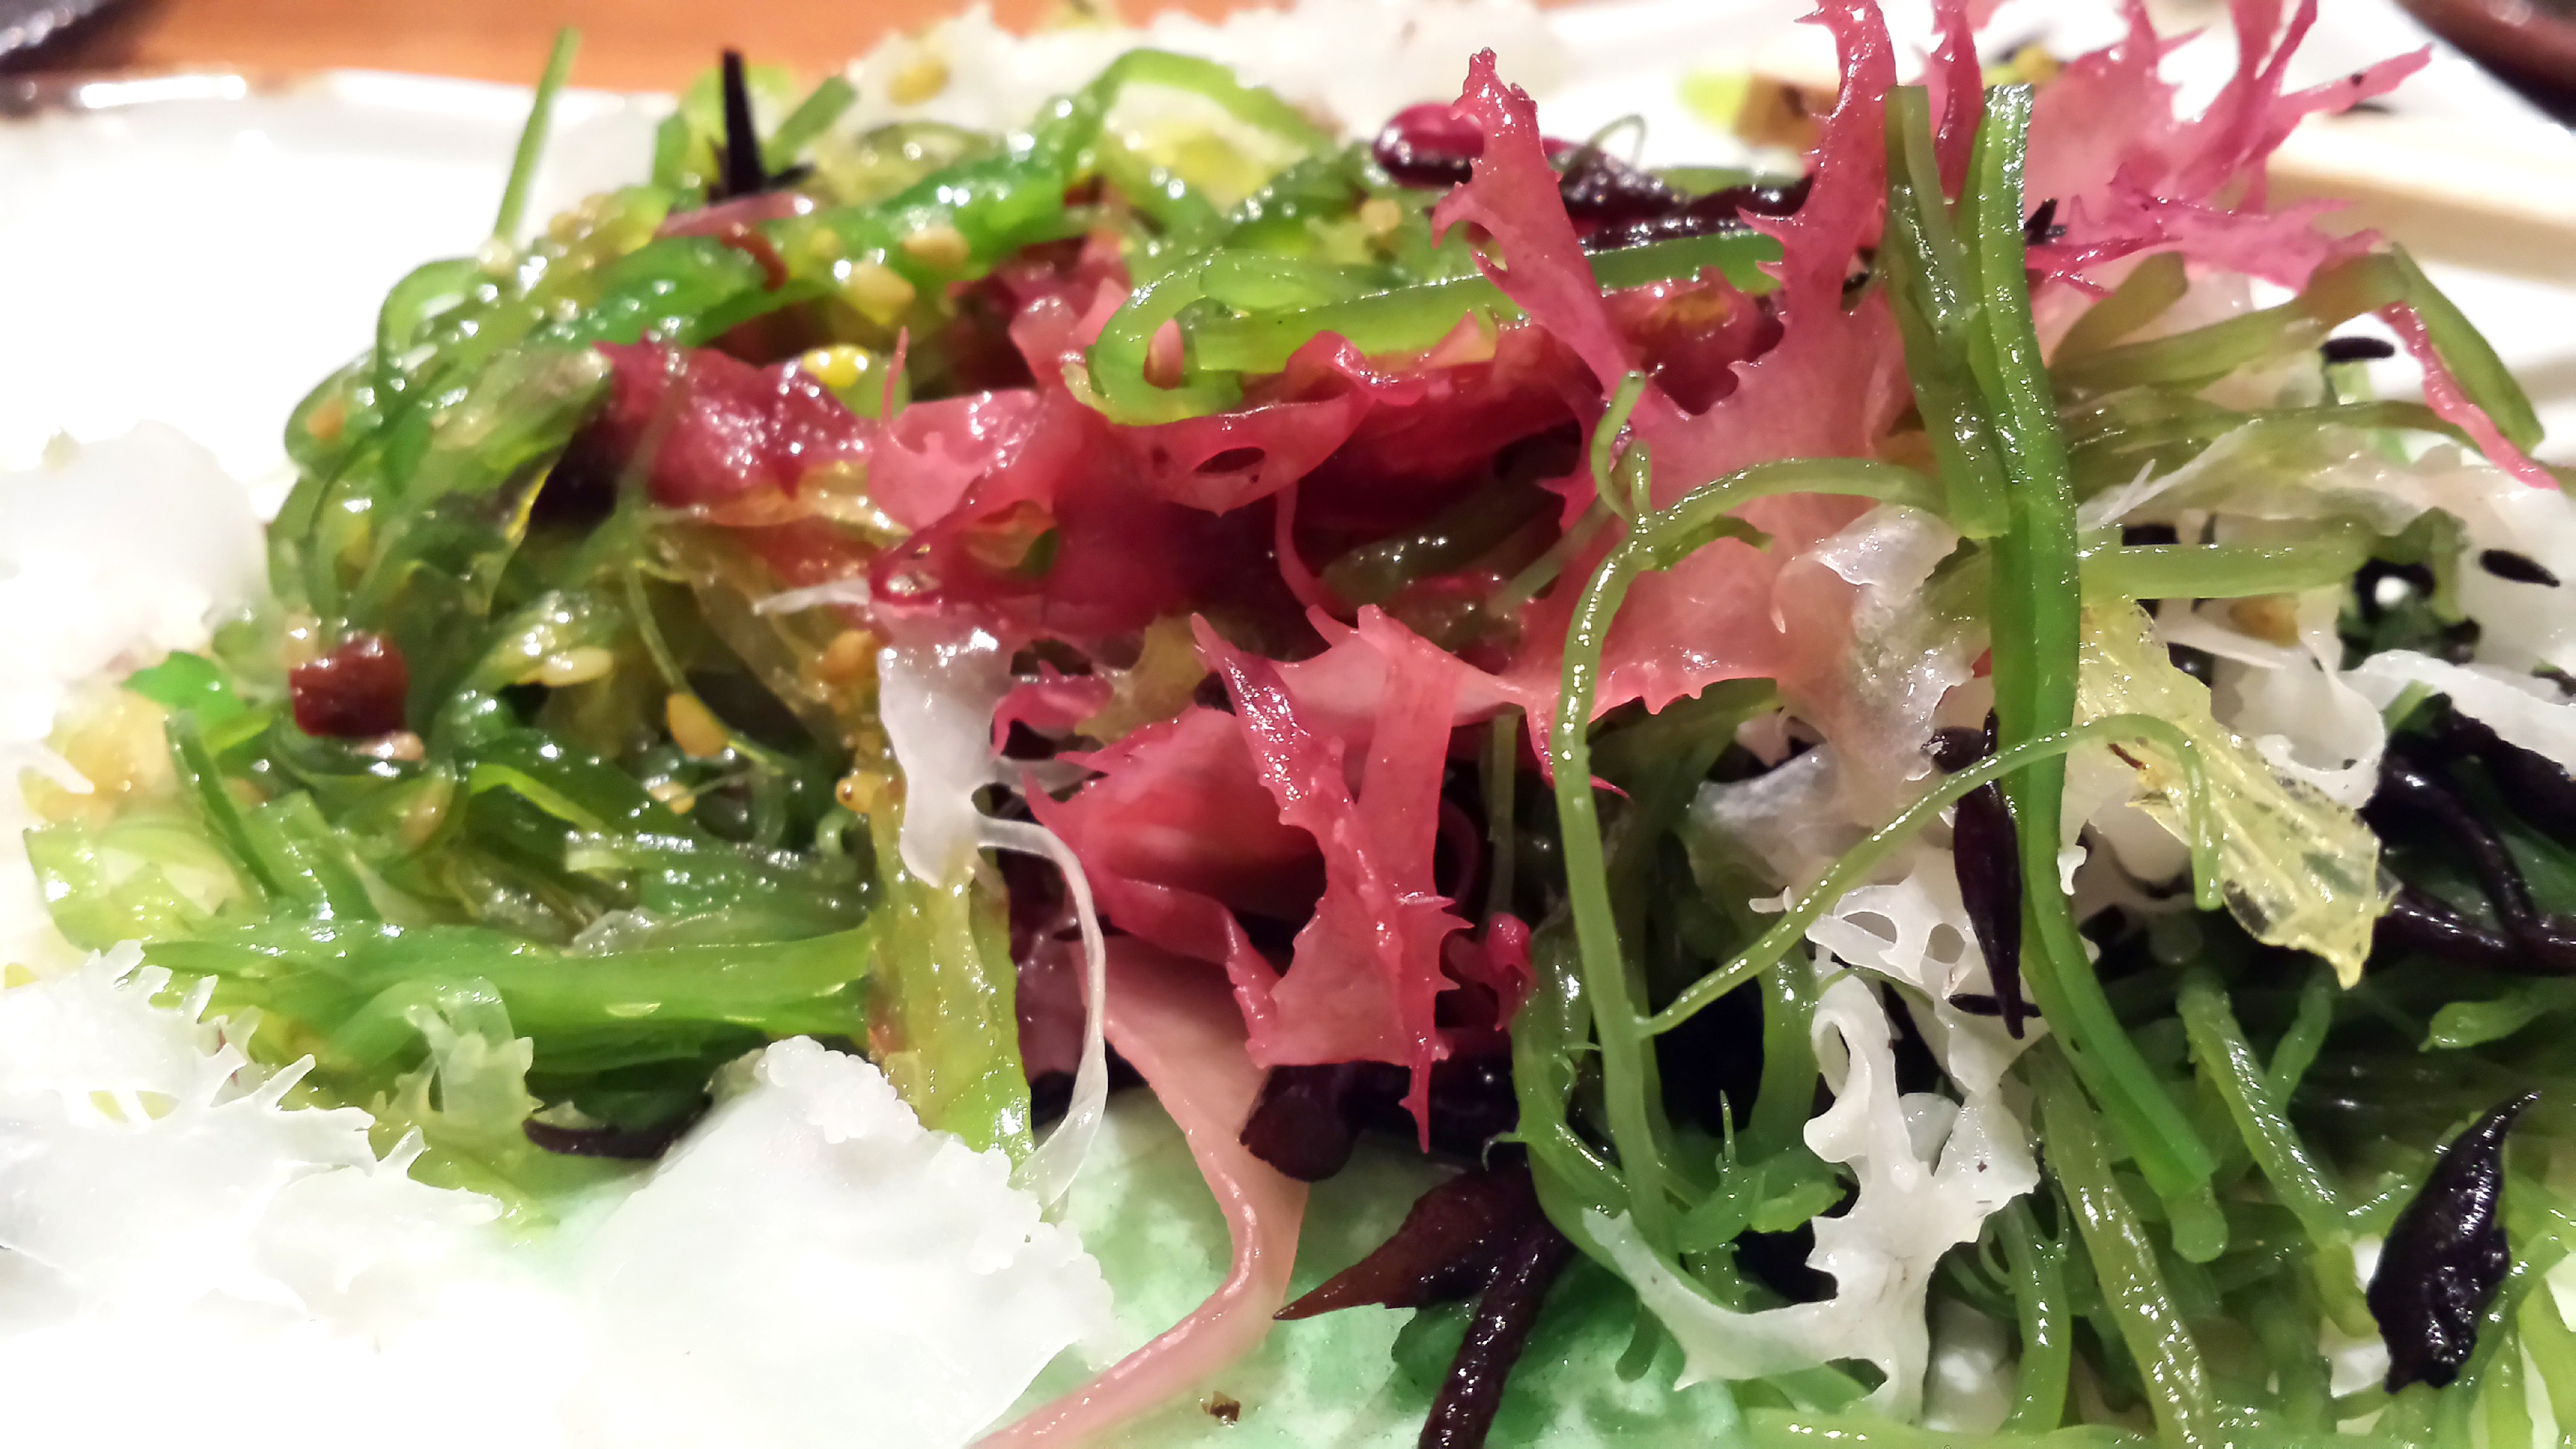
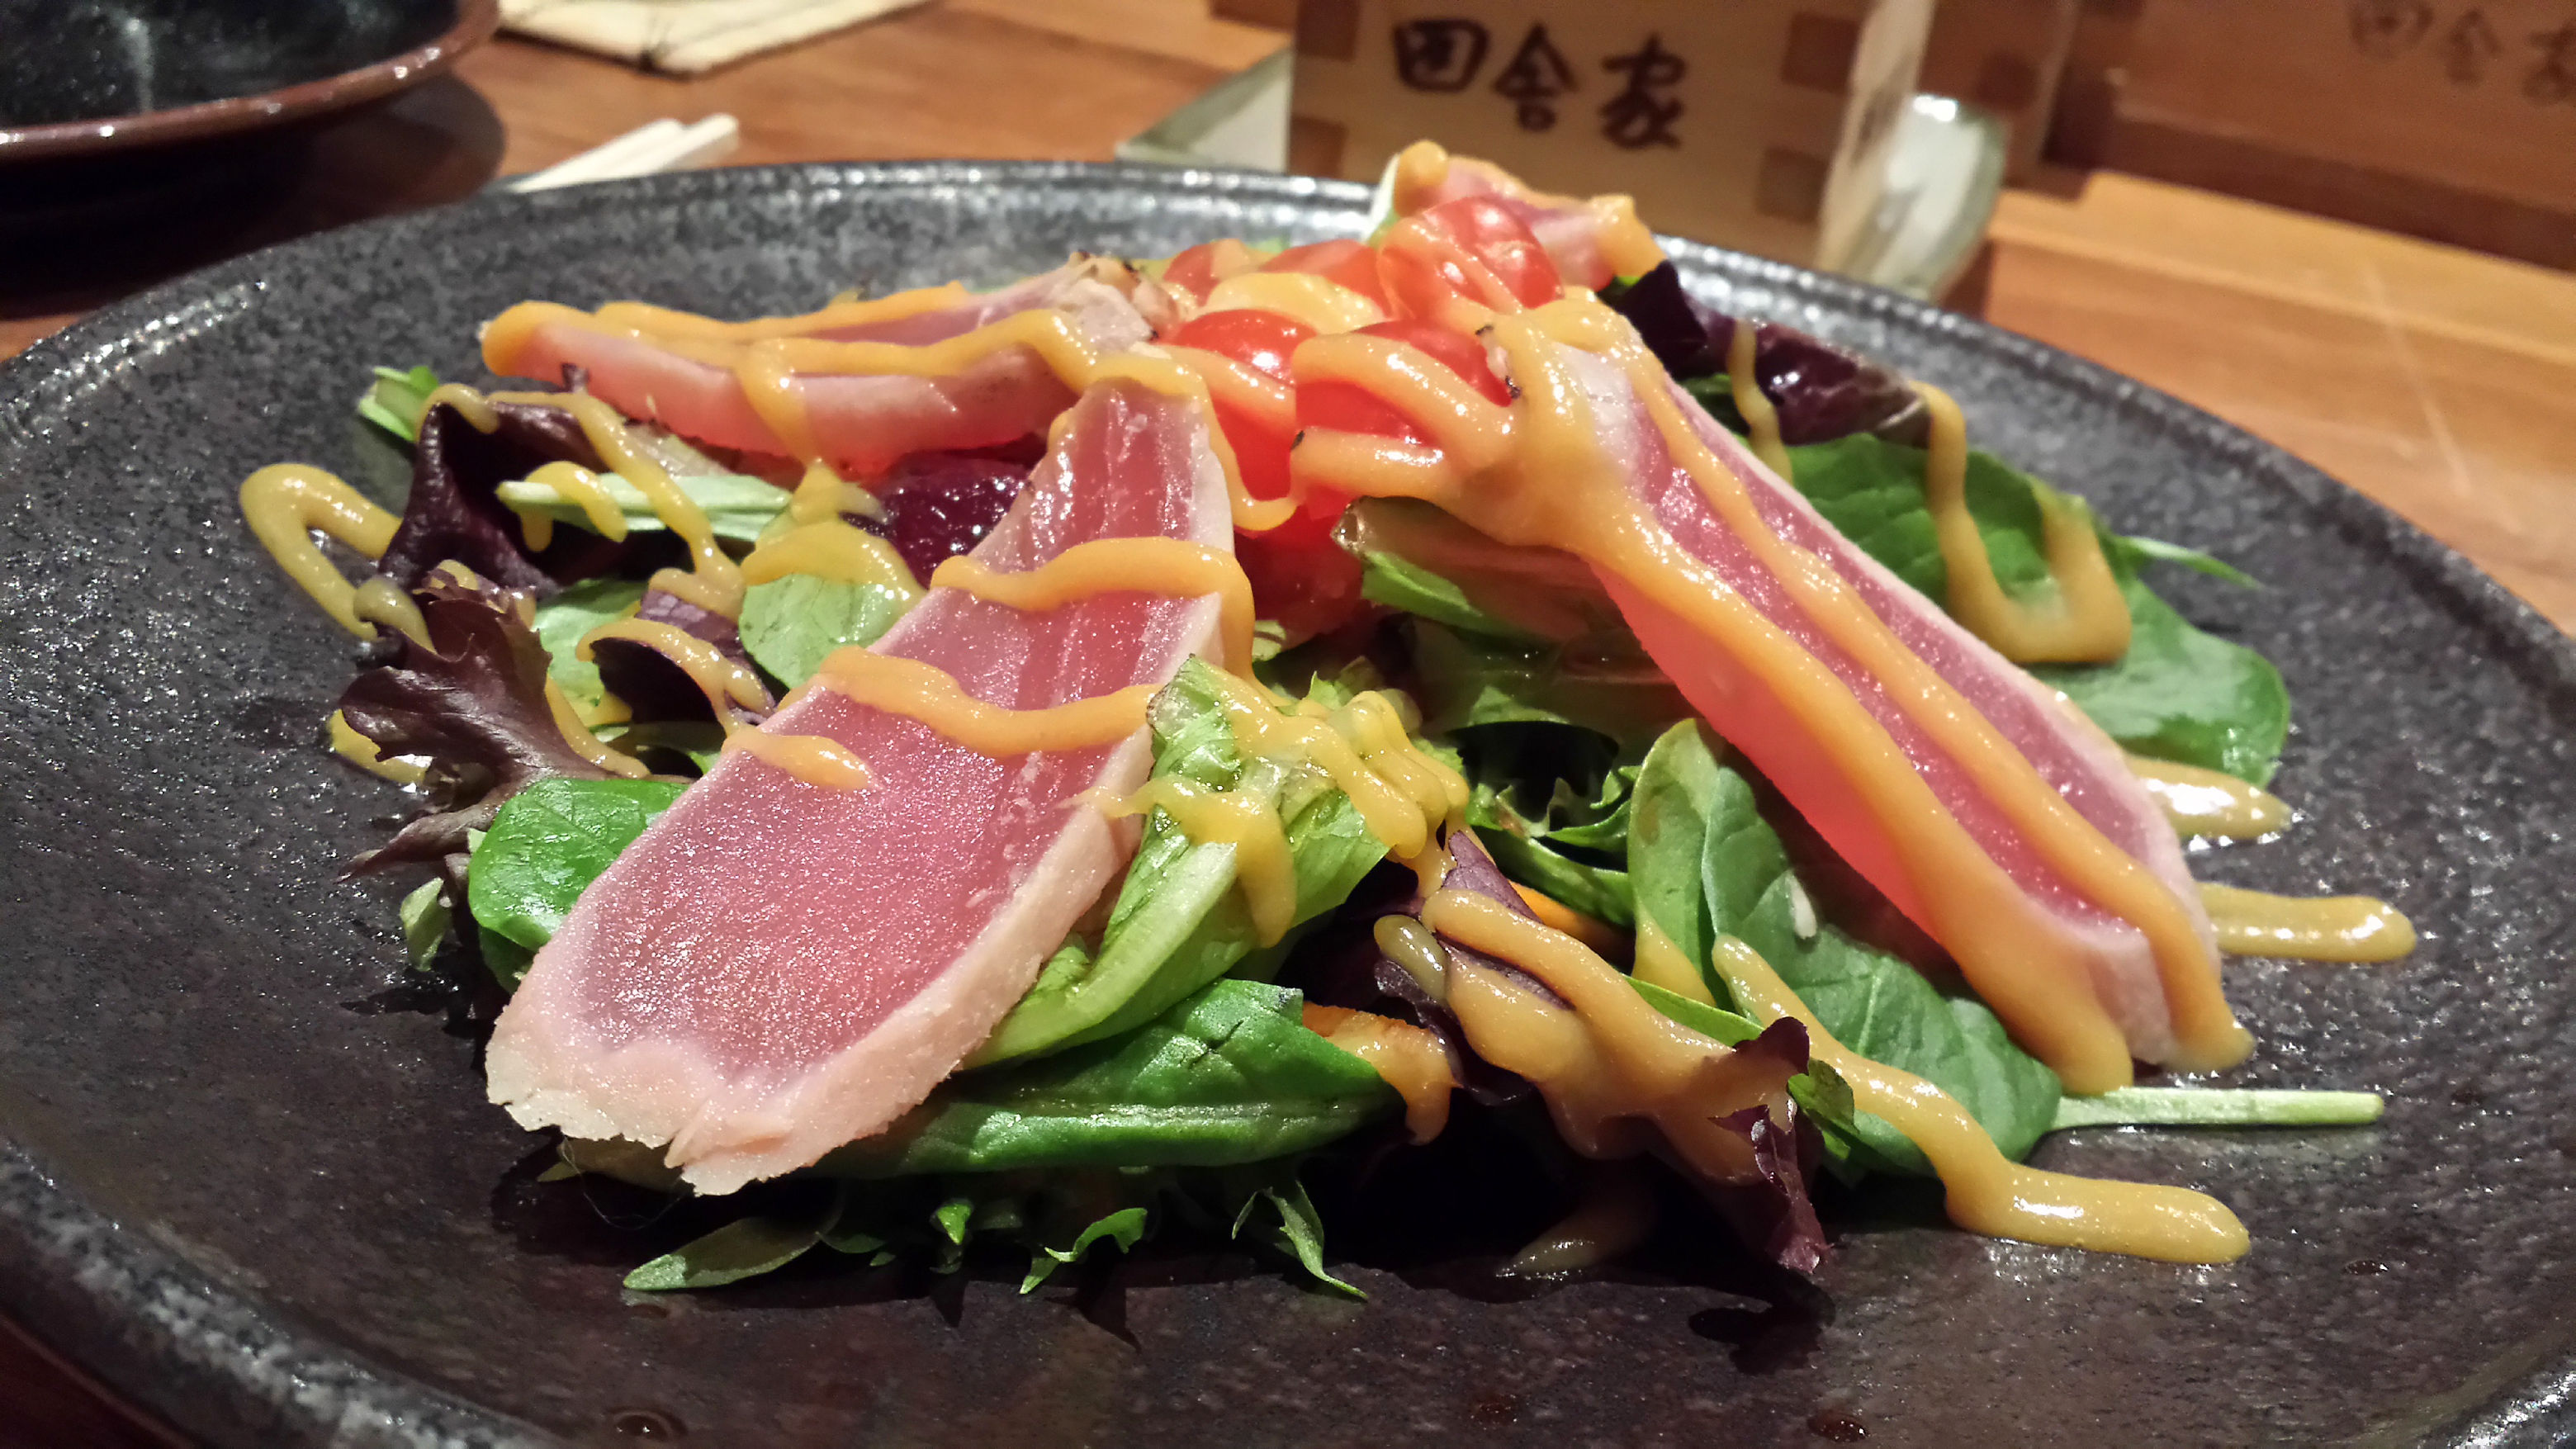
Next were the quad-color mixed seaweed salad and seared tuna spinach salad. Also delicious, deftly dressed, and wildly flavorful.
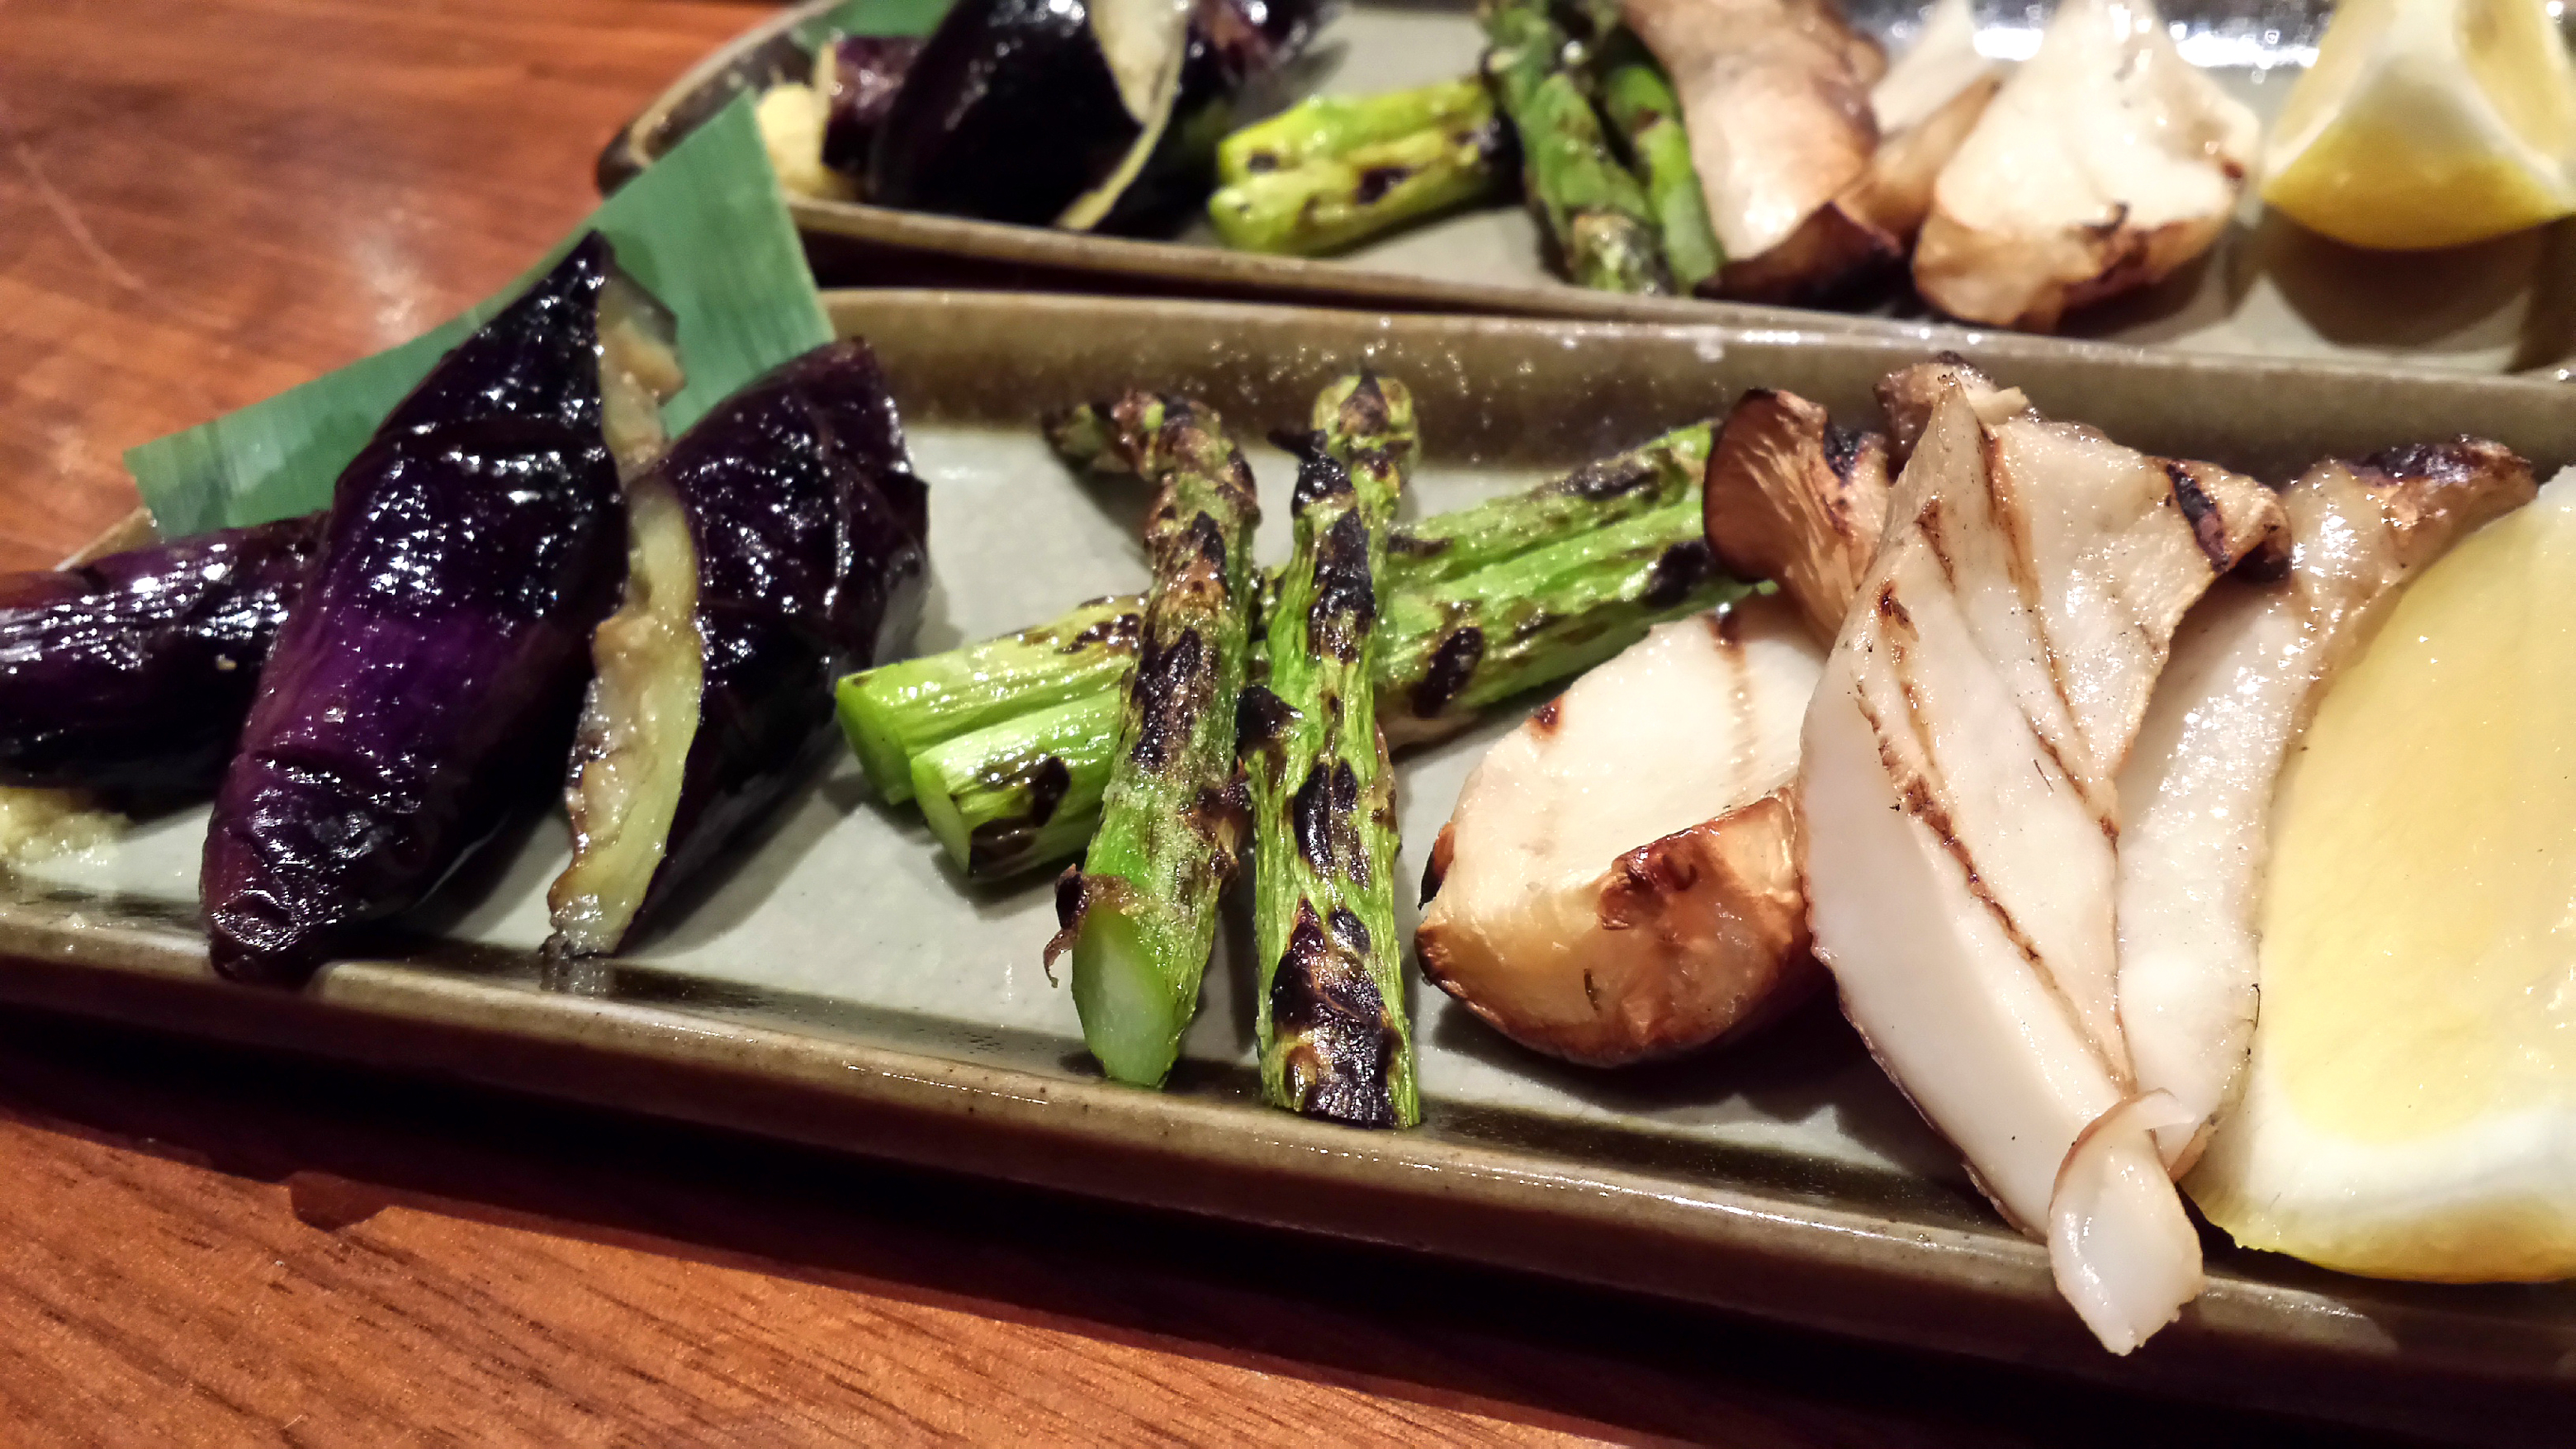
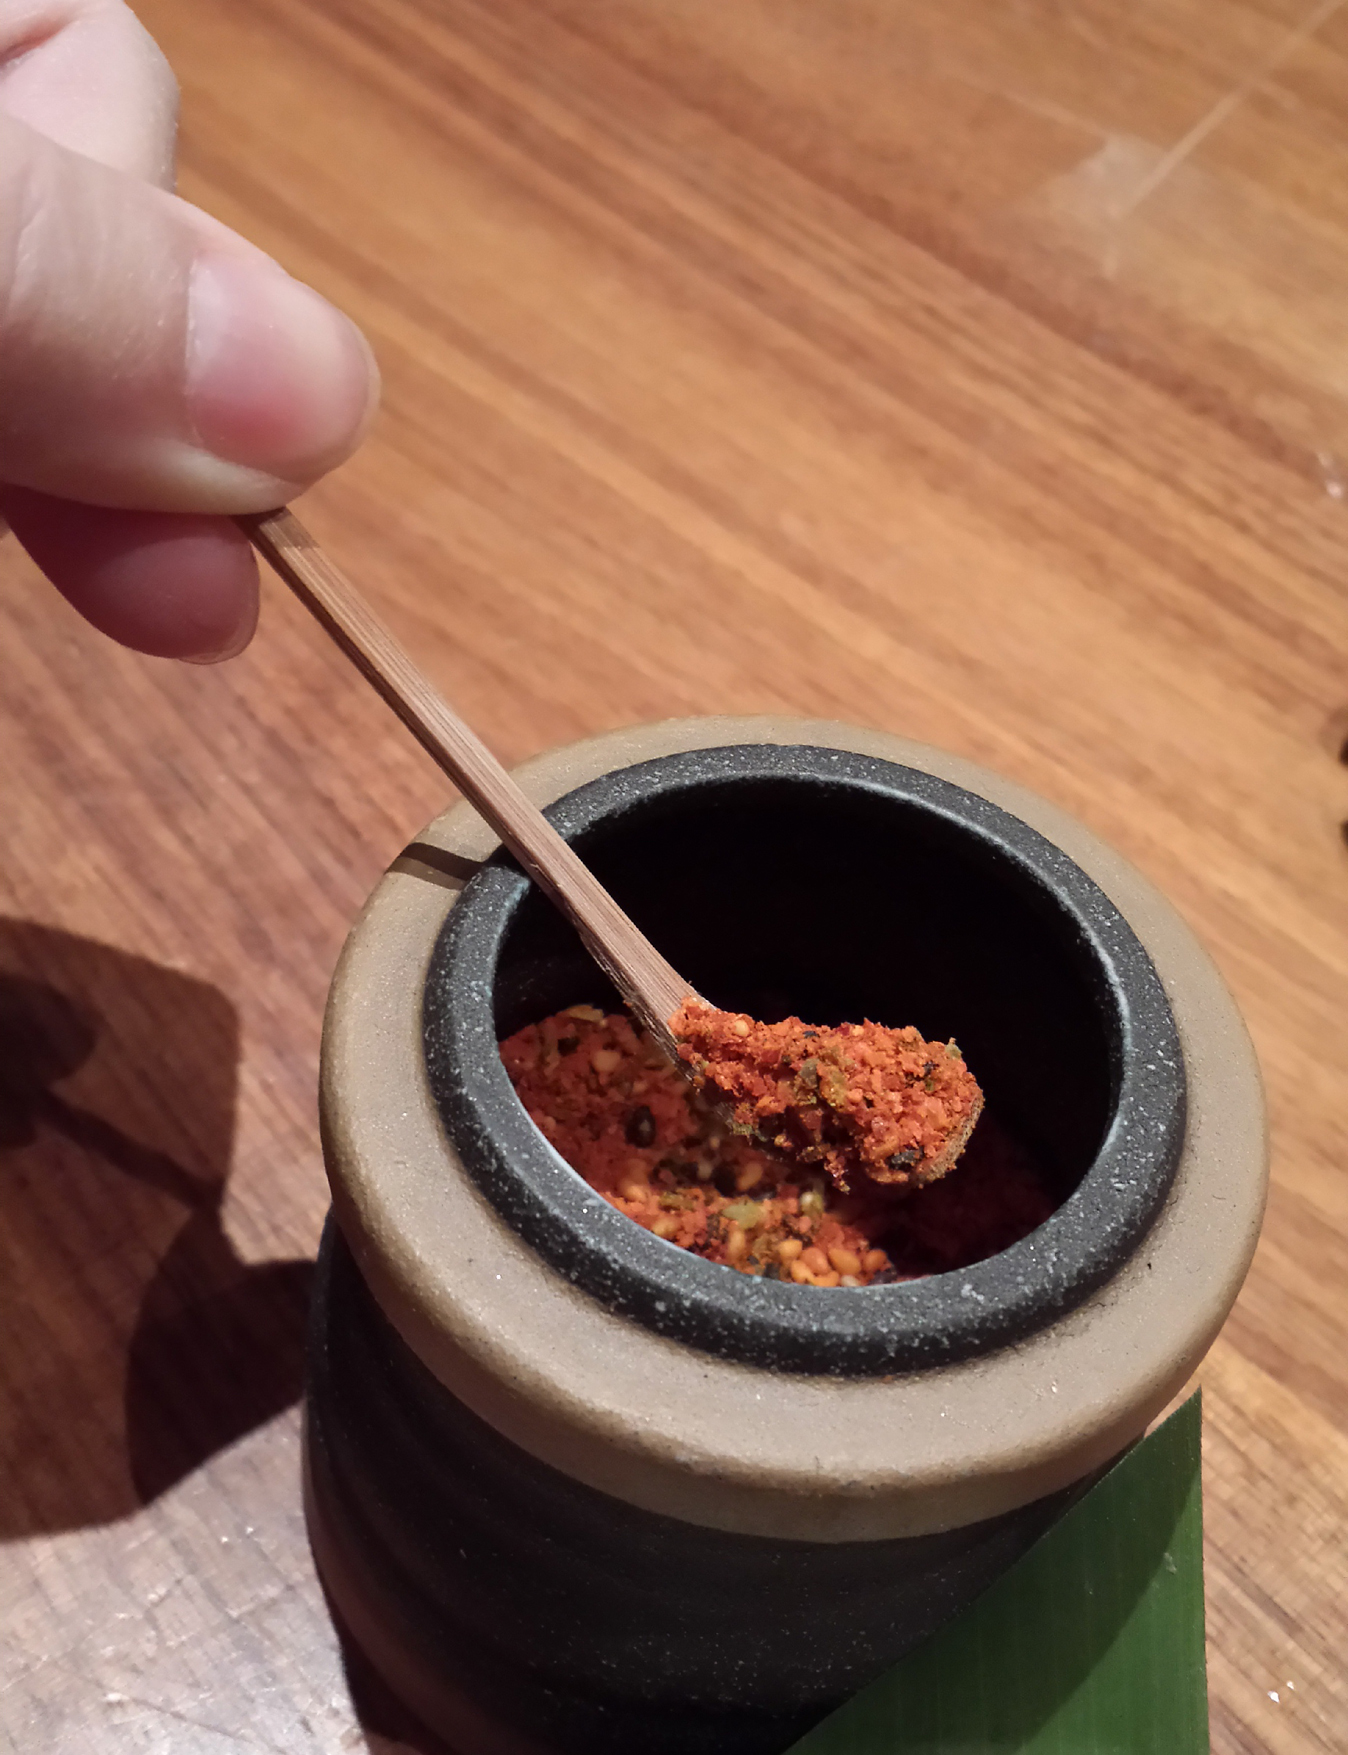
Next came the grilled veggie assortment: asparagus, eringi mushroom, and eggplant. I liked everything here, but the eggplant could have benefitted from a skinning or peeling. That skin can be a little thick at times. The asparagus and mushrooms were awesome though, especially when sprinkled with some of the Japanese spicy pepper condiment.
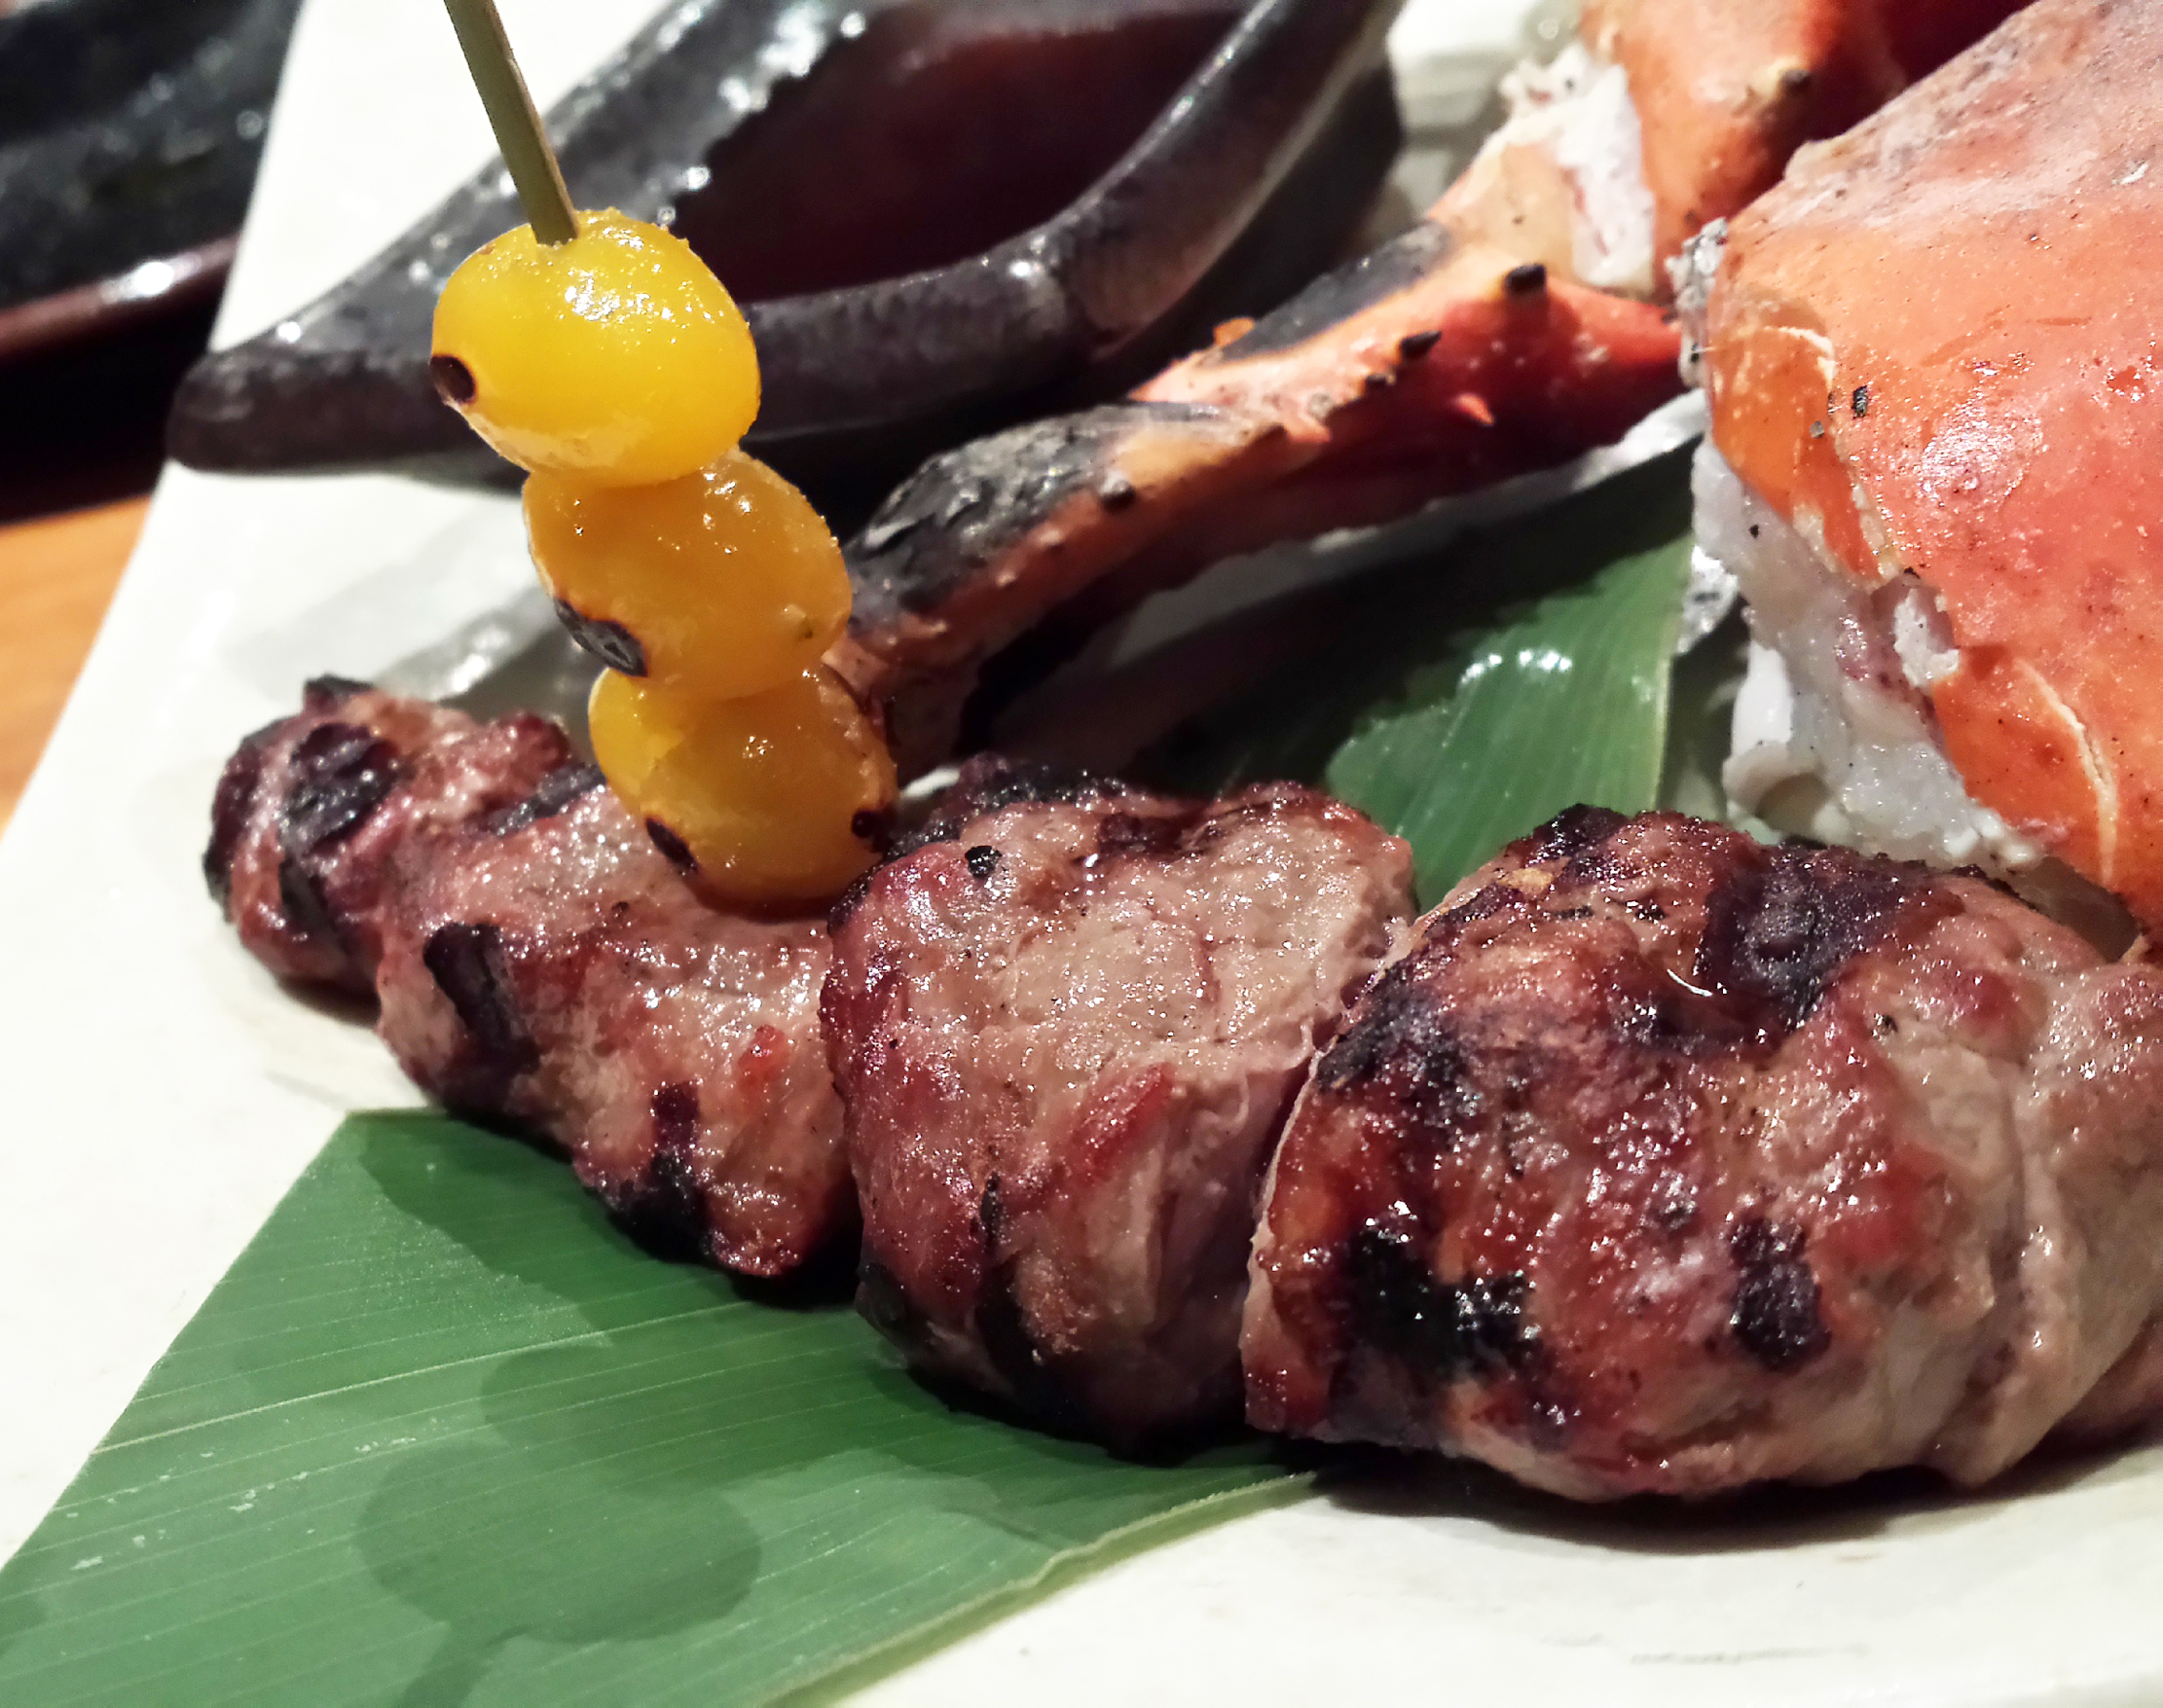
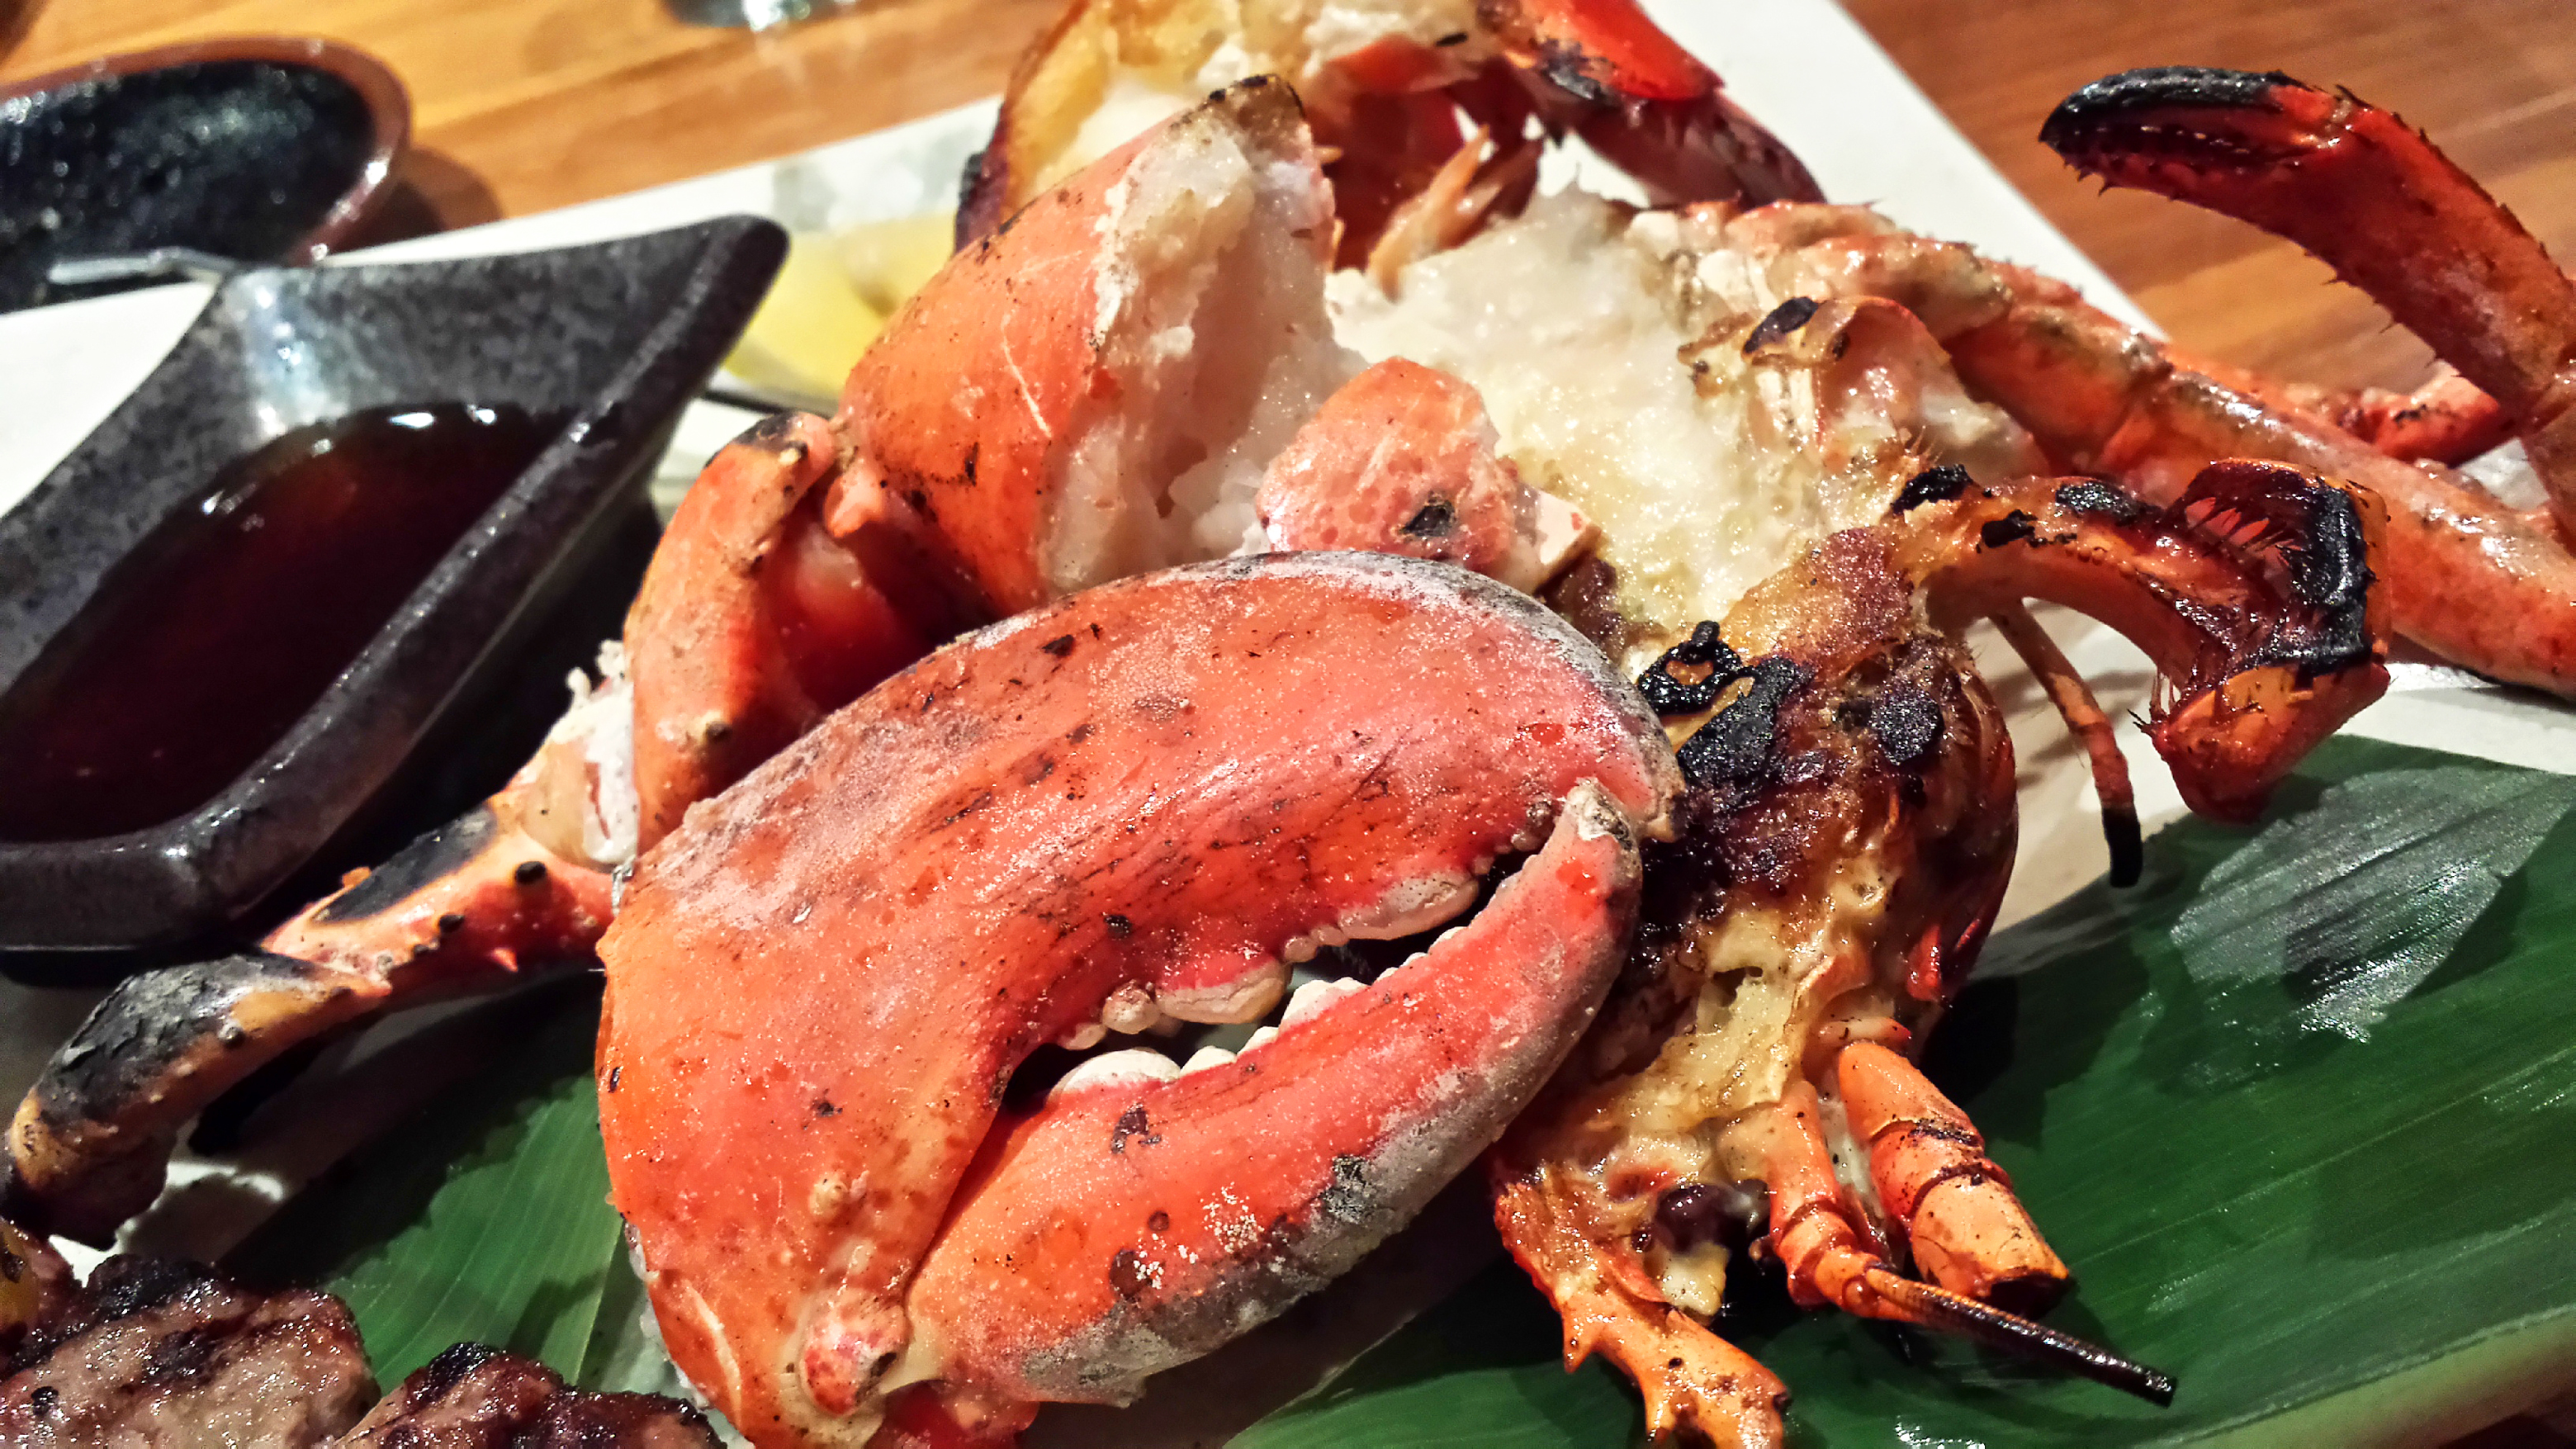
After that came the surf and turf: grilled half lobster and a generous portion of kobe beef (the menu says 2oz but it was more like 4oz). The beef was served with a nice dipping sauce that brought out the earthy flavors of the meat. I generally prefer a steamed lobster but the grilled one here wasn’t too bad. Lots of times places will mangle the grilled lobster and overcook it. Not the case here.
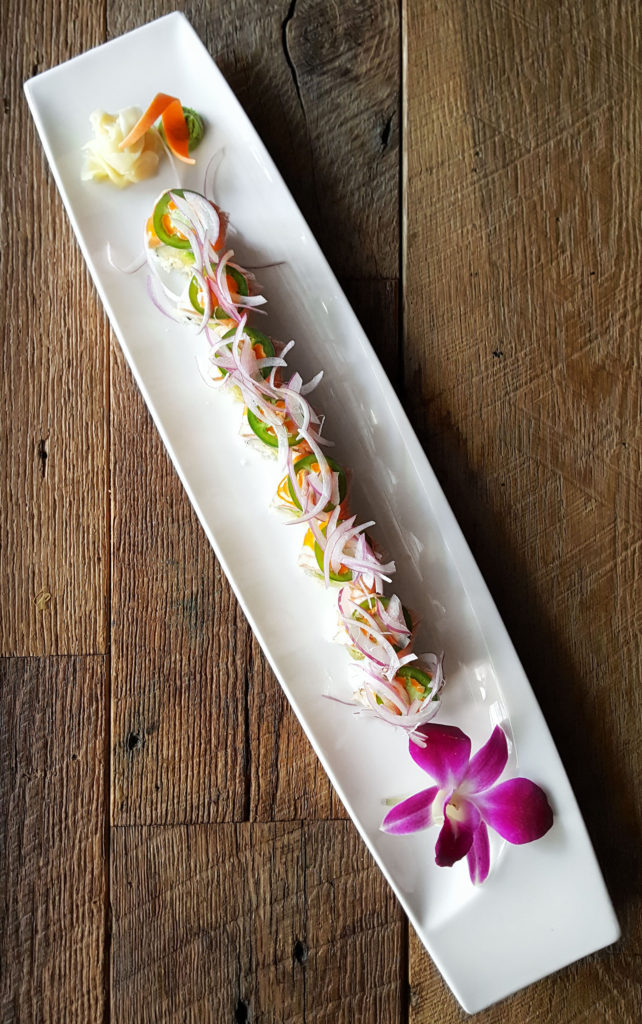
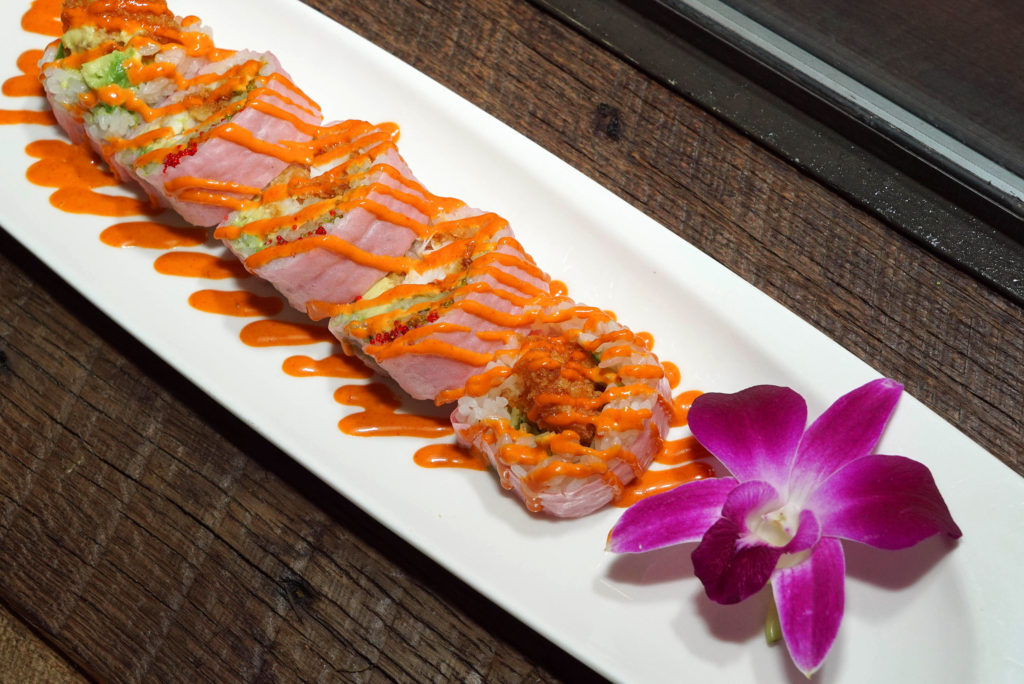
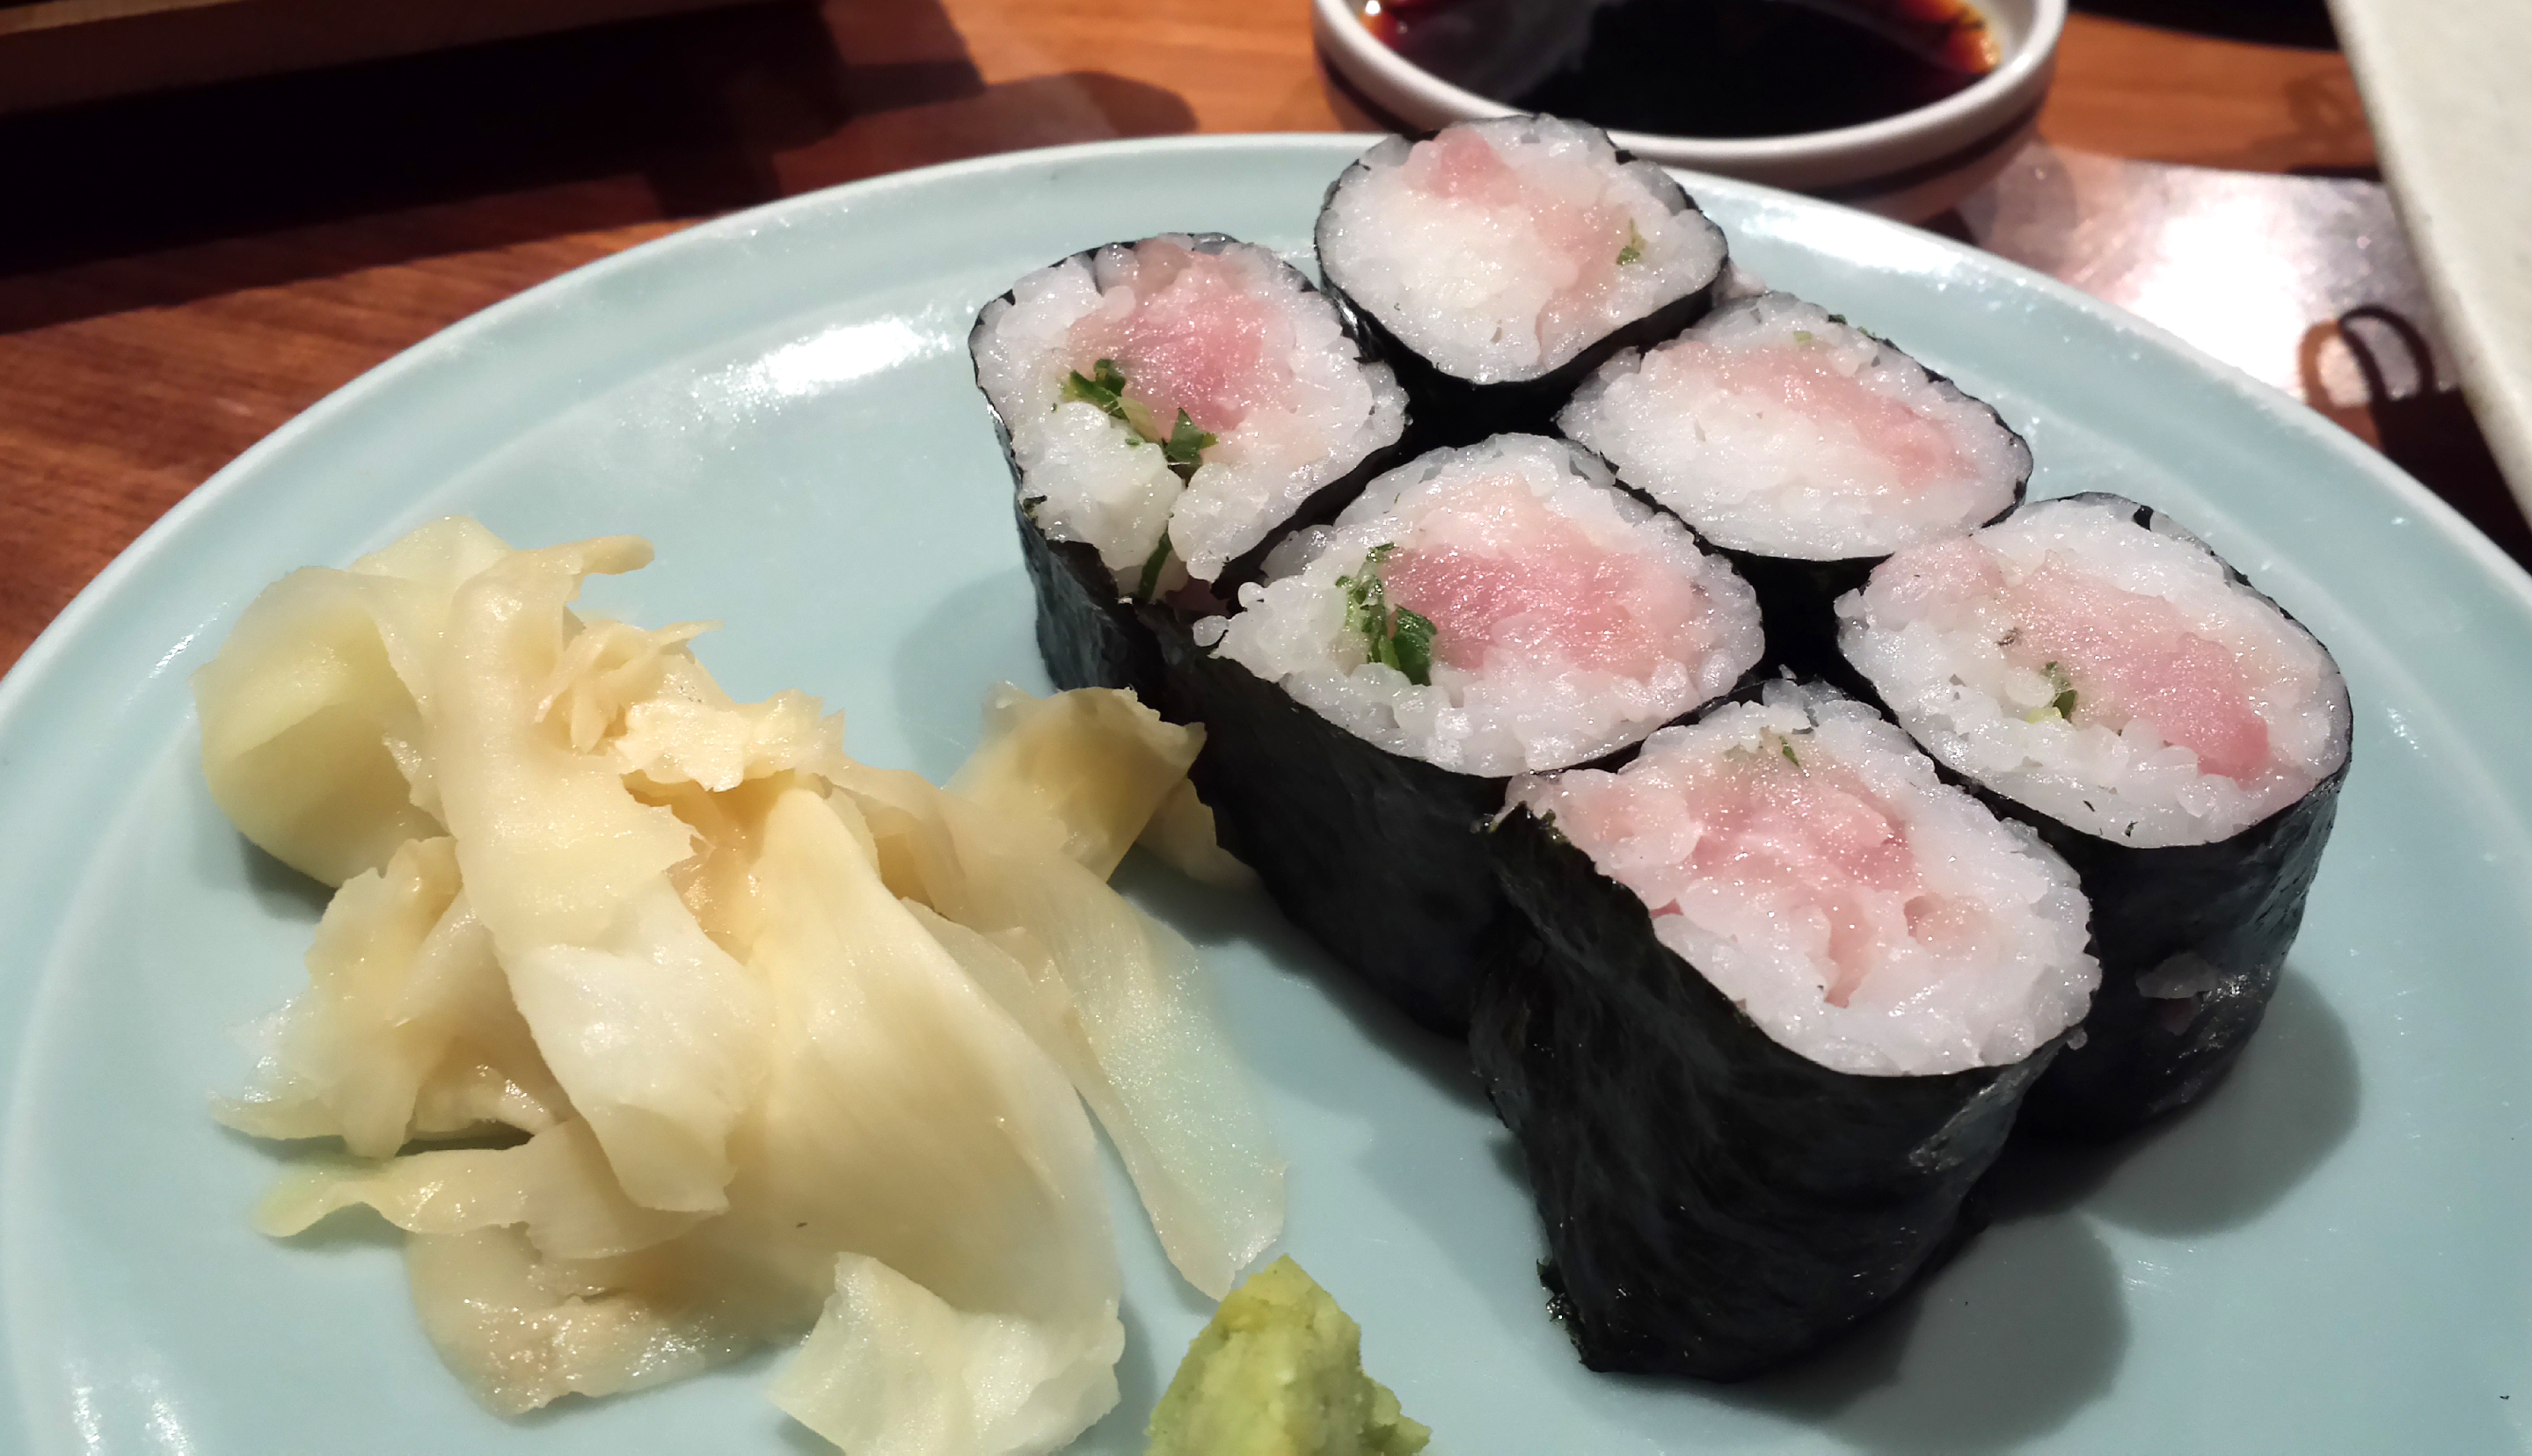
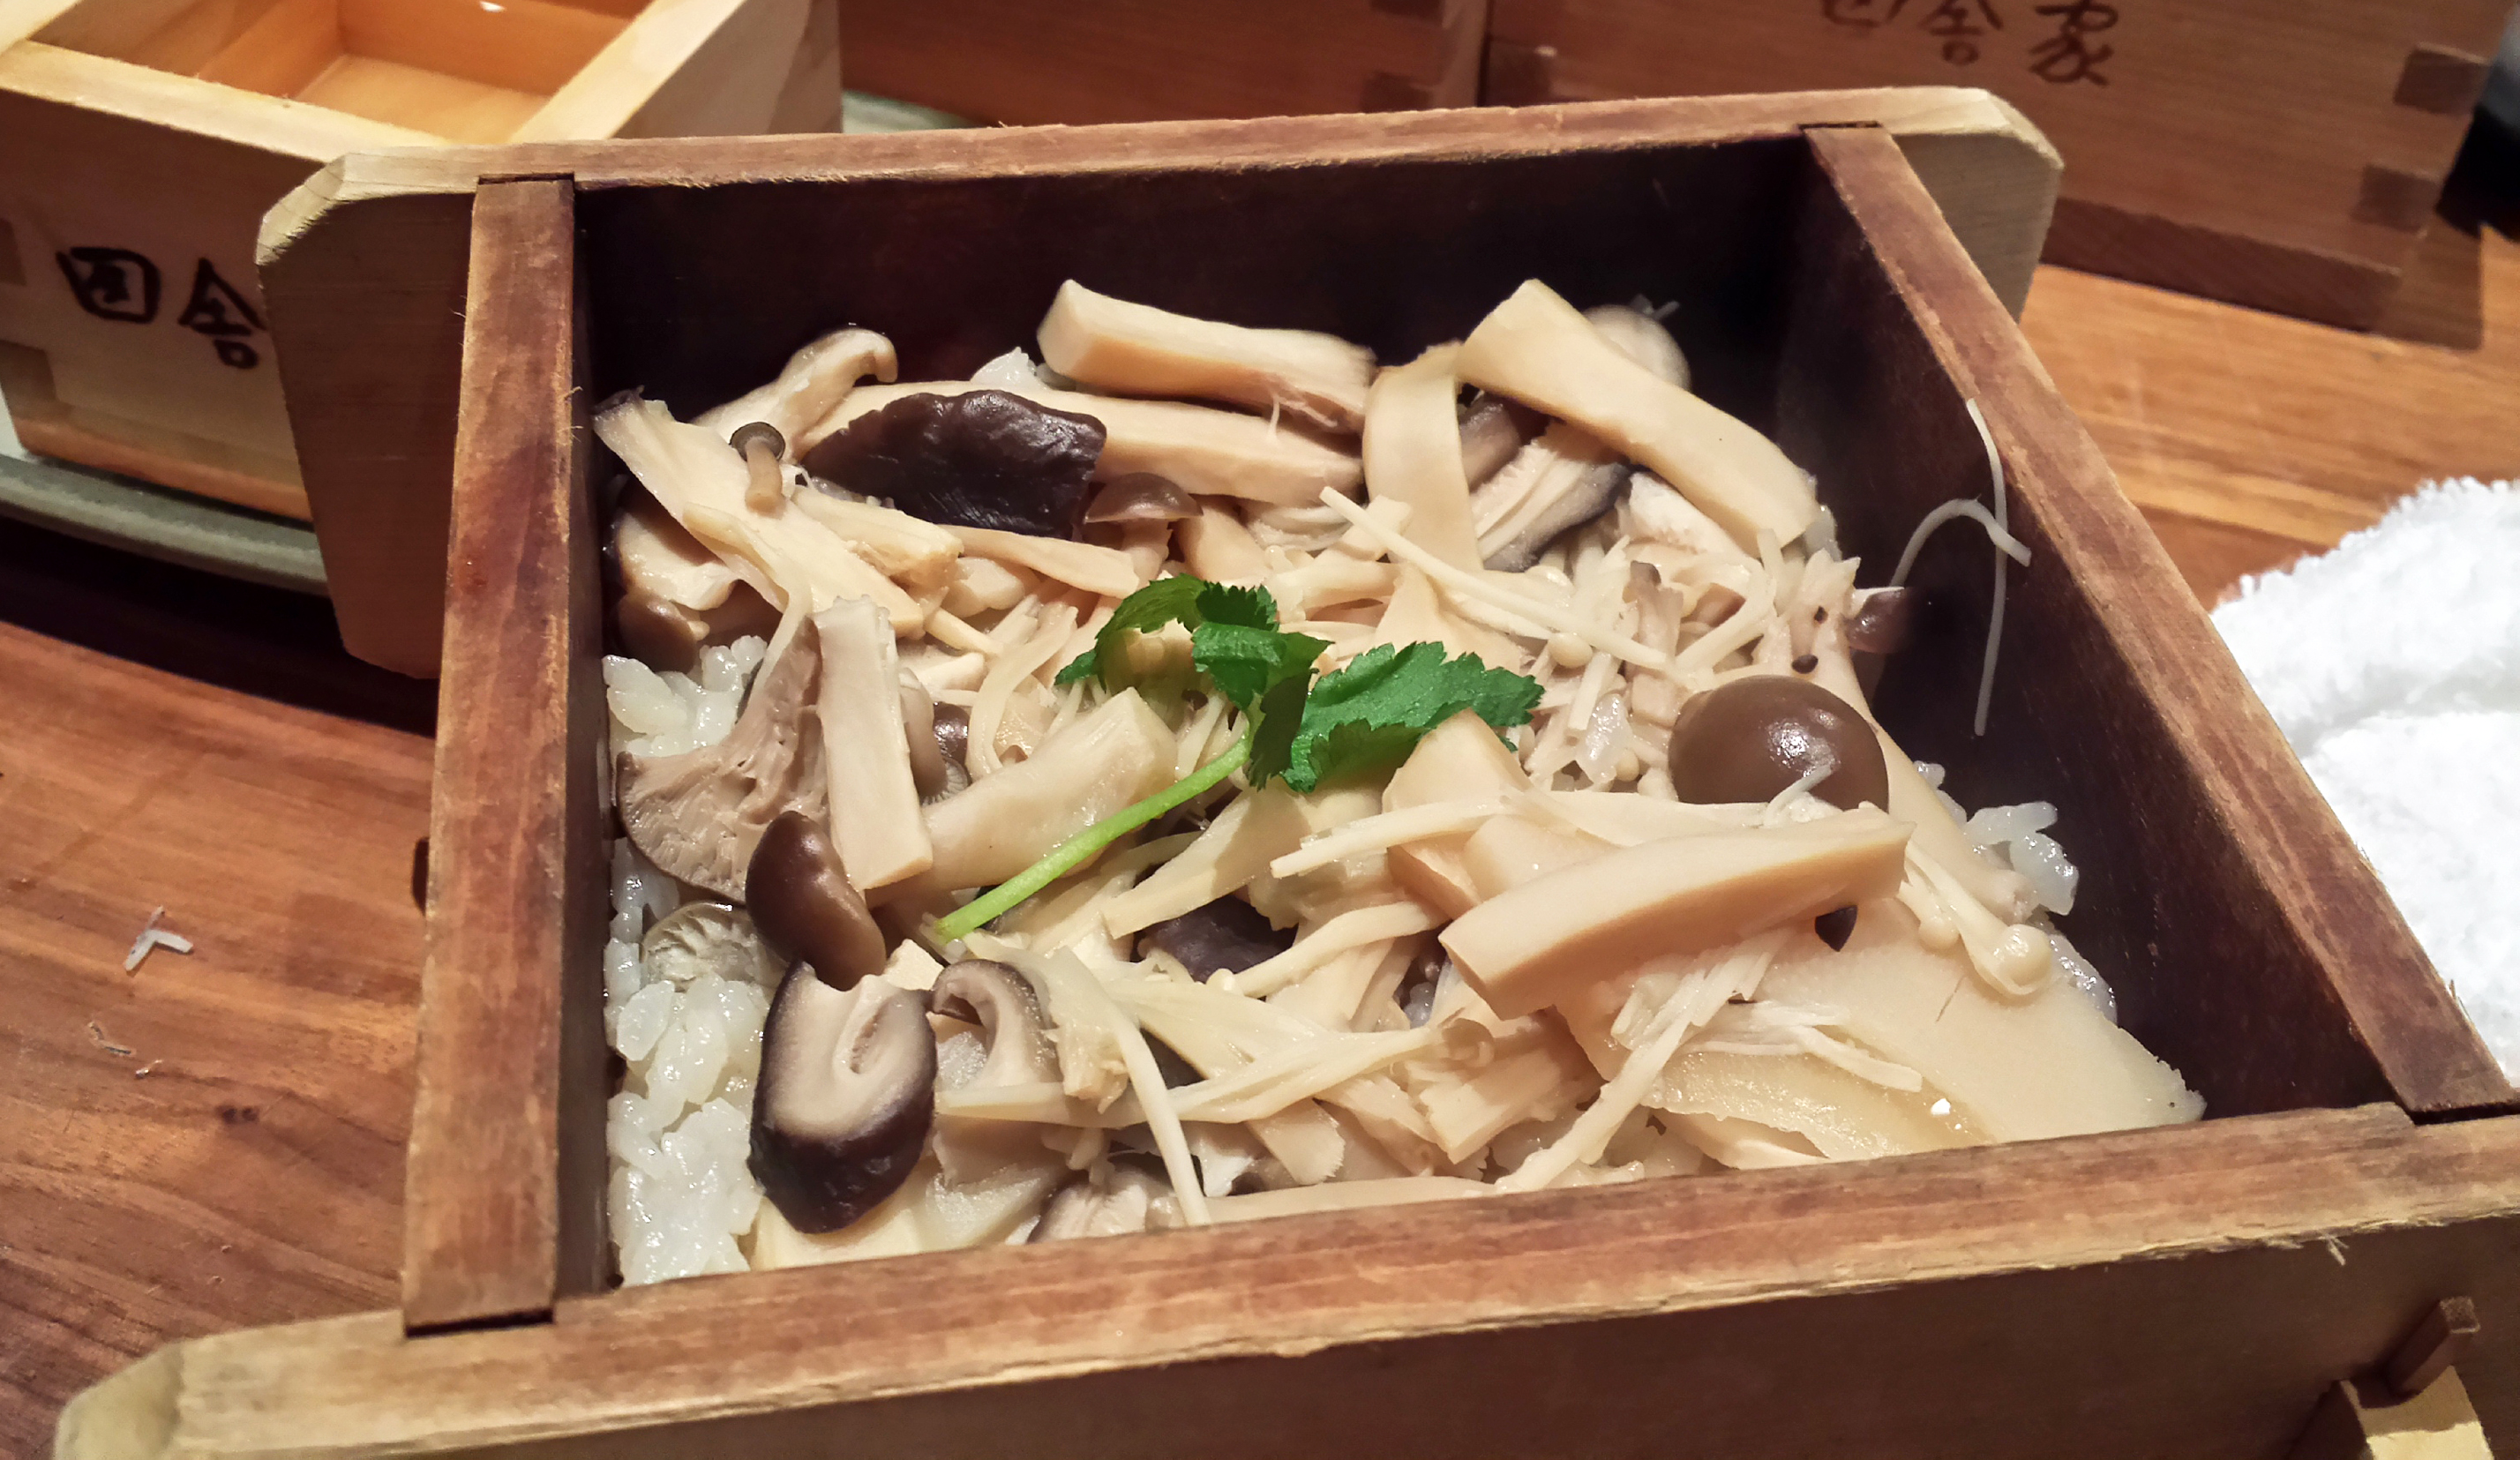
Our sides were the yellowtail and scallion roll, which was just okay. Nothing too fancy. And the double steamed rice with mushrooms. THAT was yummy. In hindsight, I wish we had gotten the roasted rice ball instead of the sushi roll, but hey.
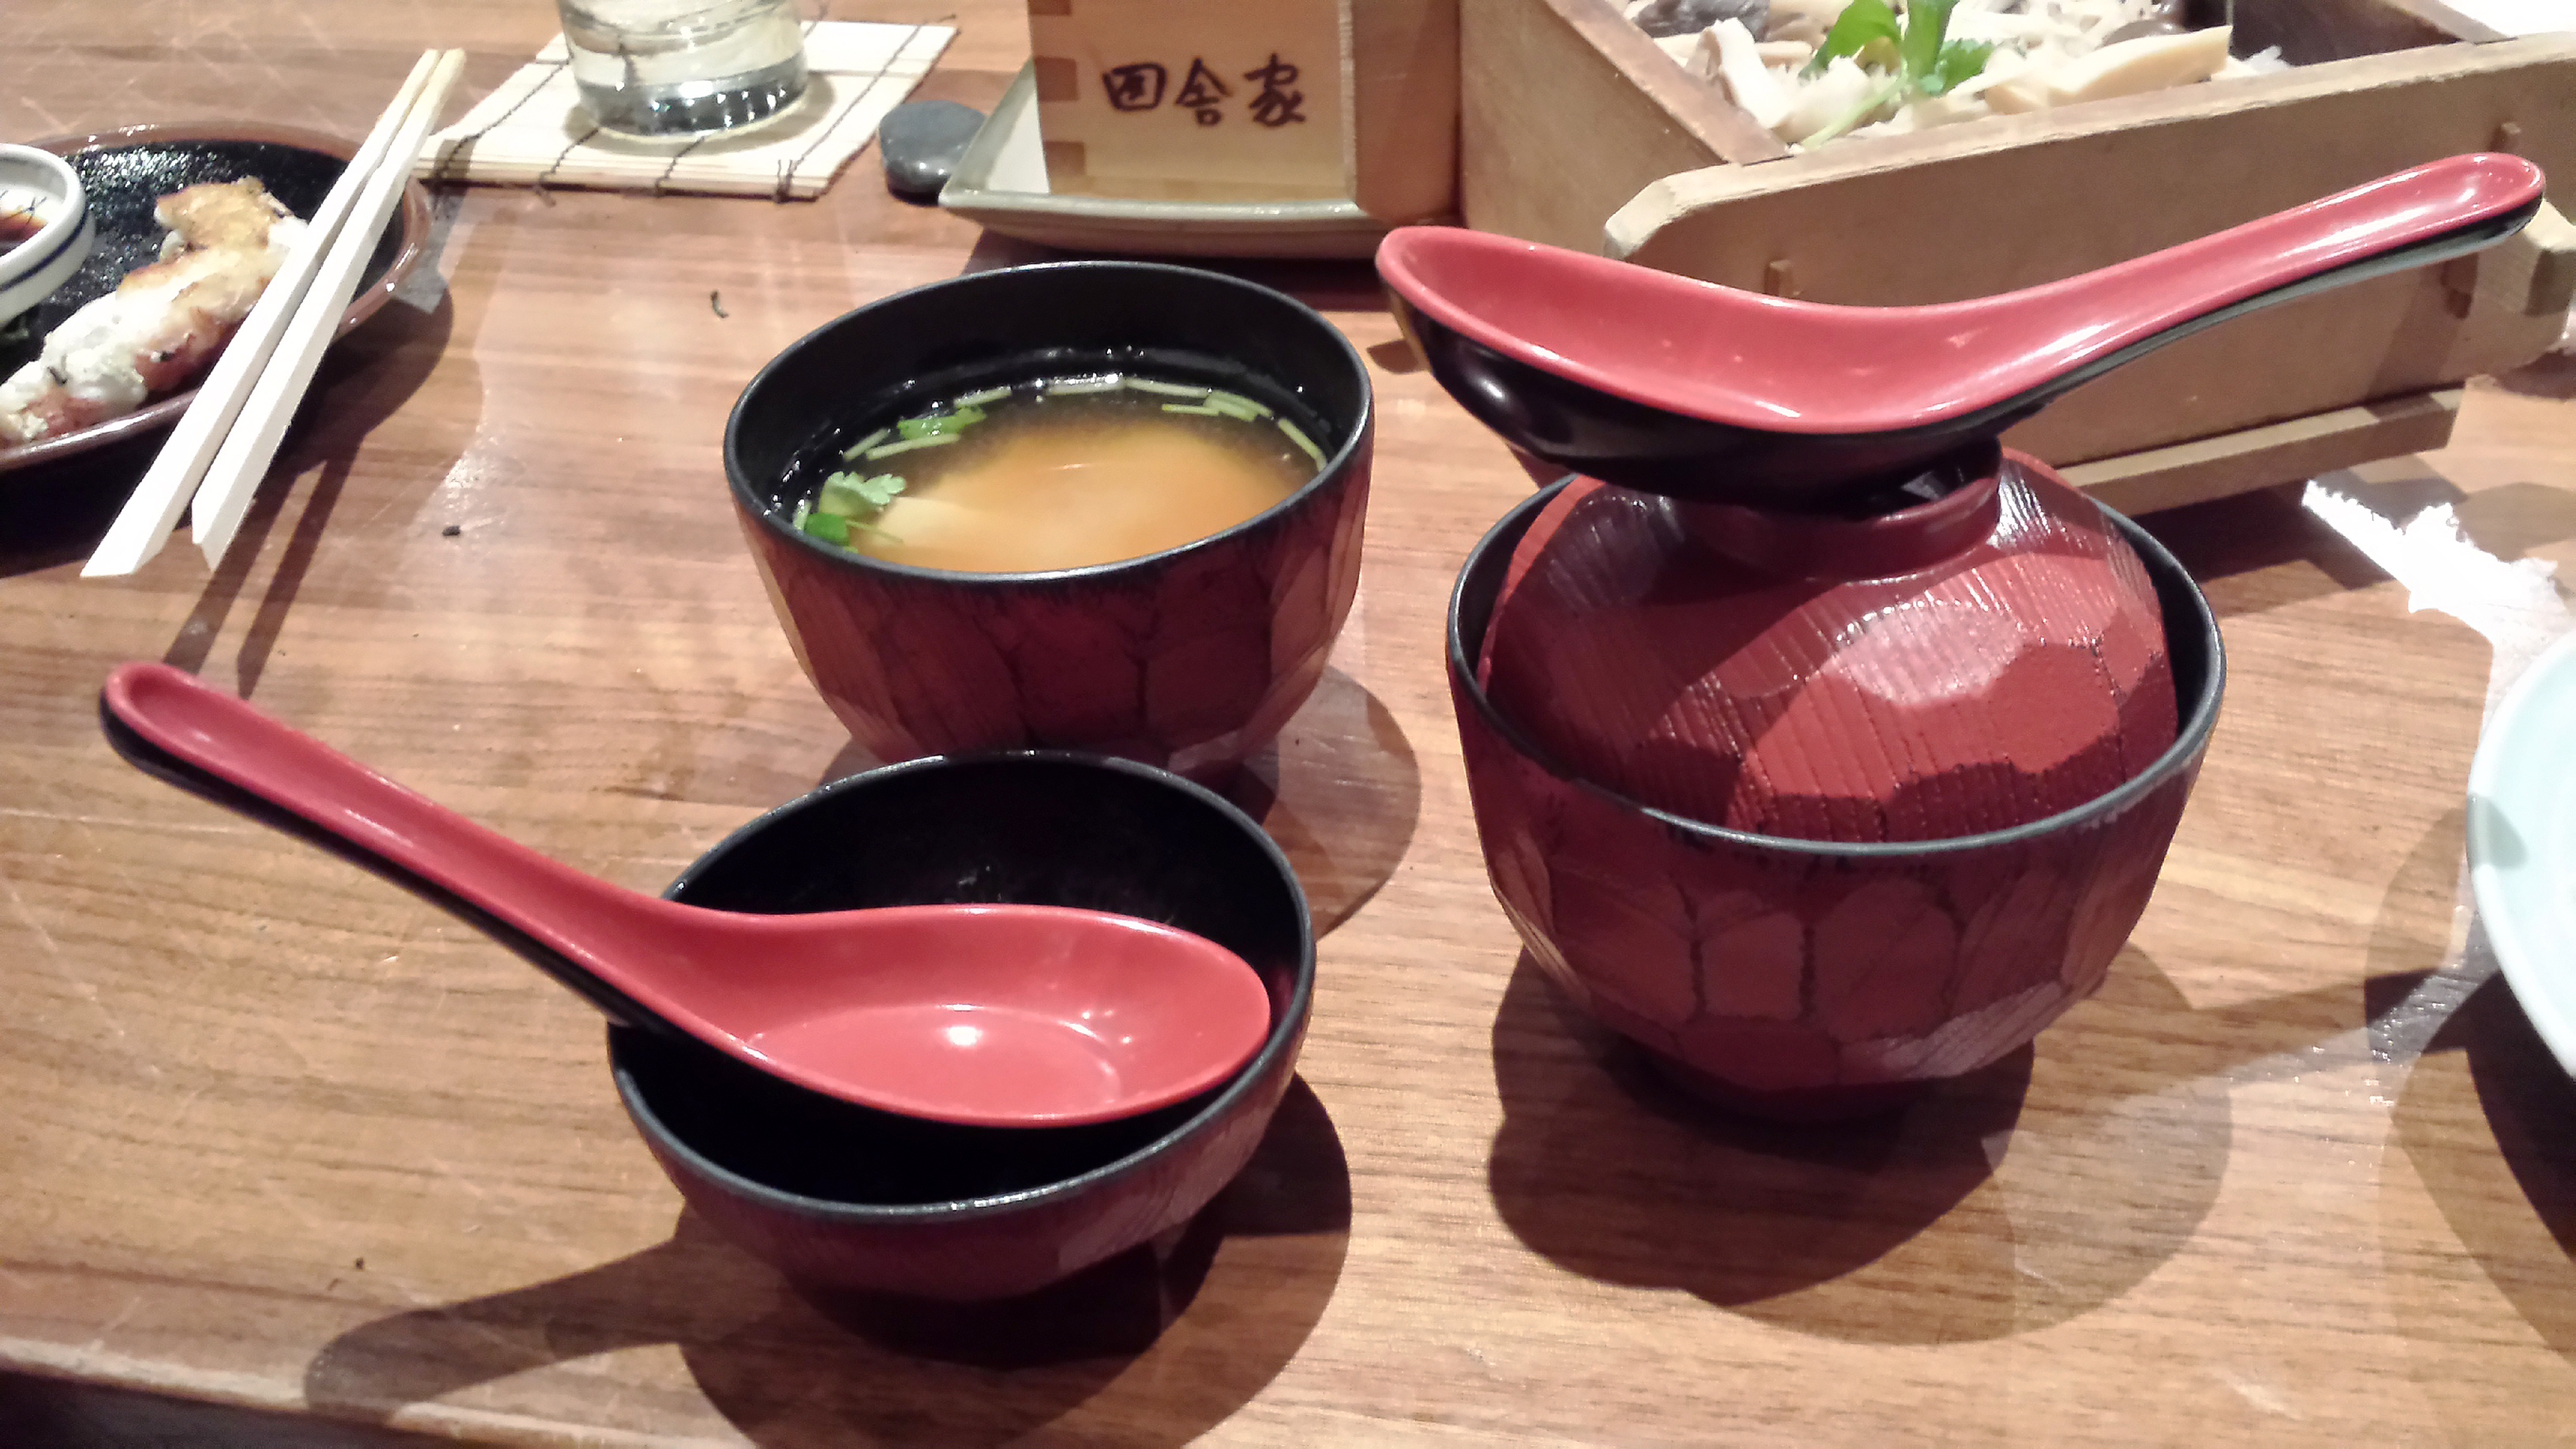
Shit there was even good miso soup! It came with a good amount of tofu skin in it (my absolute favorite for soup fodder).
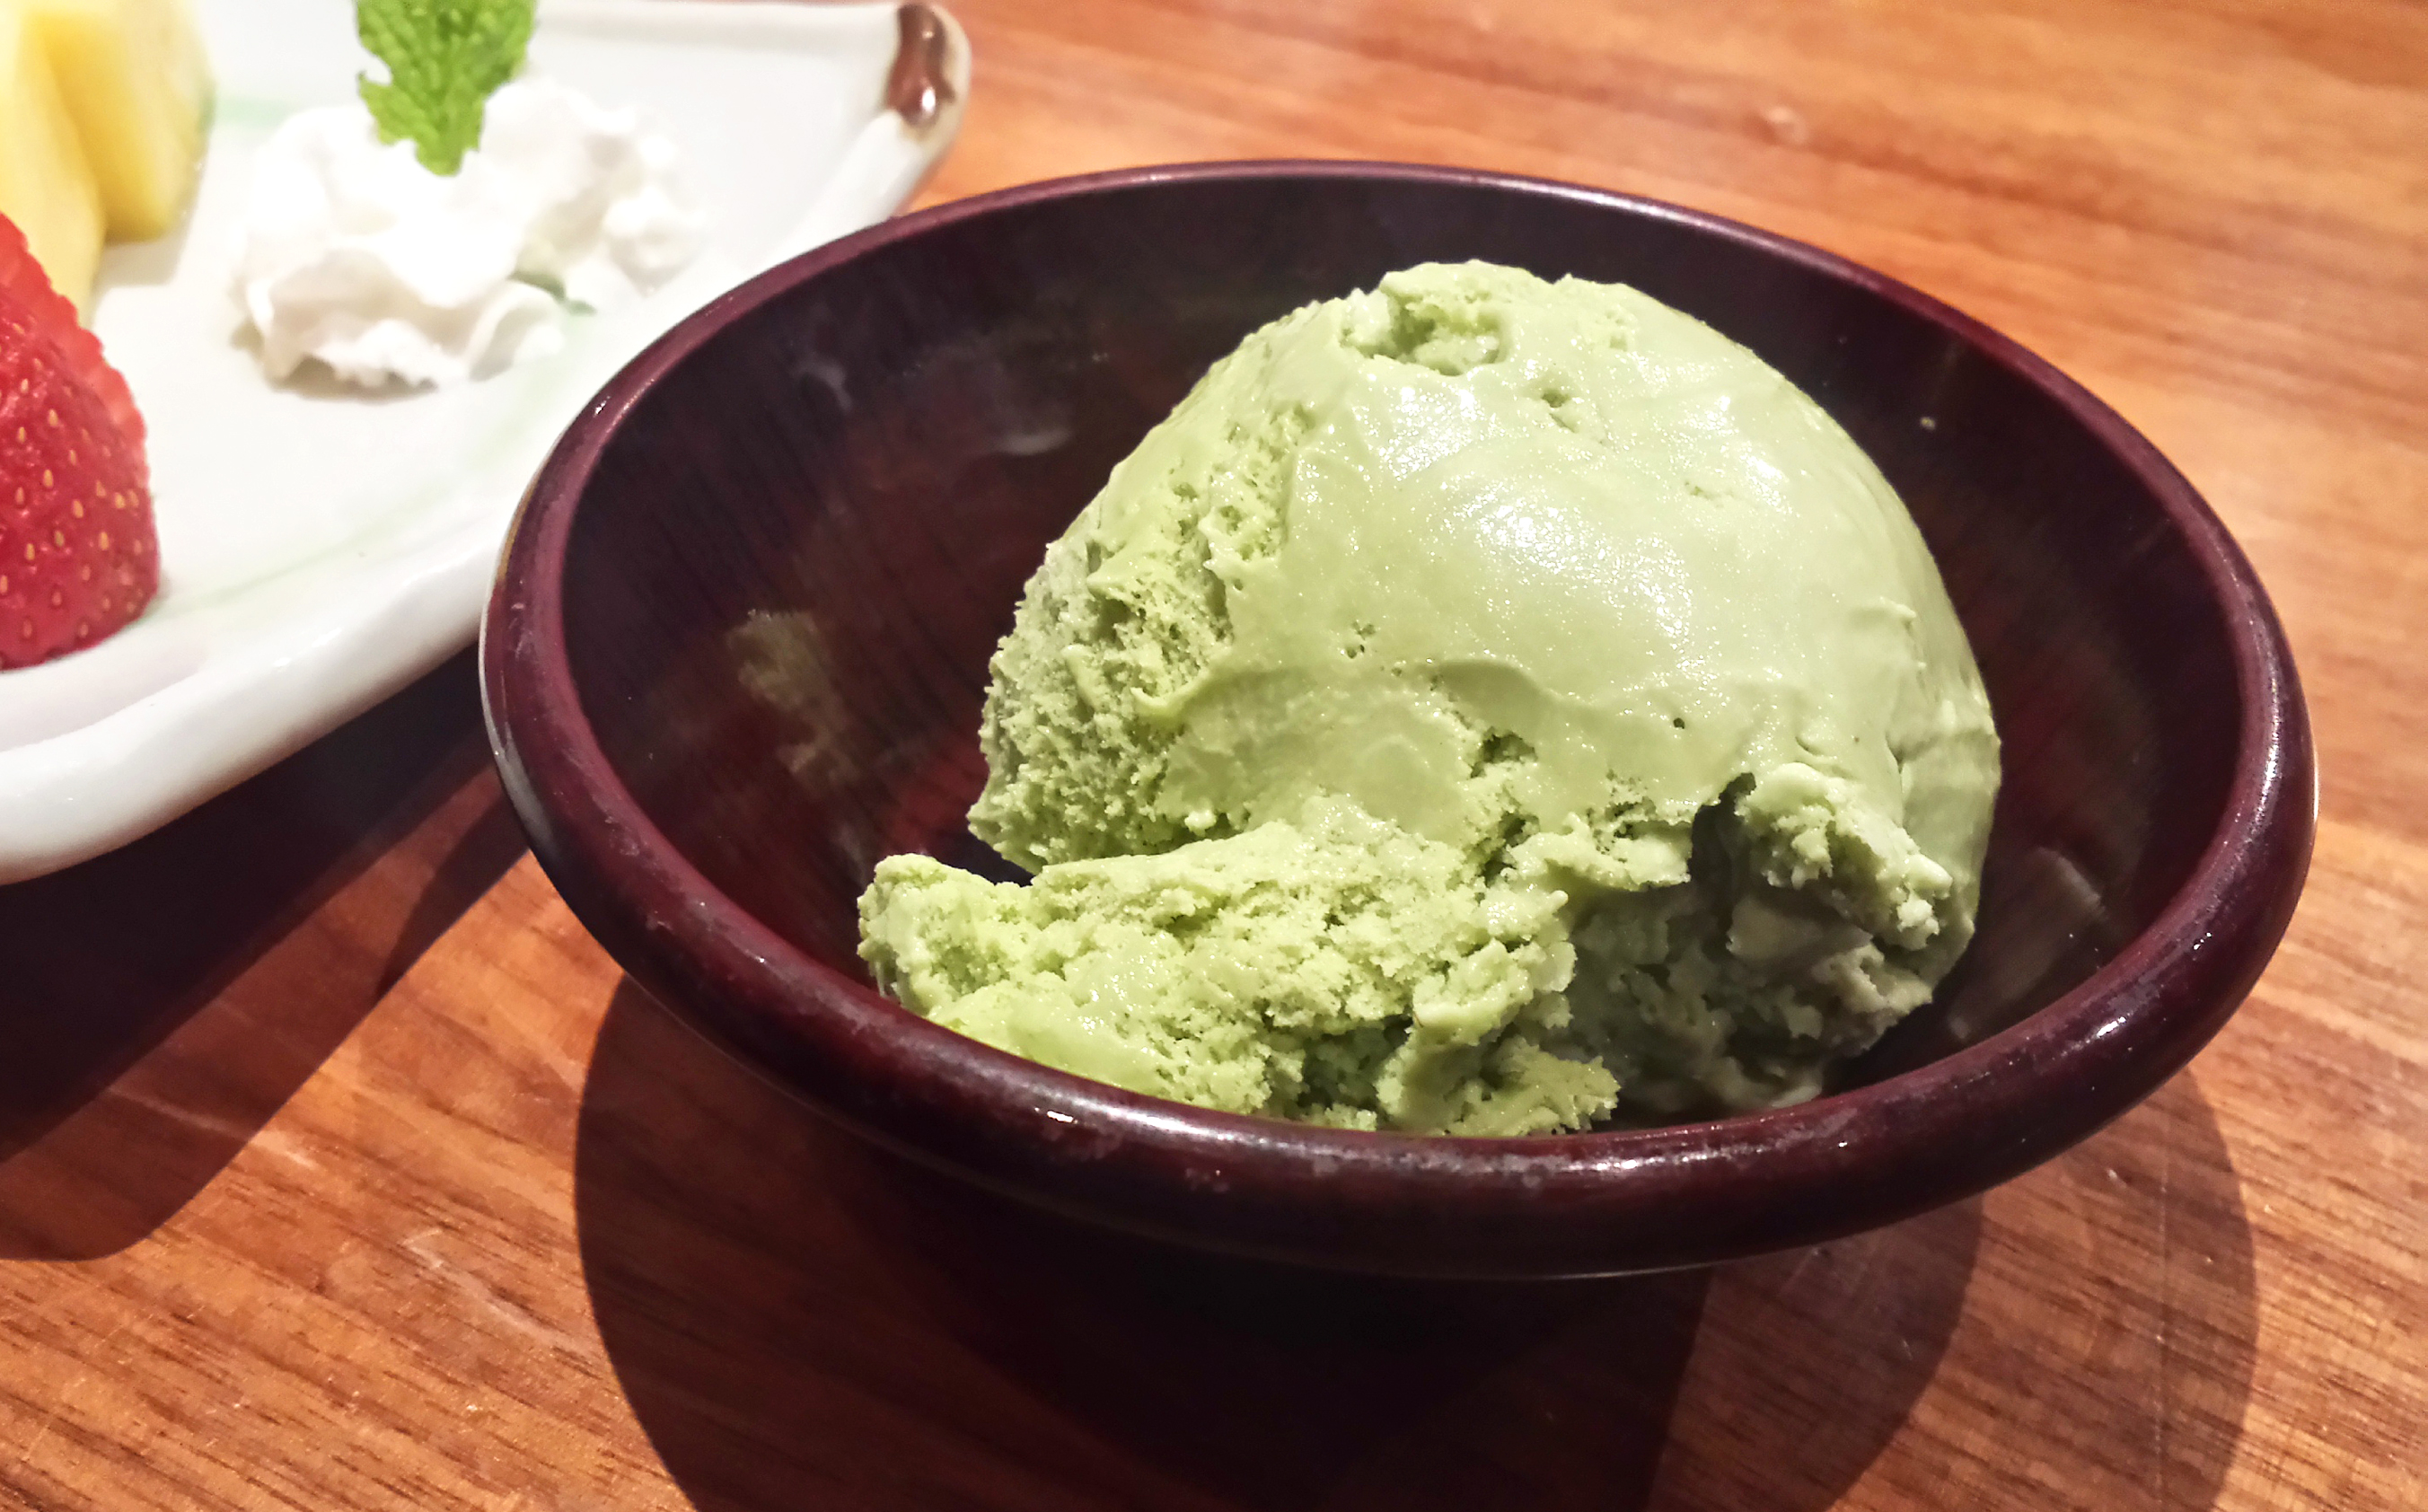
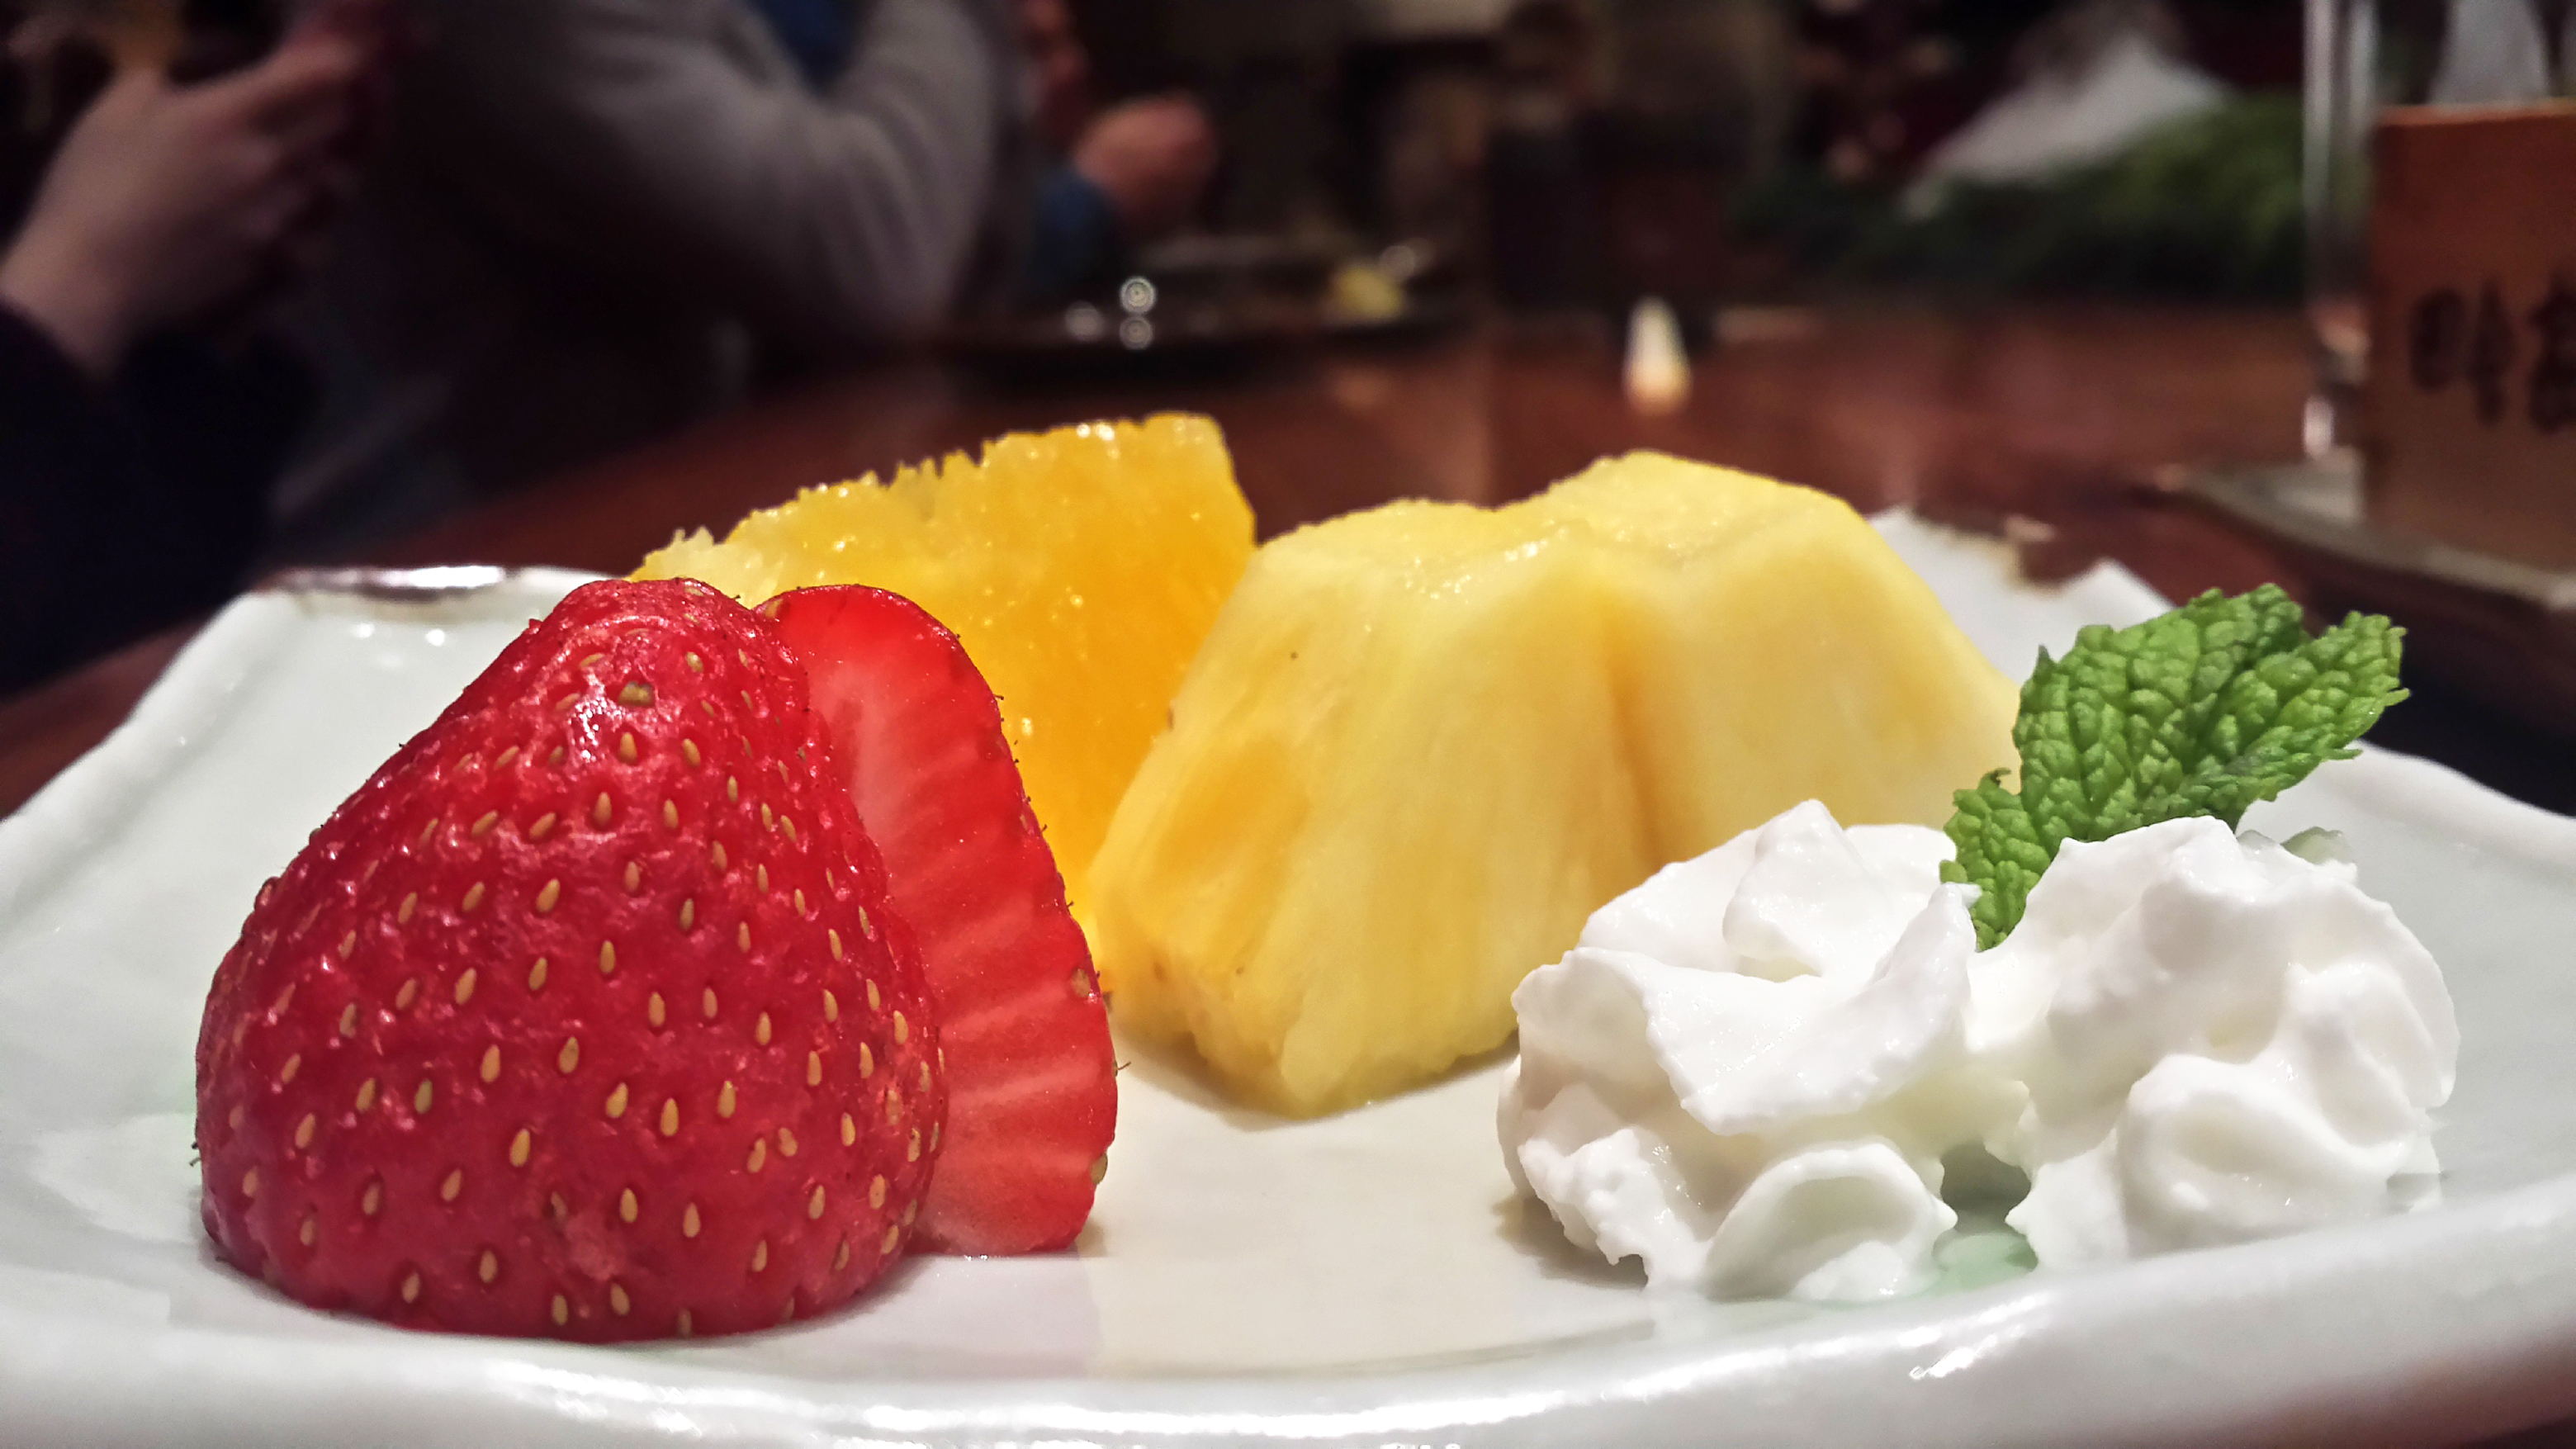
Dessert was really simple. Green tea ice cream and fresh fruit with whipped cream and a sprig of mint. Basic, fresh and good. The fruit plate was a little small, but otherwise no real complaints here. We were full anyway.
This place is totally worth it, in my opinion. $65 is a good deal for one. My wife nailed it with $55 for two through some crazy ass deal she found online. If you can do the same, I highly recommend doing it. Total win.
To celebrate some good news, we decided to grab some meat at Takashi, a place which so craftily served us some delicious beef ramen just a week or two prior. For the run down on that, scroll down to the bottom of this review, or check out The Great Noodle Chase post.
This time around we wanted grilled beef the whole way. No broth. No noodles. Just the protein. And that’s kinda what Takashi is all the fuck about! They ONLY serve beef. No pork. No fucking chicken. BEEF. And not only that, but it’s all top notch kobe quality, and they ain’t afraid to serve up the nasty bits – the offal. Fuck… This place even has testicles on the menu, and they have no shame in putting the words BEEF BALLS on the fucking menu! Needless to say, this fucking place is made for guys like me.
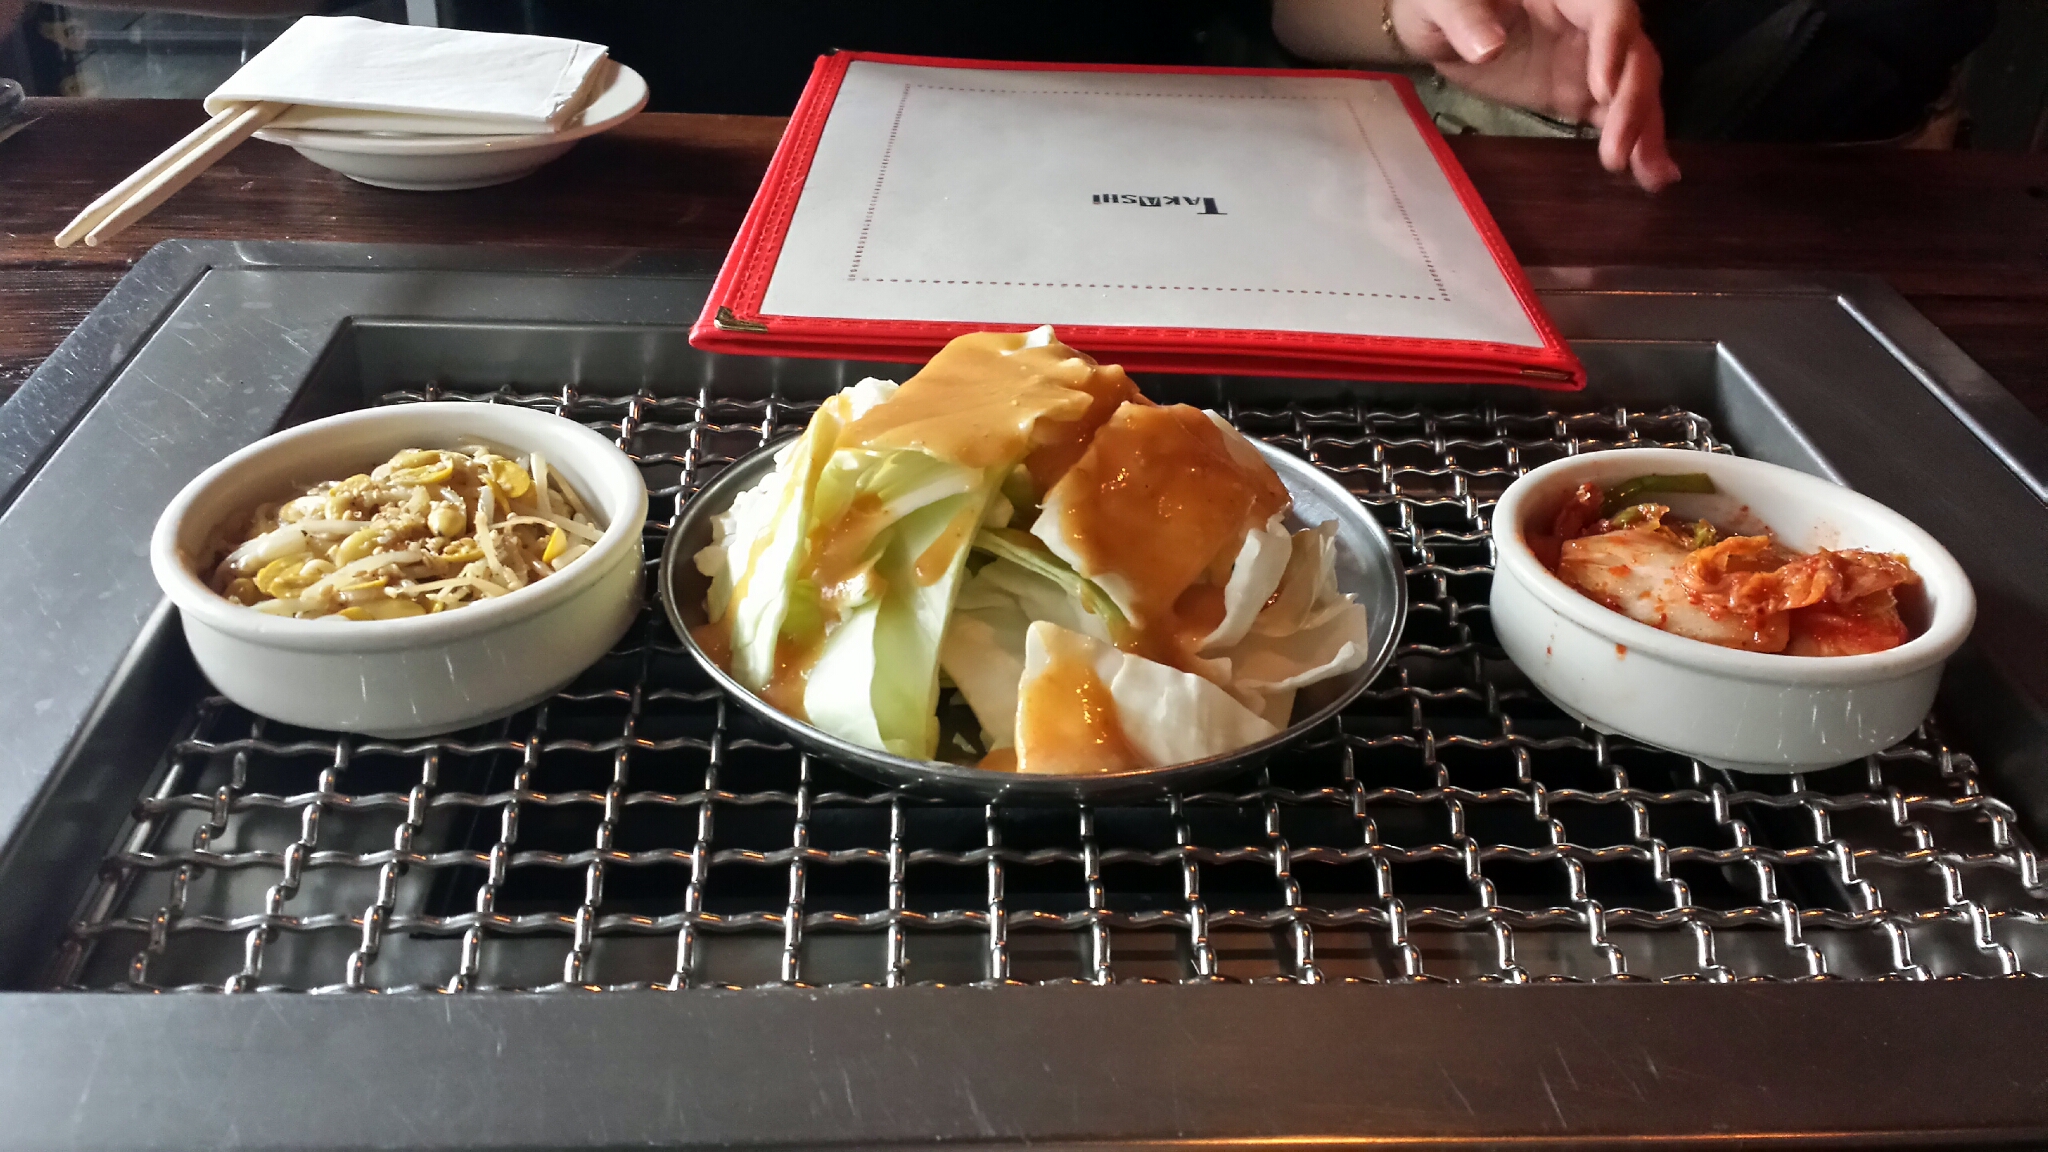
First came some small dishes of Kim chi, bean sprouts and cabbage with soy ginger dressing. Yeah, I ate it…
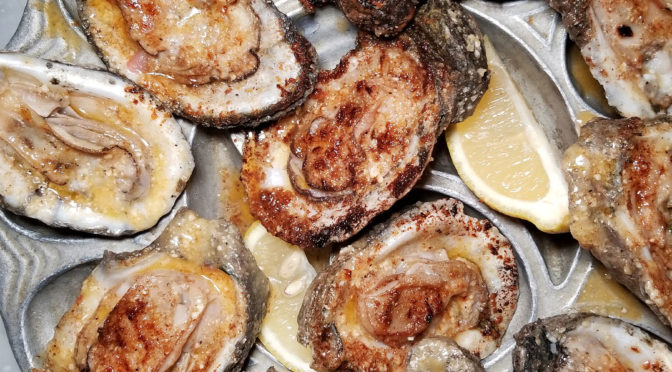
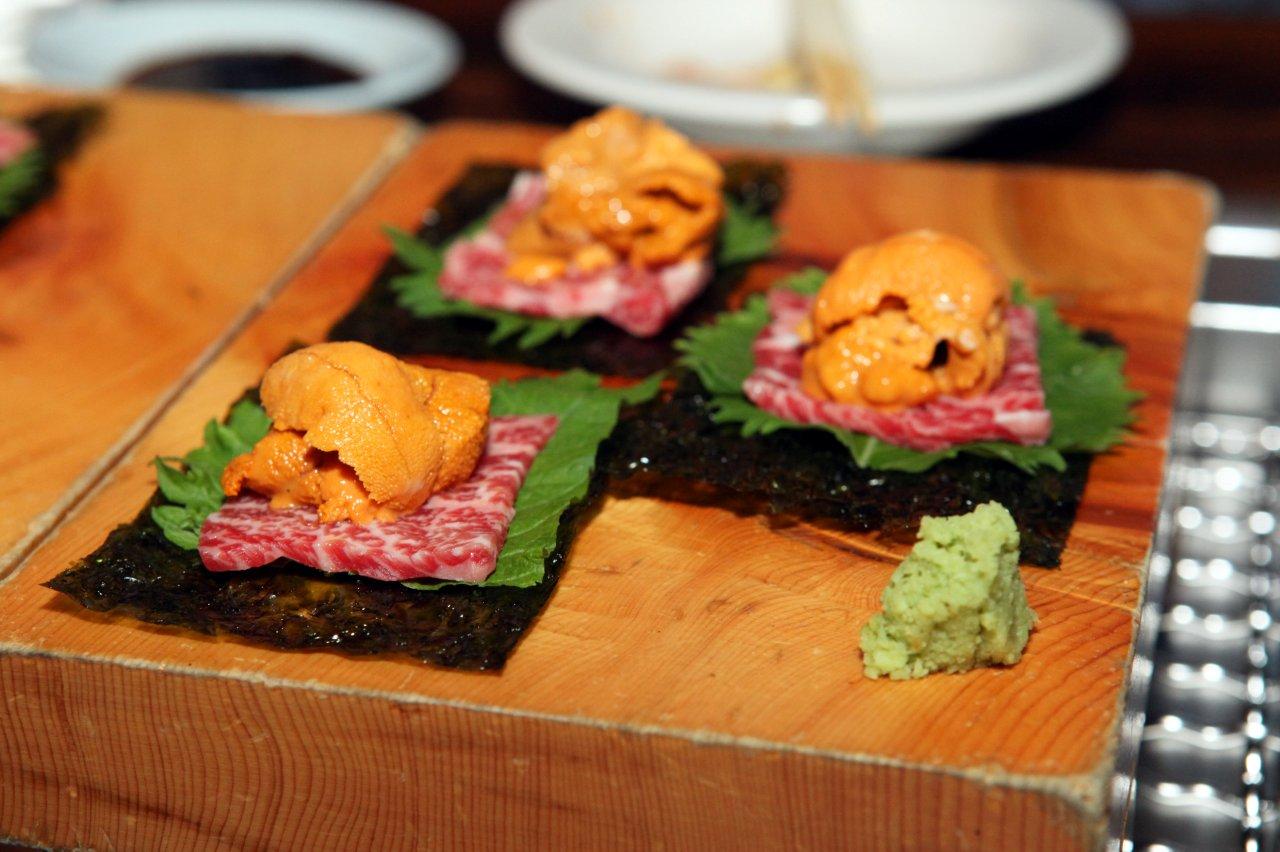
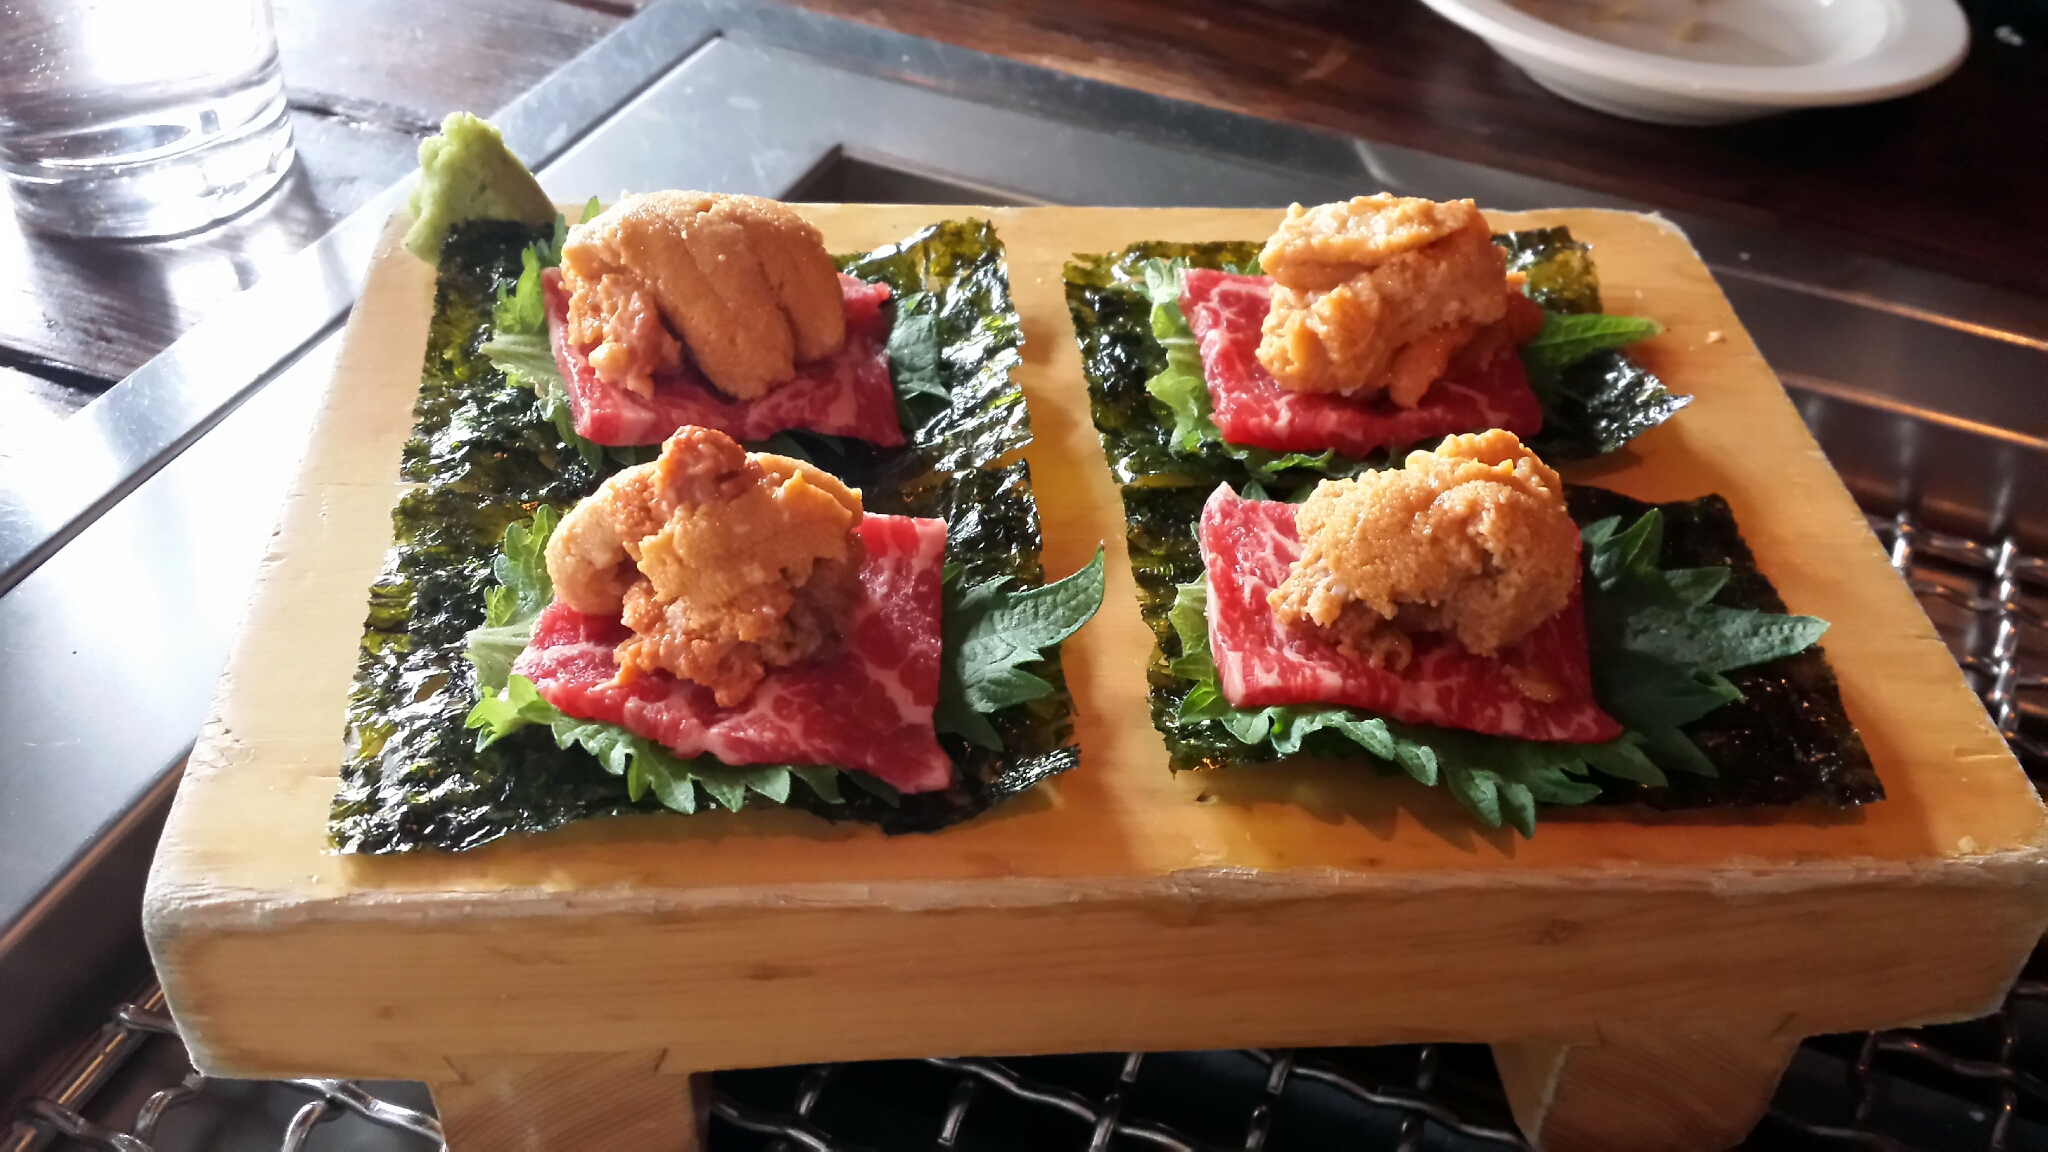
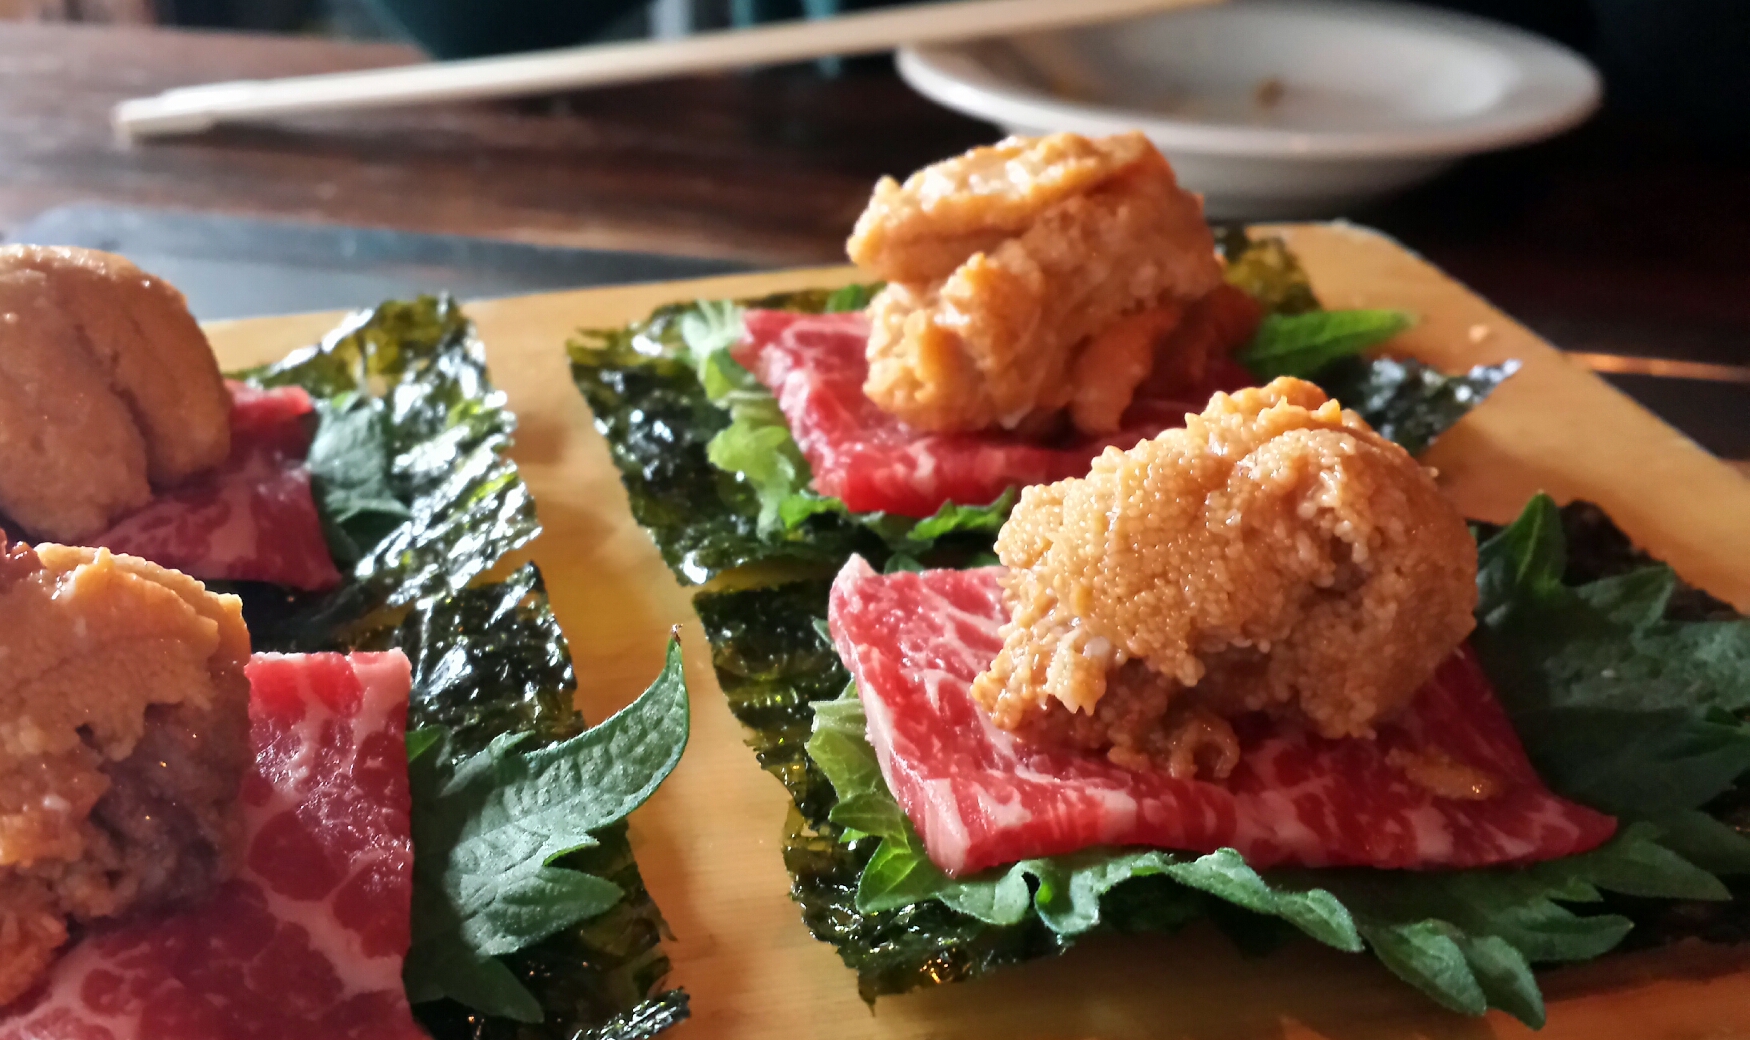
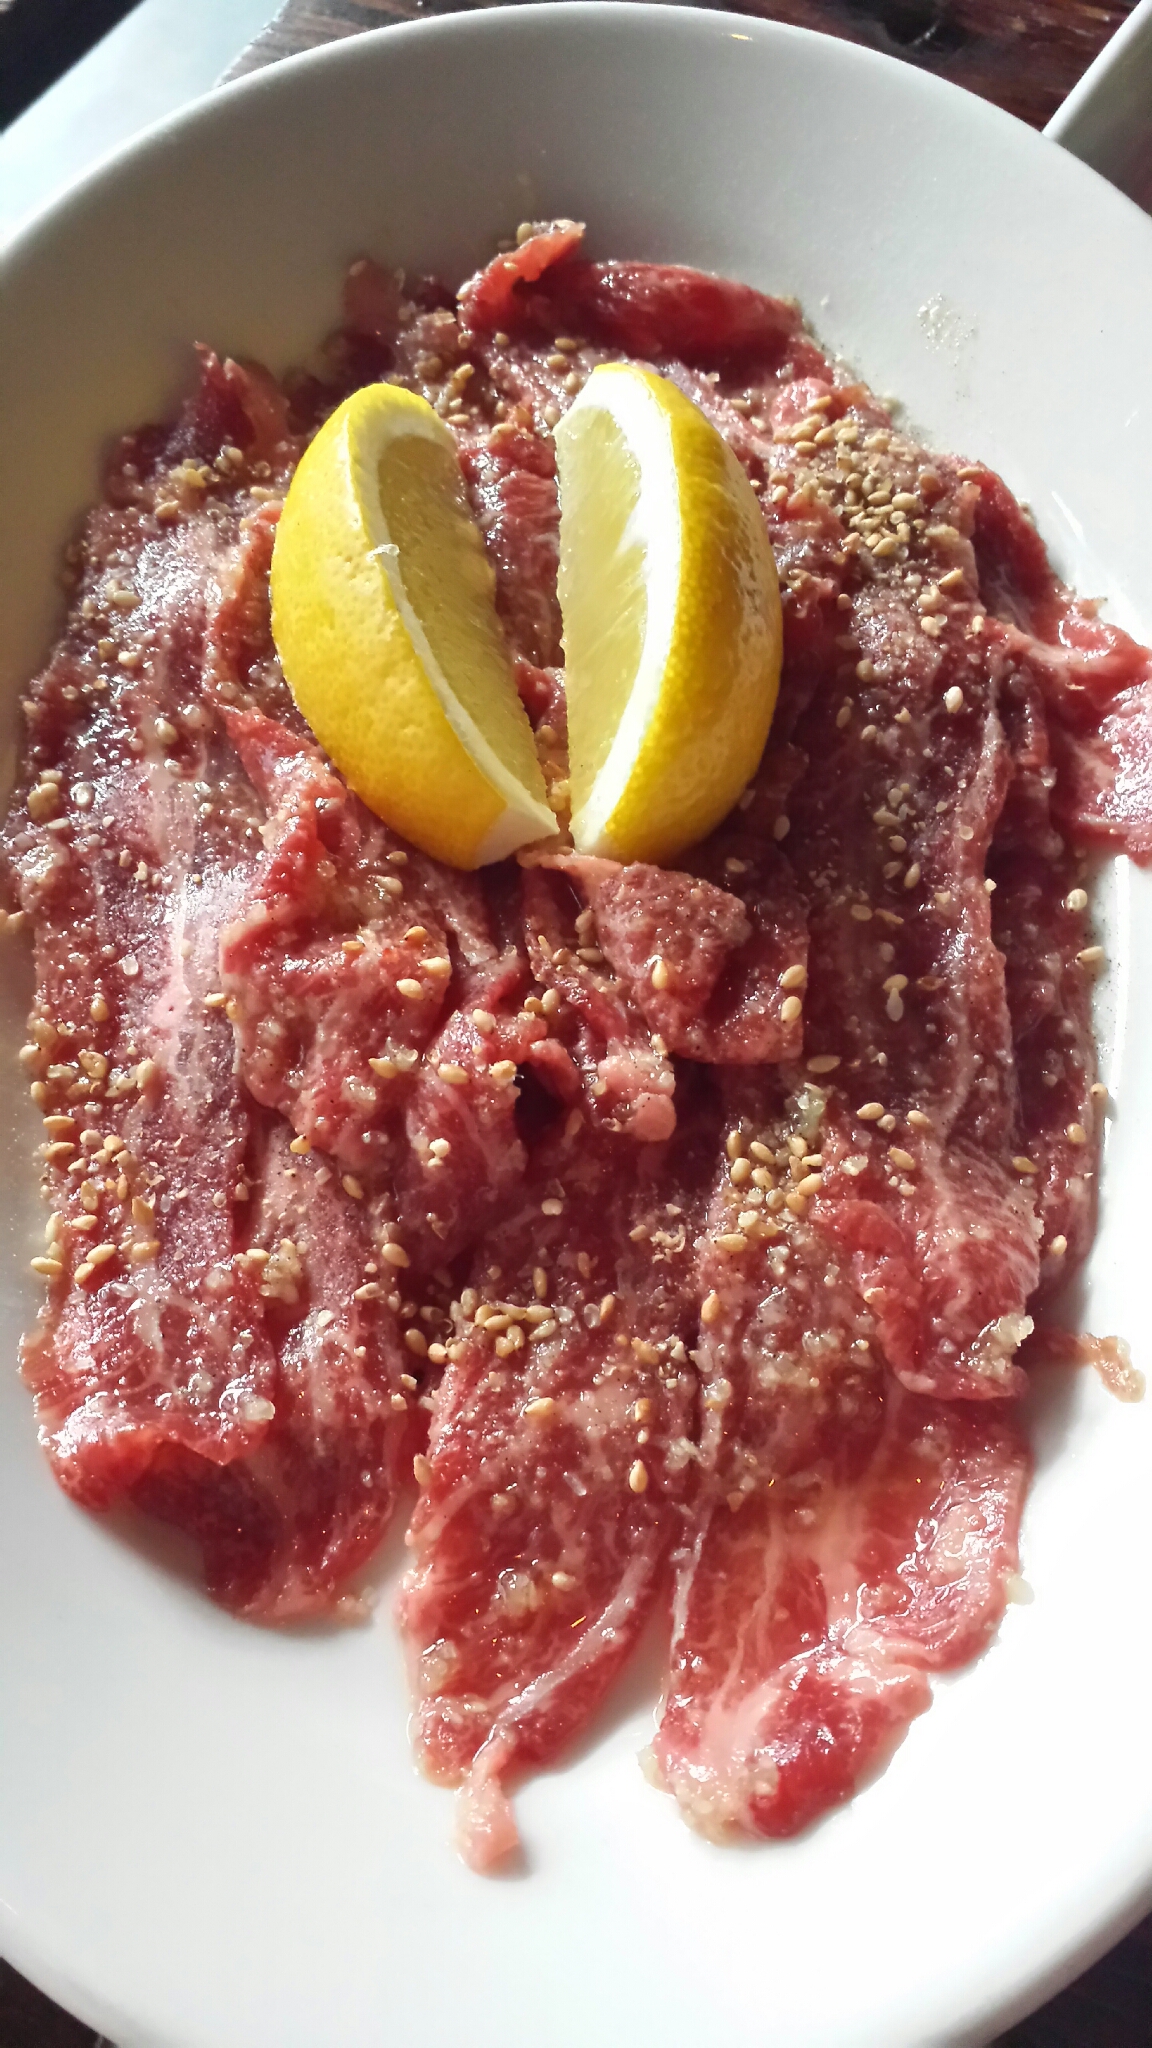
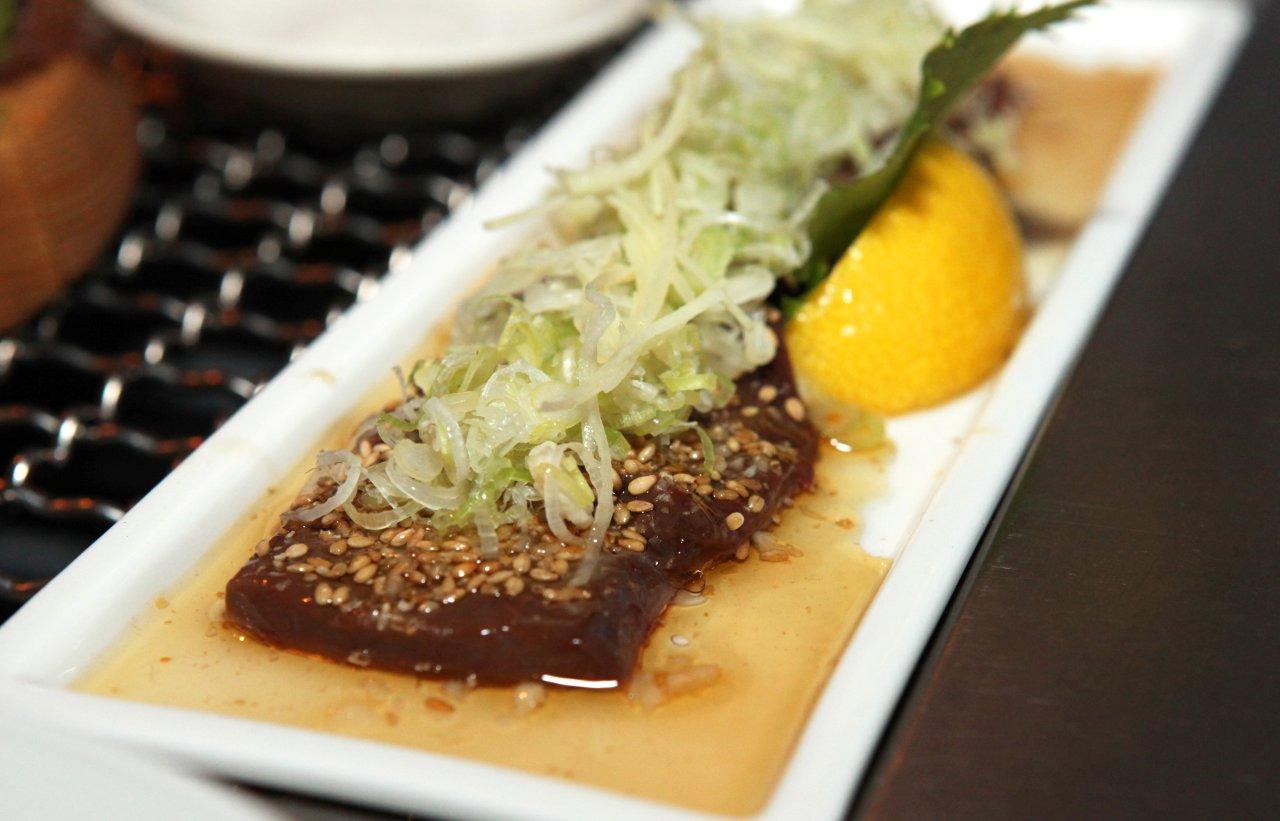
Next was the raw sea urchin on top of a nice slice of kobe chuck flap with wasabi, shiso leaf and seaweed paper. This dish is called niku-uni. It was really clean and delicious. I could easily eat a dozen of these shits, no problem.
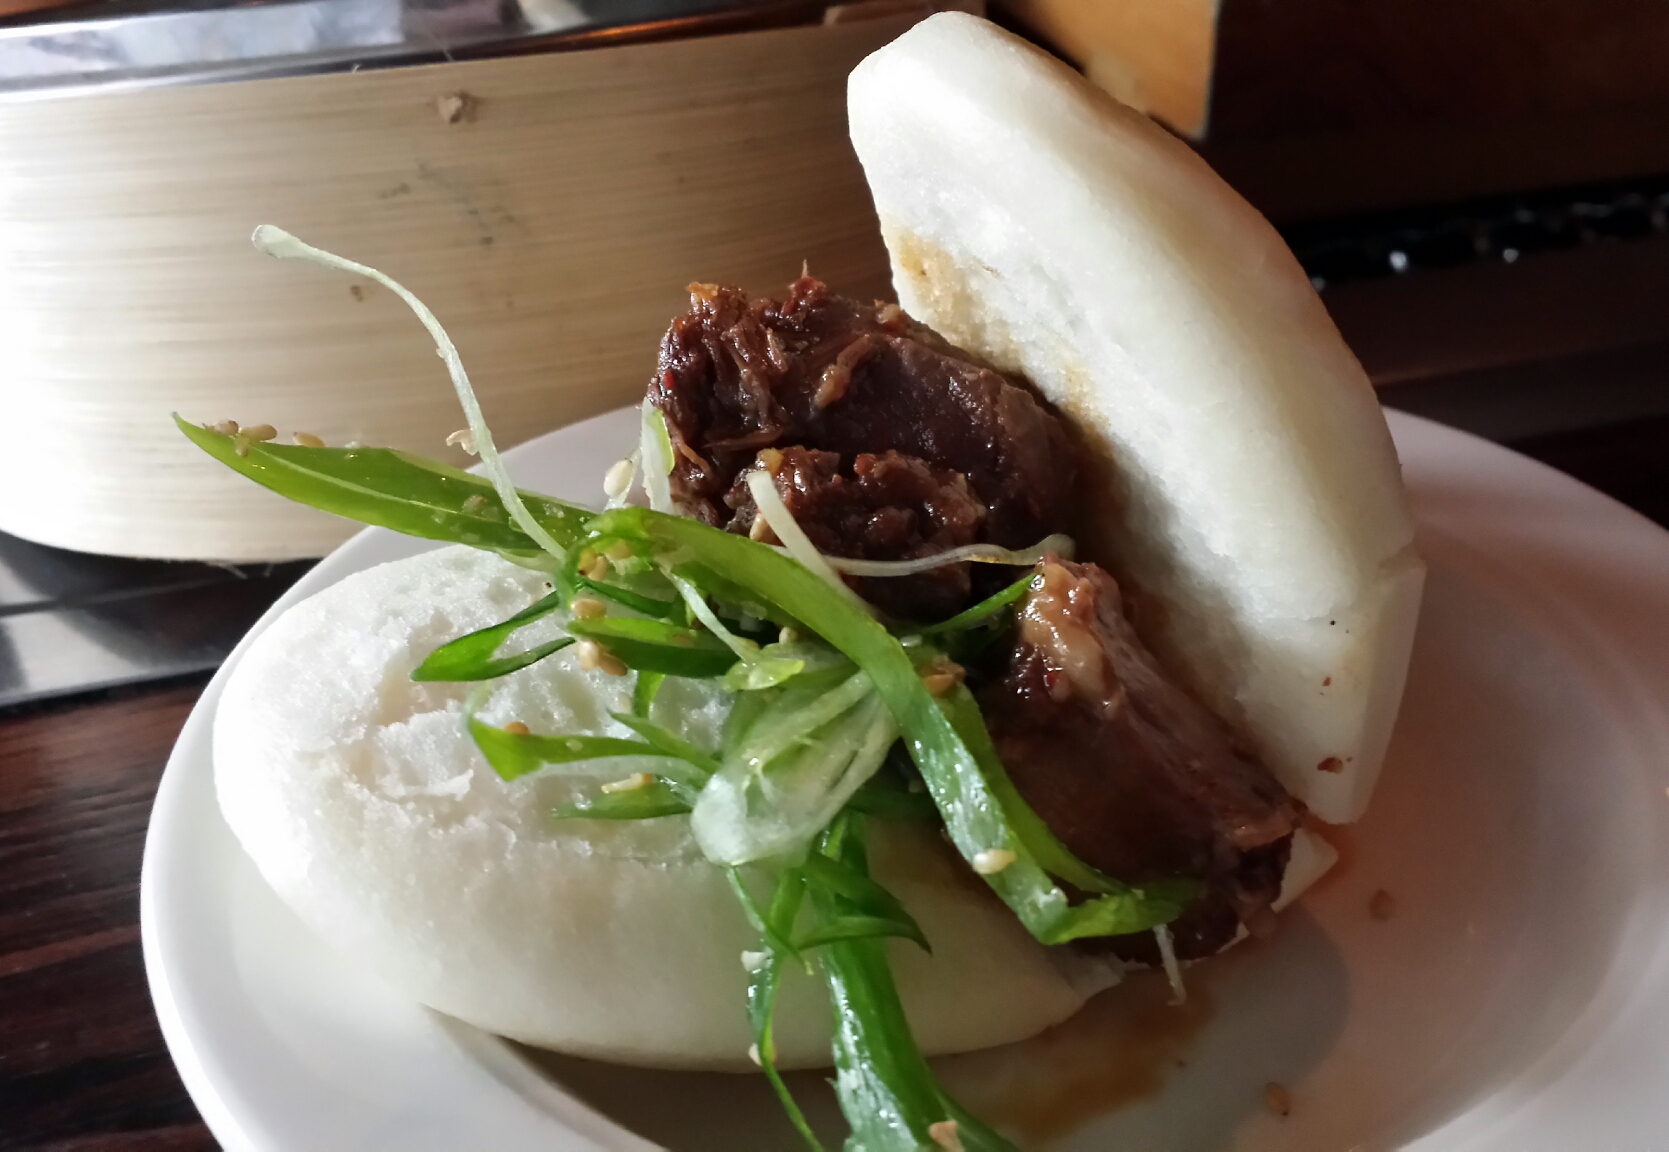
Then came the soft beef shank steamed buns with spicy mayo and scallions. These were tender and juicy, and fucking packed with bold flavor.
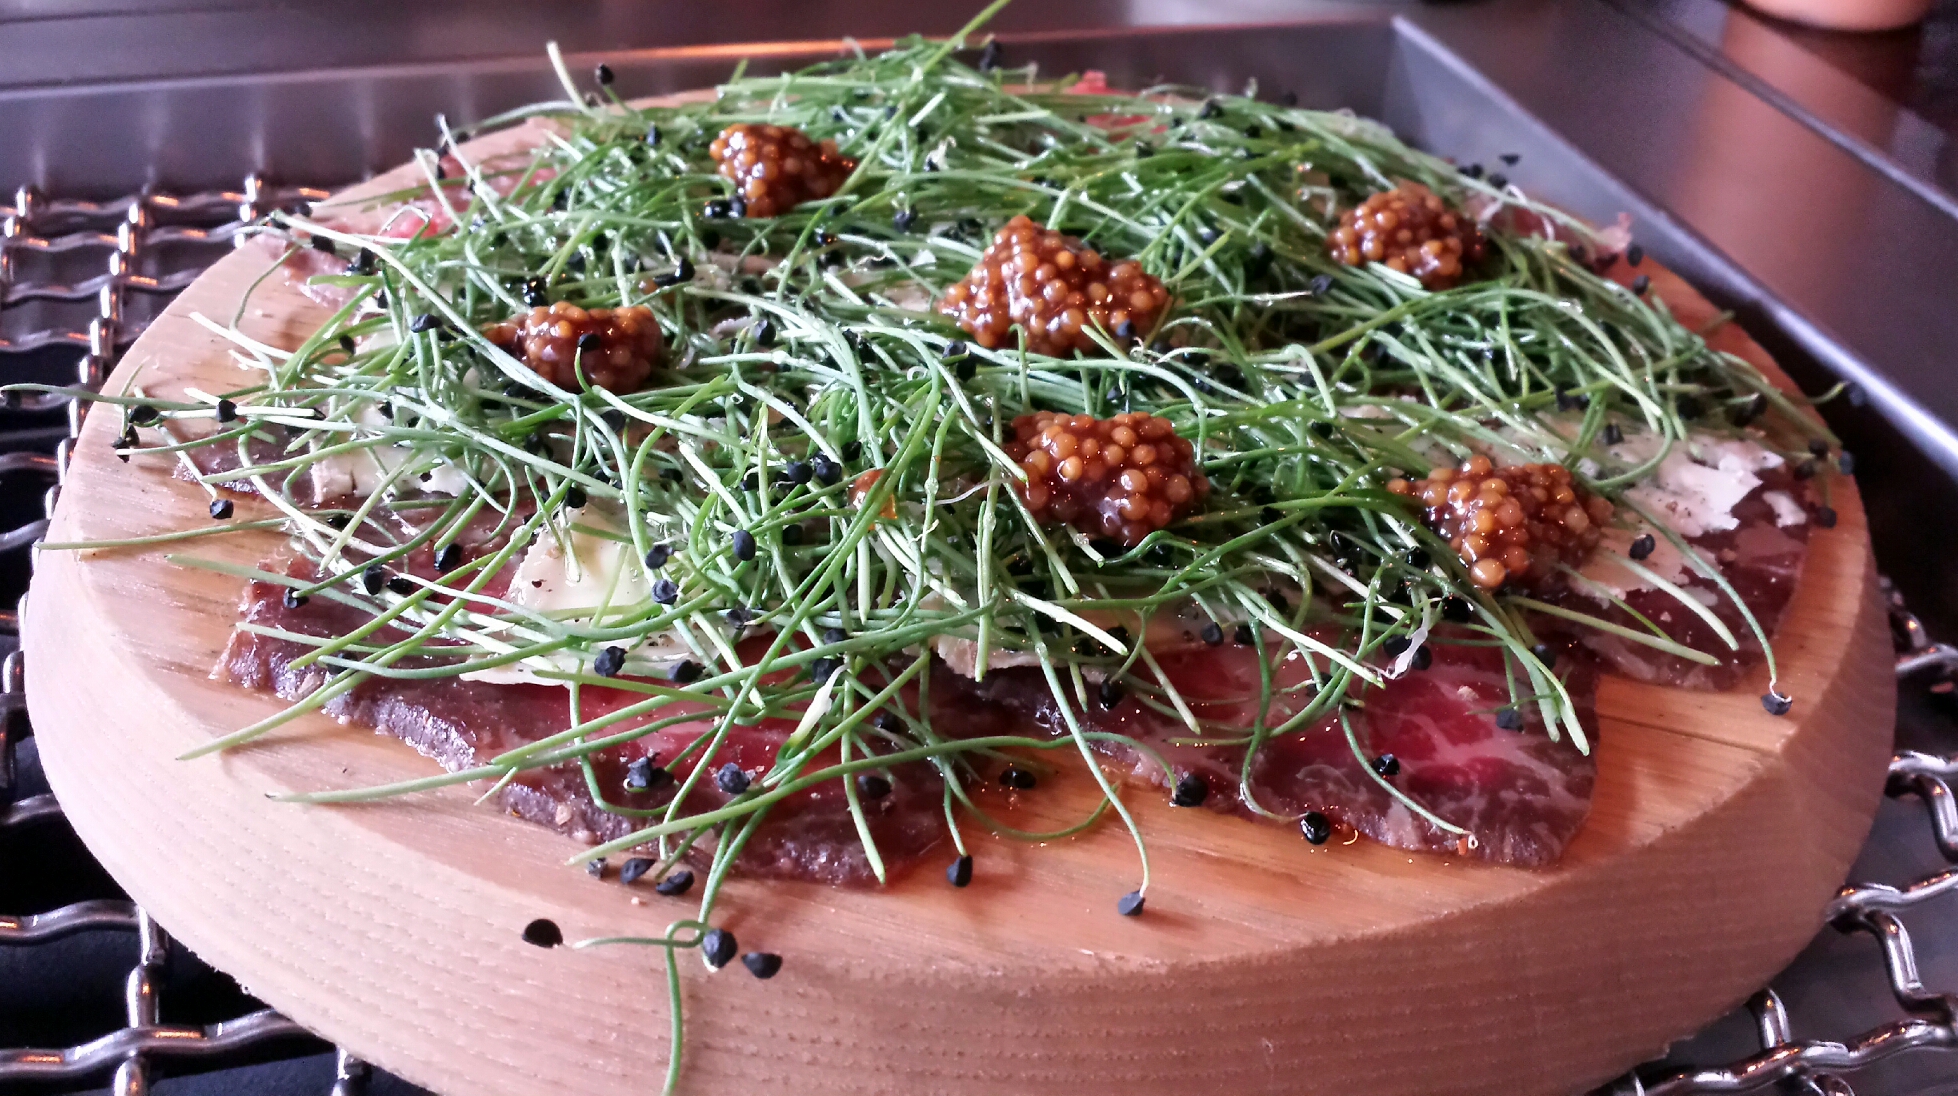
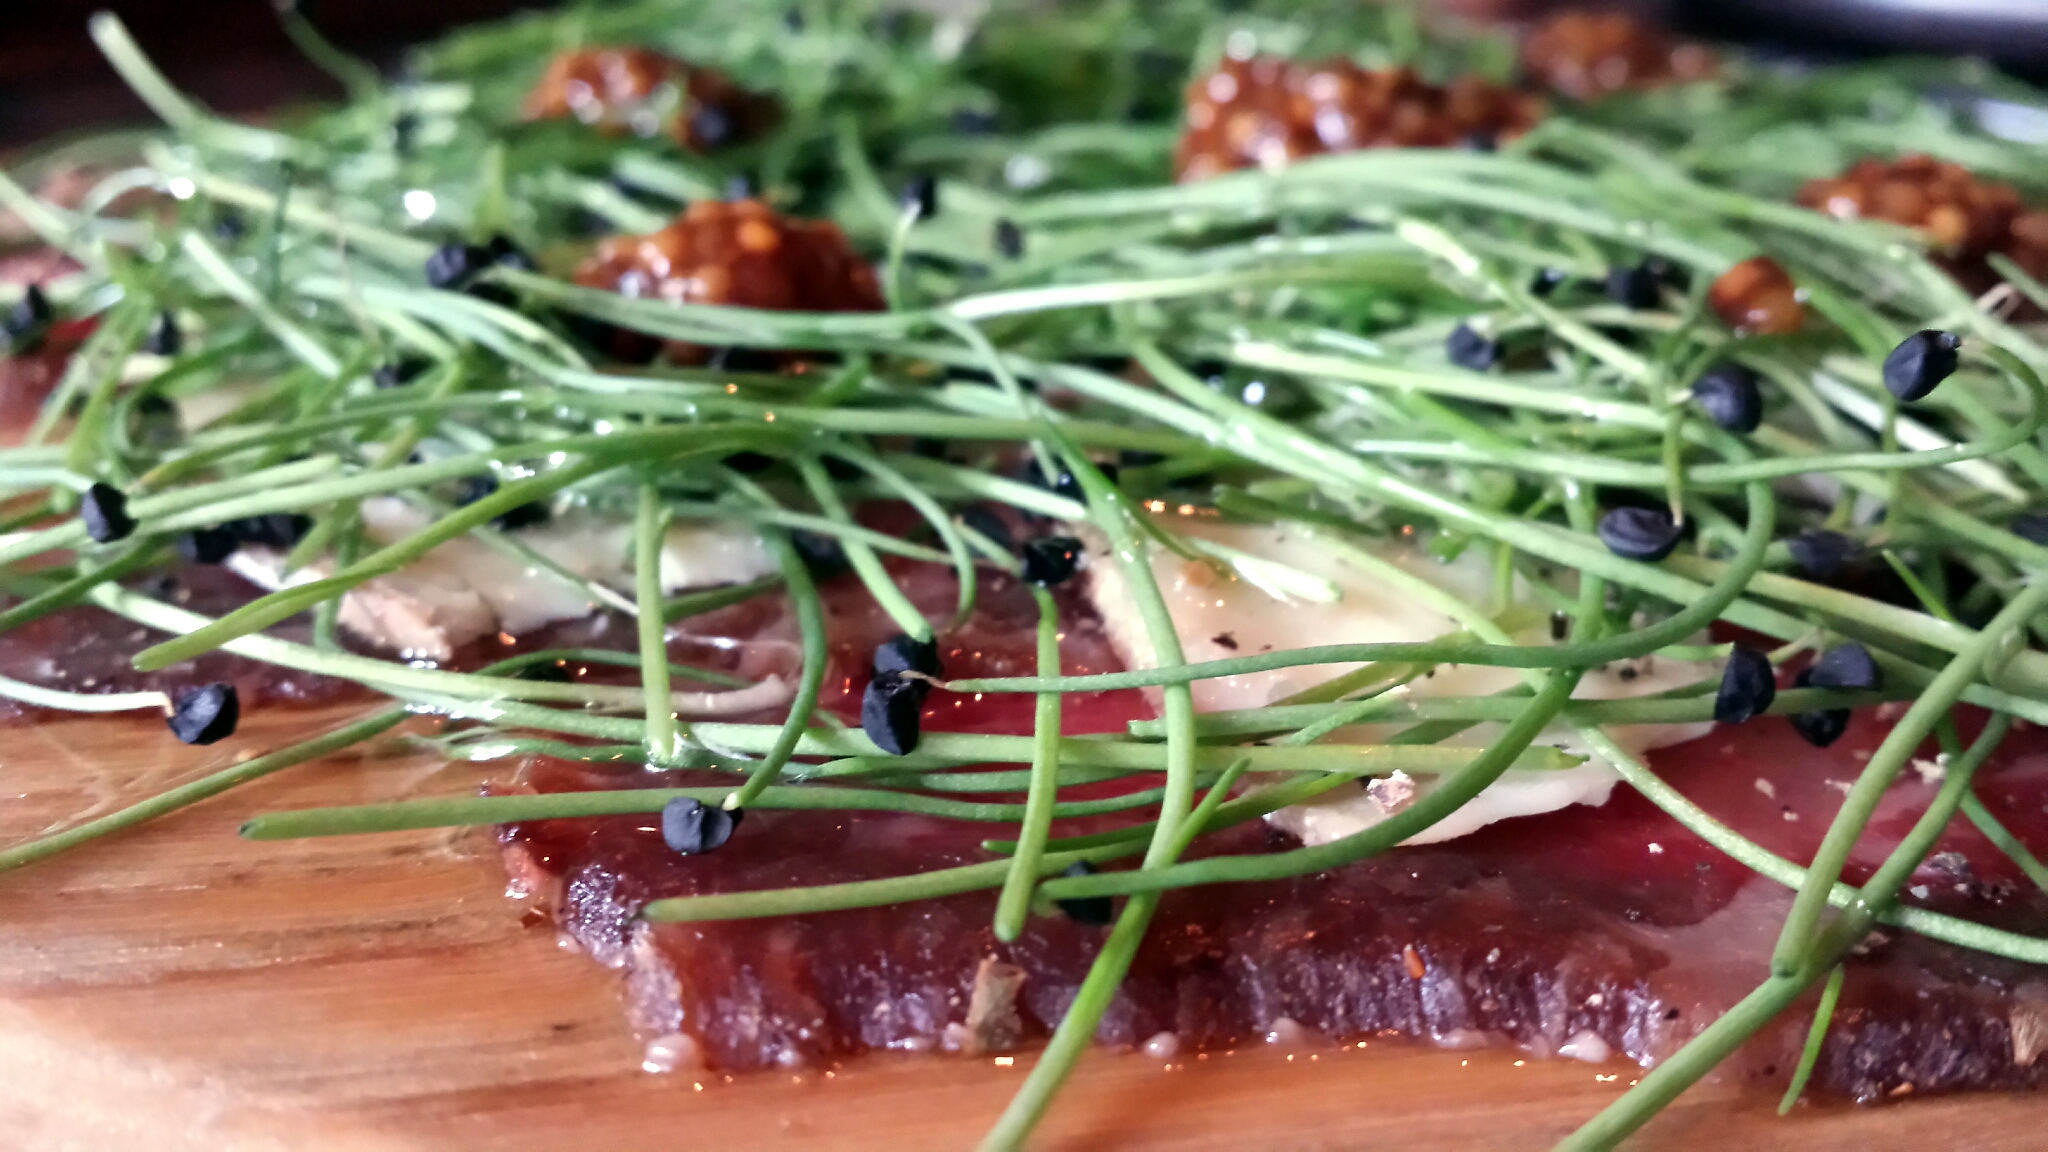
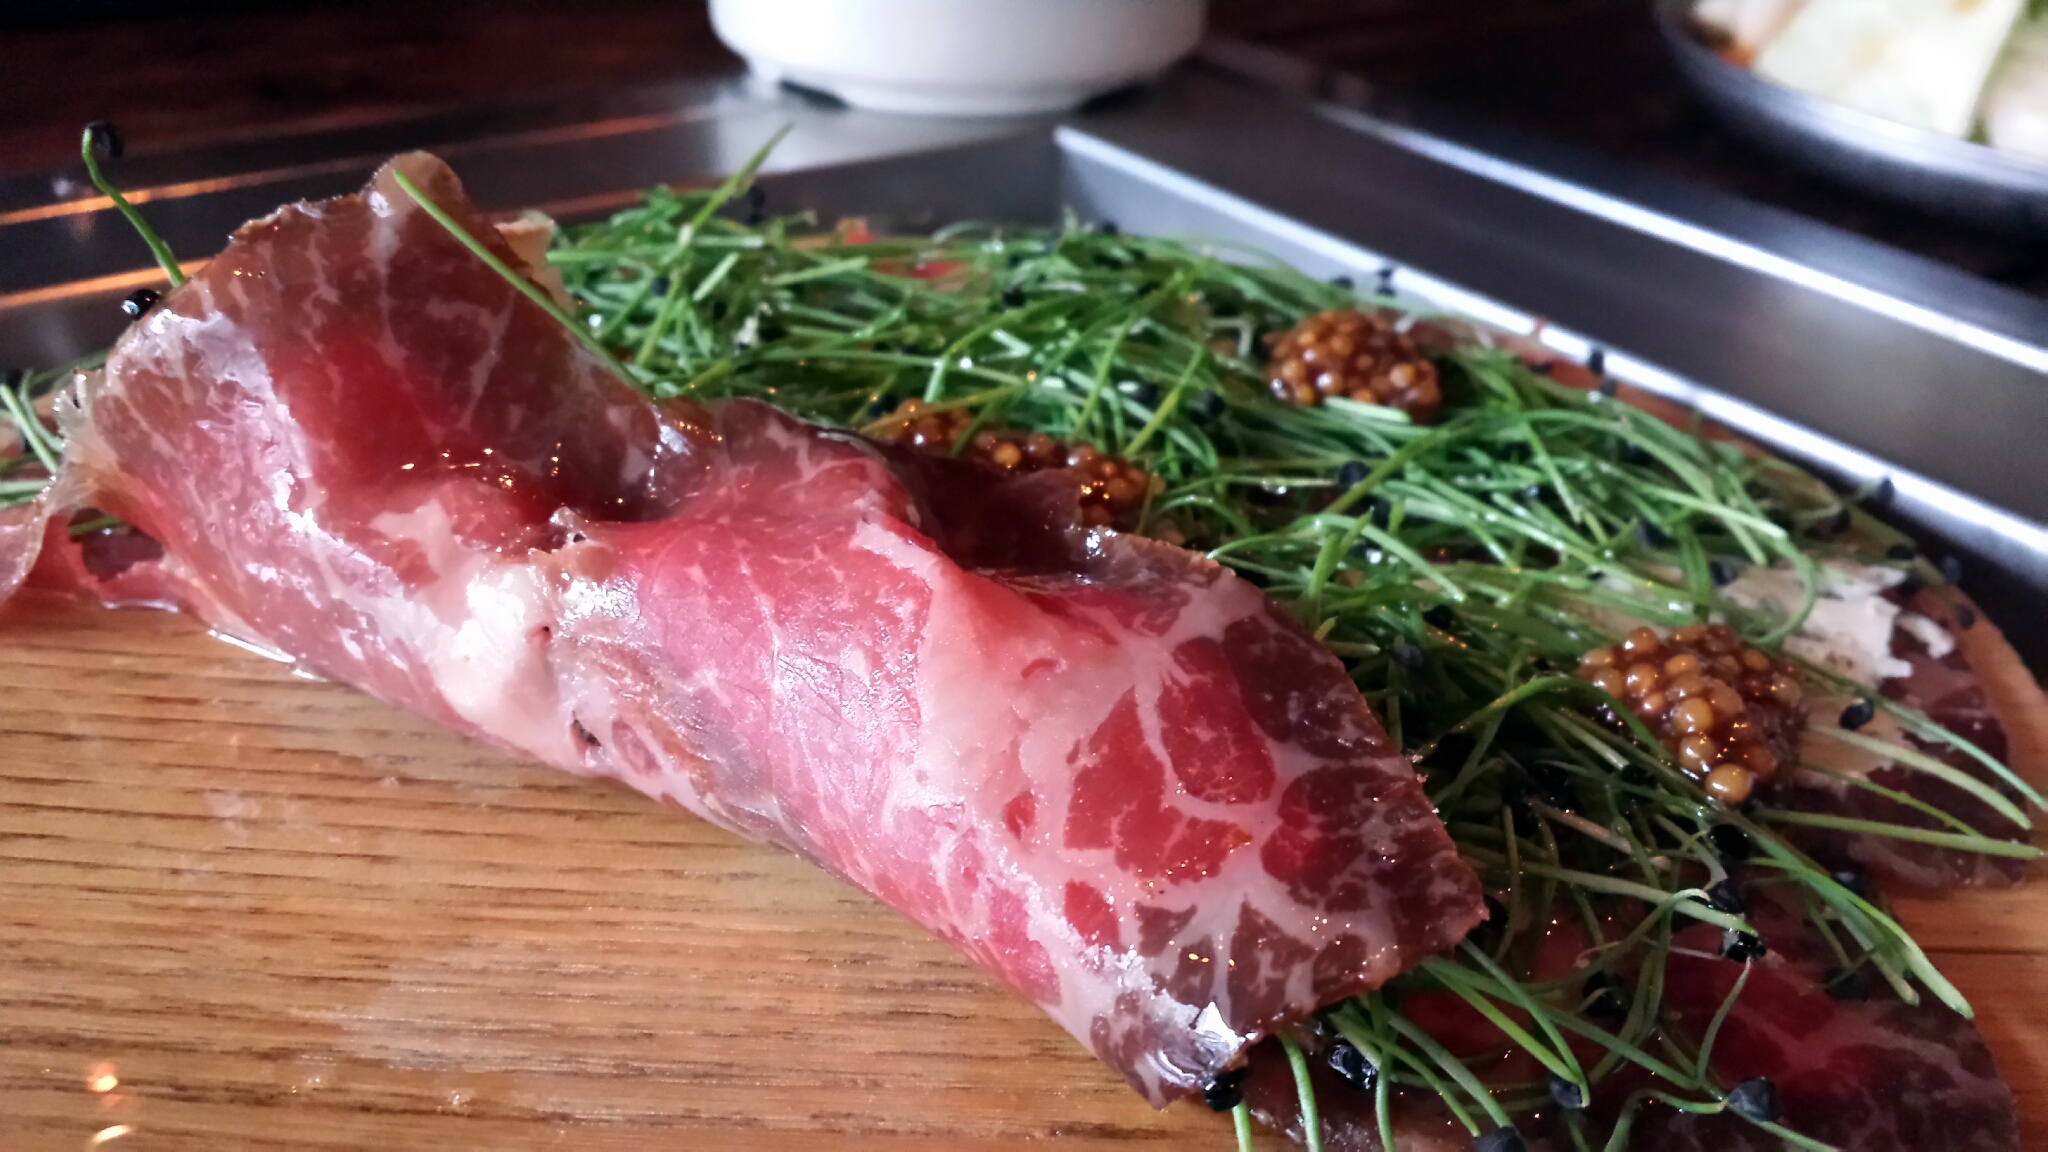
Then there was this awesomeness. Aged kobe prosciutto (whaaaaaat!?!!) with thinly sliced blue cheese and micro scallions, topped with a soy hazelnut honey mustard seed jam. It was earthy and robust. The characteristic aged flavors were highlighted with a nutty, funky-ass barnyard kick from the cheese. Yet it didn’t destroy the pallette. Props to the chef.
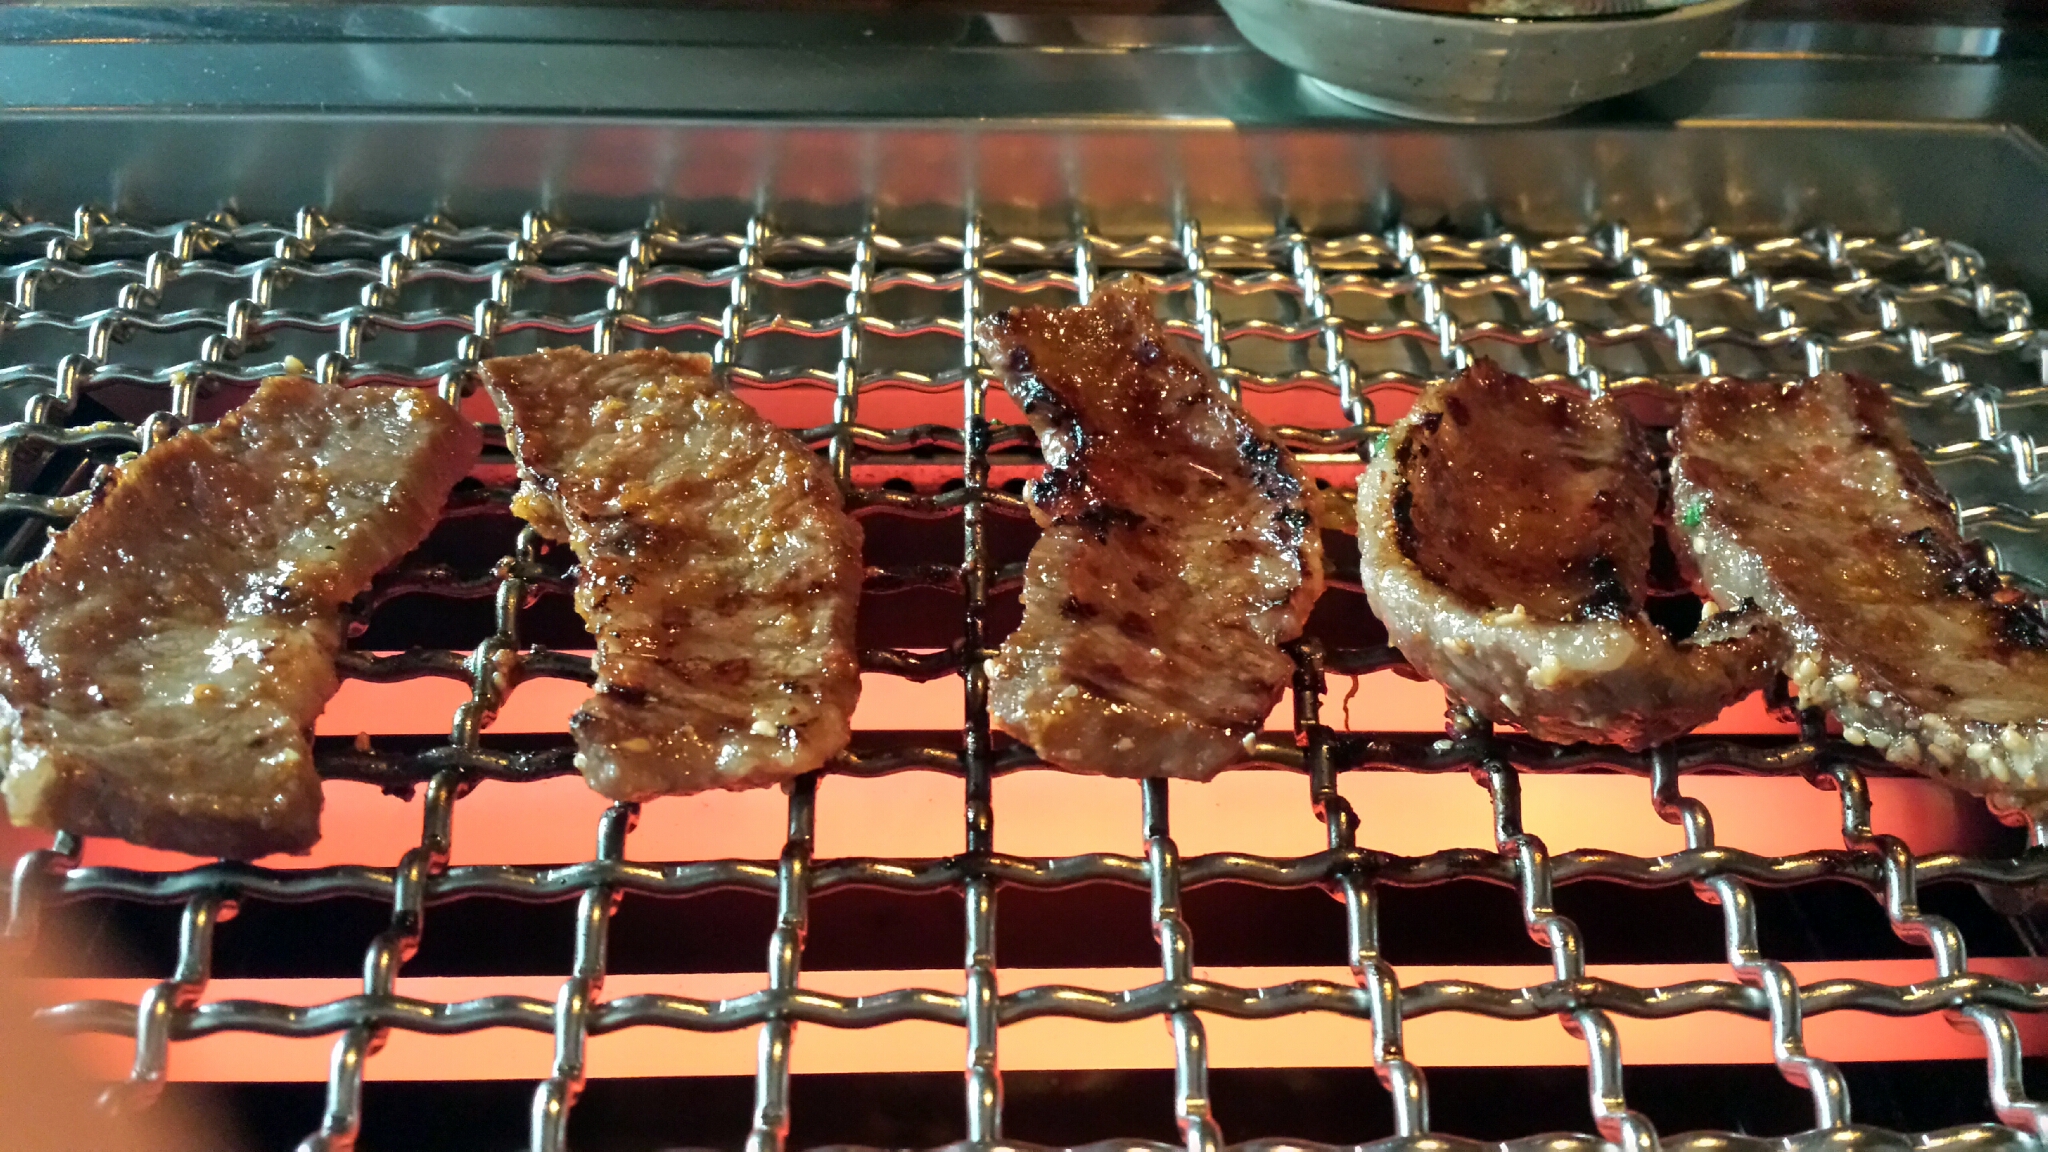
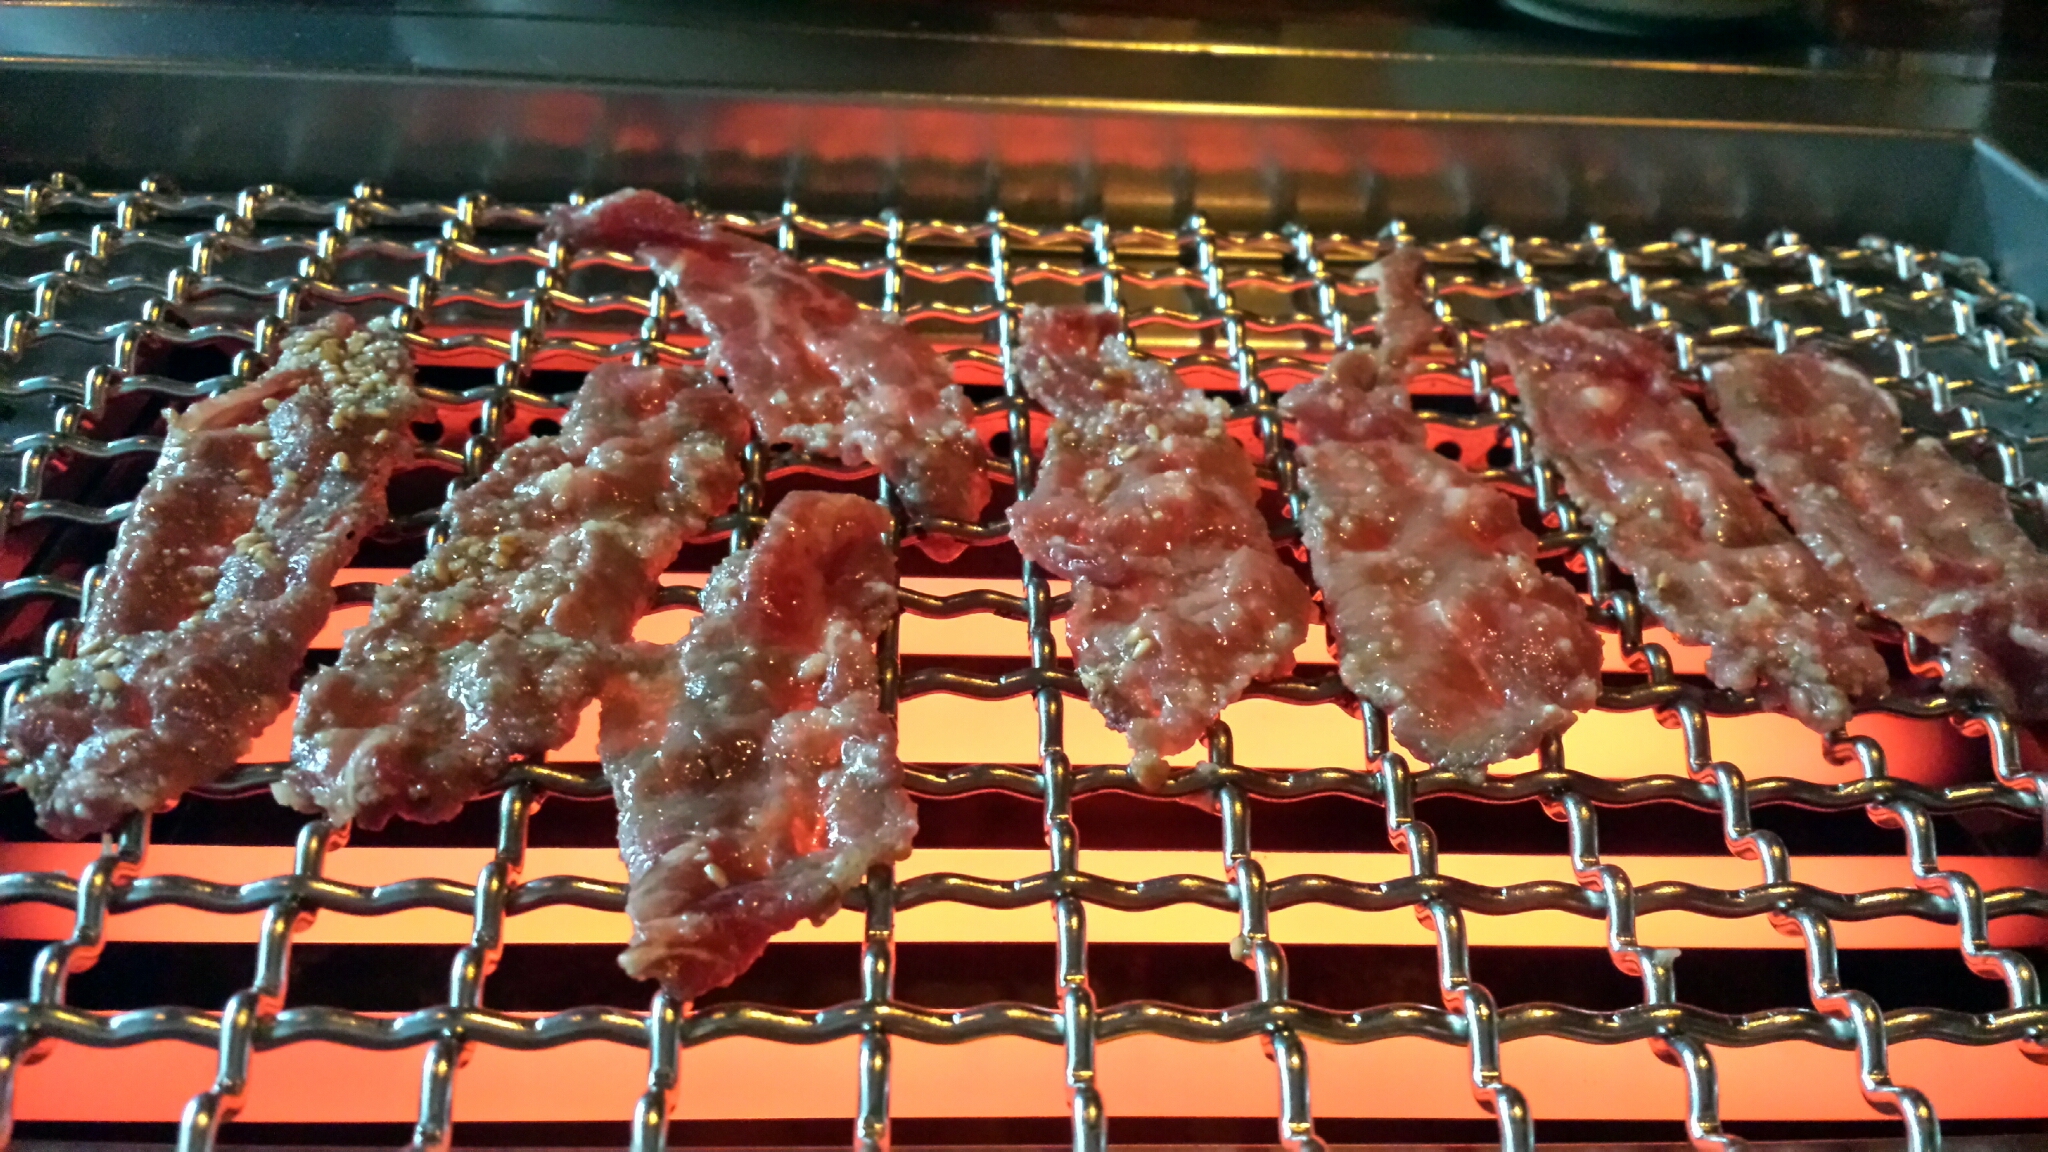
Then the grill heated up and the meats came out. Essentially the grill is just a heater coil element like what you have inside an electric oven. I think NYC has some shitty law that bans open flames in dining areas. So this is not technically the traditional open flame yakatori style you find in Japan, but it did fill the craving for grilled meat.
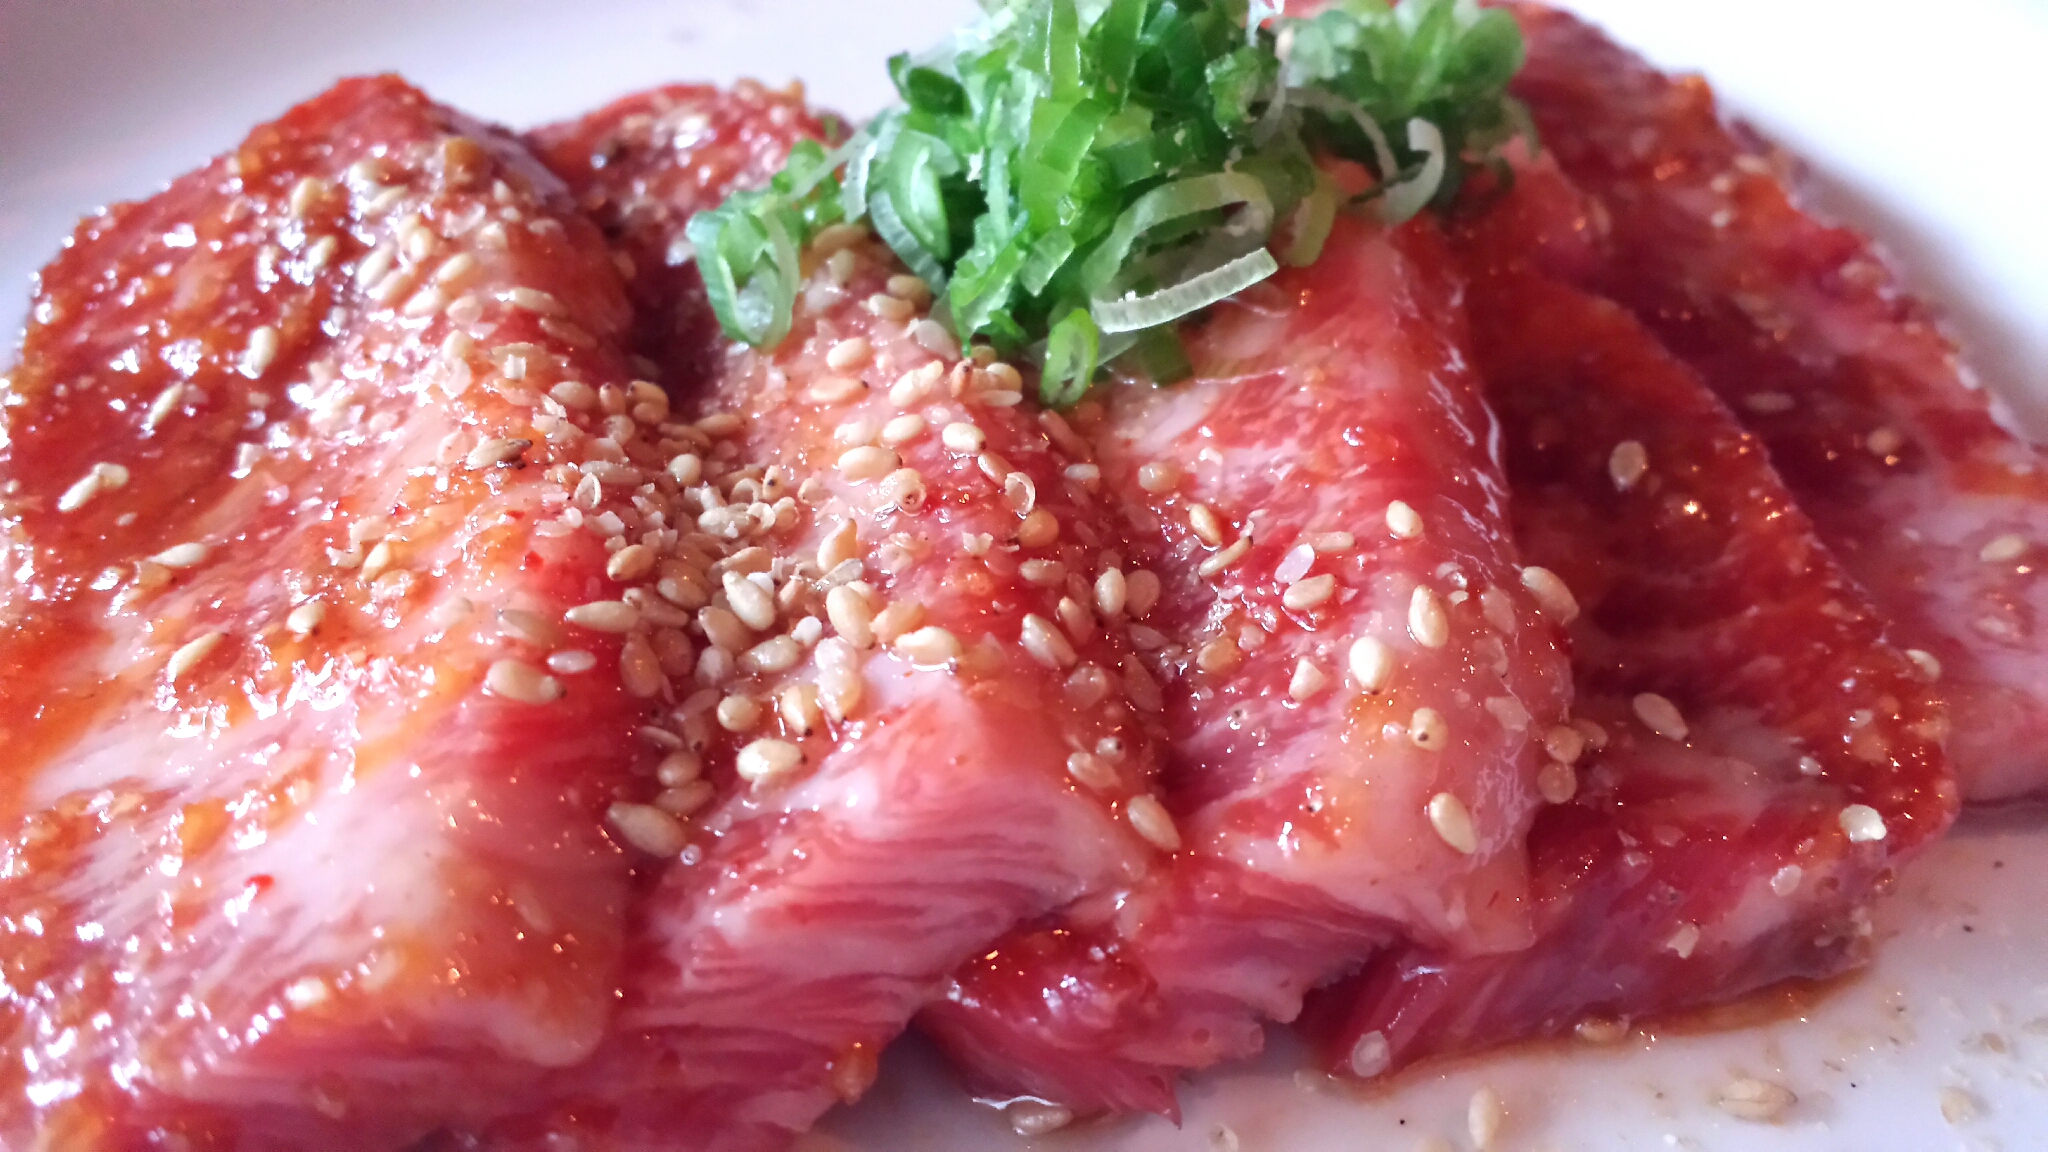
All of the meats were marinated in the house special Takashi sauce, and served with a small dish of sesame oil for dipping. They could have maybe brought out some lettuce leaves to wrap the meat, or a crunch element like fried crispy onion or shallot to sprinkle on top. The meat by itself was good, but I can see how maybe some people would want to mix up the textures a little bit.
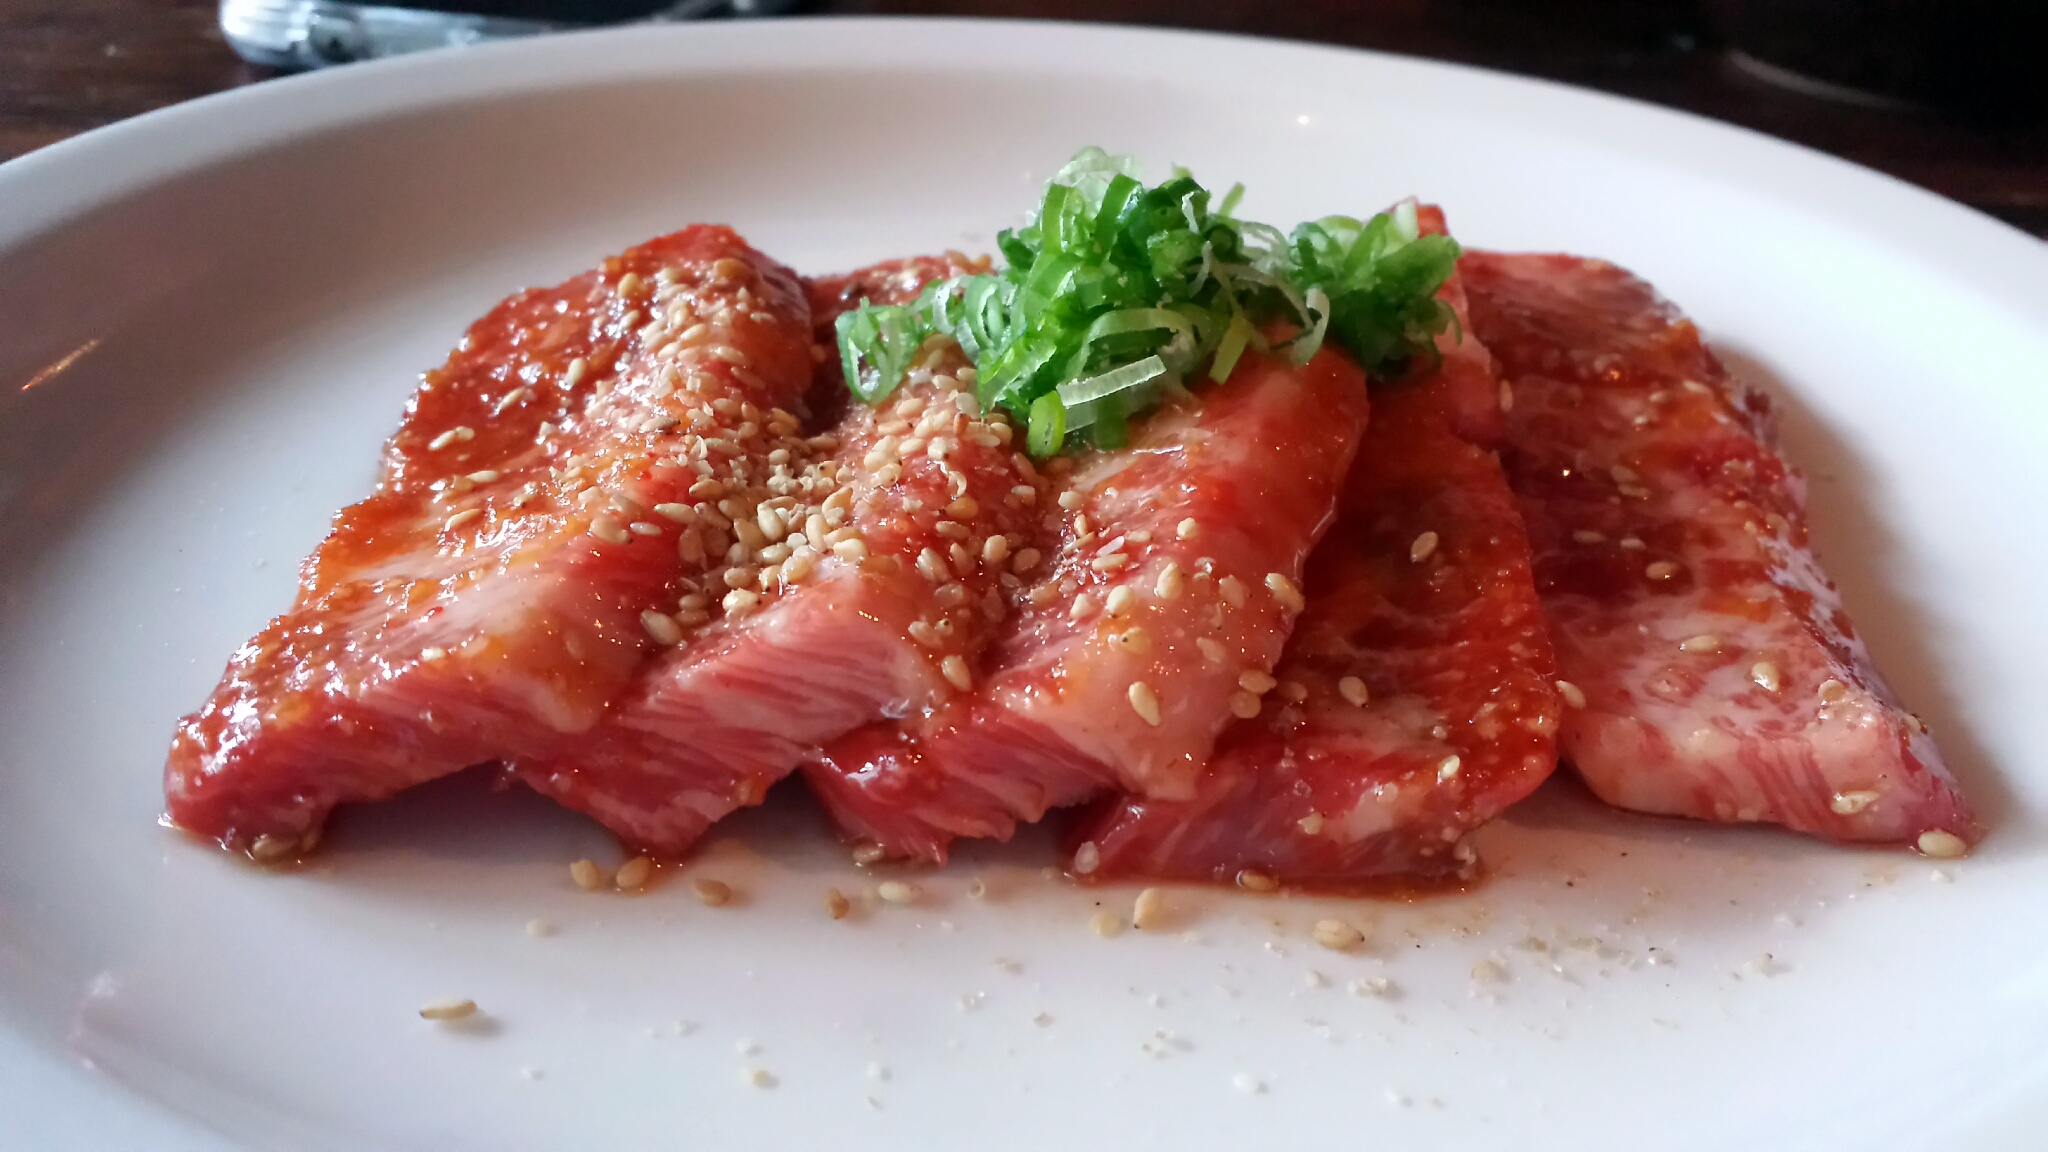
Beef belly was the first plate of yum to come. Delicious. Not too chewy, not too fatty. It was cut about a quarter inch thick.
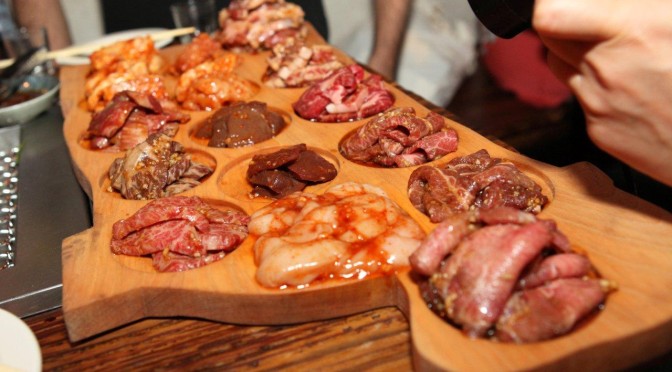
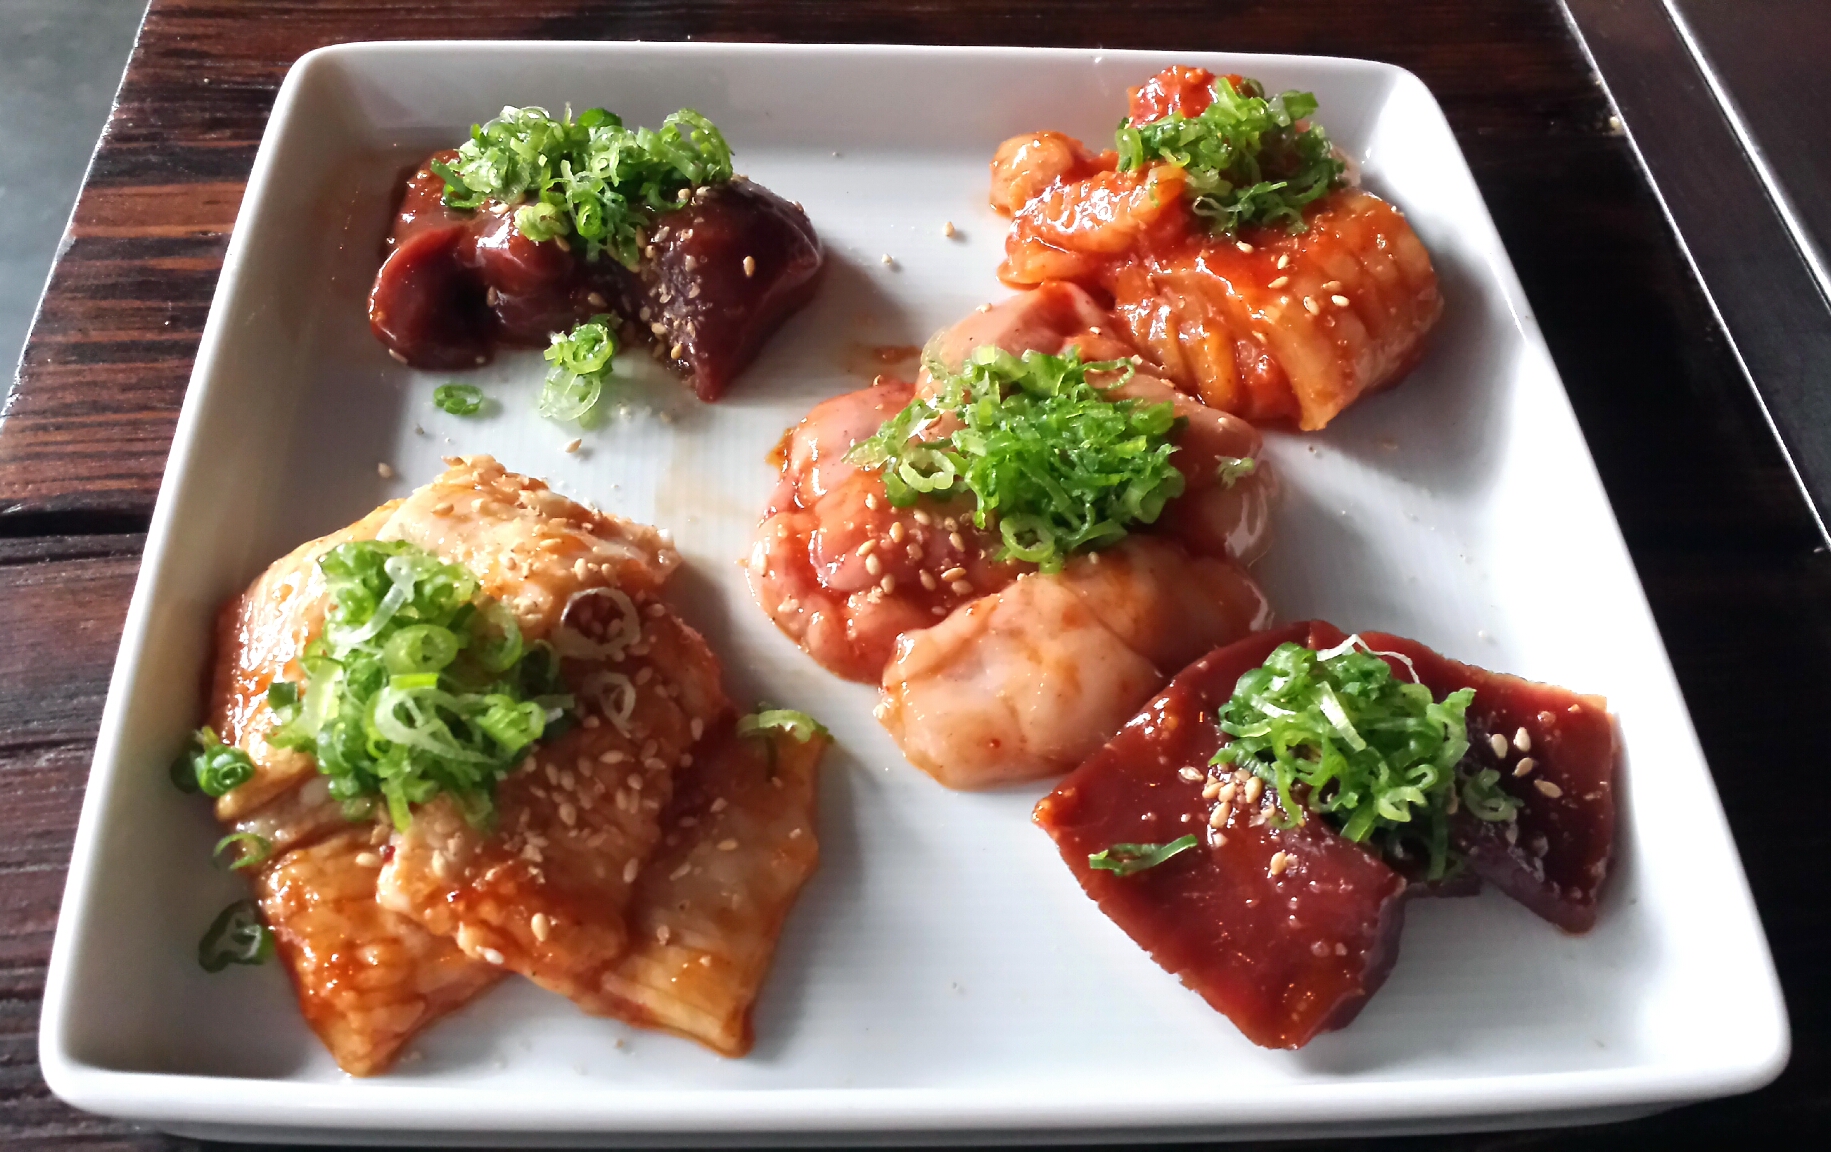
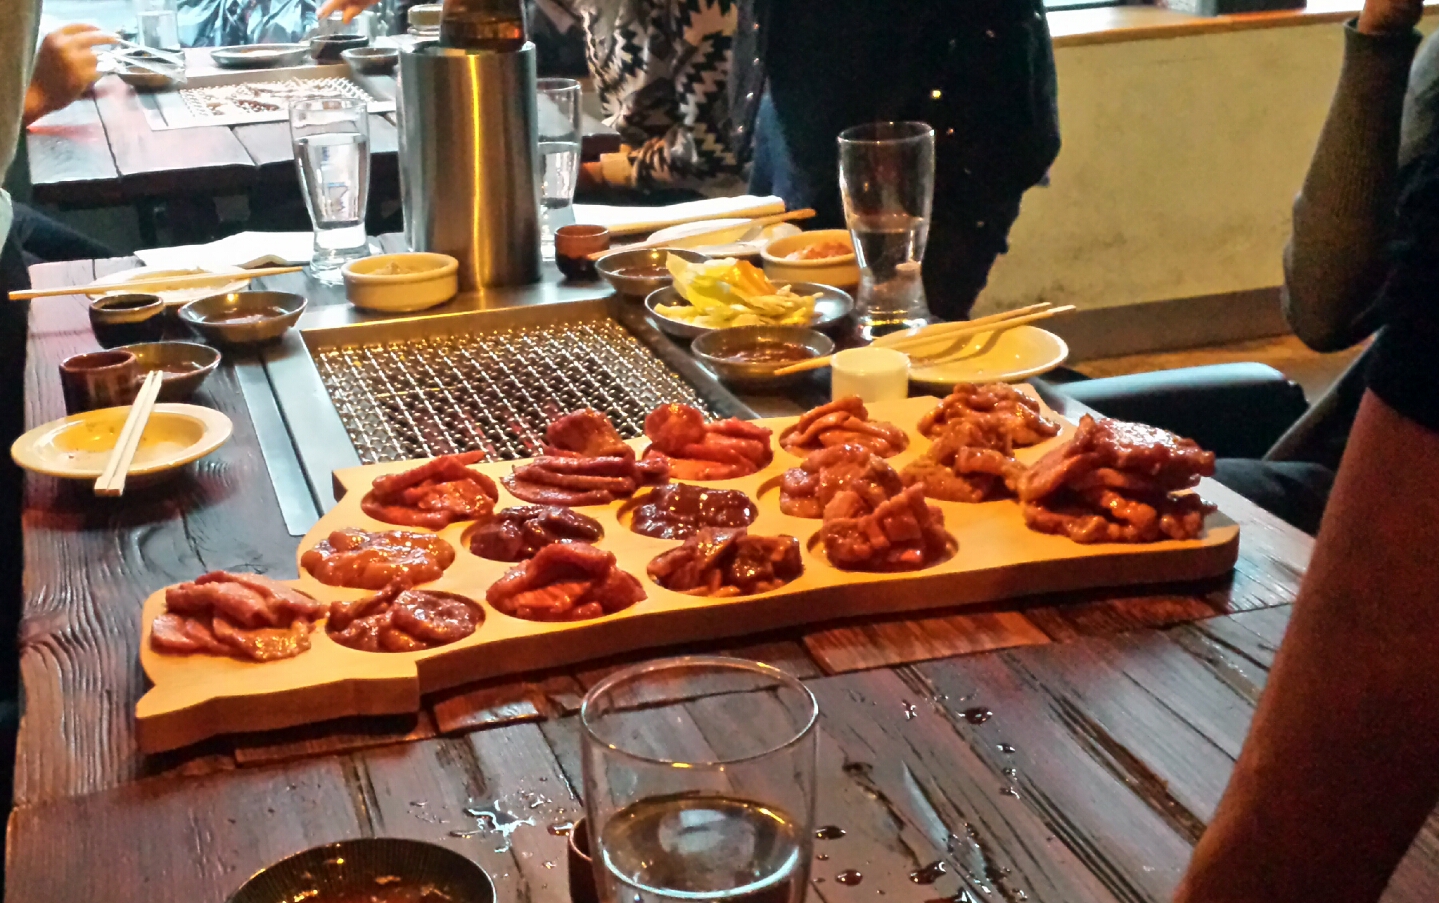
We ordered the chef’s selection of meats as well.
Here’s what came in that plate:
The front left is 1st stomach (cows have 4 stomachs, morons). It was chewy, and we were warned that this would be a lot of mouth work to get through. Why even serve it this way, I wonder? Better to braise it slow and low I would think.
On the front right we have beef heart. It cooked up like a very lean meat: good for a nice quick even sear.
The back right is 4th stomach. This was way more tender, thicker, juicier and flavorful than 1st stomach.
That’s liver on the back left. This was my least favorite. It was gamey, mealy, and very irony. I guess for my taste, liver is best served in pate form.
In the center are the sweetbreads. These glands were creamy and smooth. Very nice, with a great crisp.
The last meat we tried were the cheeks. This was the best of them all. It was sliced thin like bacon, and they crisped up nicely on the grill. Perfect.
Then we saw the table next to get the nose to tail beef platter.
Fucking bastards. We asked for it when we sat but they said we needed 4 people to order. Bullshit. We definitely could have finished it all, and I wouldn’t have minded paying 60pp for two instead of 30pp for four. Oh well. Maybe if there’s 4 of us next time…
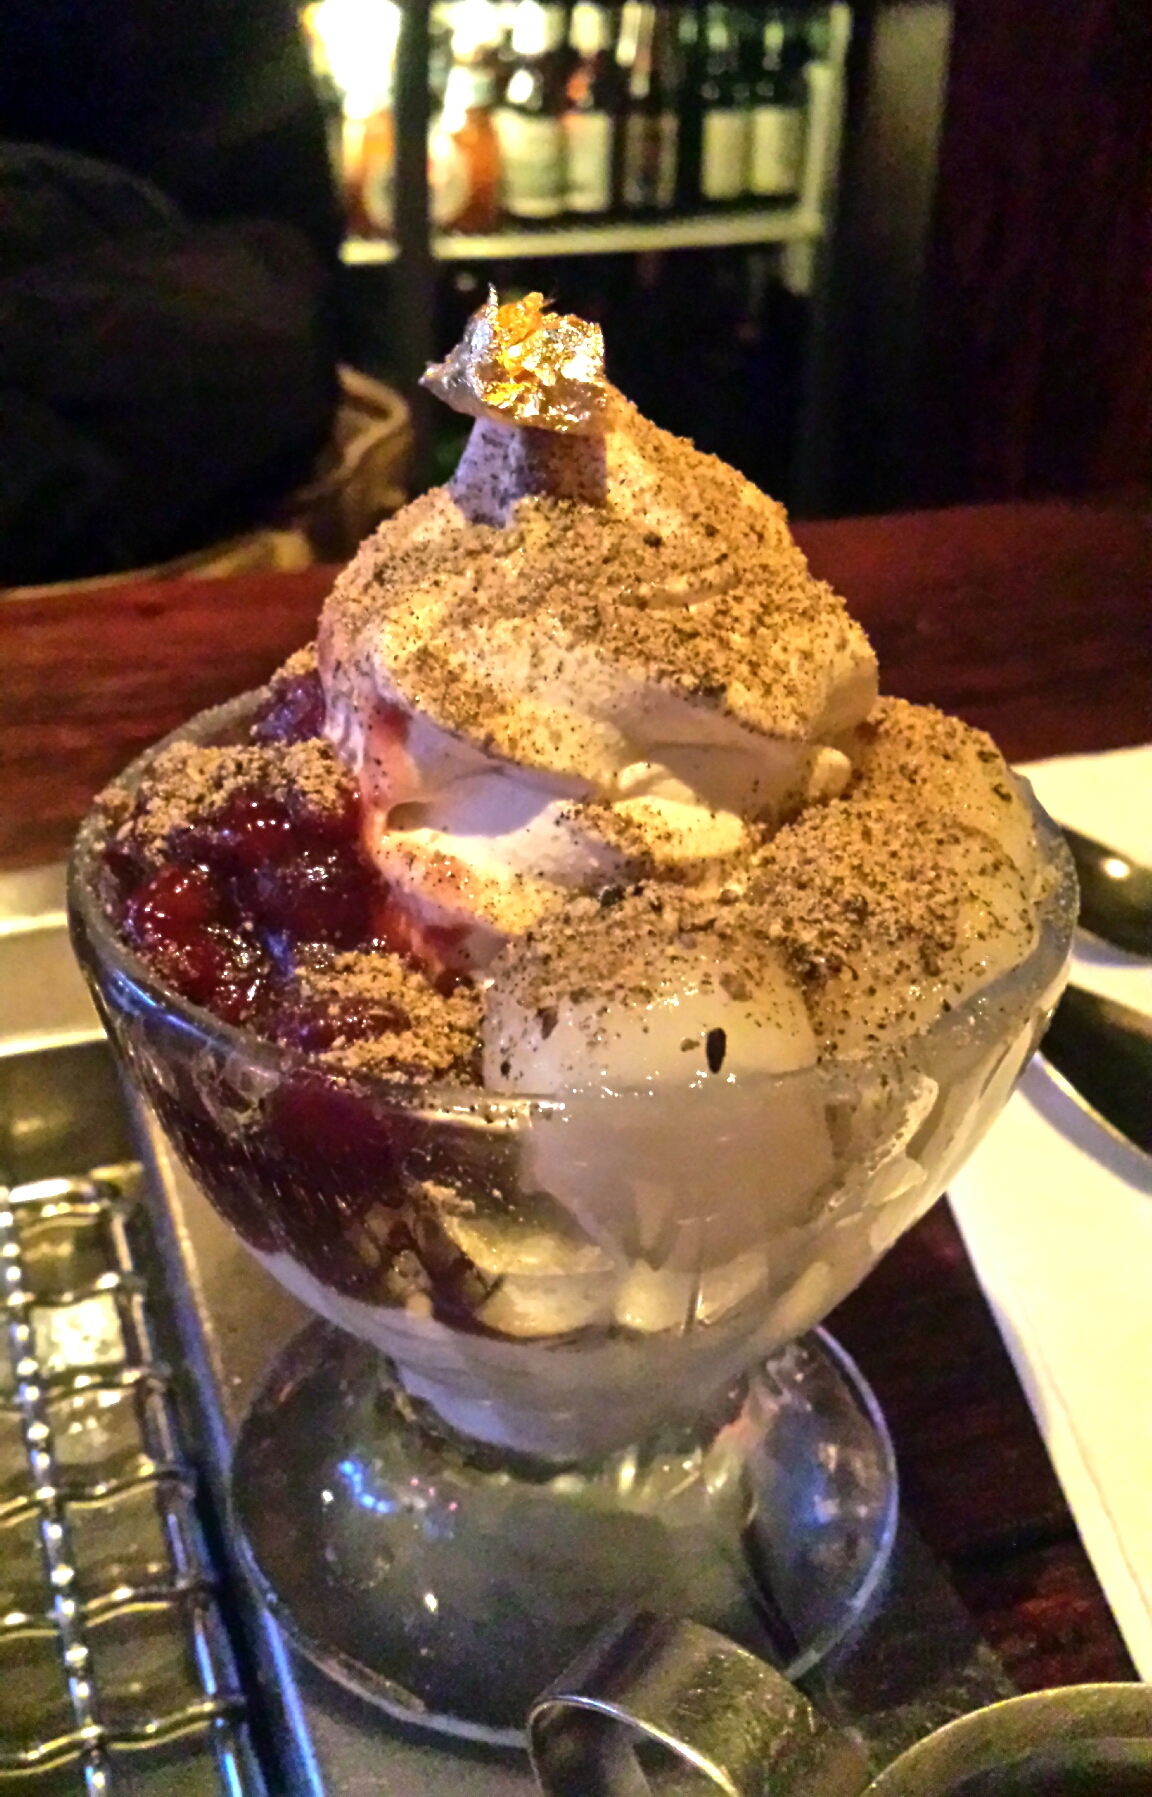
Dessert was Madagascar vanilla soft serve ice cream, topped with soft chewy mochi balls, soy powder, sweet red beans, gold leaf and salted caramel sauce. Thankfully the sauce was served on the side. It was too bitter for our liking. The ice cream itself was great, and good with the sweet beans.
Pretty solid meal. It was a little pricey, but definitely enjoyable. I’d definitely go back to try out some more shit.
MIDNIGHT RAMEN
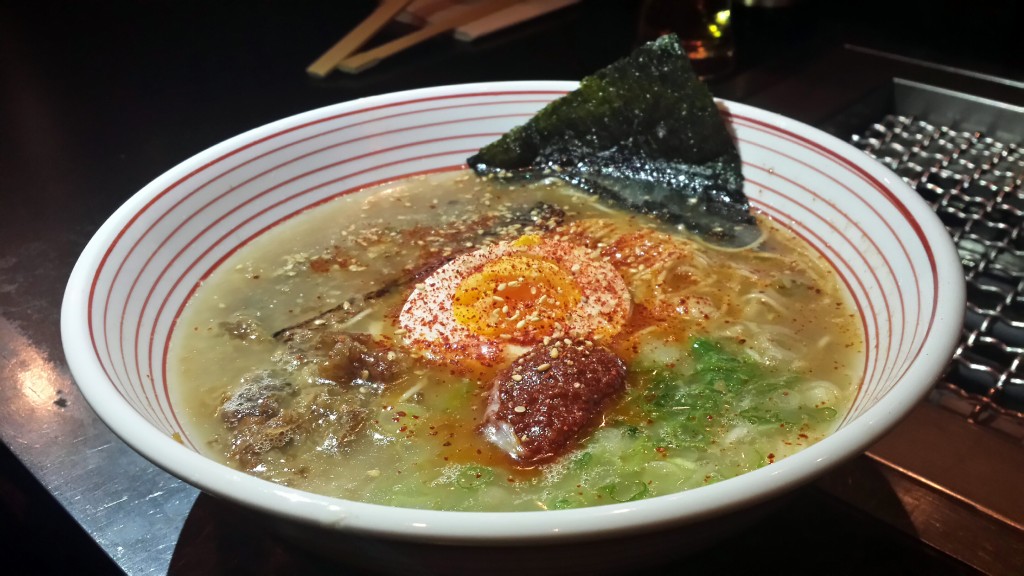
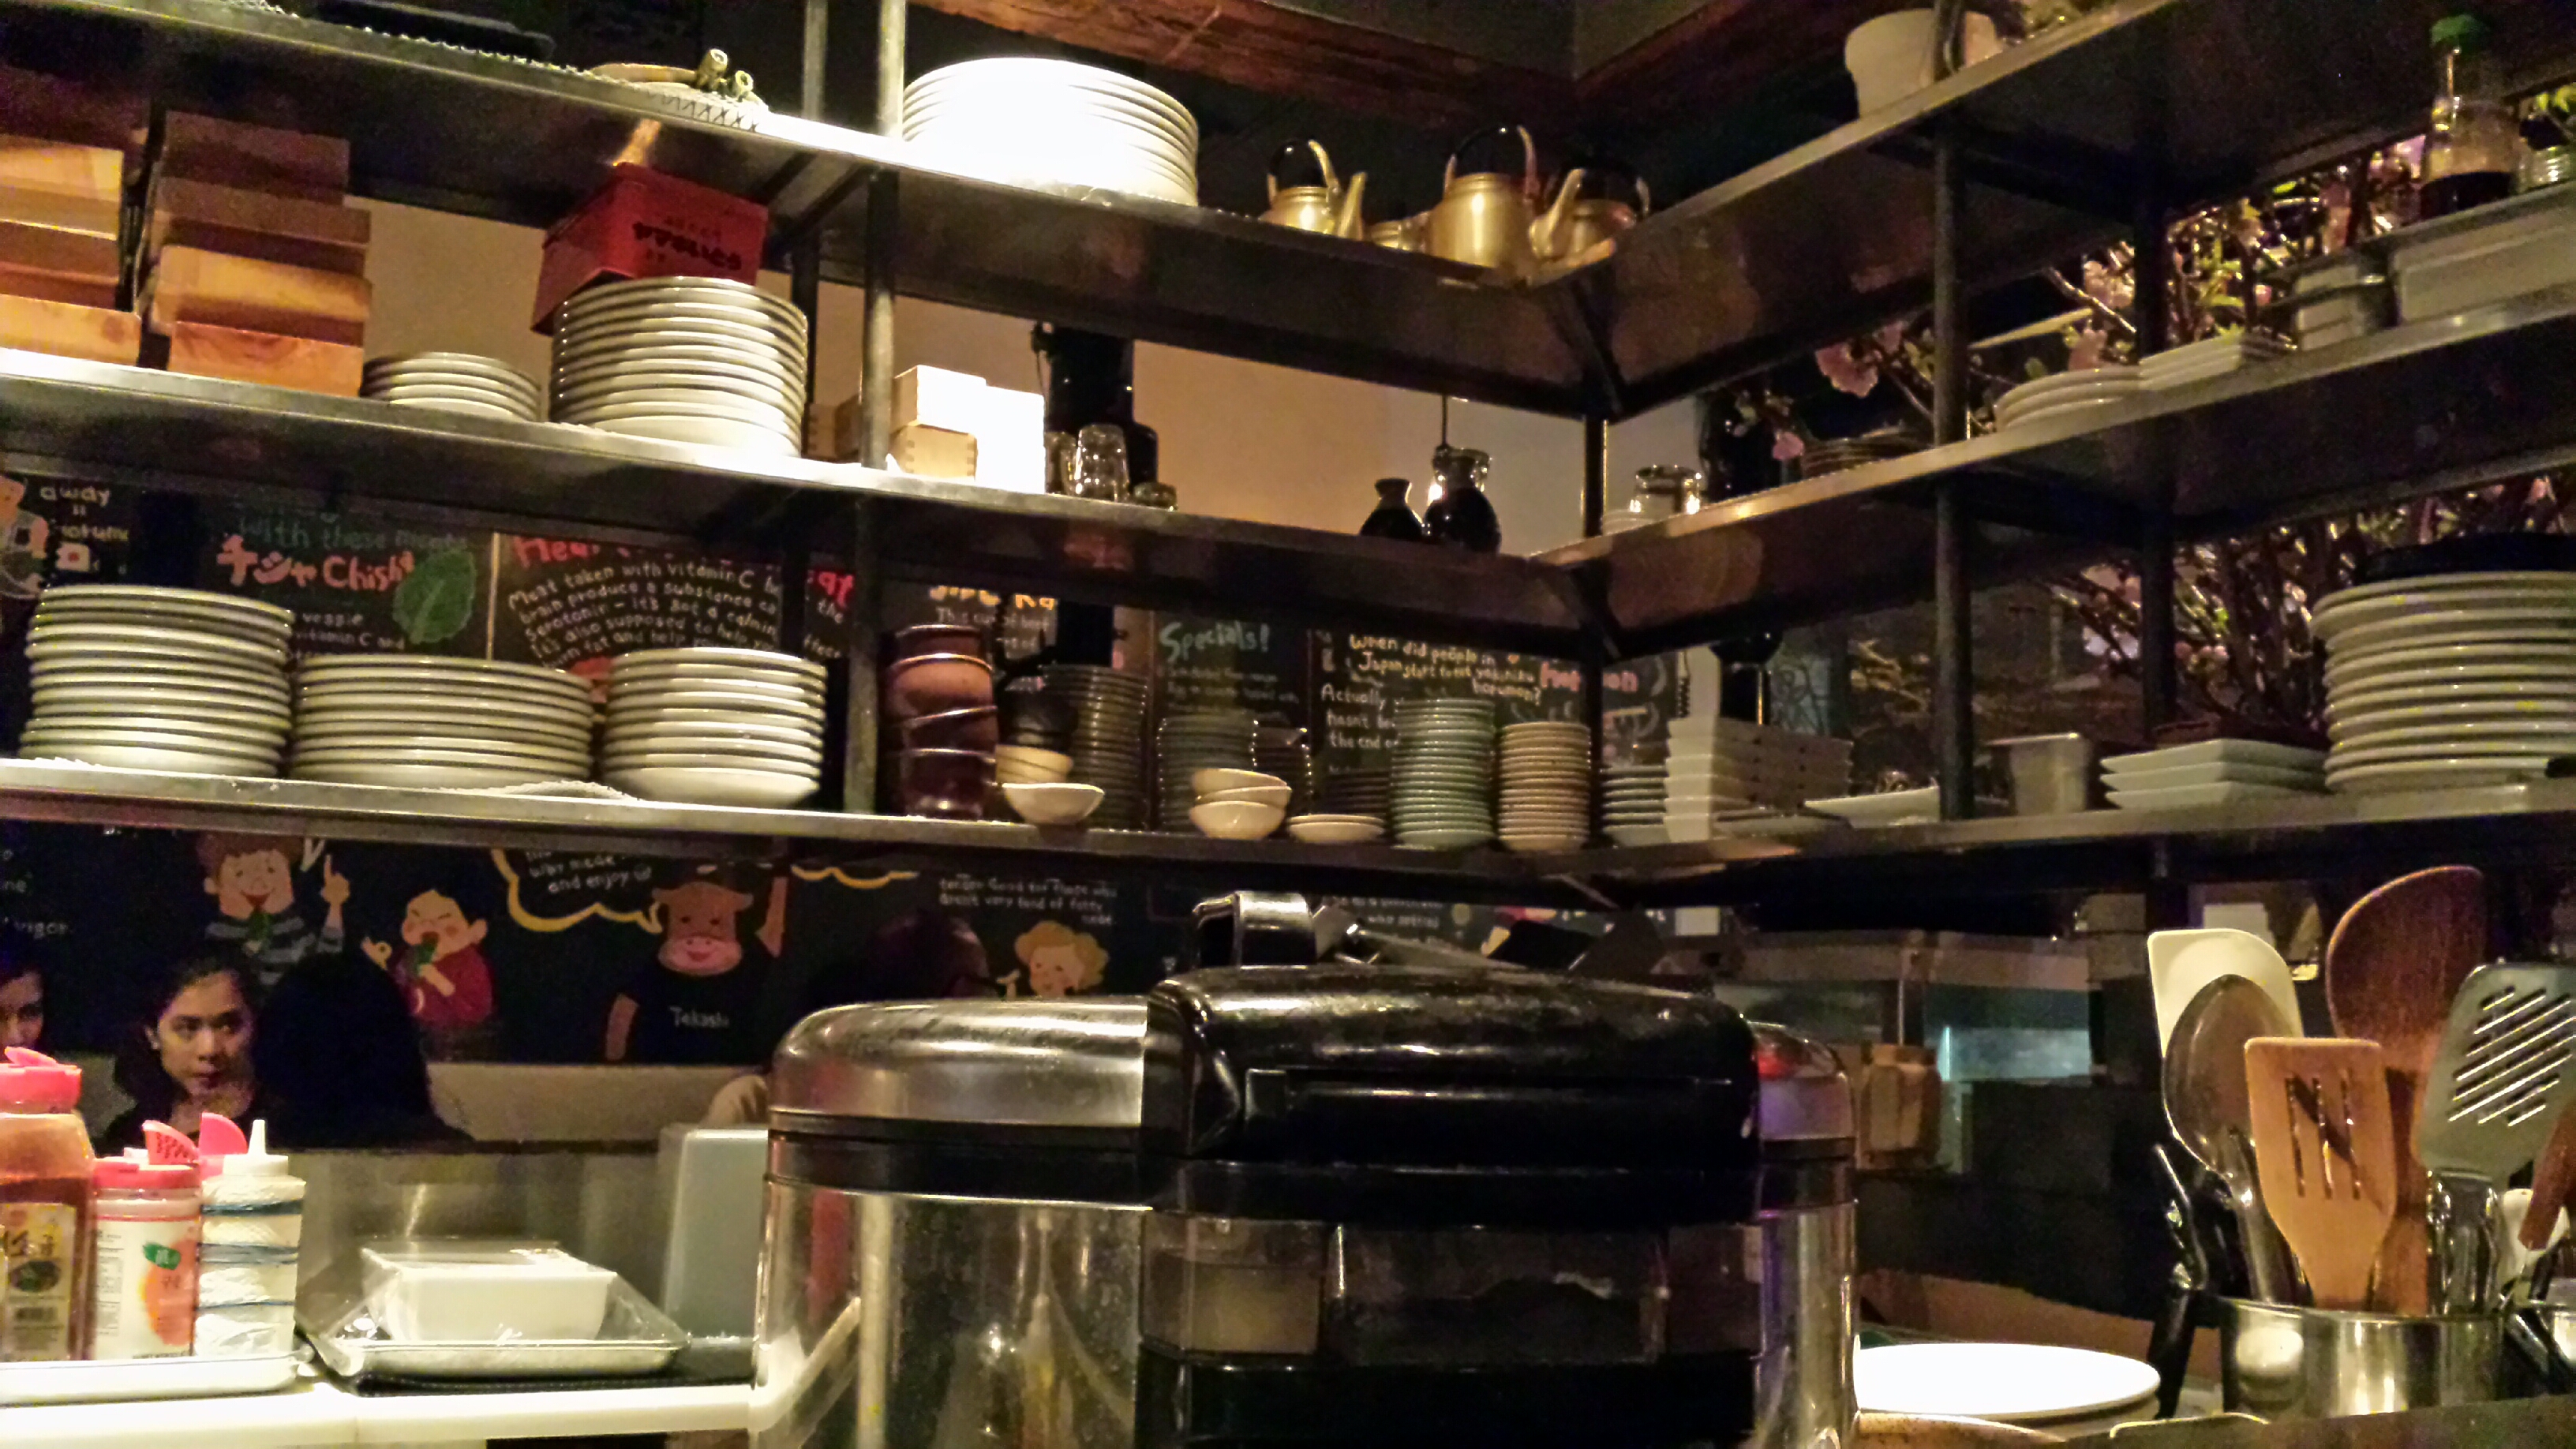
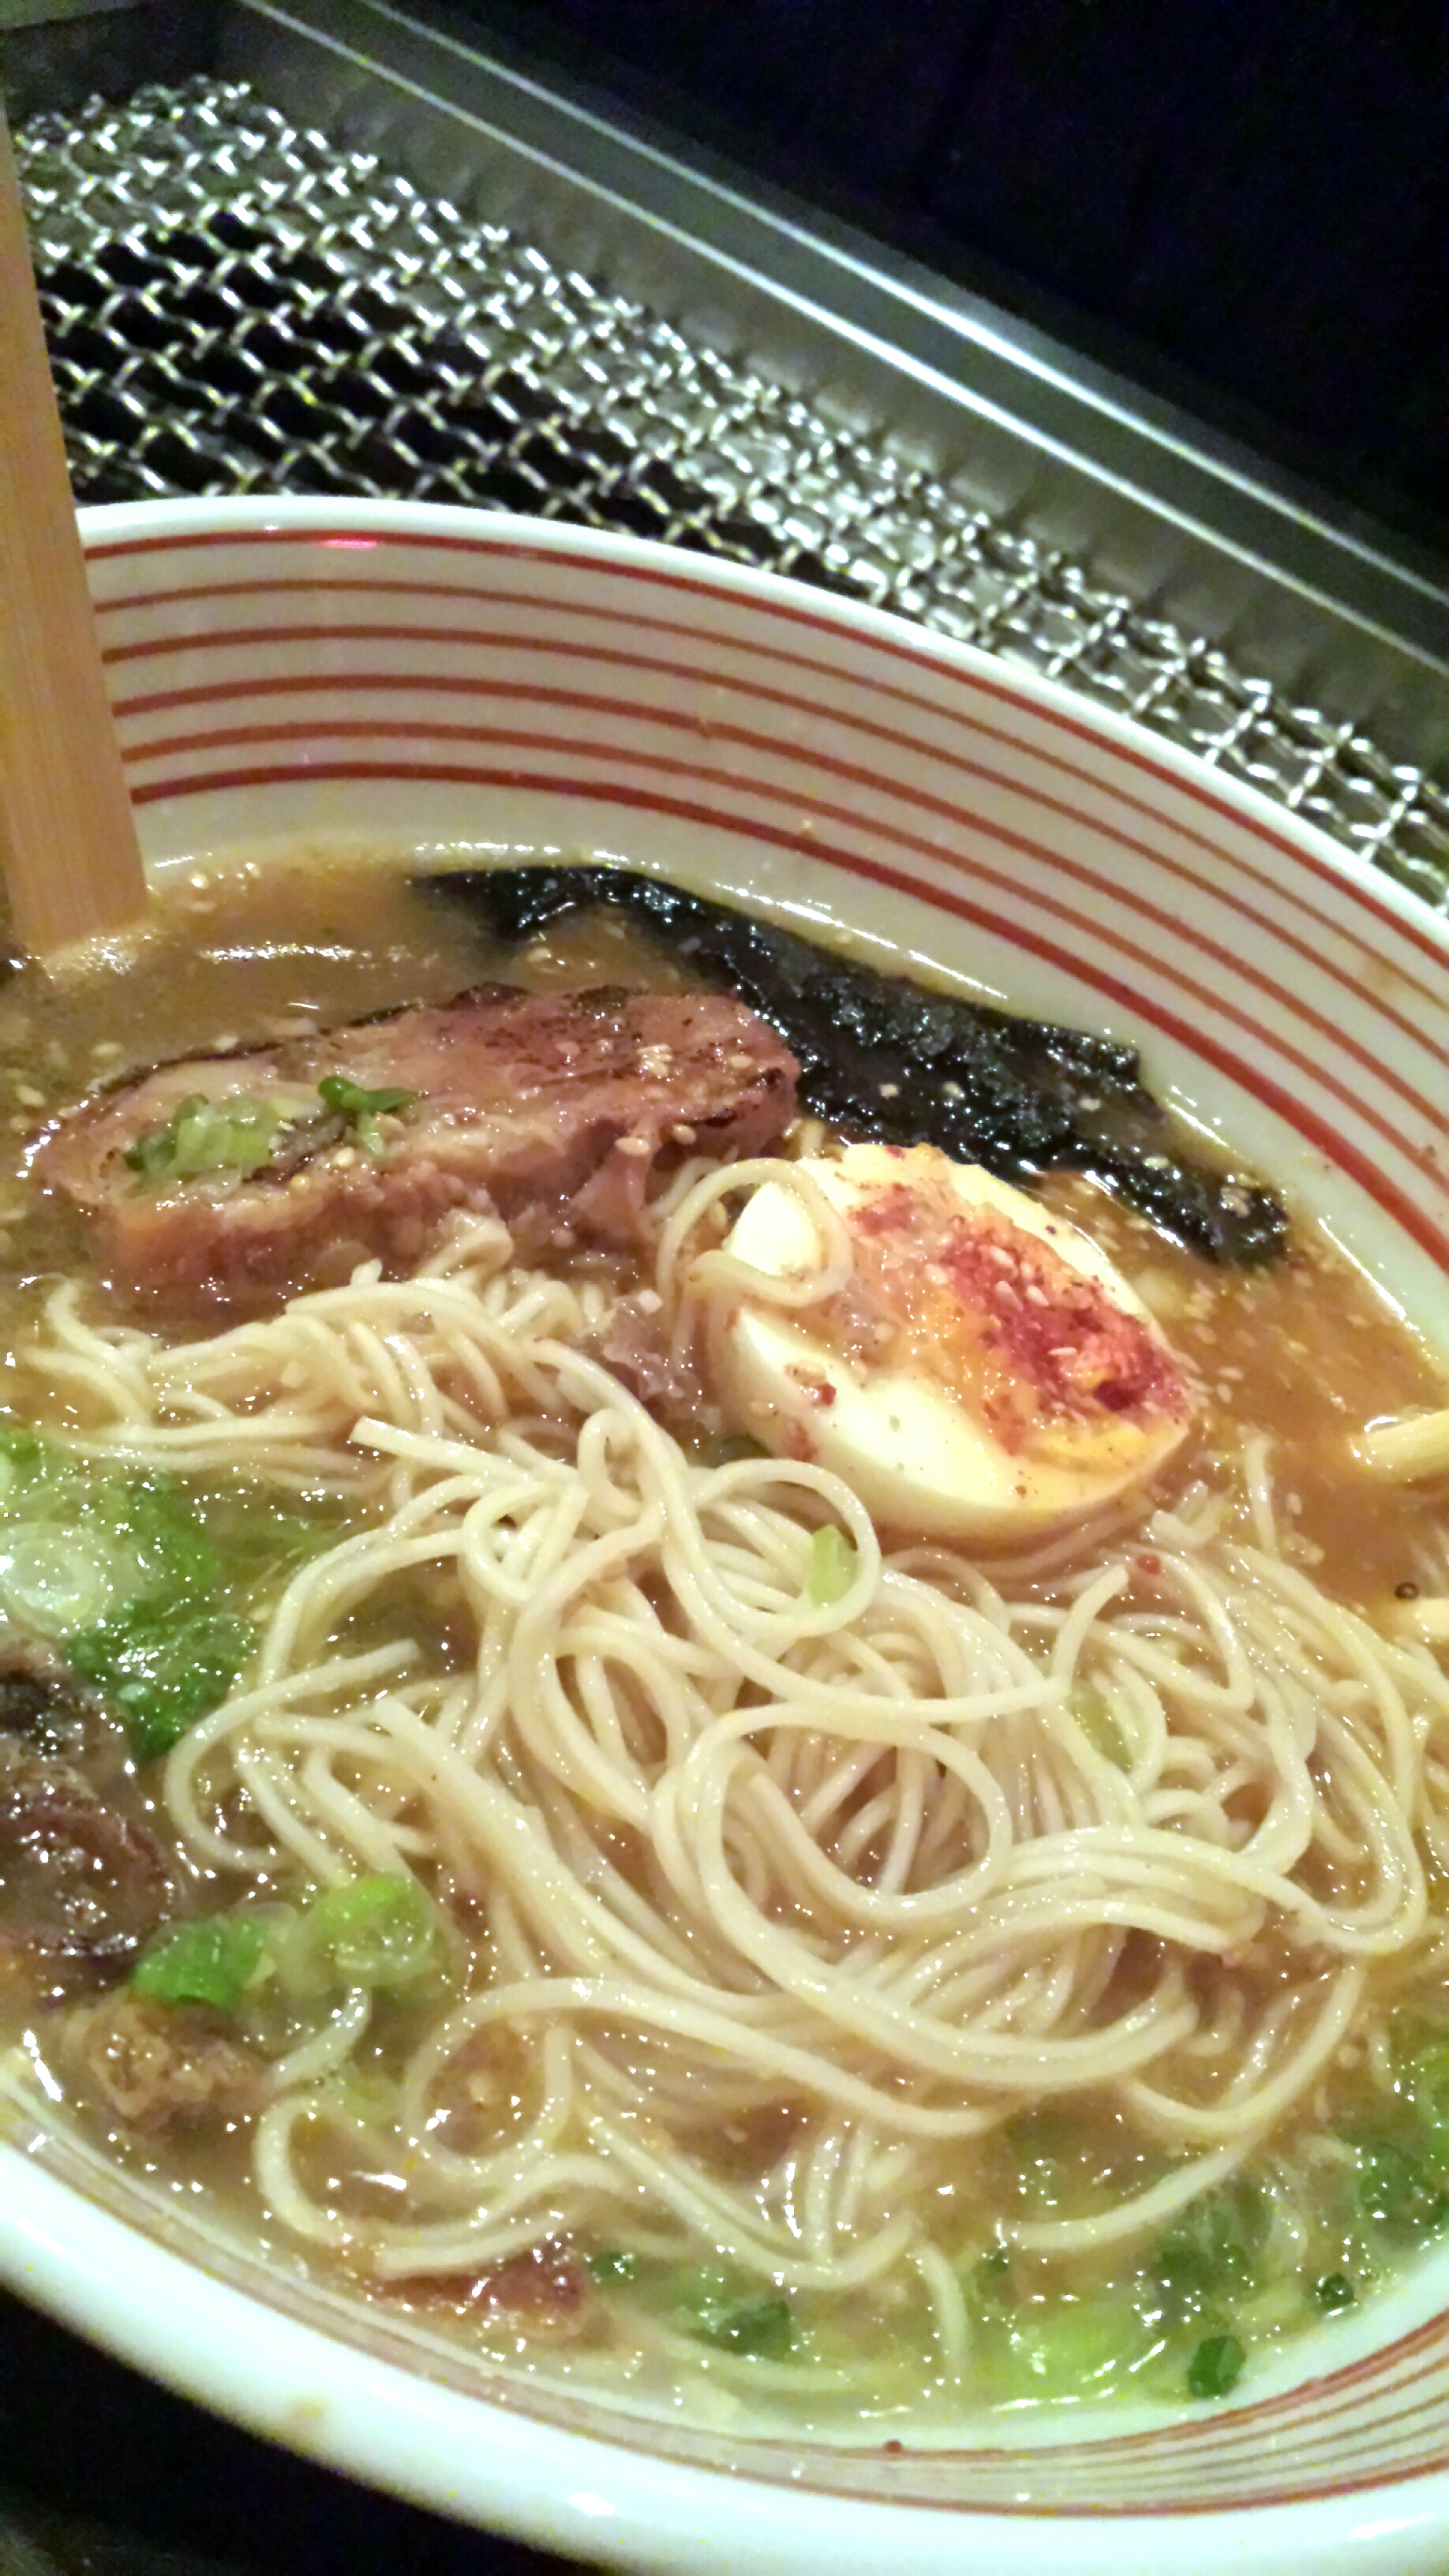
Real deal beef ramen DOES exist. I heard about some late night ramen joint in the west village called Takashi that serves up an all-beef broth ramen on Friday and Saturday nights only, from 12:00am to 2:00am. It was tough, but I ended up getting a seat for my wife and I to slurp up some of this delicious shit. We started with some beer and took in the surroundings:
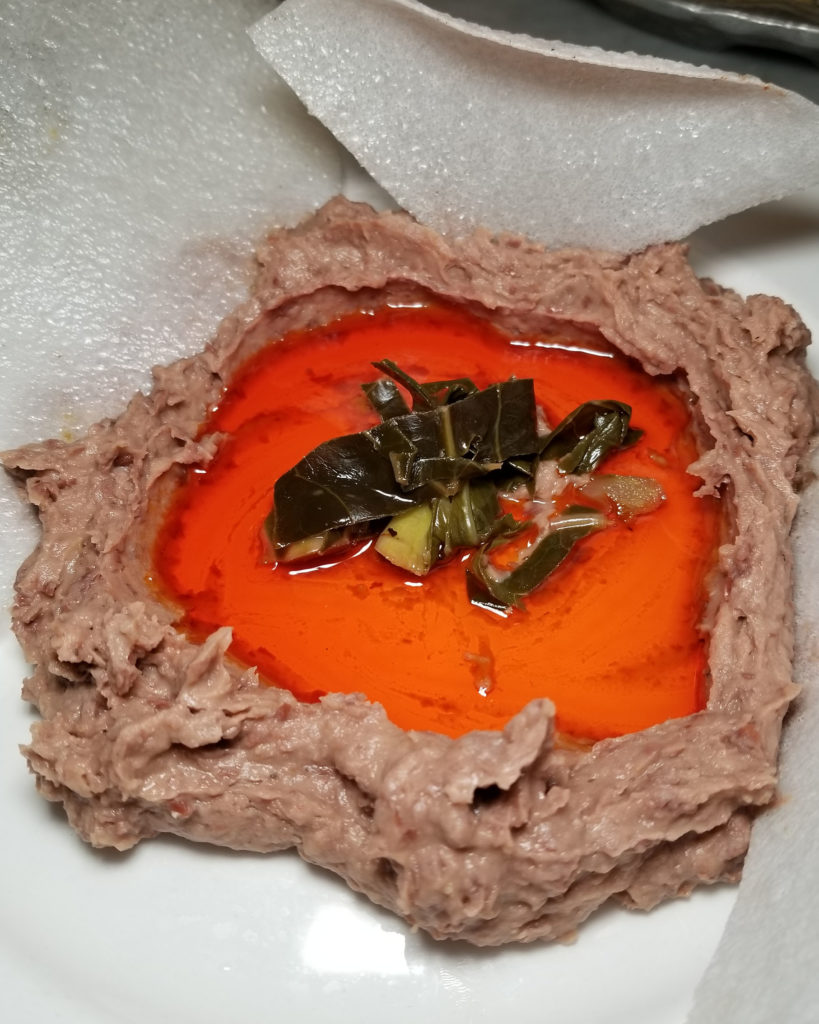
As I mentioned, it’s a beef broth, but it contains crispy beef intestines, FUCKING BRAISED KOBE BEEF BELLY!!!, a soft boiled egg, and alkaline ramen noodles. The little blob of red you see in the middle is the spicy paste that my wife got with her bowl. I prefer no spicy paste, as it masks the beef flavor too much for my liking (though I DO love very spicy foods):
If you’re in town overnight on a weekend and are up for something bold and adventurous, give this bowl a try. The only problem is that you will need to try for a reservation on the Monday prior at 5pm. That’s when they start taking reservations. I emailed on Tuesday afternoon for my rez and they were already booked solid. They asked if I wanted to be on a waiting list in case someone cancels: I said yes. I found out on Friday at about 4:00pm that they had an opening for me and my wife at midnight. SWEET!
NOSE-TO-TAIL BEEF
I finally got to try the nose-to-tail cow feast here, thanks to the good people at Tabelog. We started with some really amazing apps though:
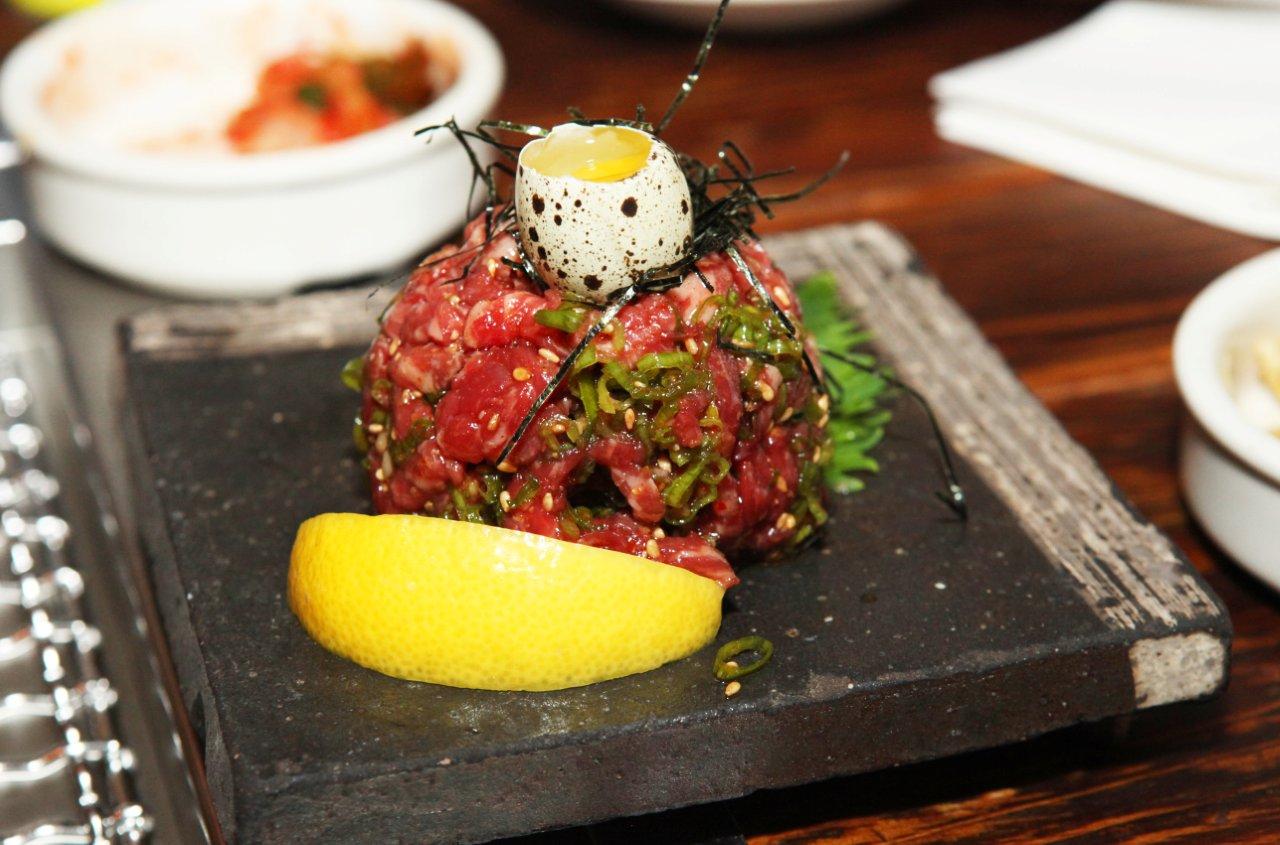
Kobe beef tartare:
This was delicious. Clean, earthy, cool, and lots of texture. Our awesome waiter Reese mixed in the quail egg for us after patiently waiting as we snapped photos of all the apps.
Soft boiled egg with beef prosciutto and caviar:
This was difficult to eat. The glass egg made it tough to allow for proper mixing of the components within, but the flavor was really nice. Egg was cooked perfectly.
Raw beef liver sashimi:
Much better than you might expect. Raw liver tastes WAY better than cooked liver. There is no iron taste and no mealy texture. It’s soft, creamy, and clean.
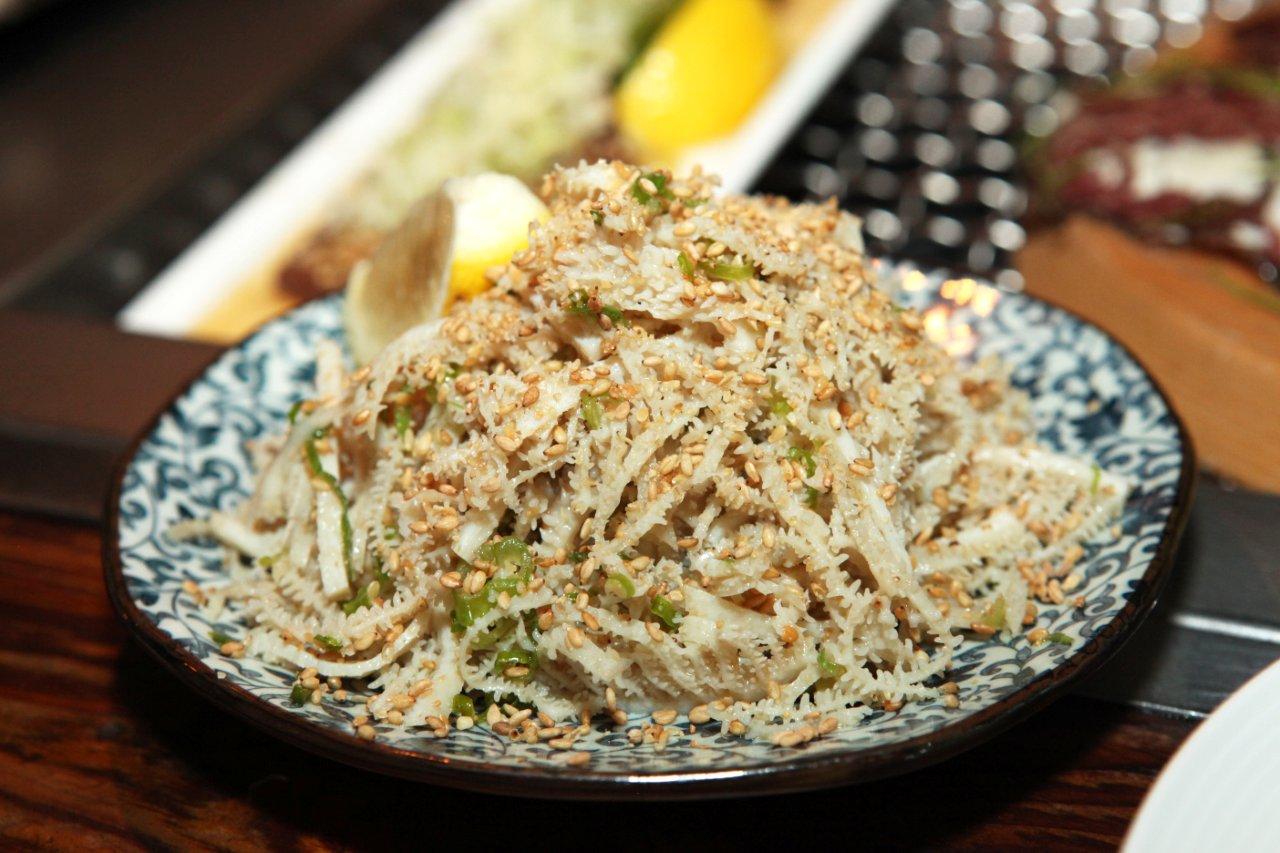
Crispy tripe salad:
Chewy, but for those who dig tripe, this is a win. Dip into some of the spicy sauce they serve it with, or the more traditional sesame oil + salt combo, and enjoy.
We also had the kobe beef prosciutto with blue cheese and micro greens that we had last time, along with the uni dish that we had last time as well. They were too good to pass up, and I wanted to make sure the Tabelog folks tasted them (you can see pics of those above).
I should also mention that we had a really great waitress as well, named Yuki. As the restaurant got more and more busy, she had to multi-task a bit, and Reese sort of relieved her at our table. But at one point we caught a glimpse of her serving up this monster set of ribs to the table next to us. Looked amazing! My wife’s Instagram feed (@thecakedealer) has a nice pic of it on the grill.
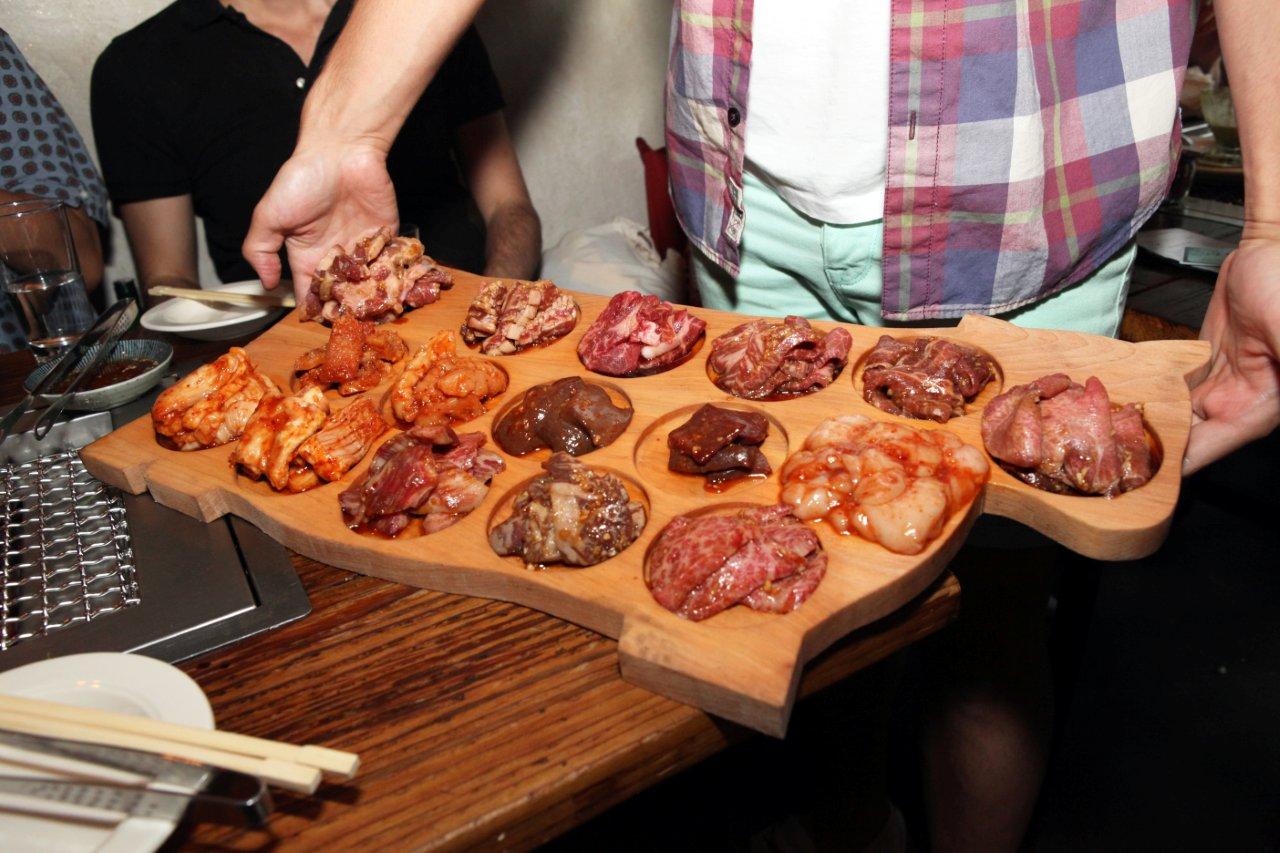
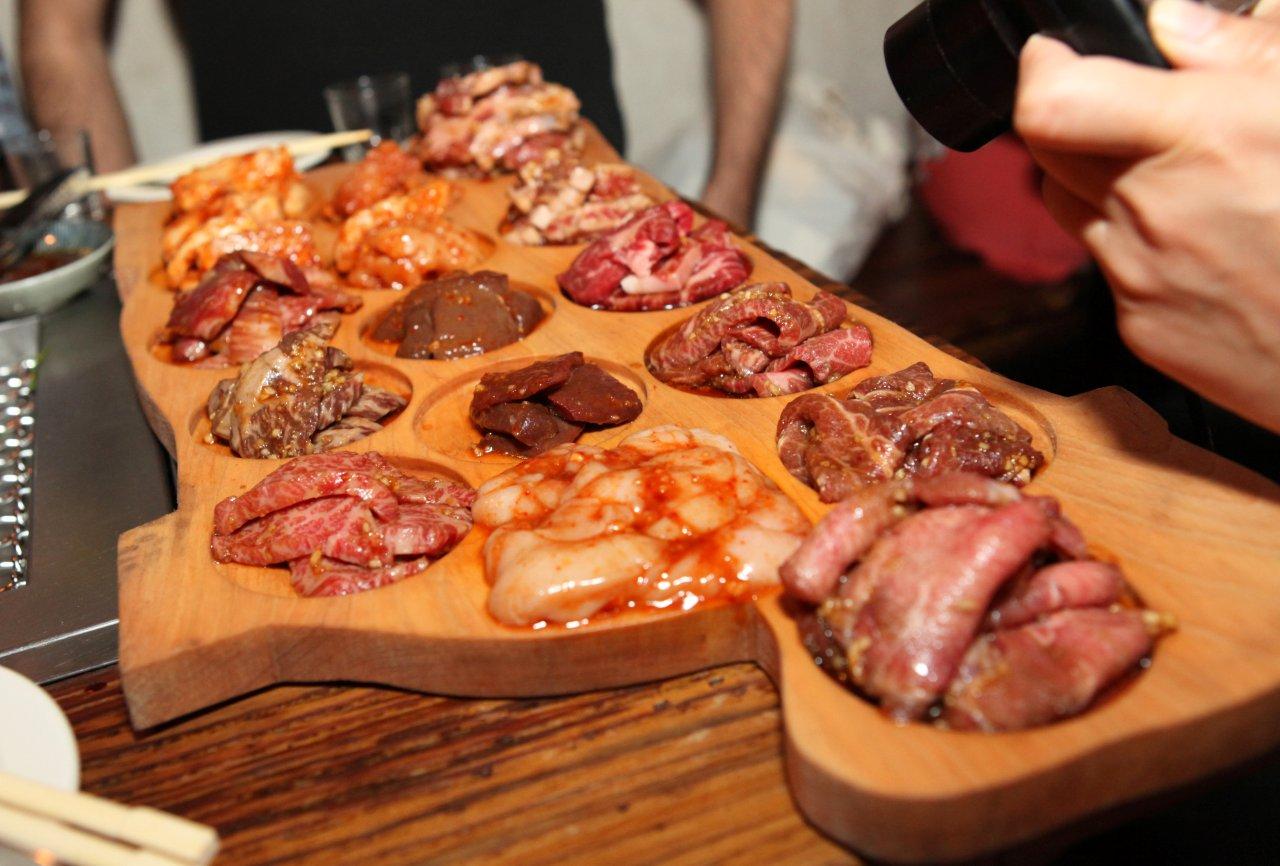
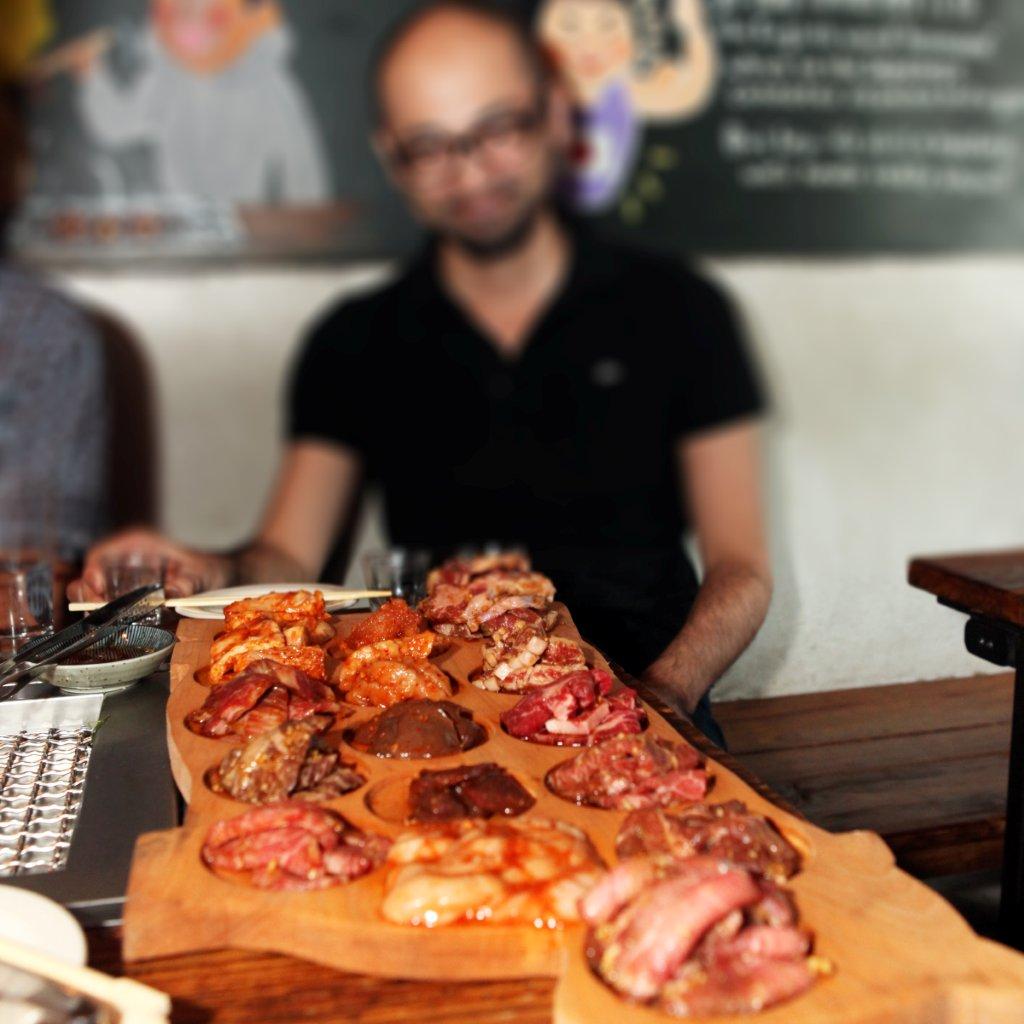
Now on to the main course – 16 cuts of cow.
Top row (from right to left):
tongue, cheek, shoulder, rib eye, between the ribs, tail.
Middle row (from right to left):
sweet breads, heart, liver, first stomach, second stomach.
Bottom row (from right to left):
short rib, skirt, belly, fourth stomach, large intestine.
If you’re an astute reader, you may be wondering what the fuck happened to third stomach. It’s only served as an app, so that will have to be a “next time” item. Anyway, Reese gave us a run down on each cut, instructing us on how long each piece should be cooked, and what to expect for each (soft, chewy, creamy, etc). Rather than labor on with the monotony of each and every cut’s flavor, texture, and rating, I’ll just give you a quick list of our favorites. Cheek, shoulder, rib eye, between the ribs, short rib, and belly. The rest were all good, but if I go back, I’ll probably focus more on the faves.