Tag Archives: home cooking

Triple Whammy Review

In this video review, I give you my thoughts on CrowdCow, Tom’s Steak Rub by Faith Family & Beef, and Kamikoto knives after cooking up some nice steaks in a cast iron pan.

CrowdCow works with small, sustainable cattle ranches to ship beef directly to consumers. They specialize in grass-finished beef. Today I’m working with a flatiron steak and a chuck eye steak that they sent to me.

Tom’s Steak Rub is made by a family that lives and works on a large cattle ranch in western Nebraska. They sent me awesome hats with the steak rub, too, which match my steak shirts perfectly.

In the video I’m testing out the Kamikoto 7-inch Japanese forged steel santoku. They’re running a massive sale on these things right now. The knife is normally $675 but it’s currently on sale for $115. They also have nice knife sets at deeply discounted prices as well.

In short, I highly recommend all three of these products.  Please enjoy the video!


Pat LaFrieda Meats: A Steak Feast At Home

Pat LaFrieda. You’ve all probably seen the name before, and you’ll definitely see it again – especially because I’m about to publish a feature article on LaFrieda early next month for my “Meet Your Meat” series. But the man is a top notch, high quality beef purveyor with a rich family tradition of killing it in the meat biz. He provides the goods to the restaurants and chefs that make my favorite steaks.

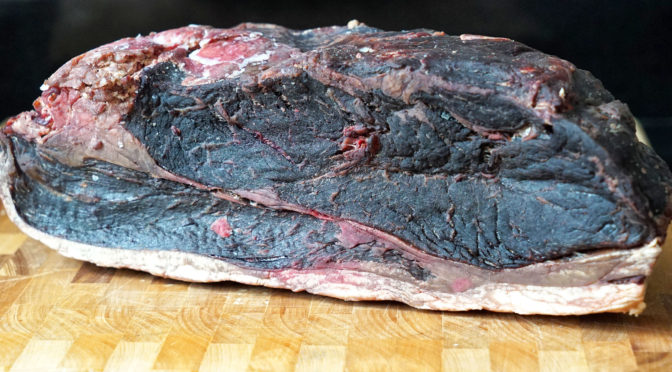
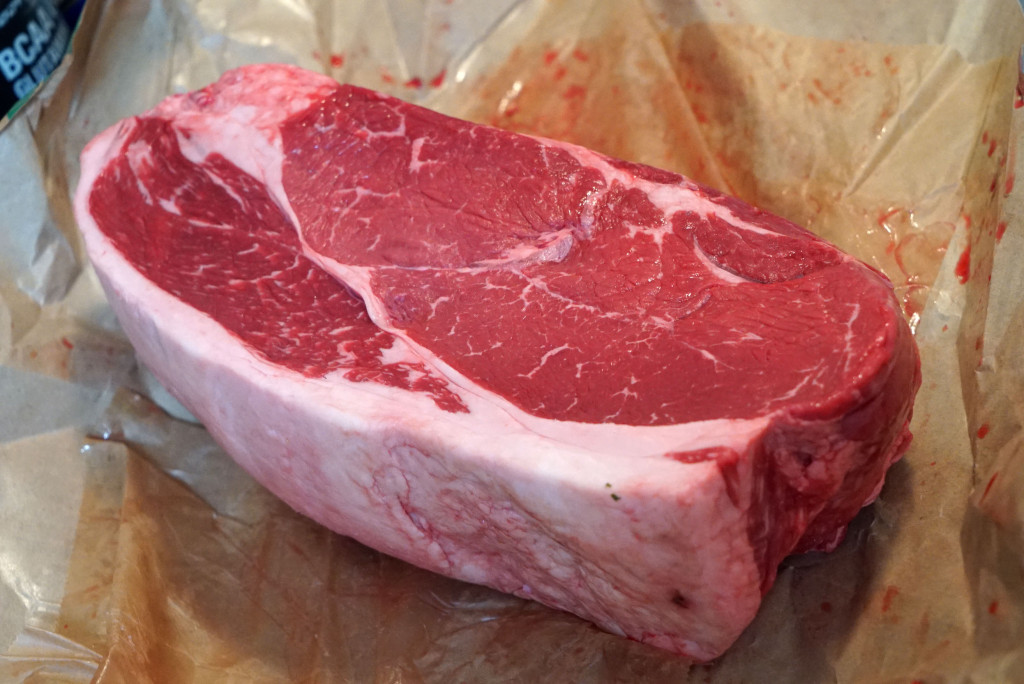
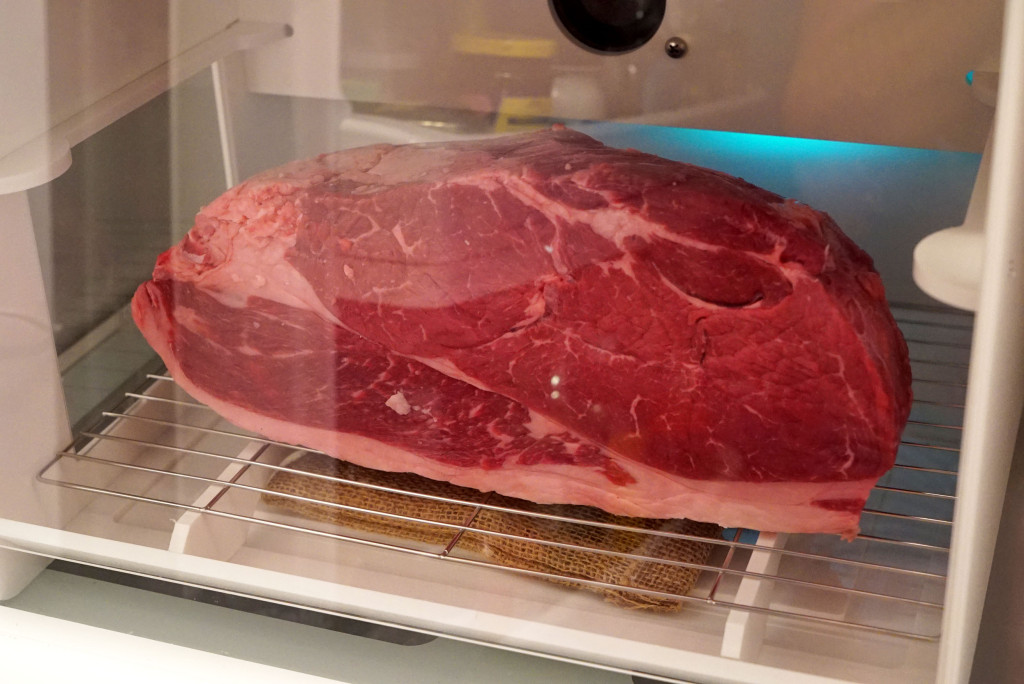
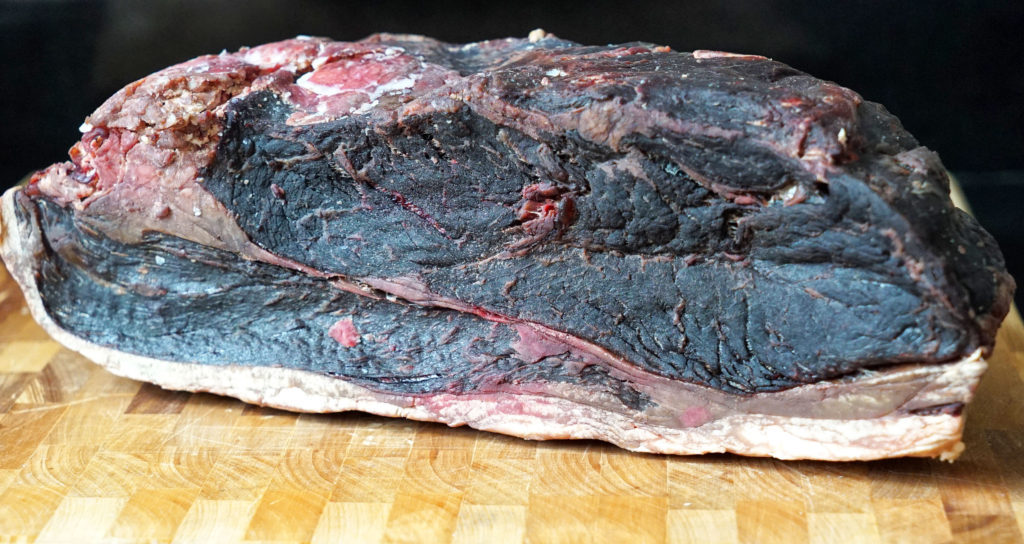
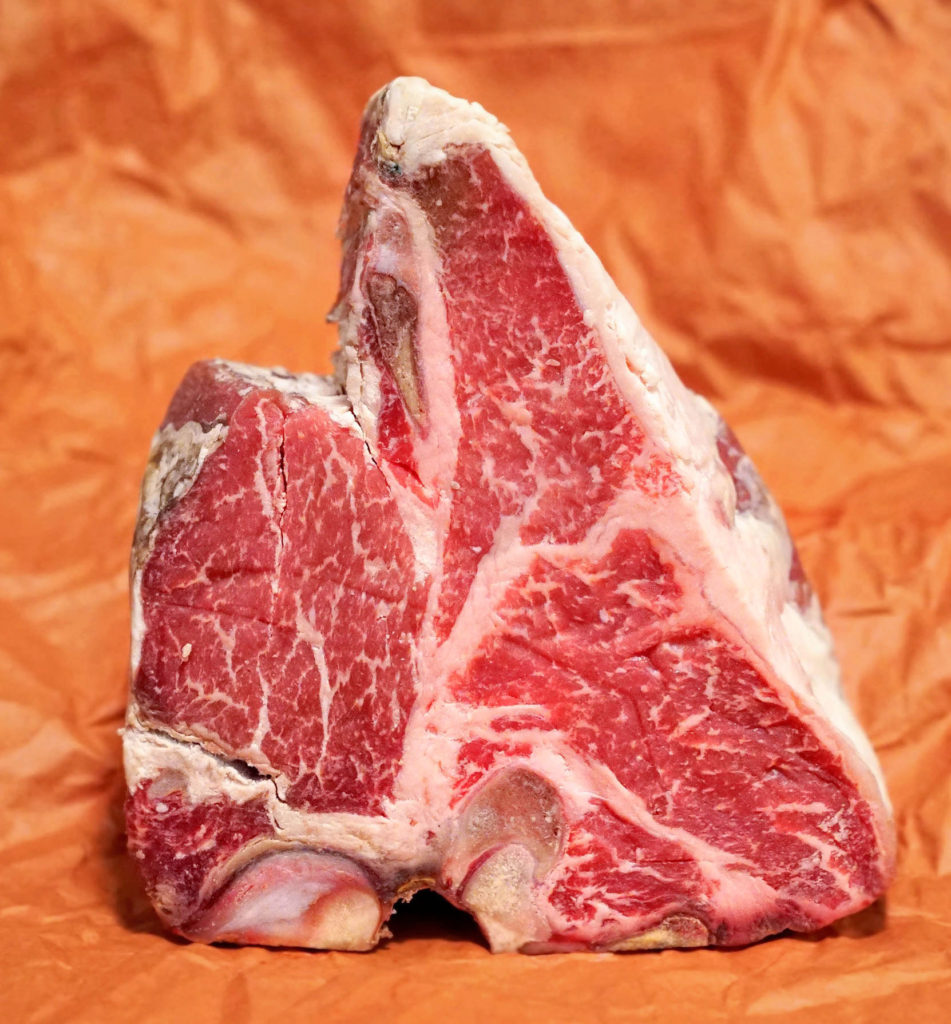
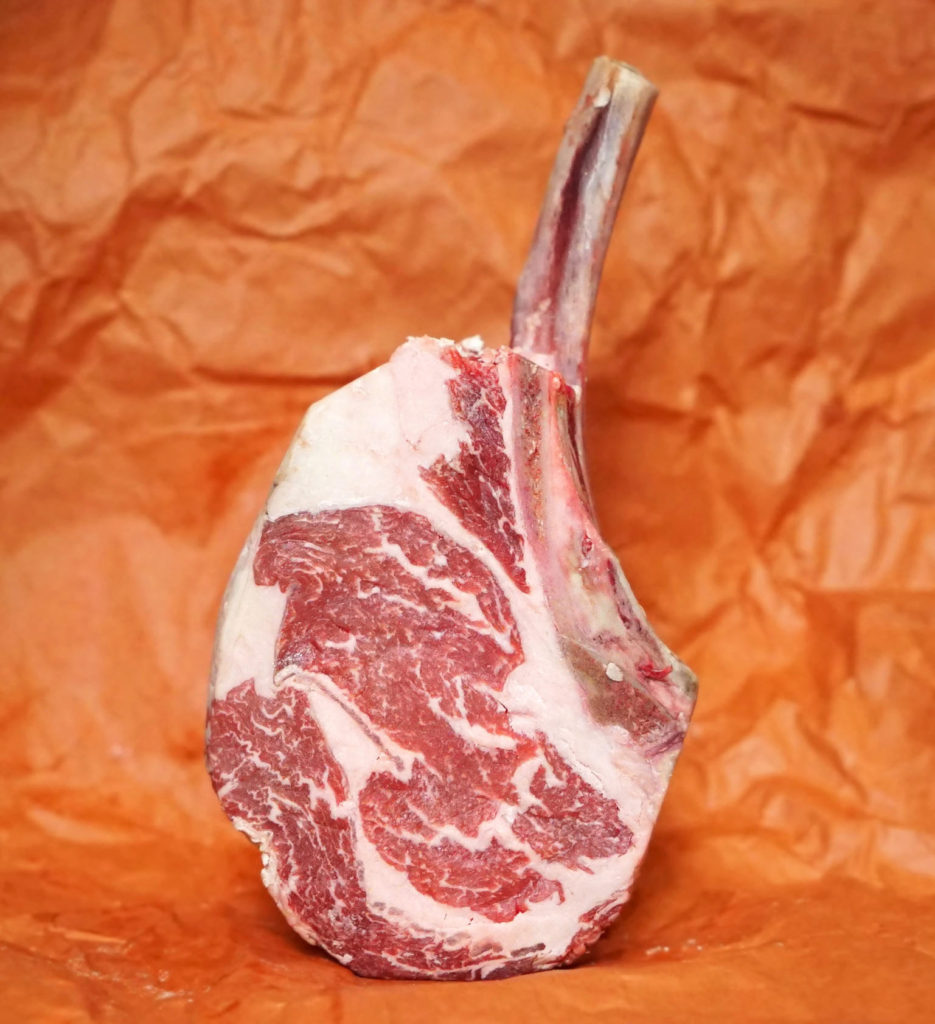
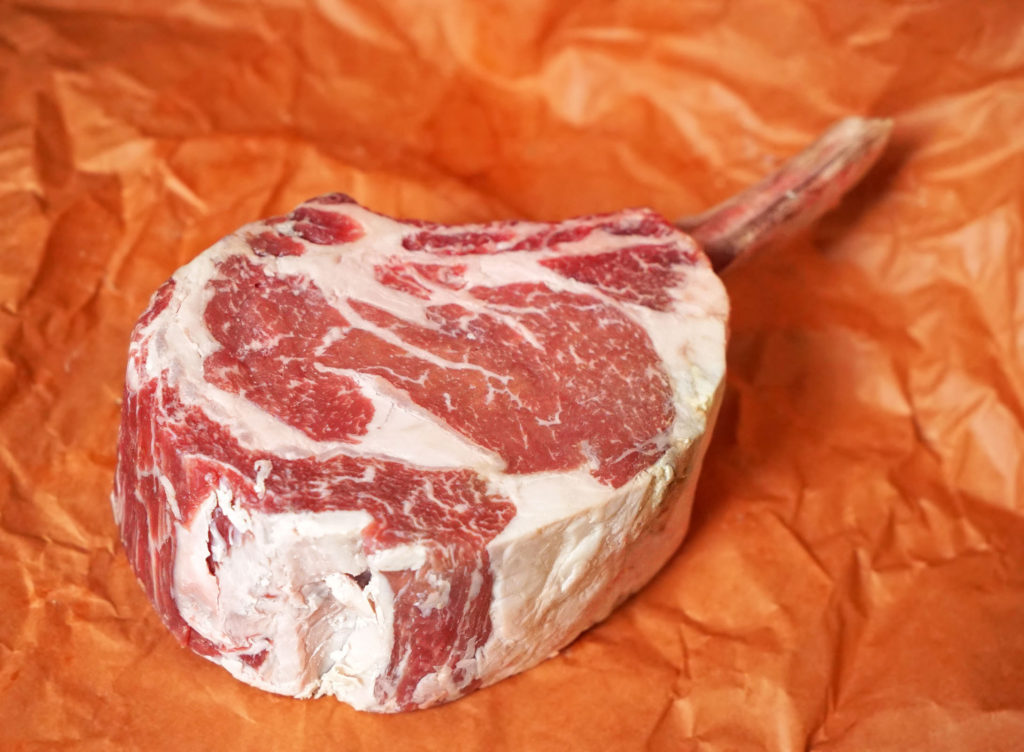
He recently sent over two cuts of steak for me to enjoy at home; both dry-aged for 60 days, both prime, and both 2.5″ thick. One was a porterhouse, and the other a rib eye.

A video posted by Johnny Prime (@johnnyprimecc) on

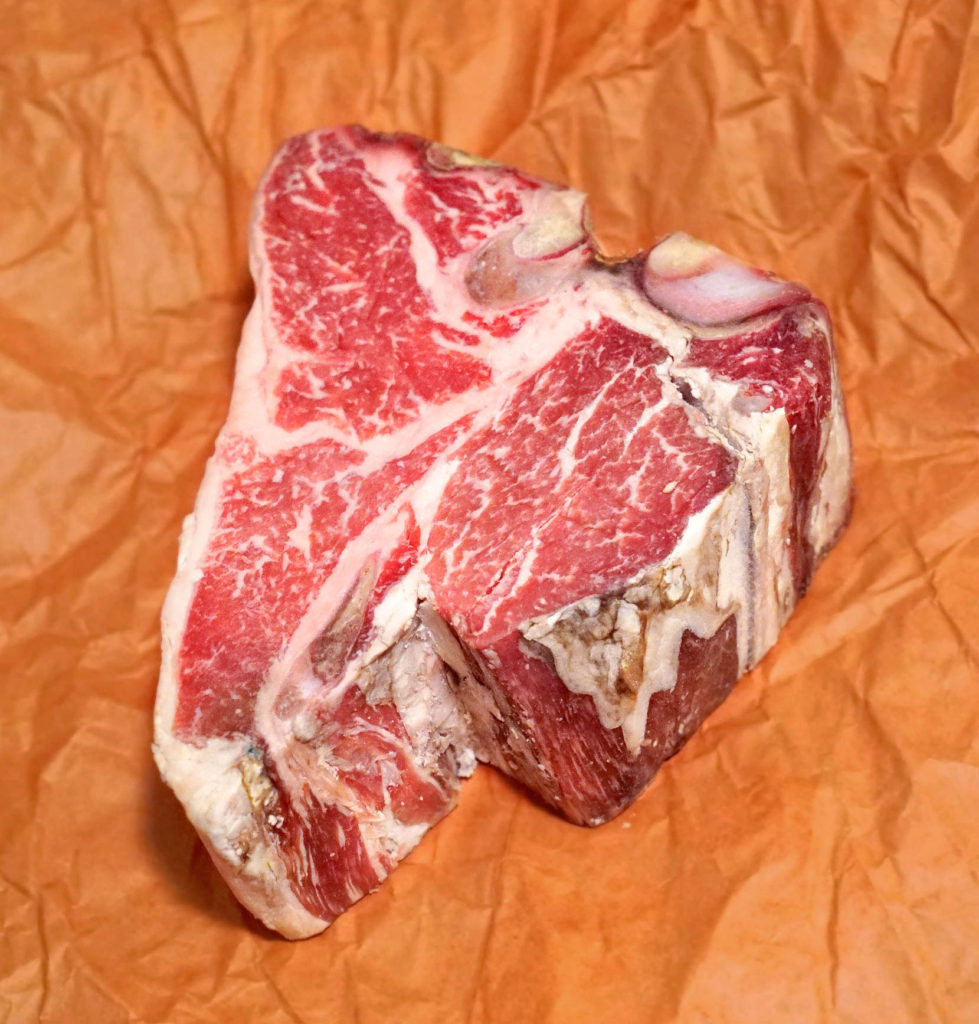
This stuff is not just set aside for restaurants and hotels! You can order it for home delivery right here.

So, what to do with all this beef? I mean, I would have loved to eat it all myself, but that’s just rude. Instead, I invited over a handful of foodie friends and cooked up a feast for them.

Here’s how it went down:

Appetizers

For starters, I sliced up some truffle salami and made a very basic wedge salad with iceberg, grape tomatoes, thick bacon and a crumbled blue cheese and black truffle oil dressing.

Main Courses

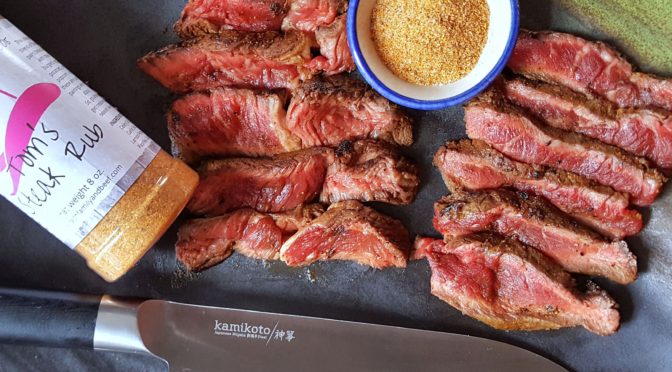
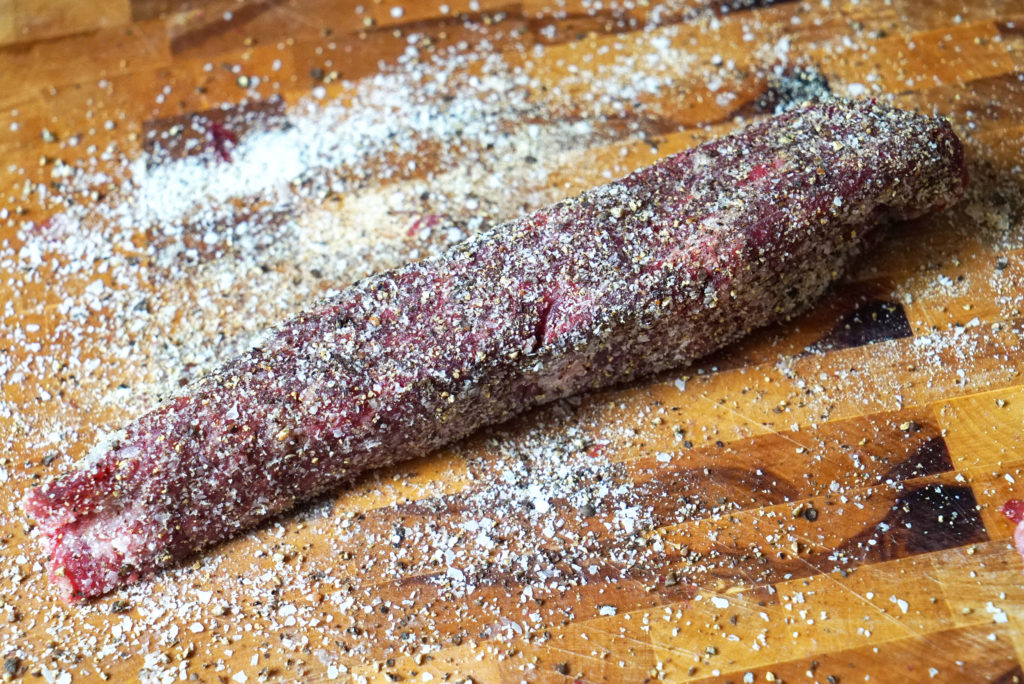
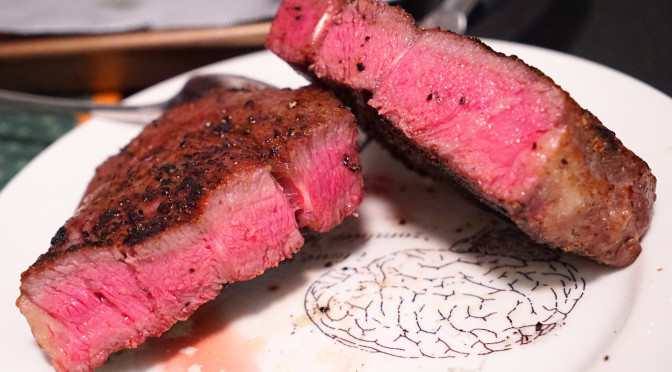
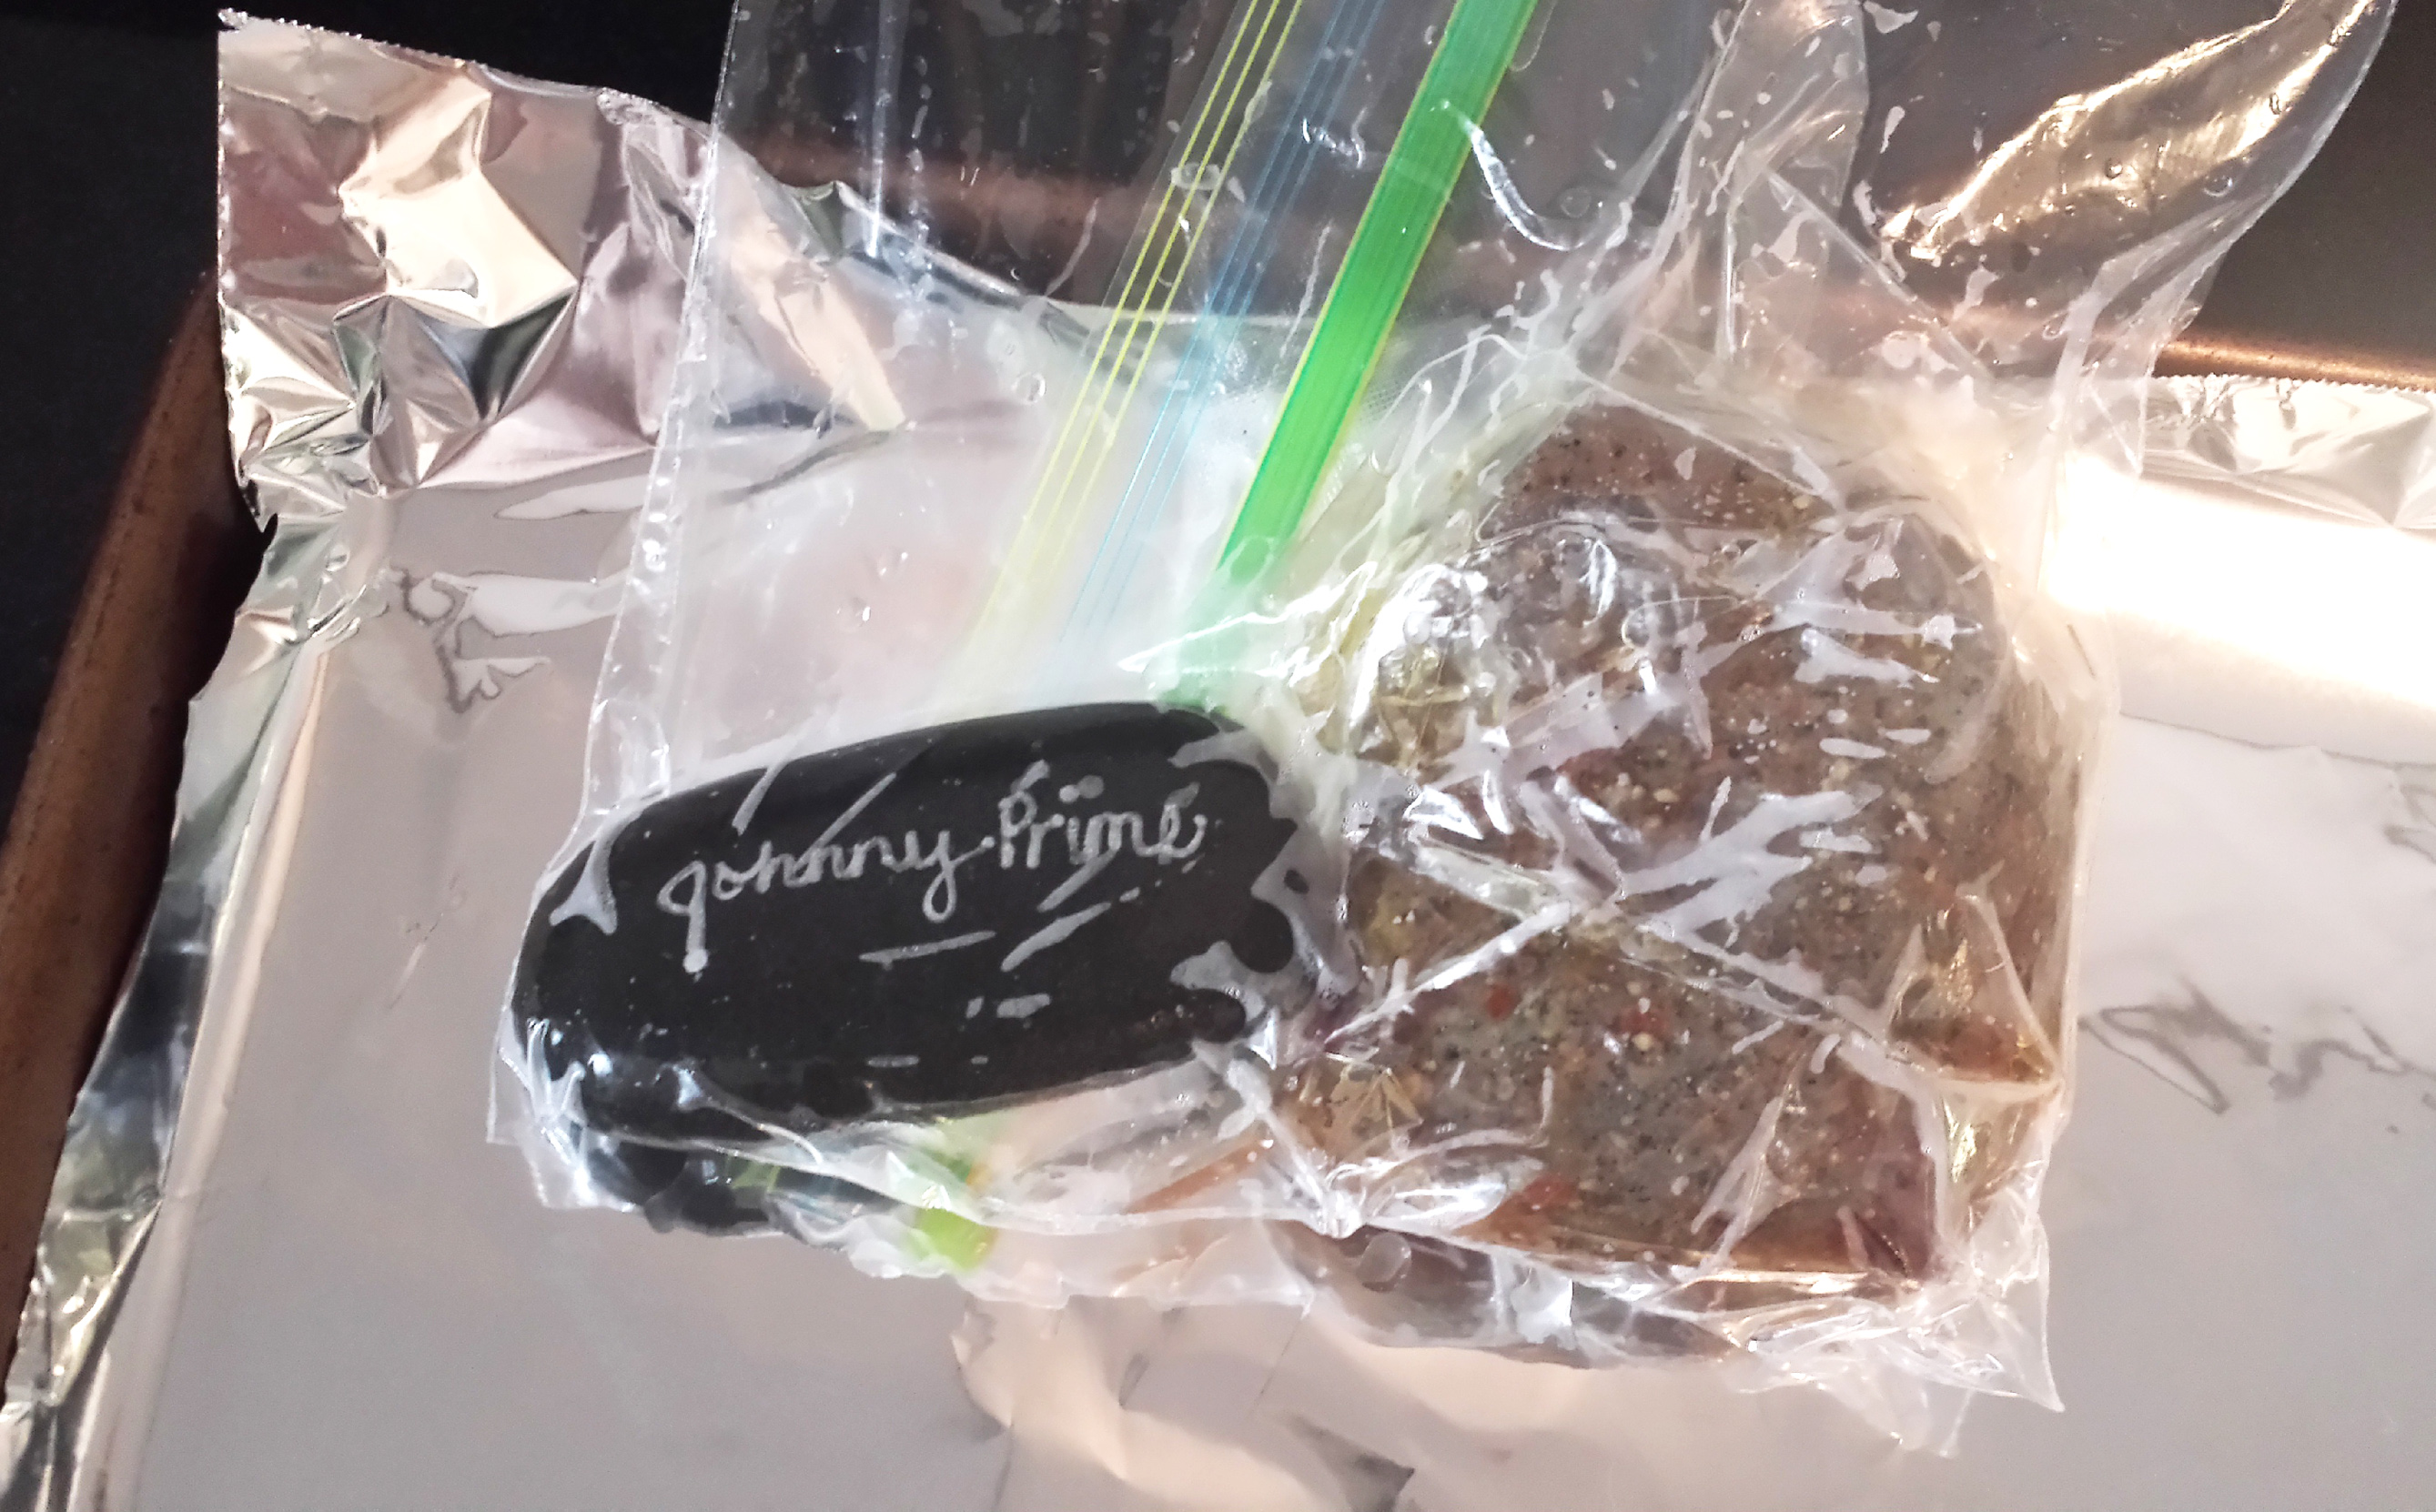
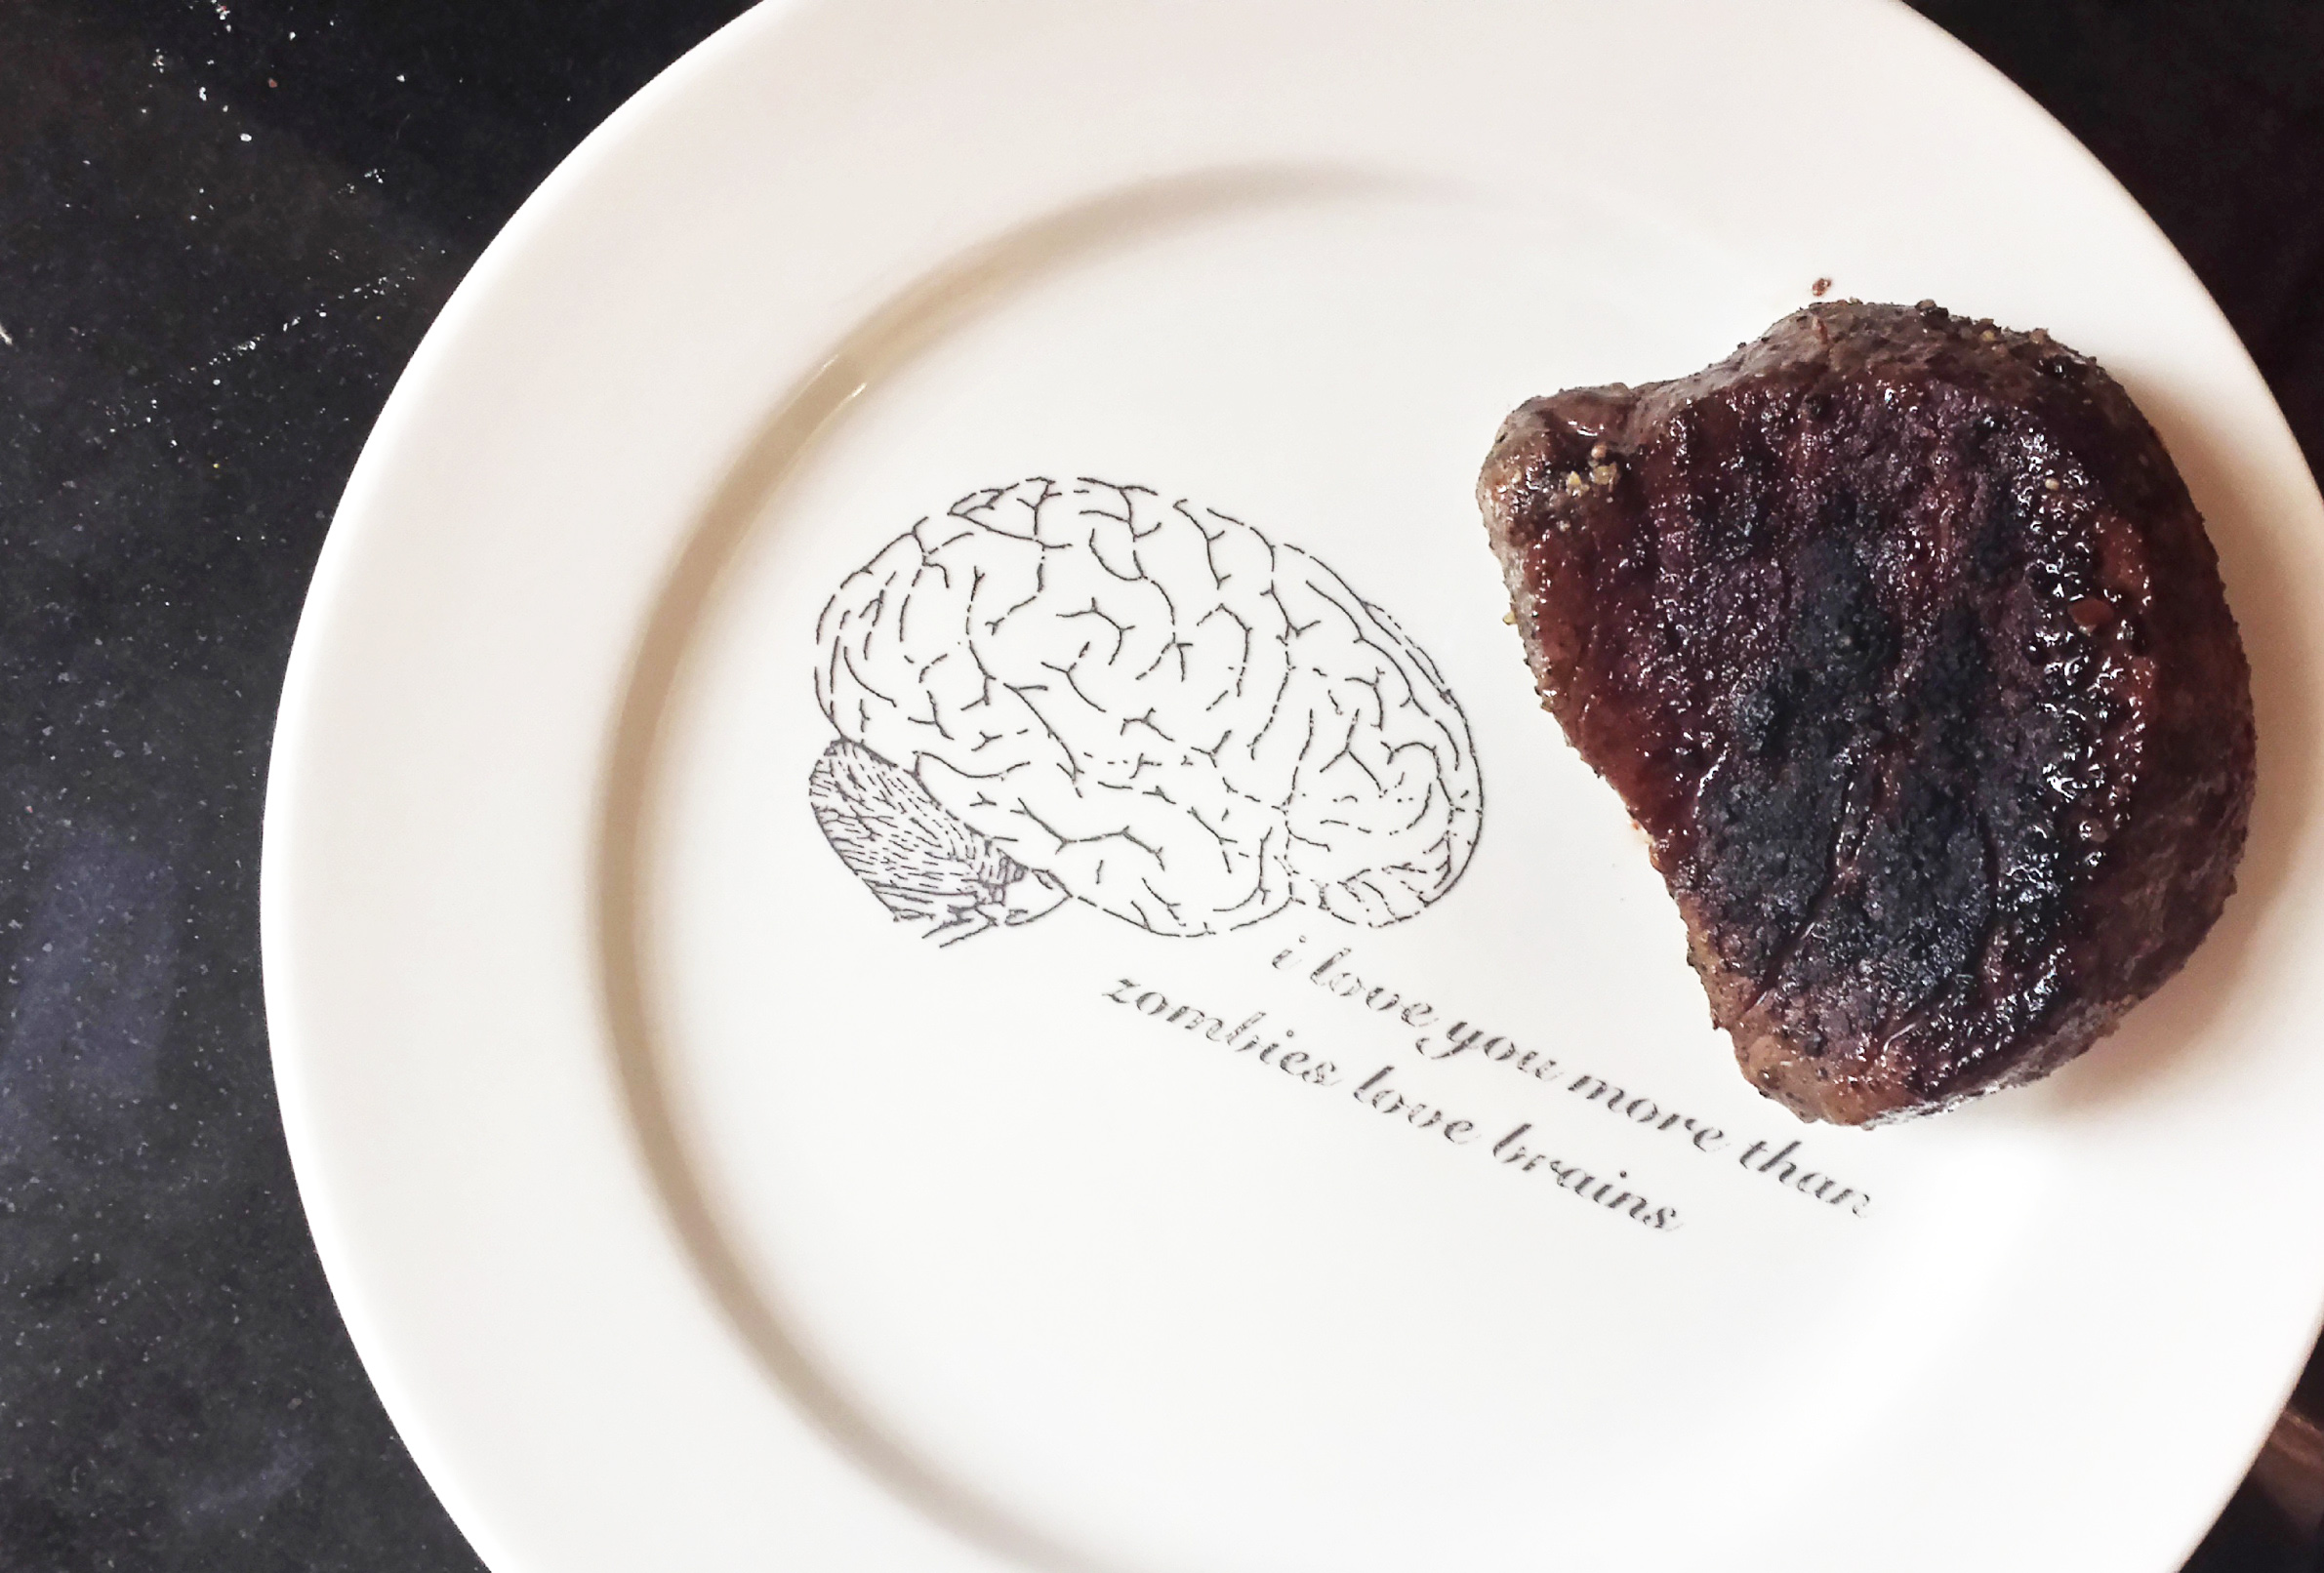
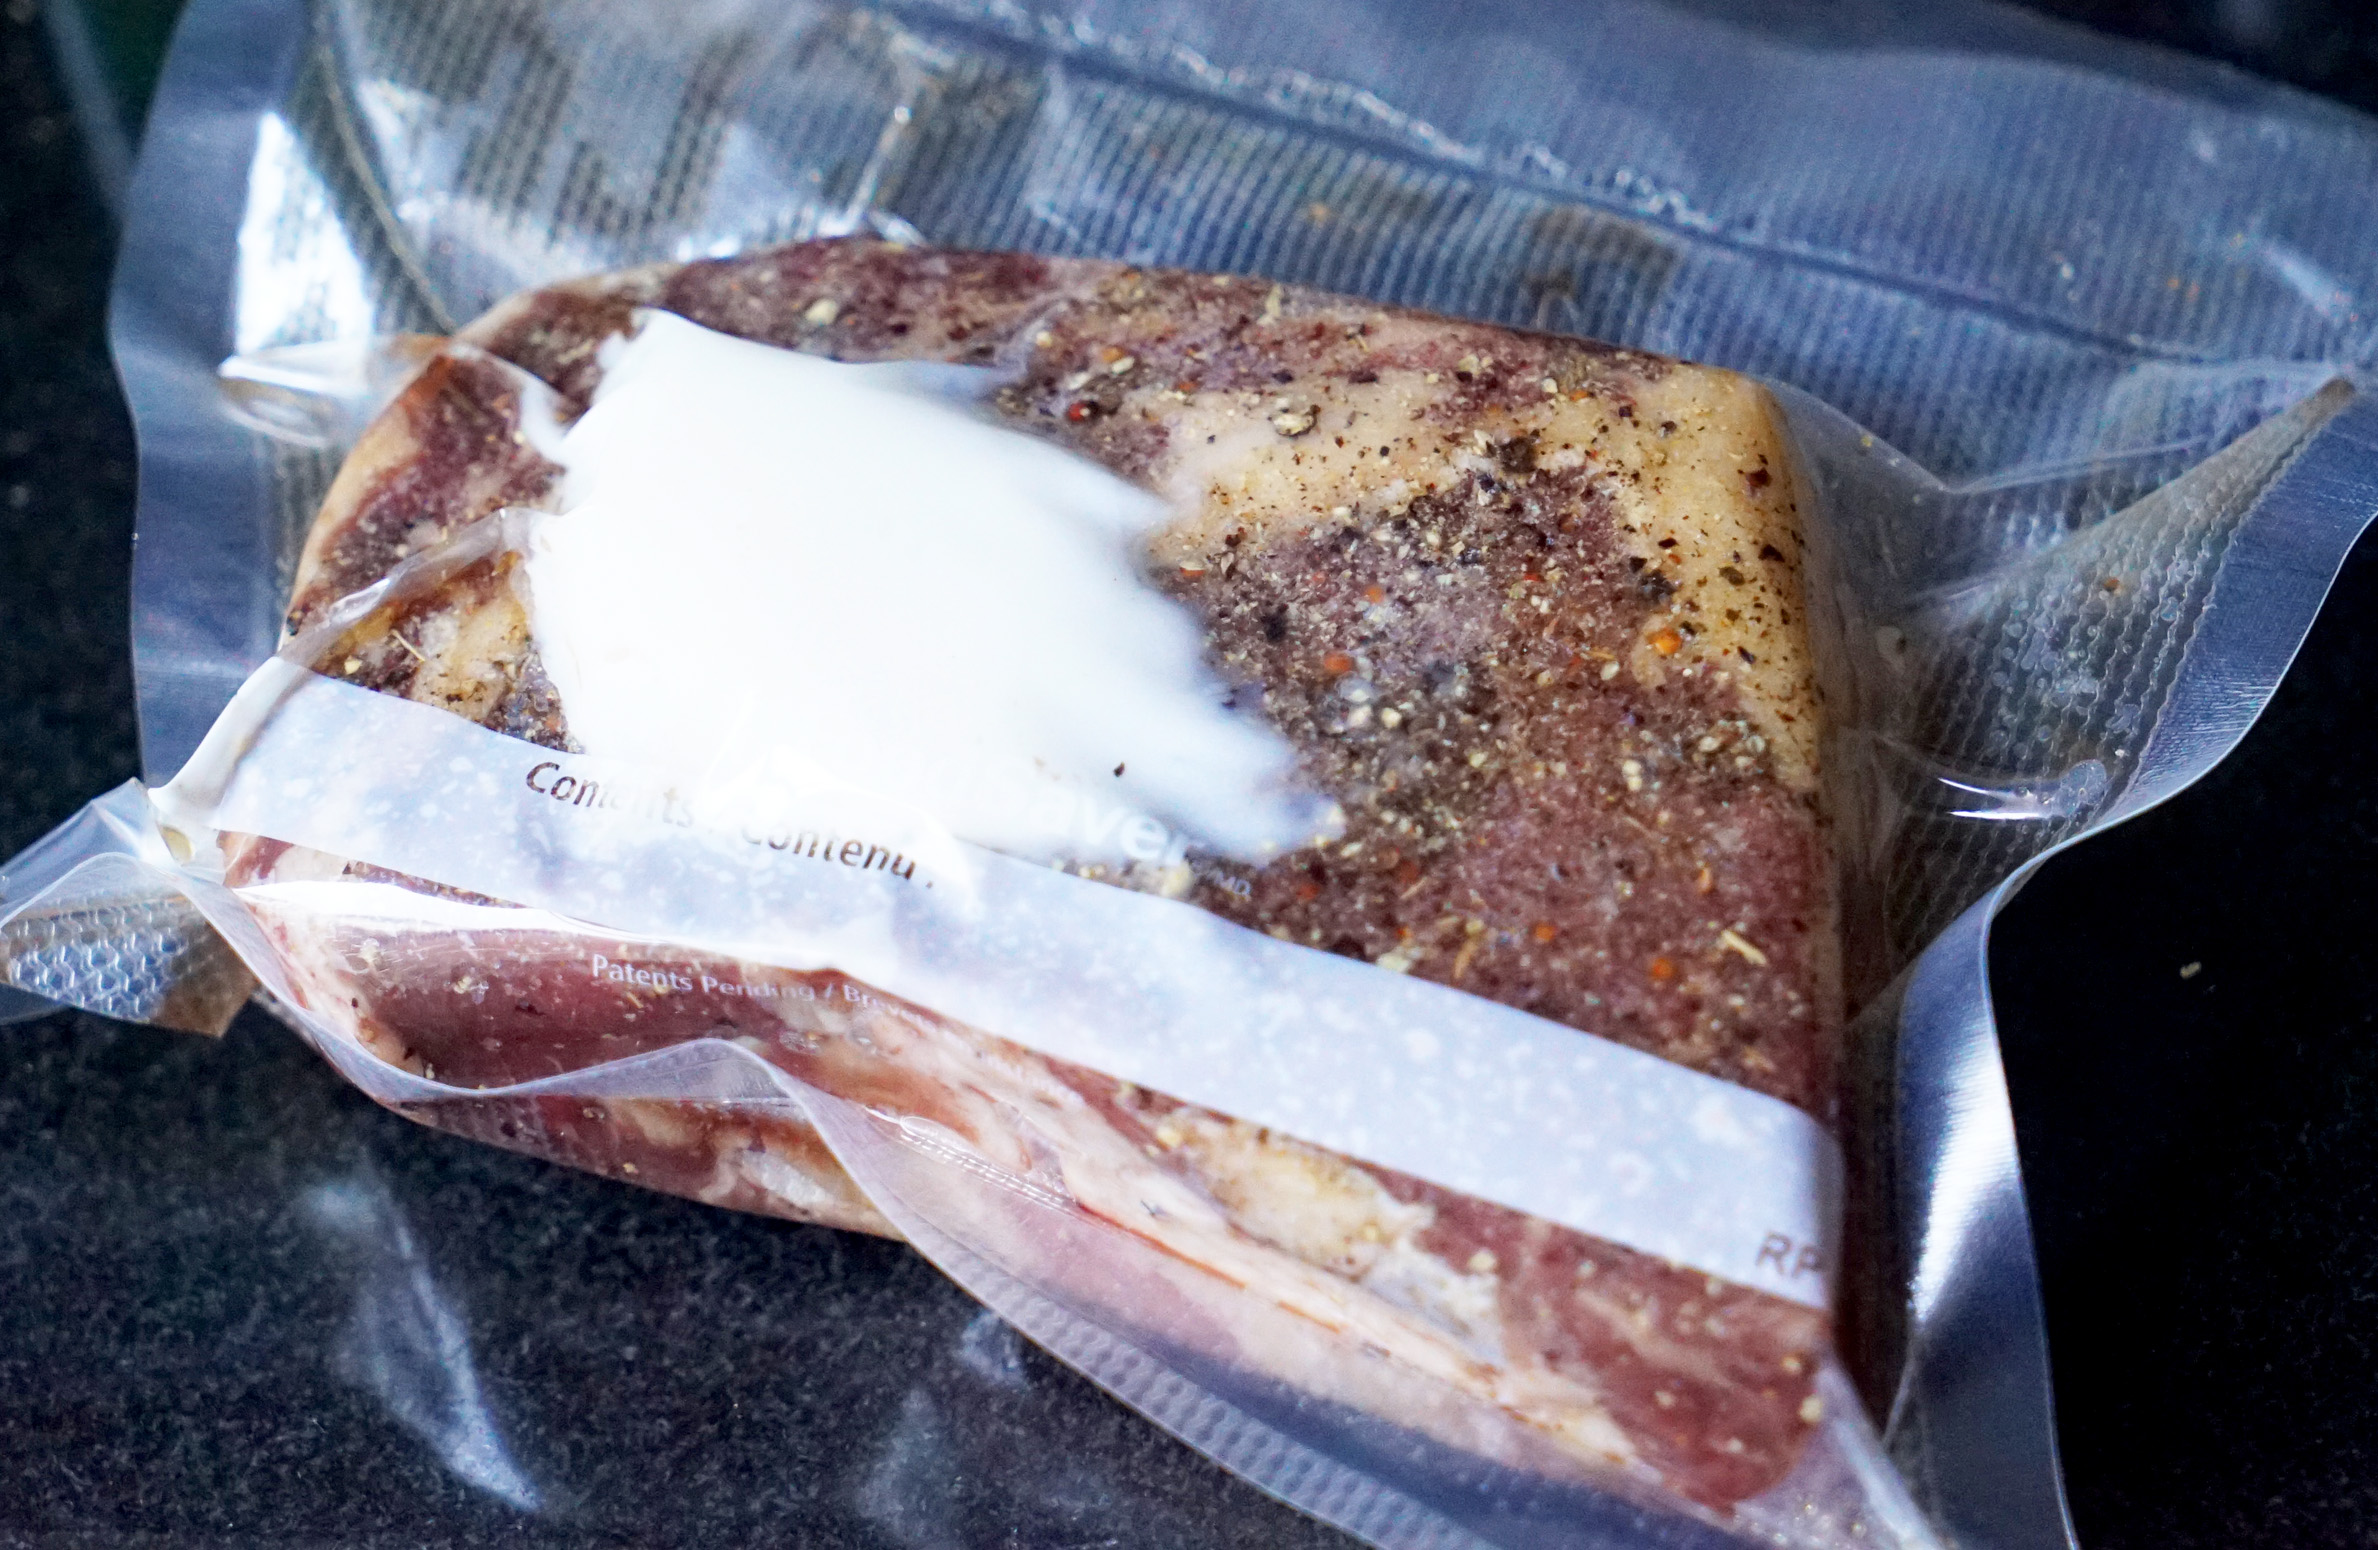
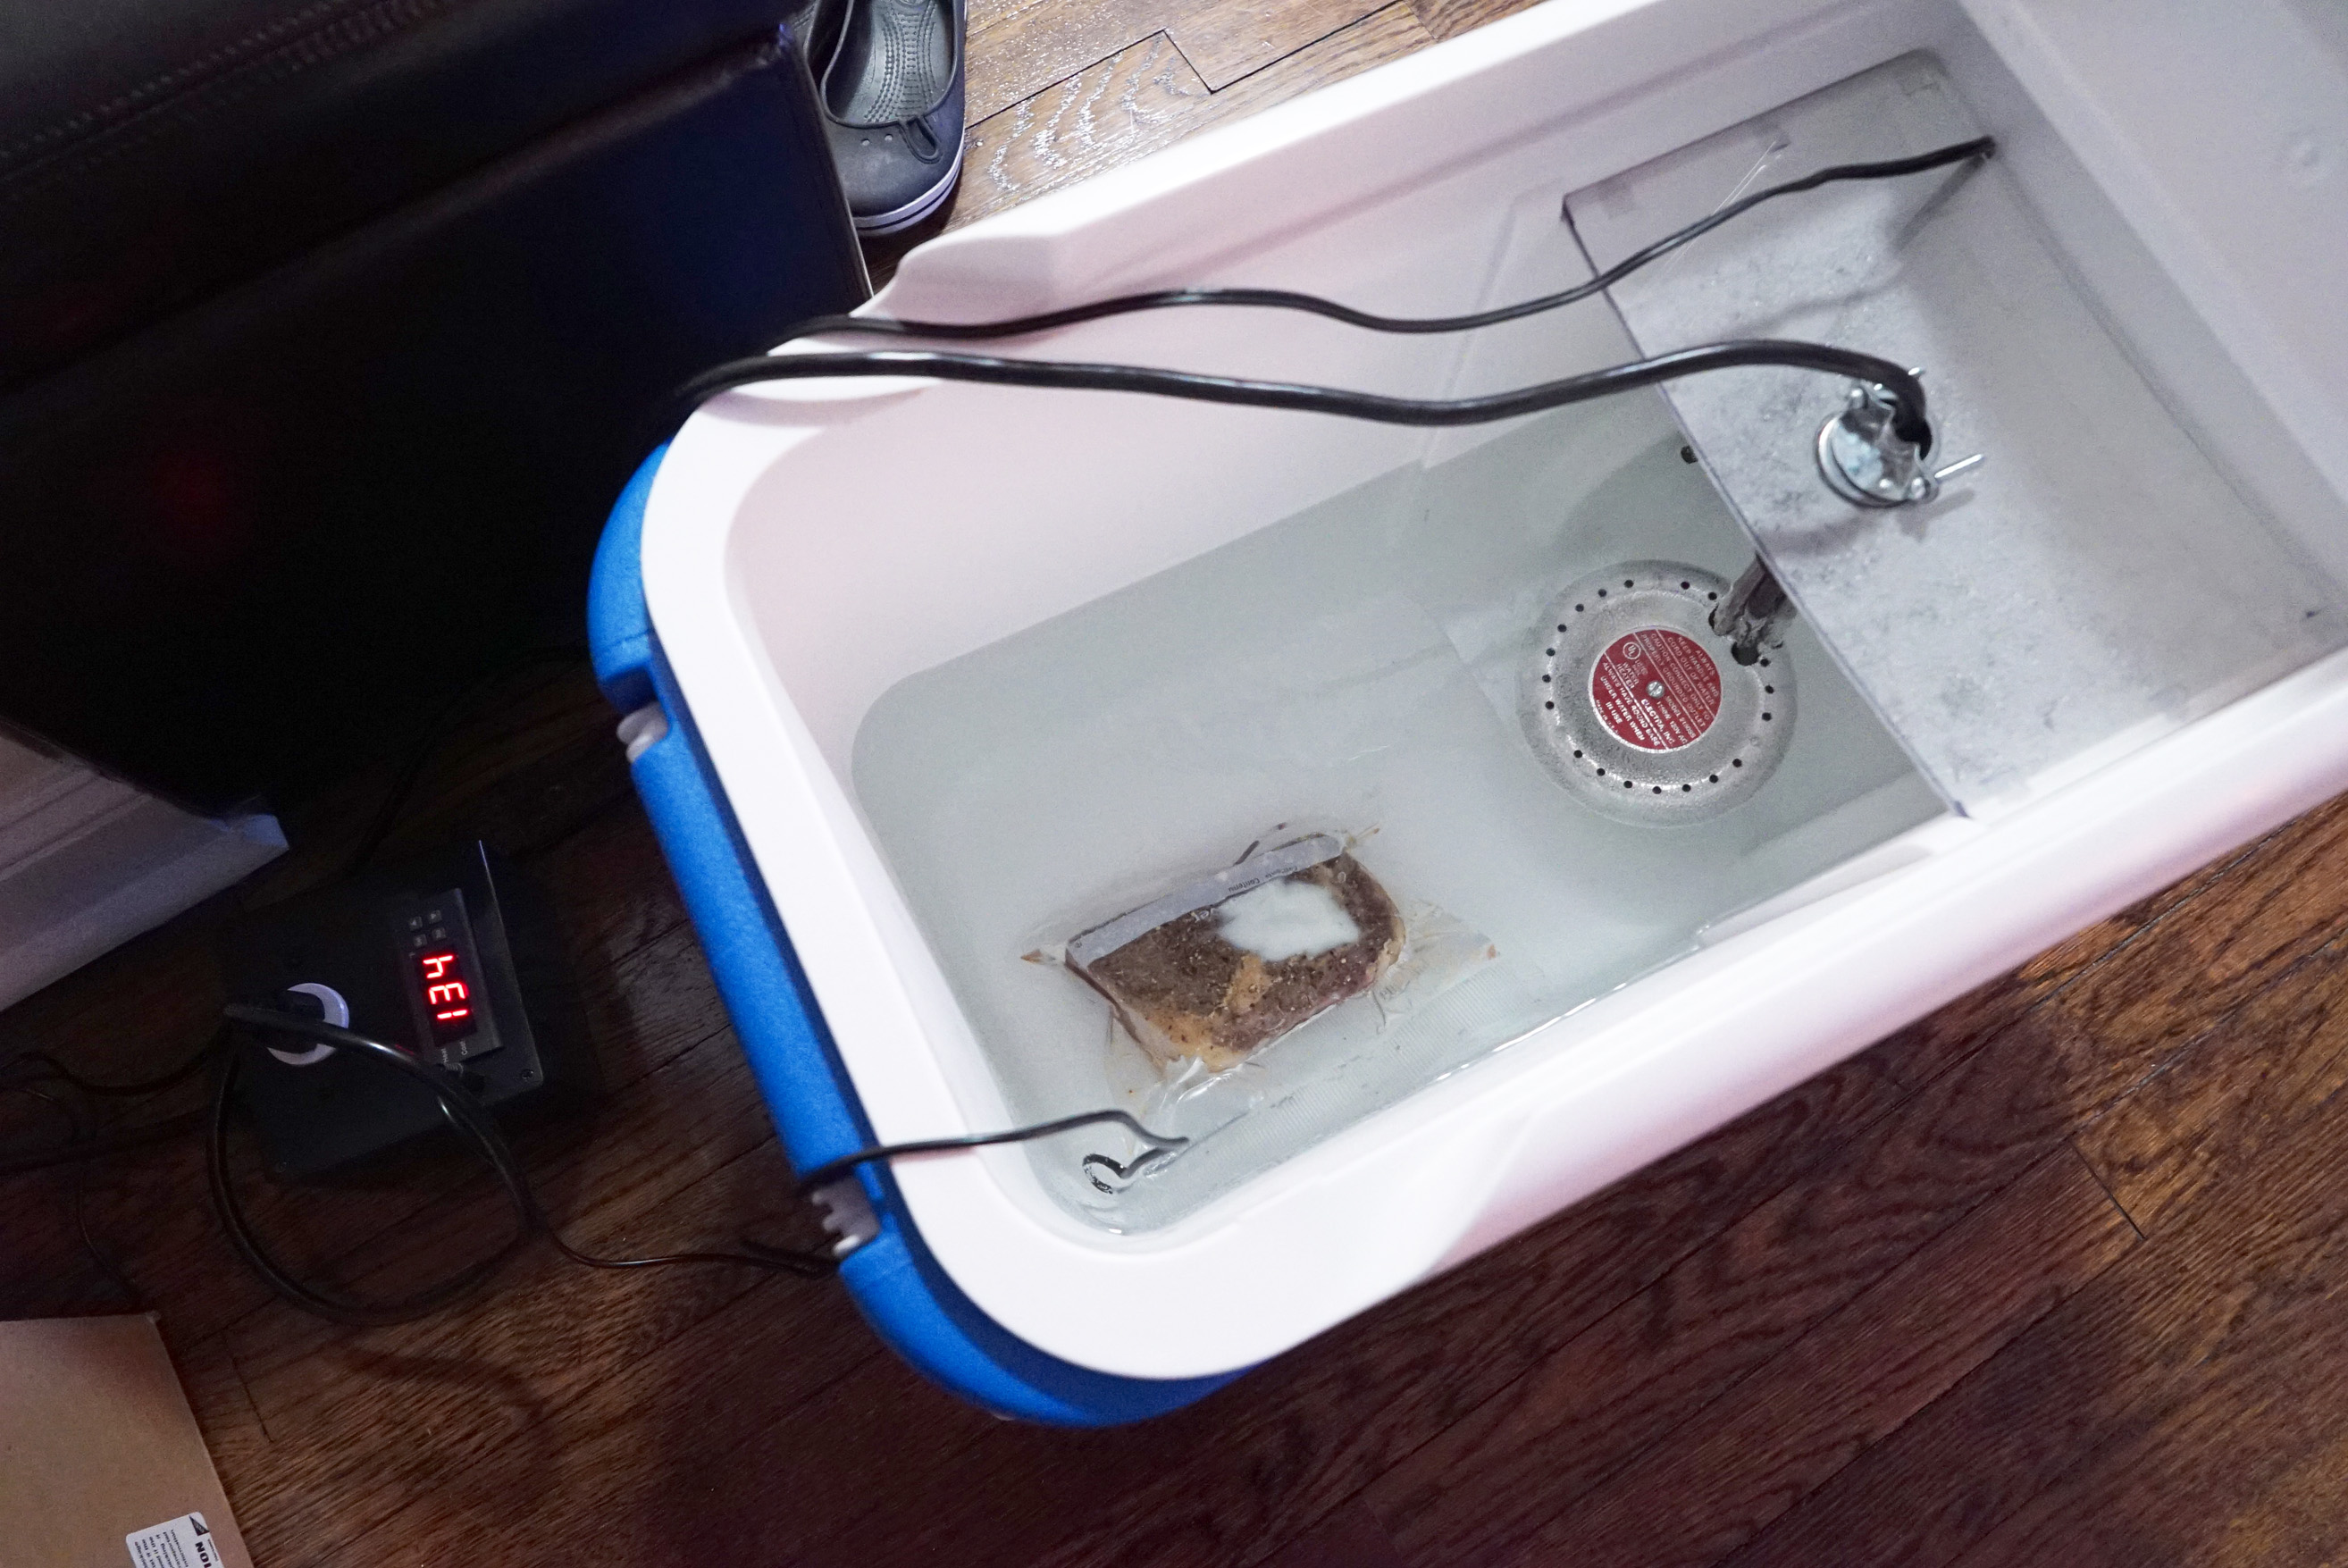
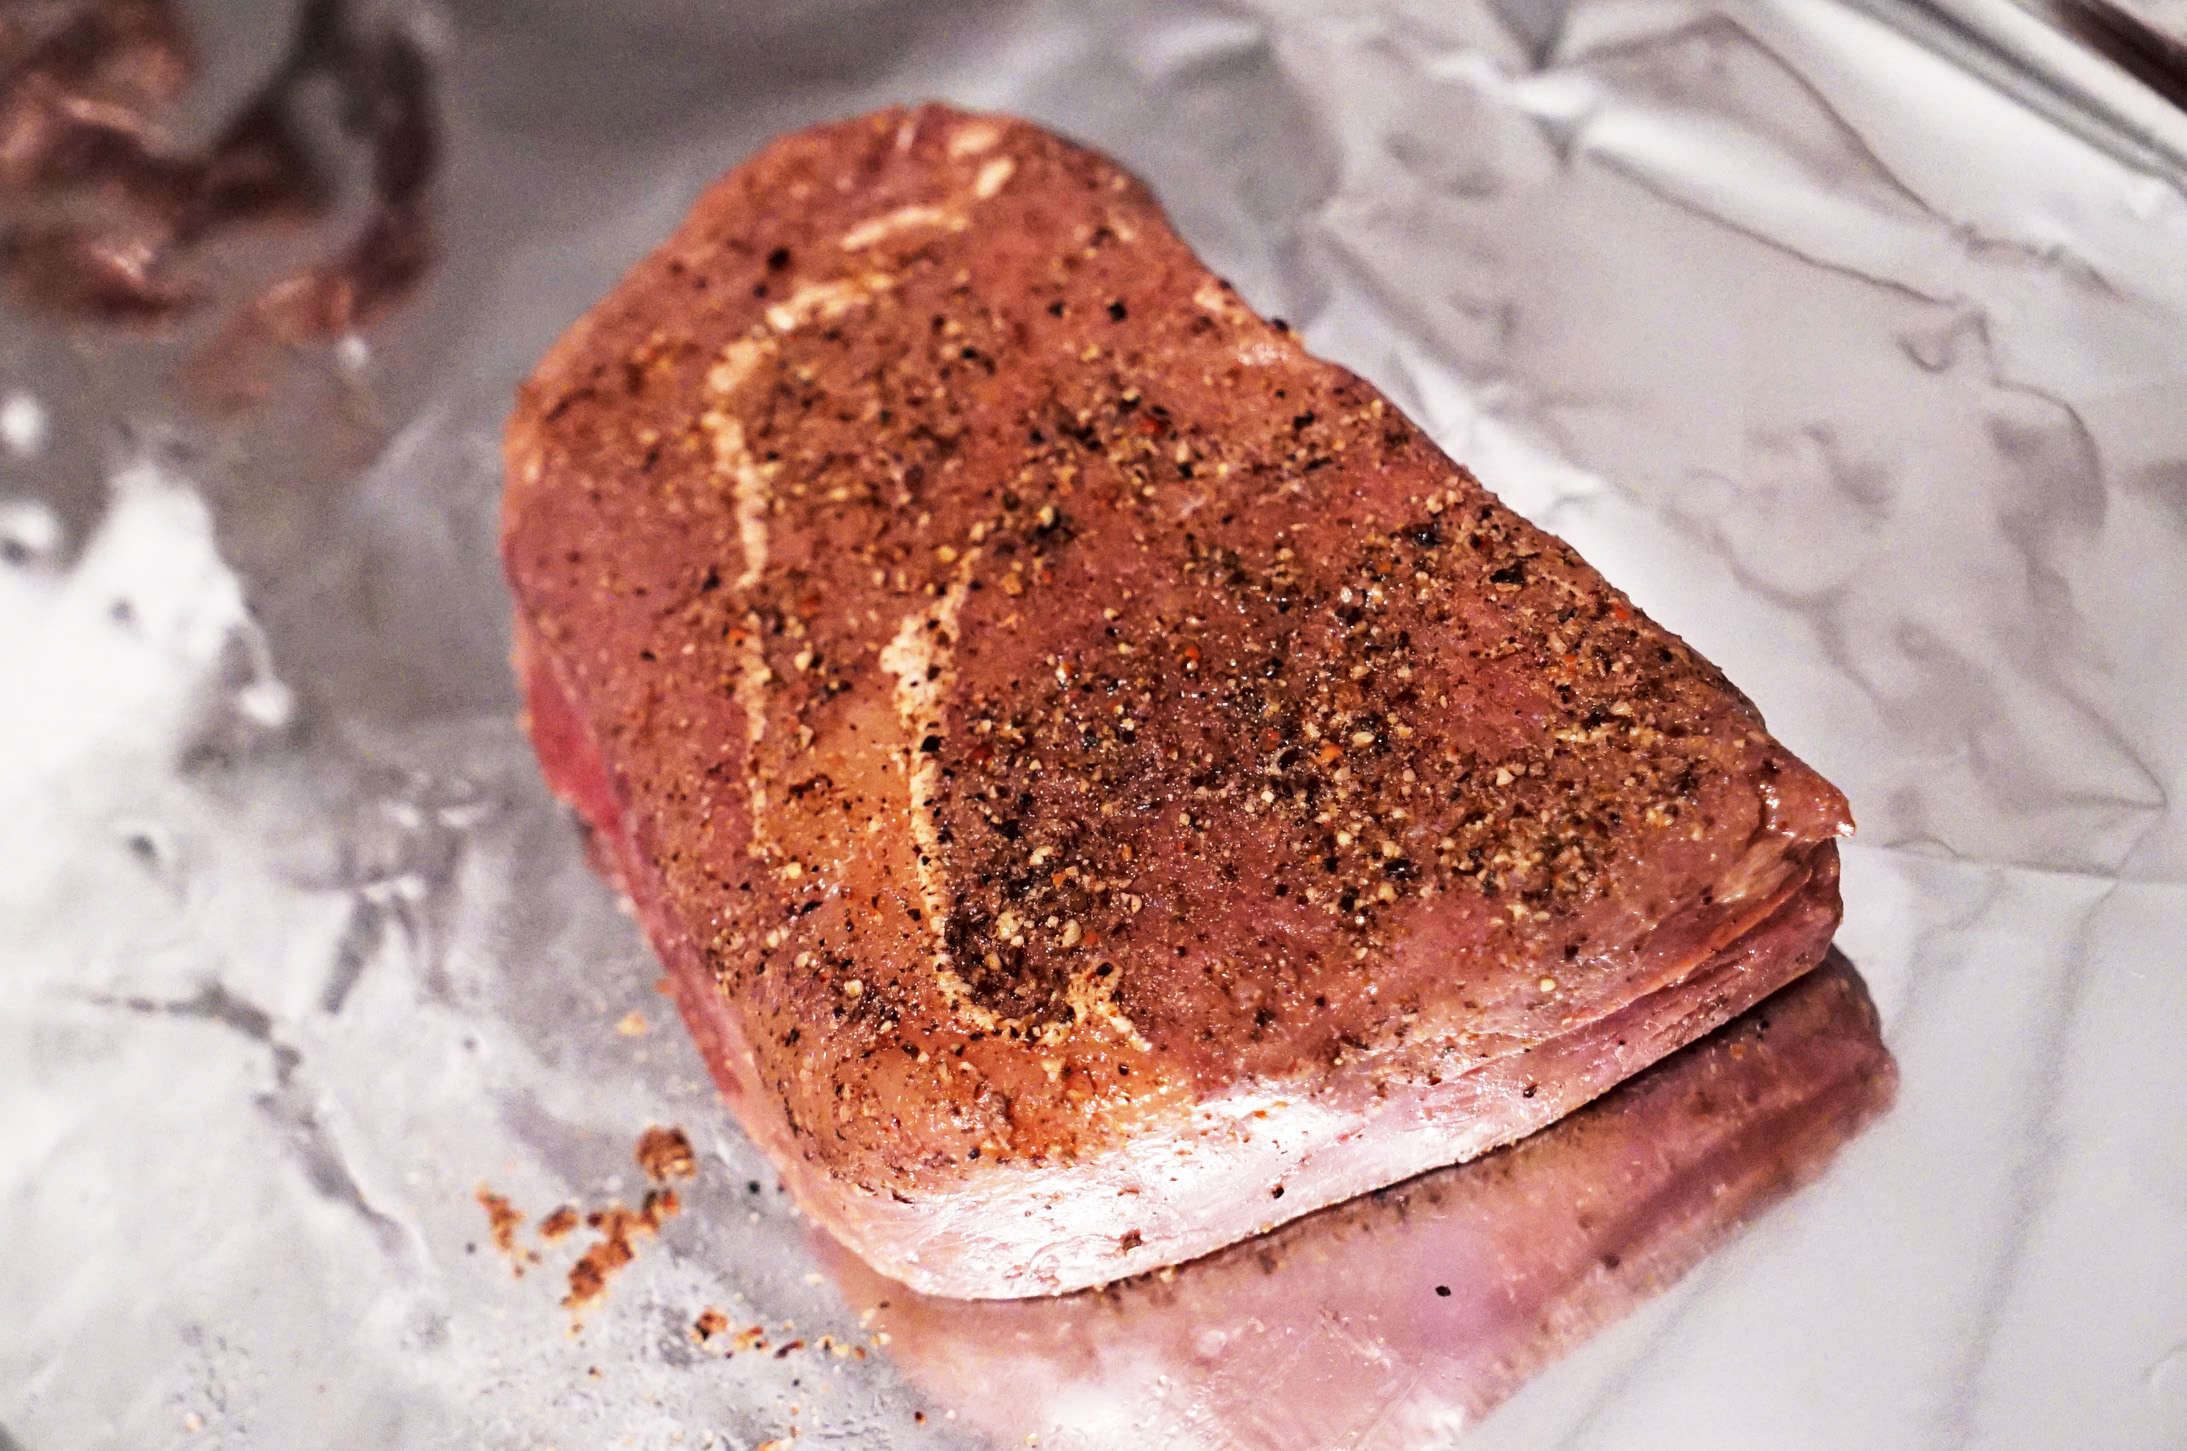
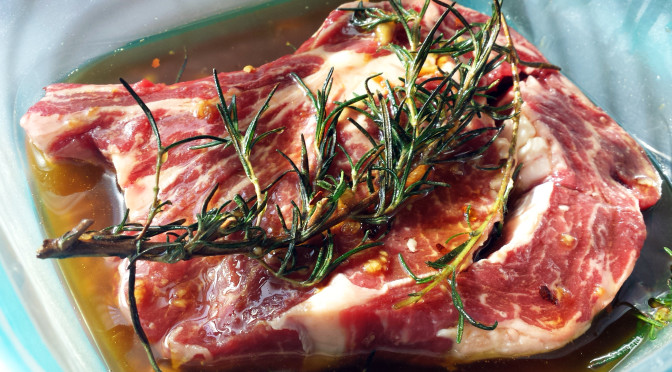
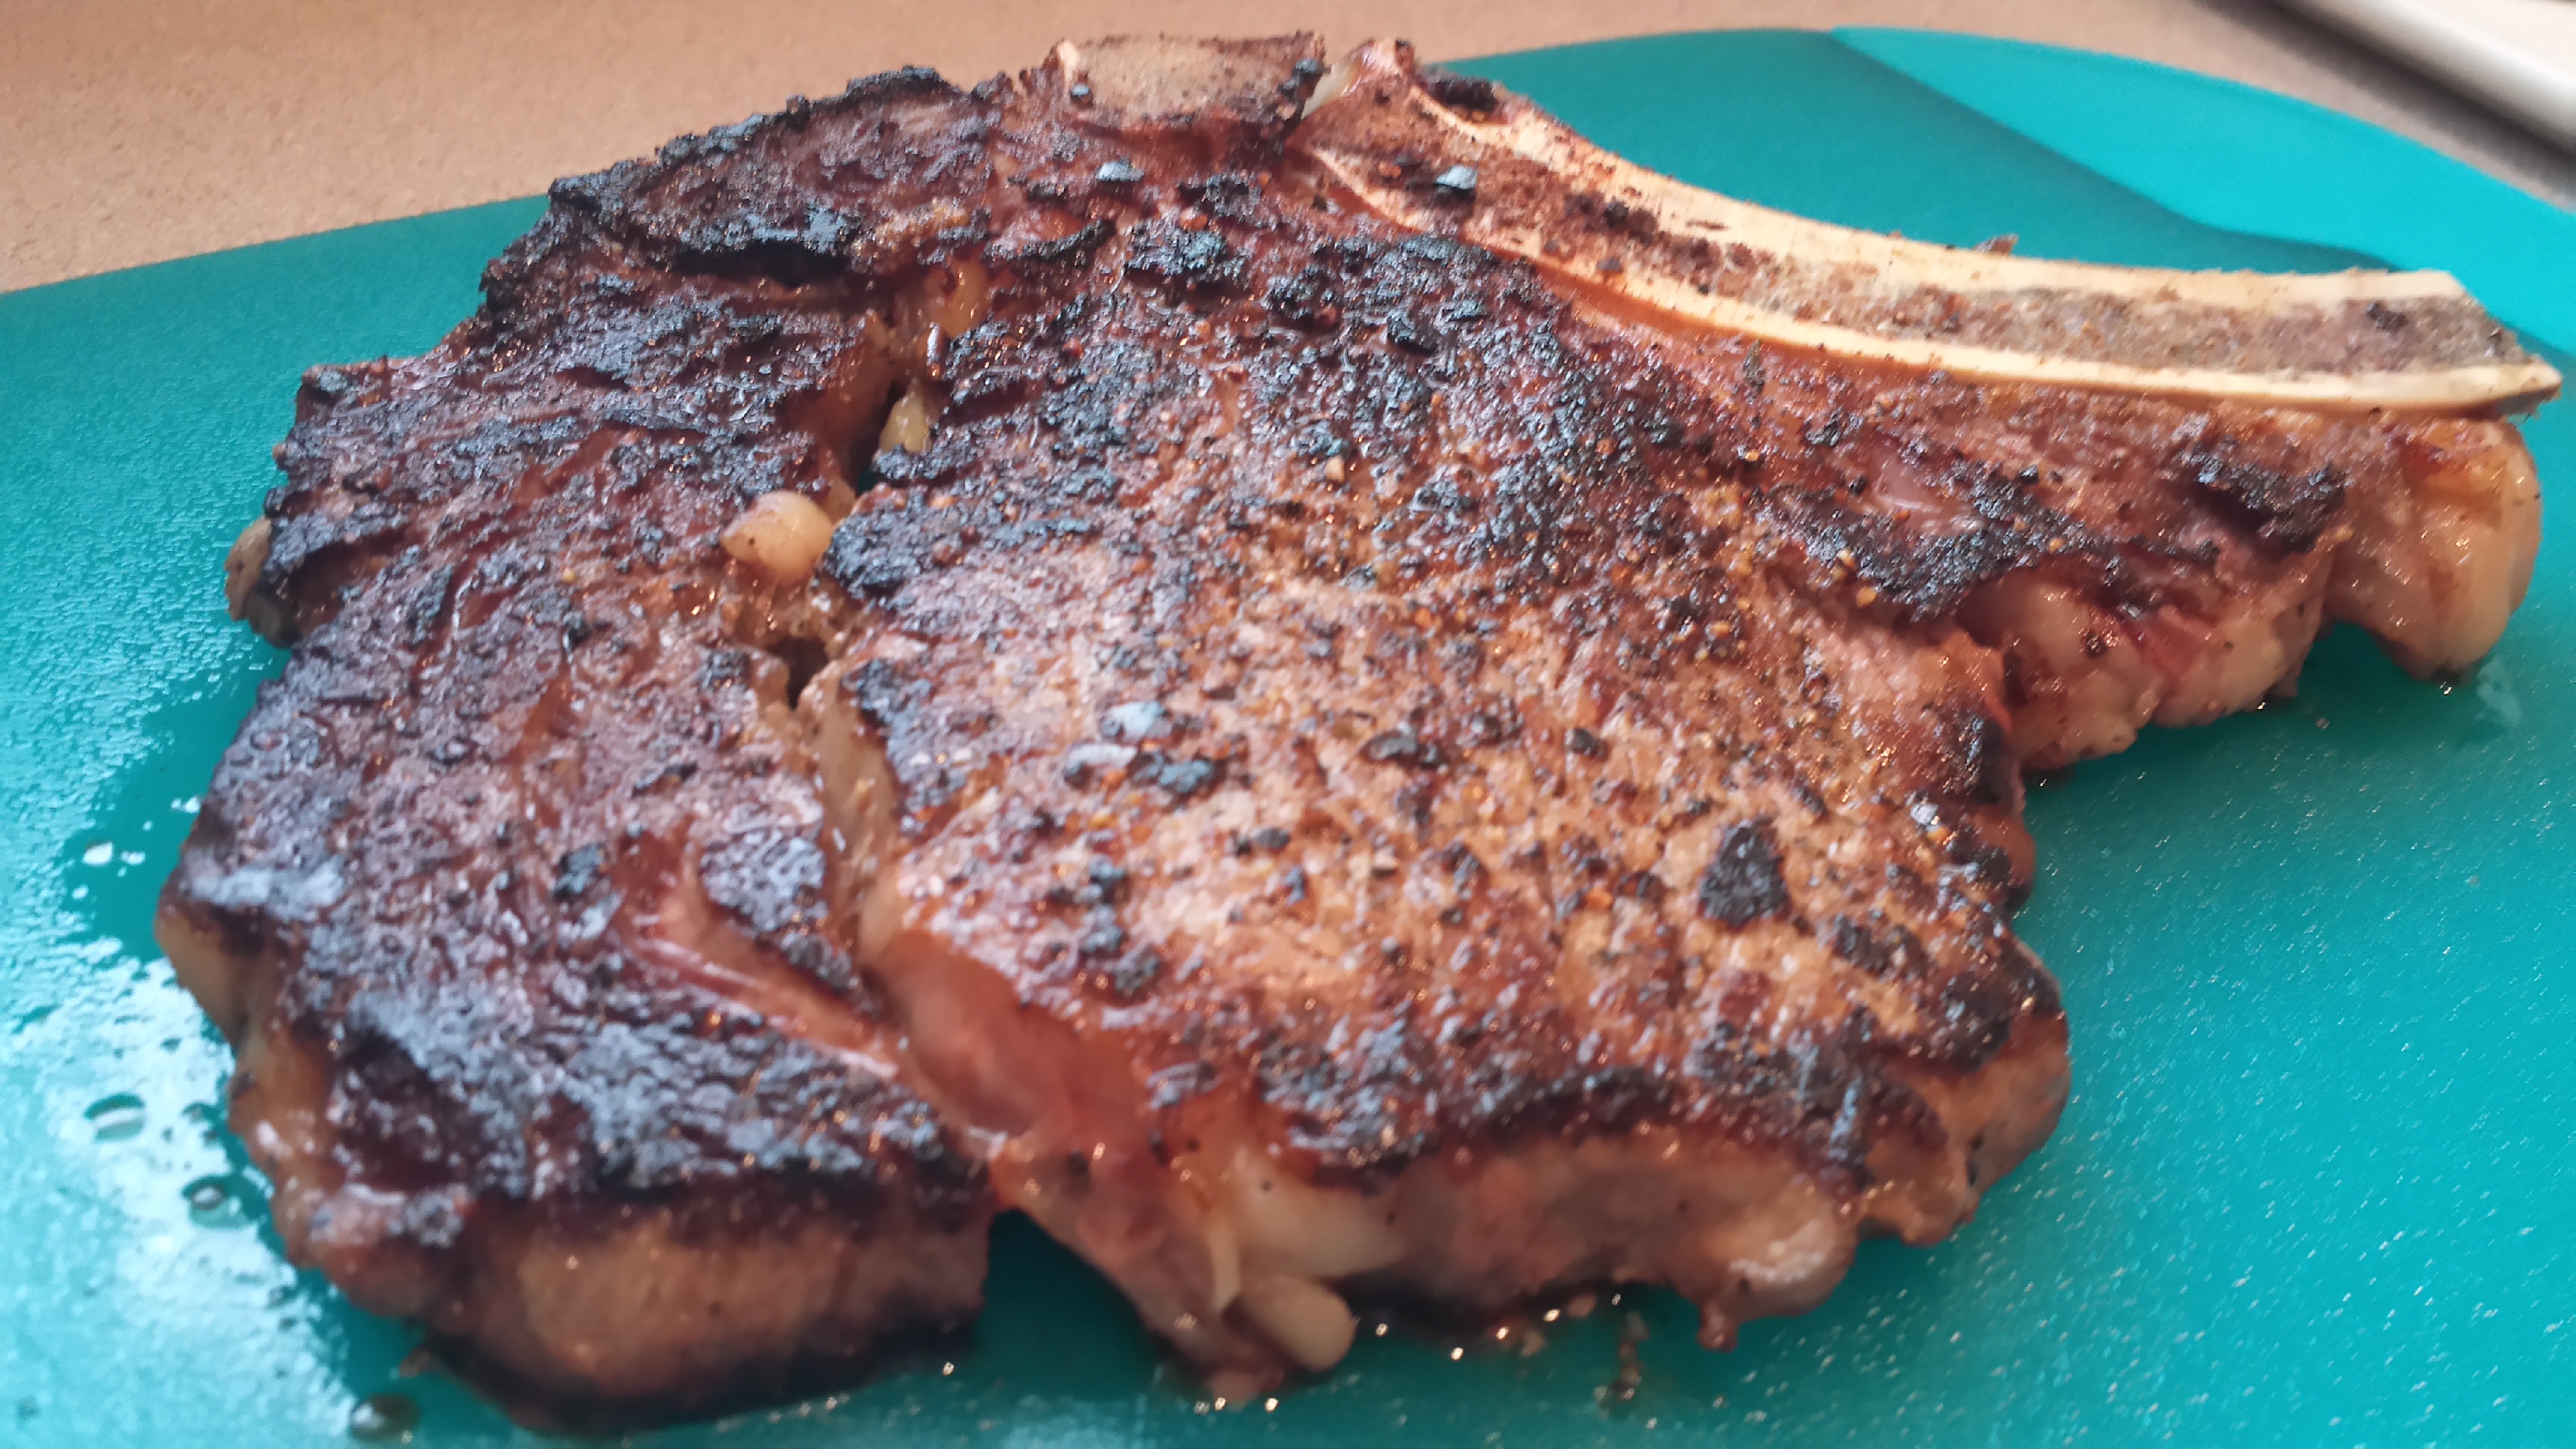
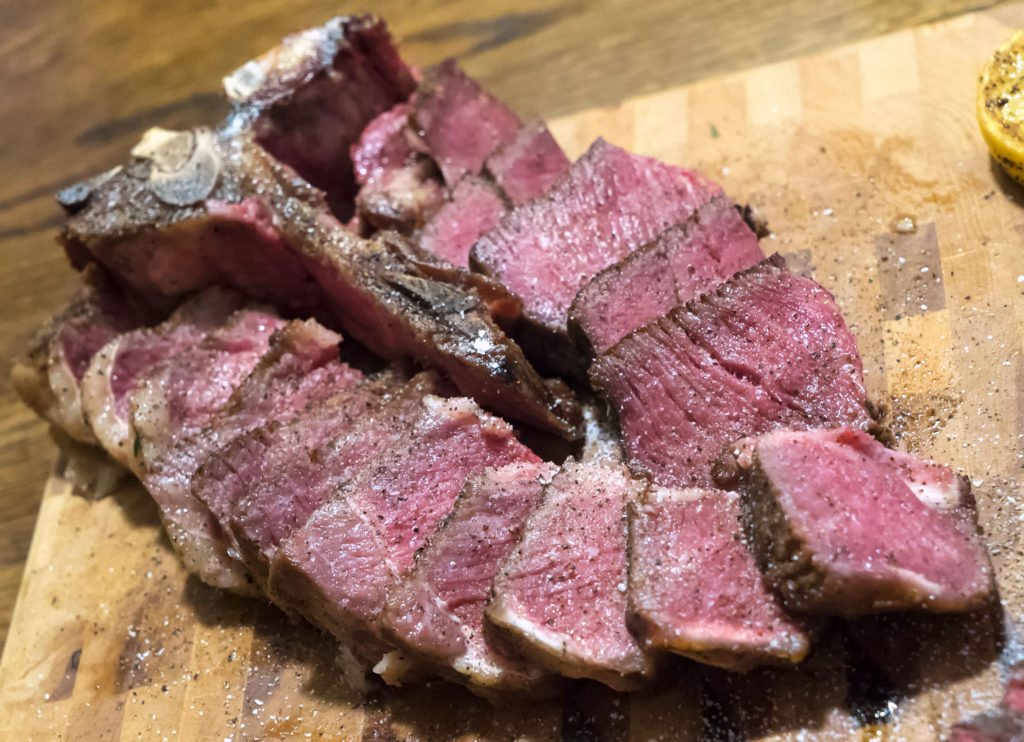
I decided to cook the porterhouse in the sous vide machine, and then finish it off with a hard Searzall blowtorch sear. I loaded the sous vide bag up with some truffle oil (I froze this ahead of time, that way the contents in the bag were dry when I sealed it), rosemary and thyme. I also seasoned the steak with salt and pepper before sealing it up.

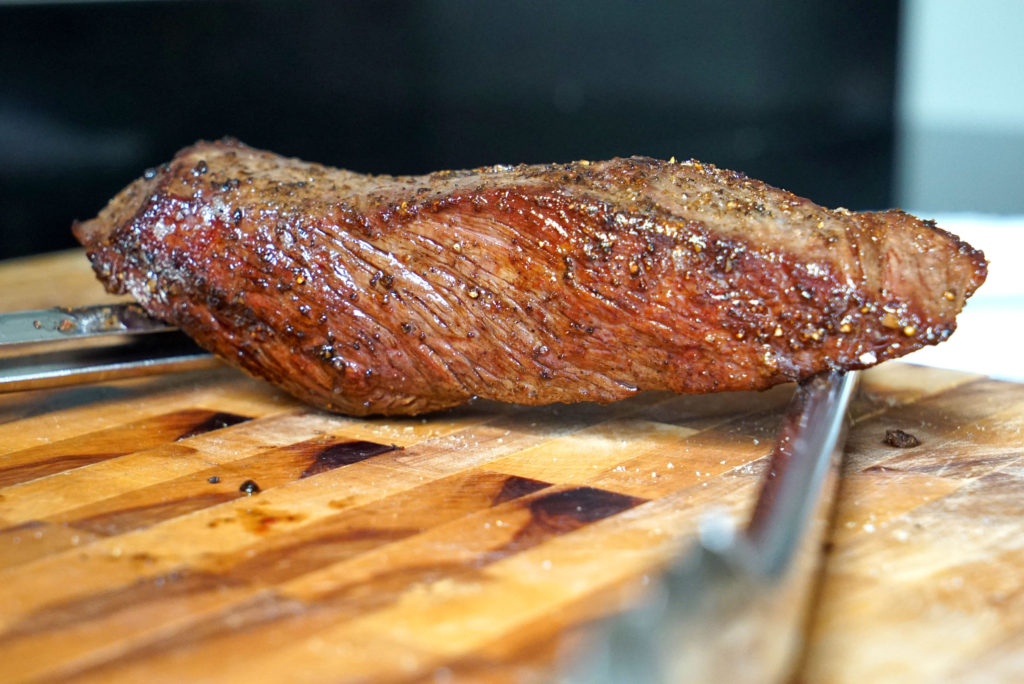
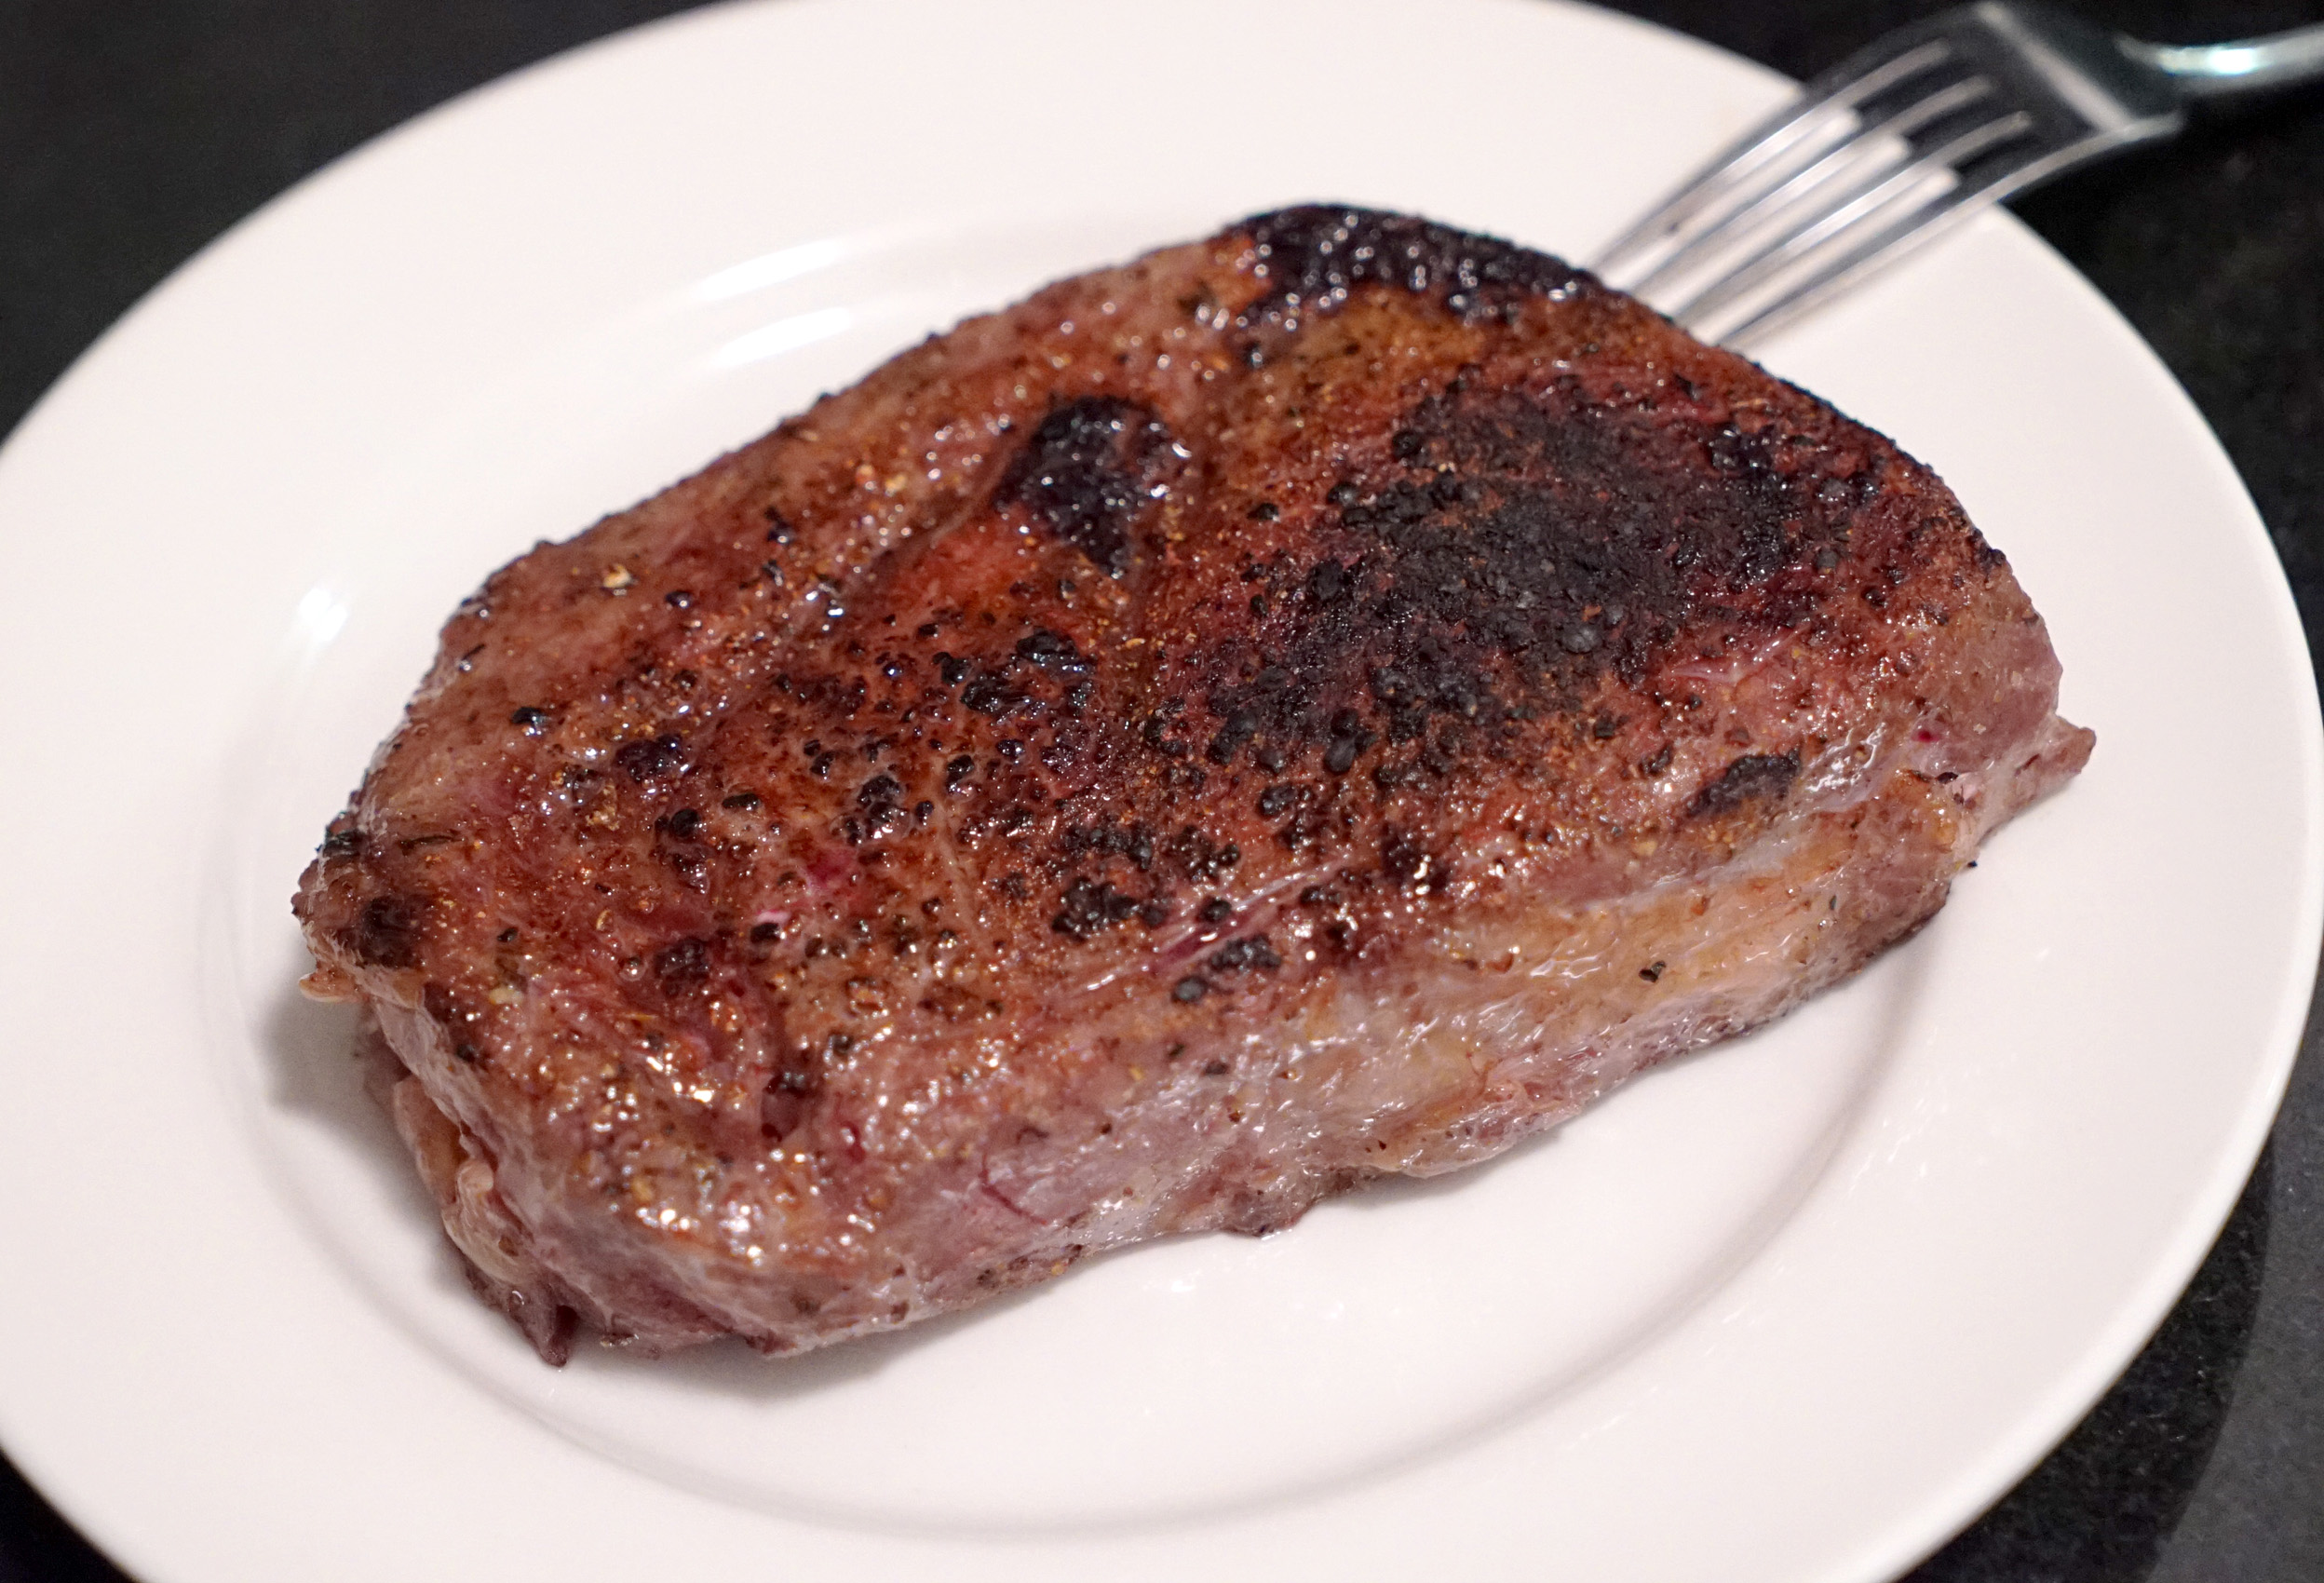
After about four hours in a 128 degree bath, I pulled it out and dropped it into some ice water to stop the cooking process. After a few minutes, I removed it from the bag, dried it off and blasted it with the Searzall to get that nice outer crust.

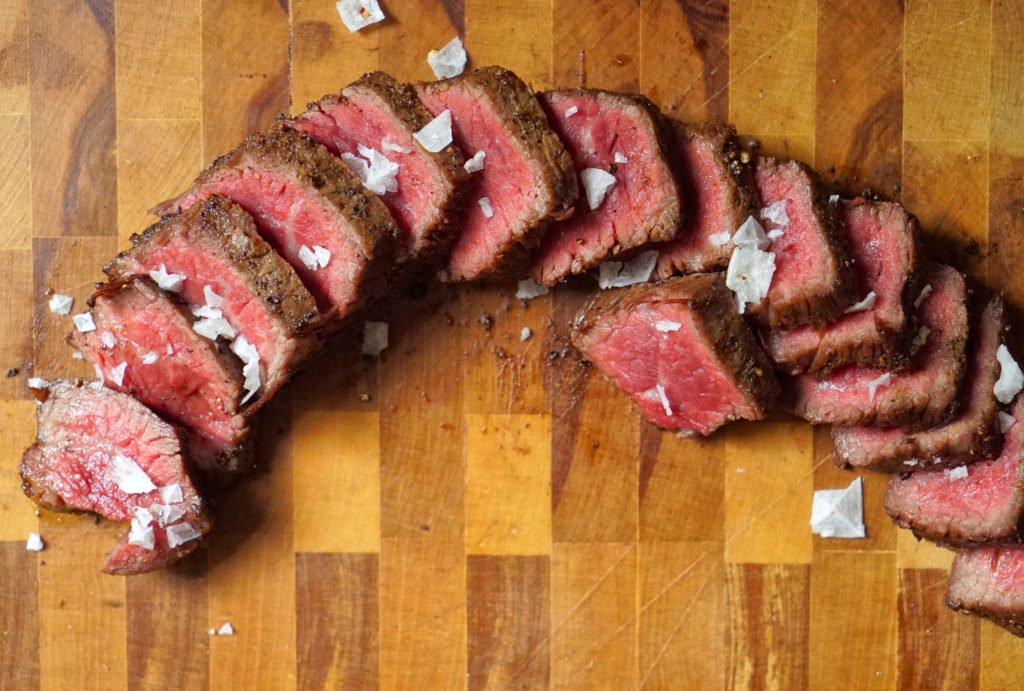
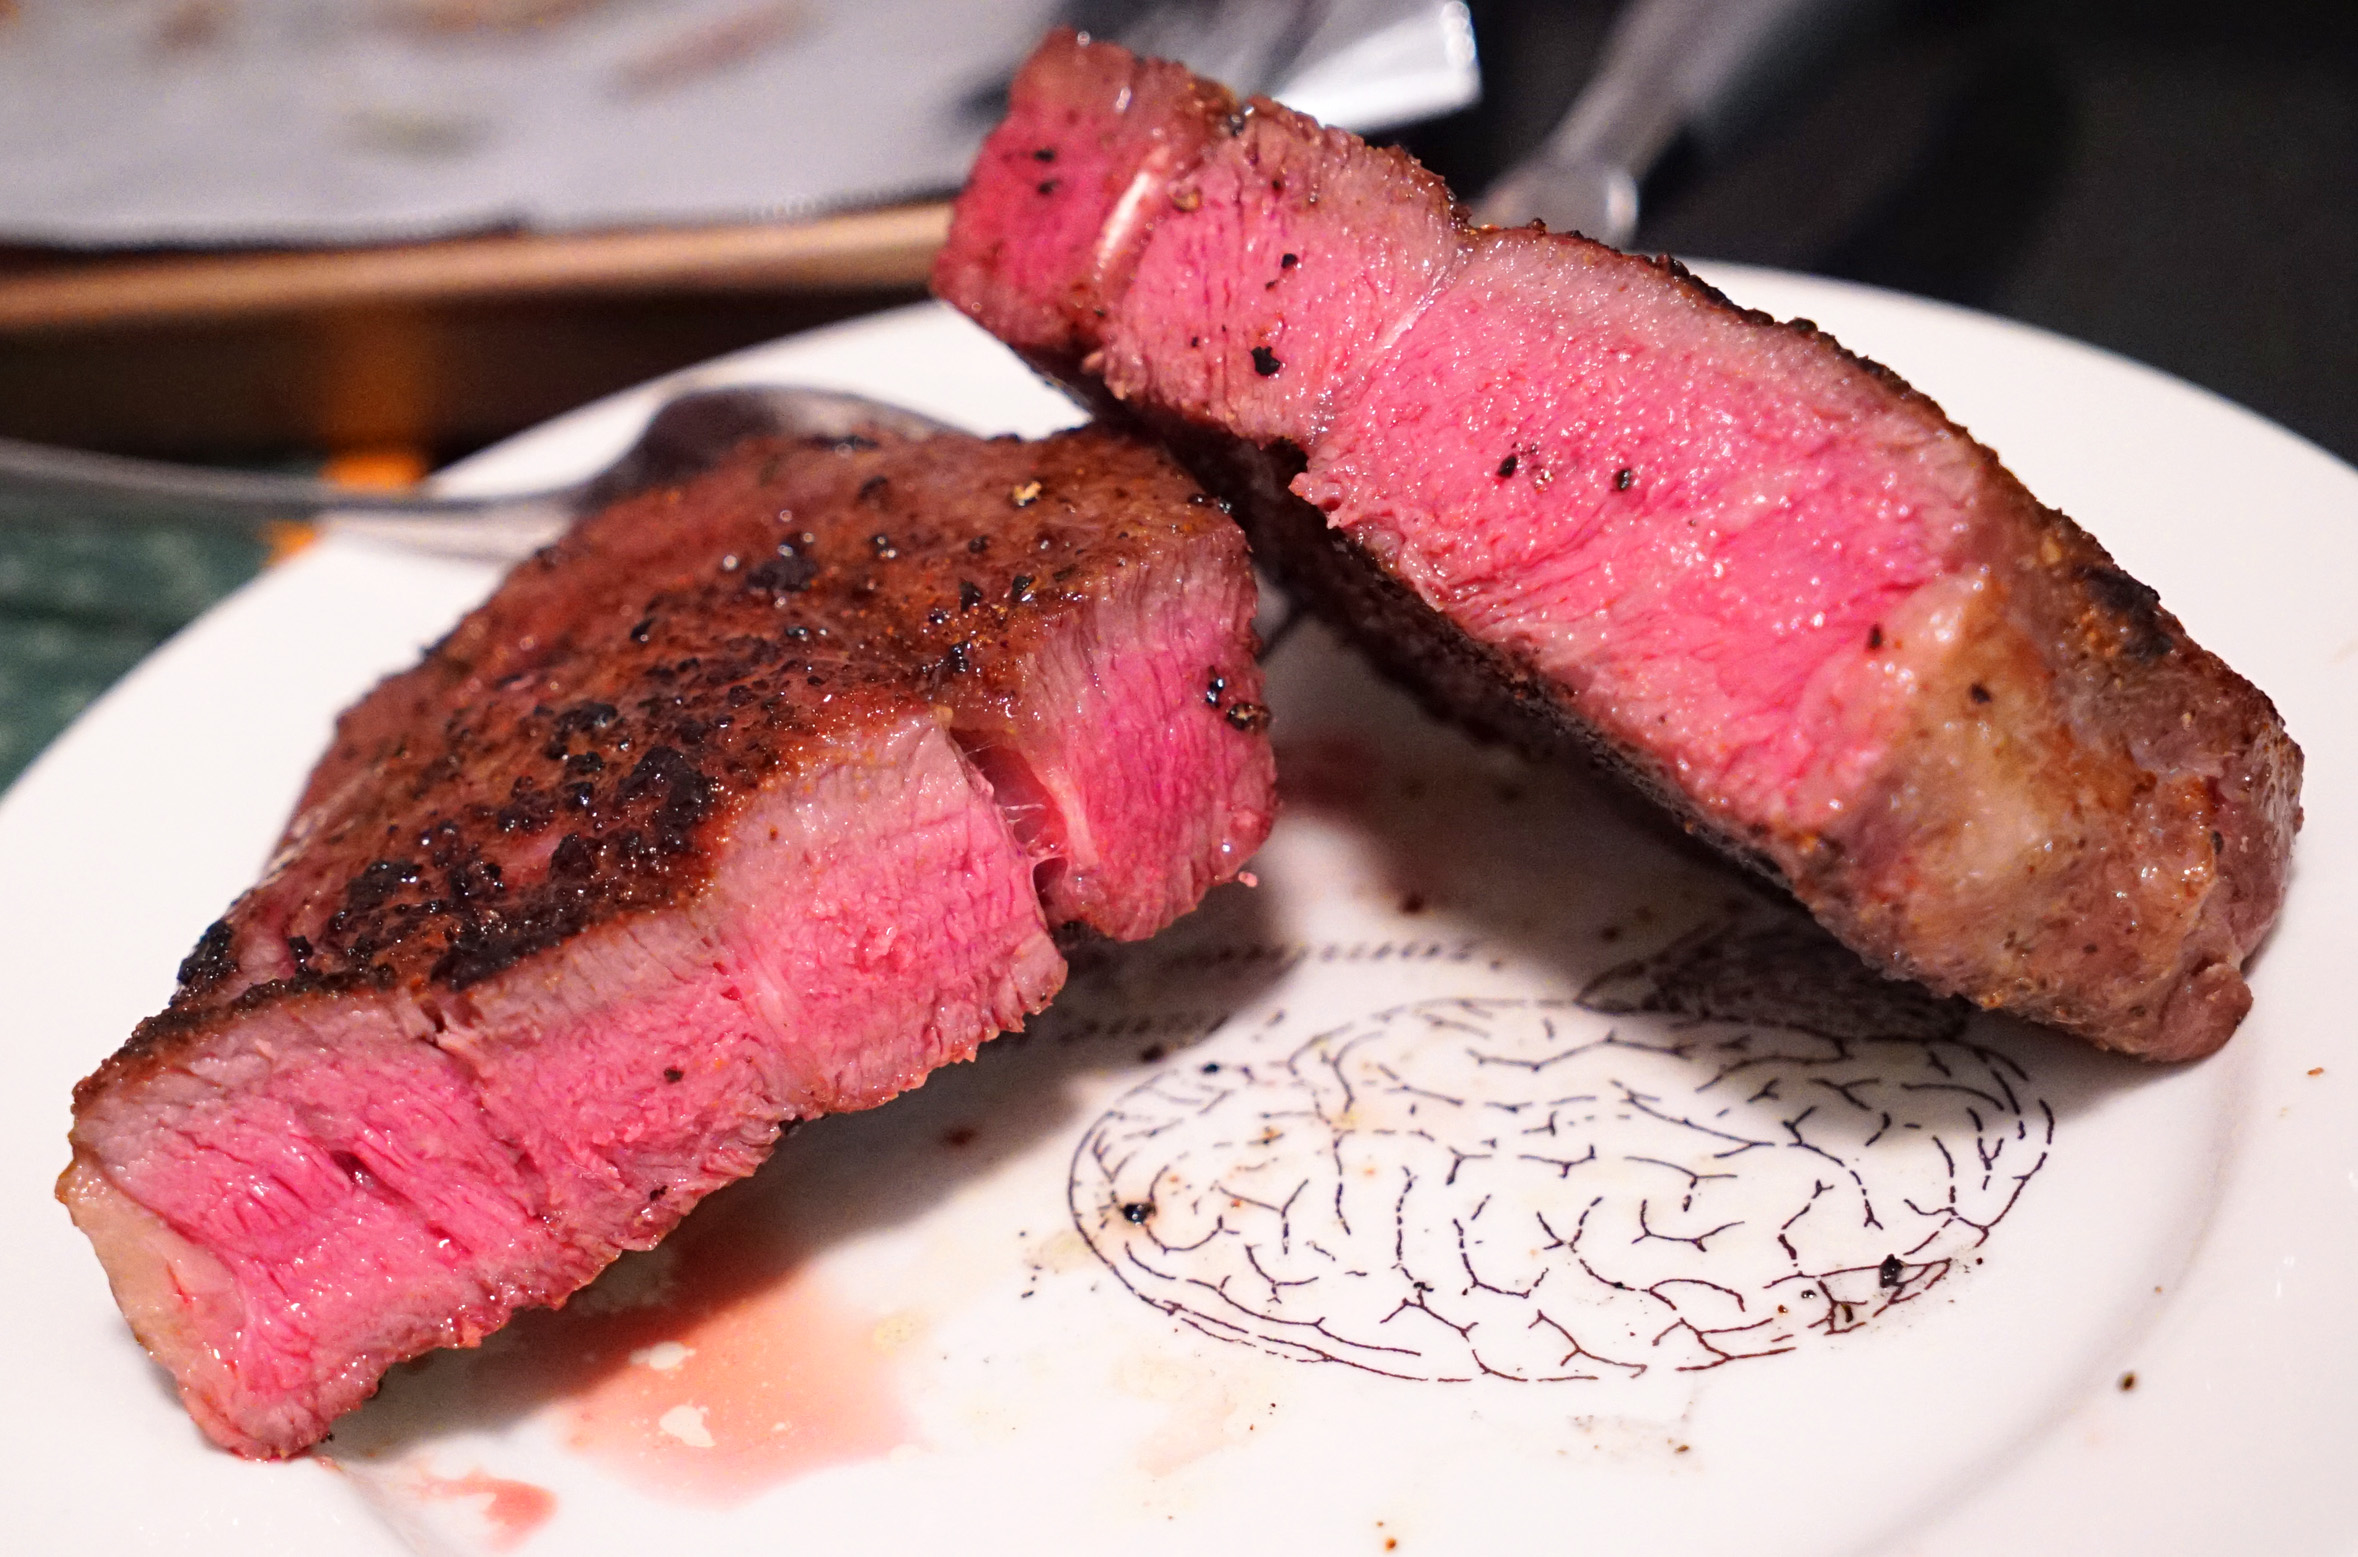
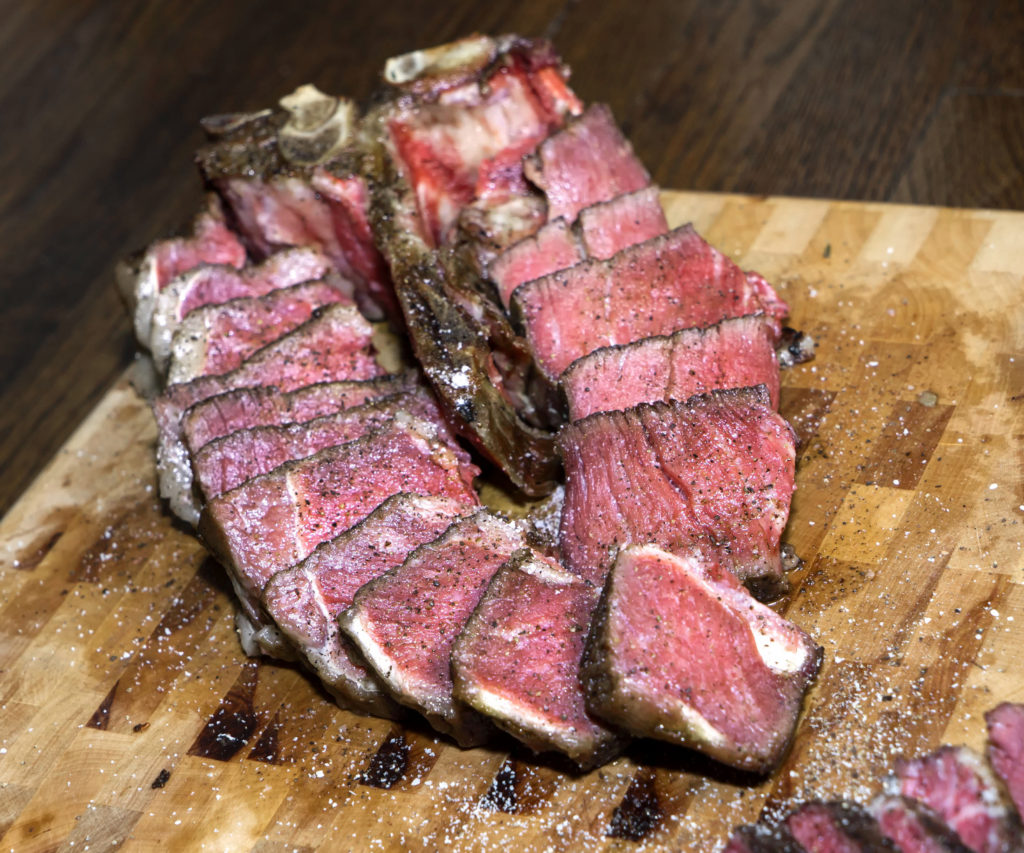
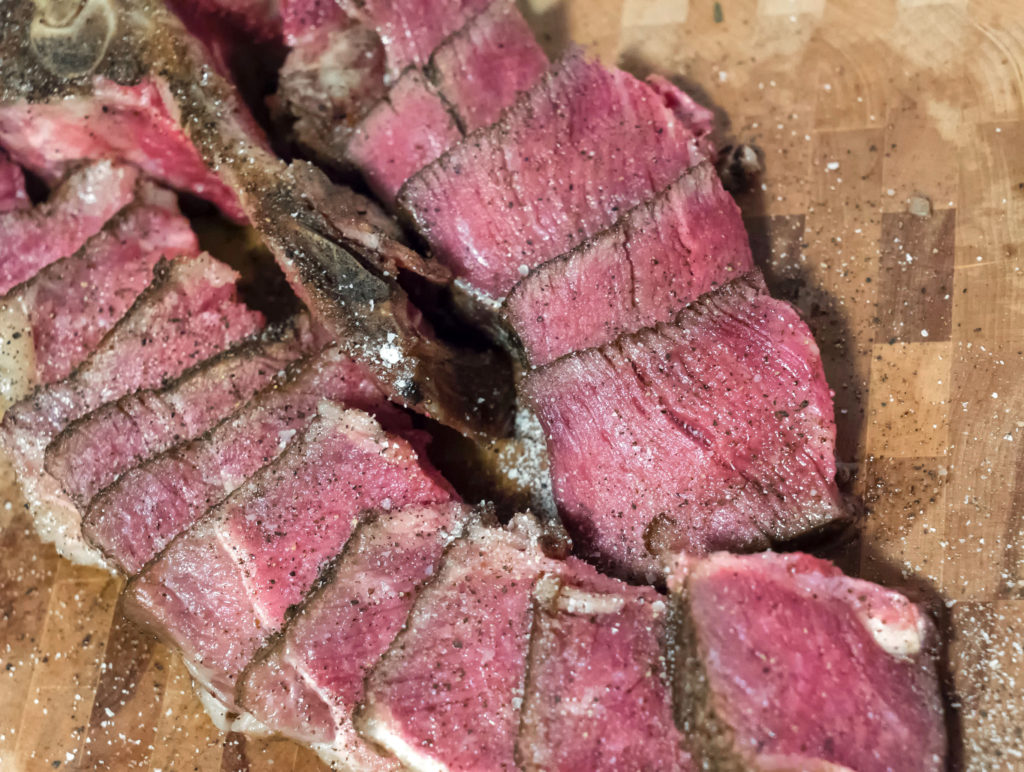
Before serving, I sliced it up and plated it, then drizzled black truffle oil on top, and hit it with some finishing salt and fresh cracked black pepper.

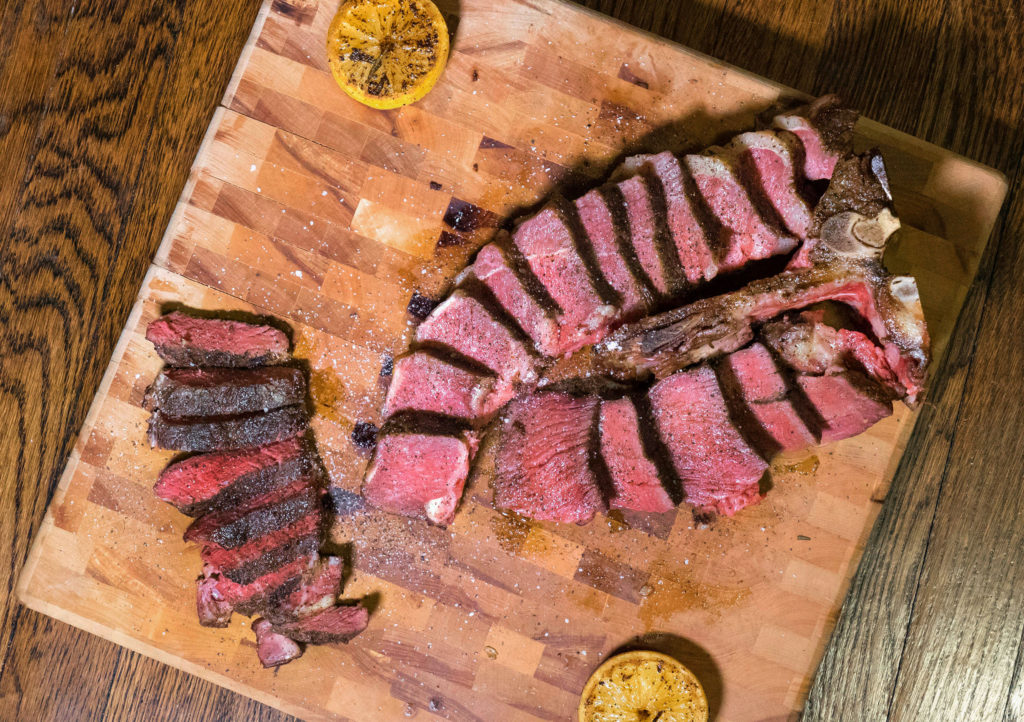
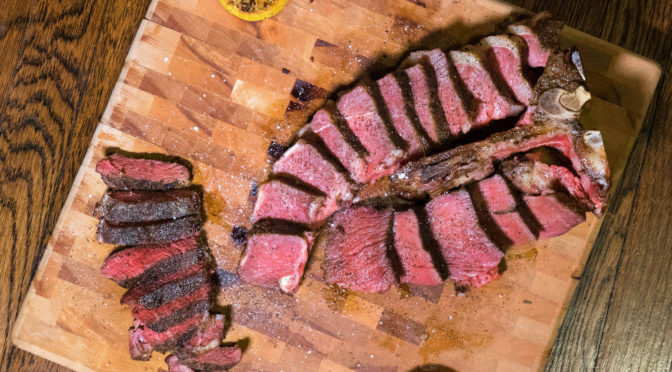
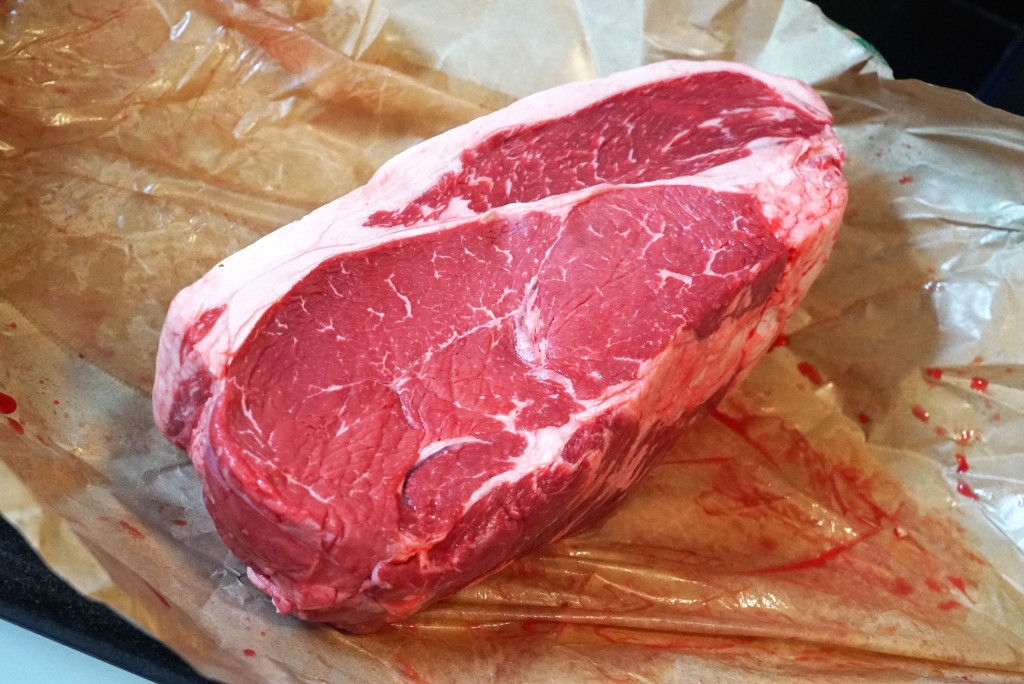
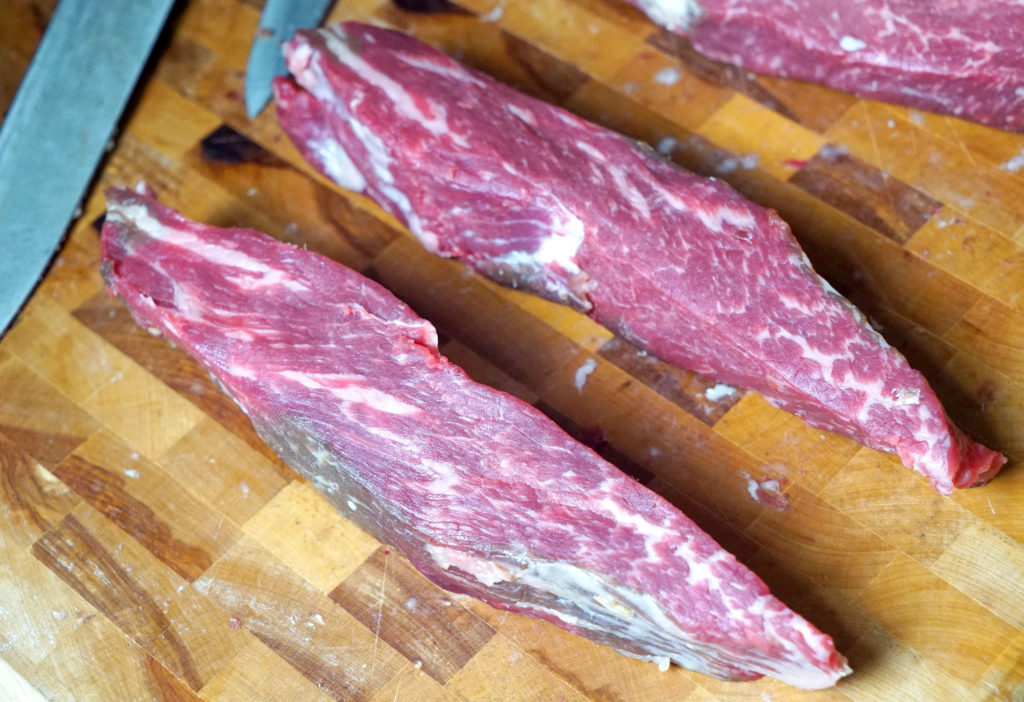
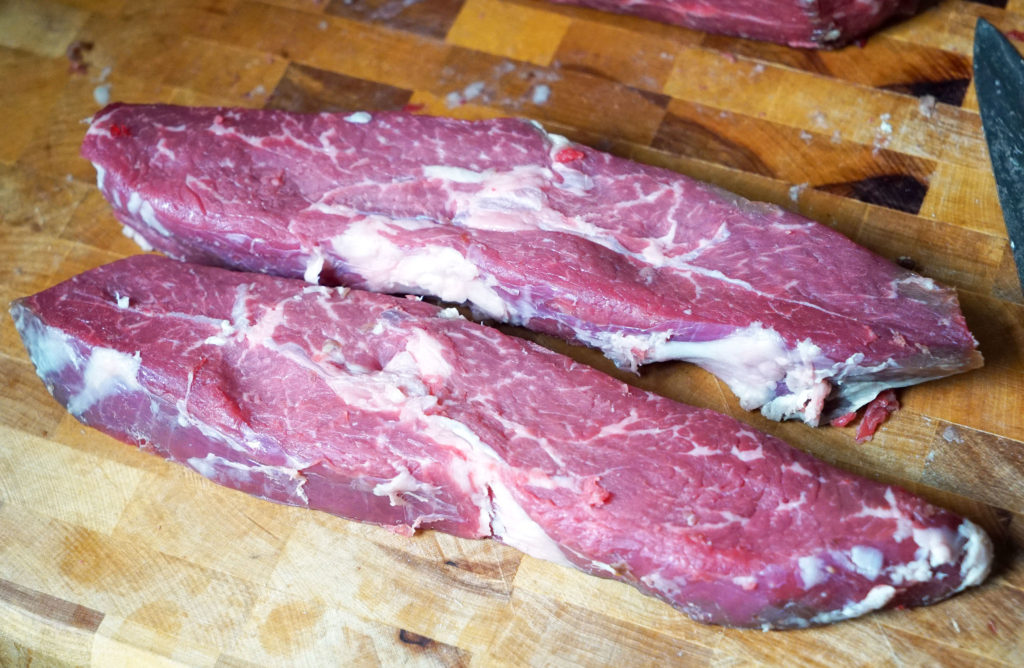
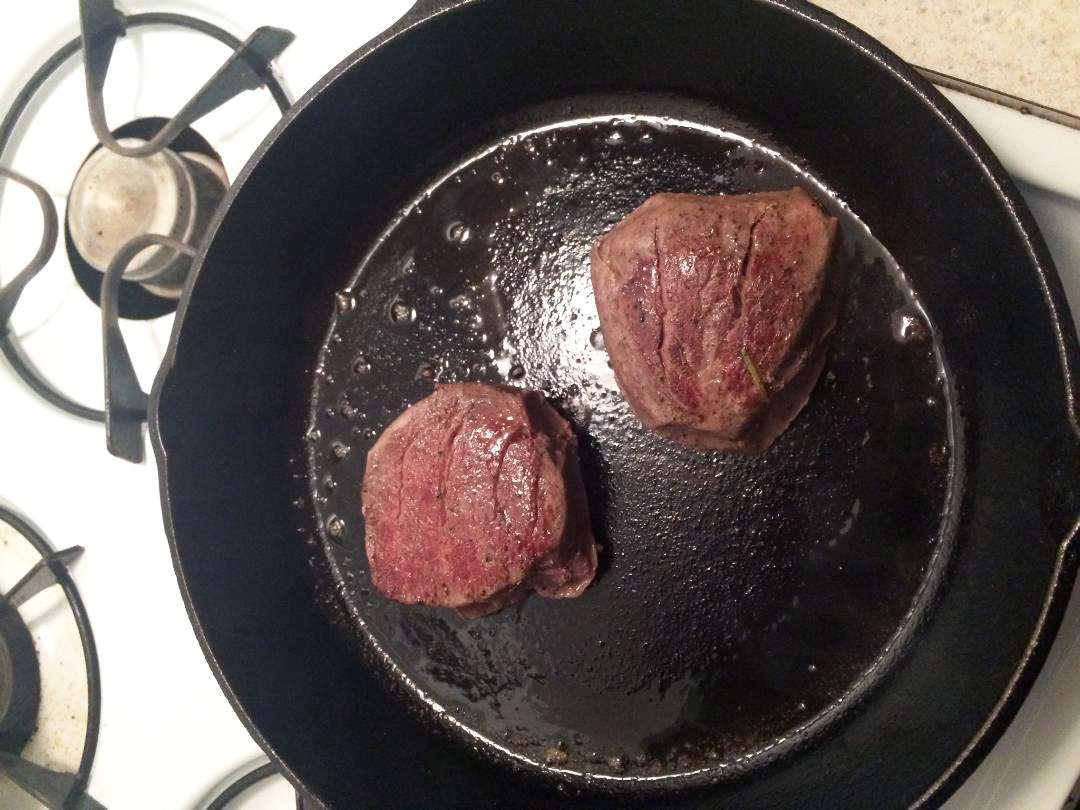
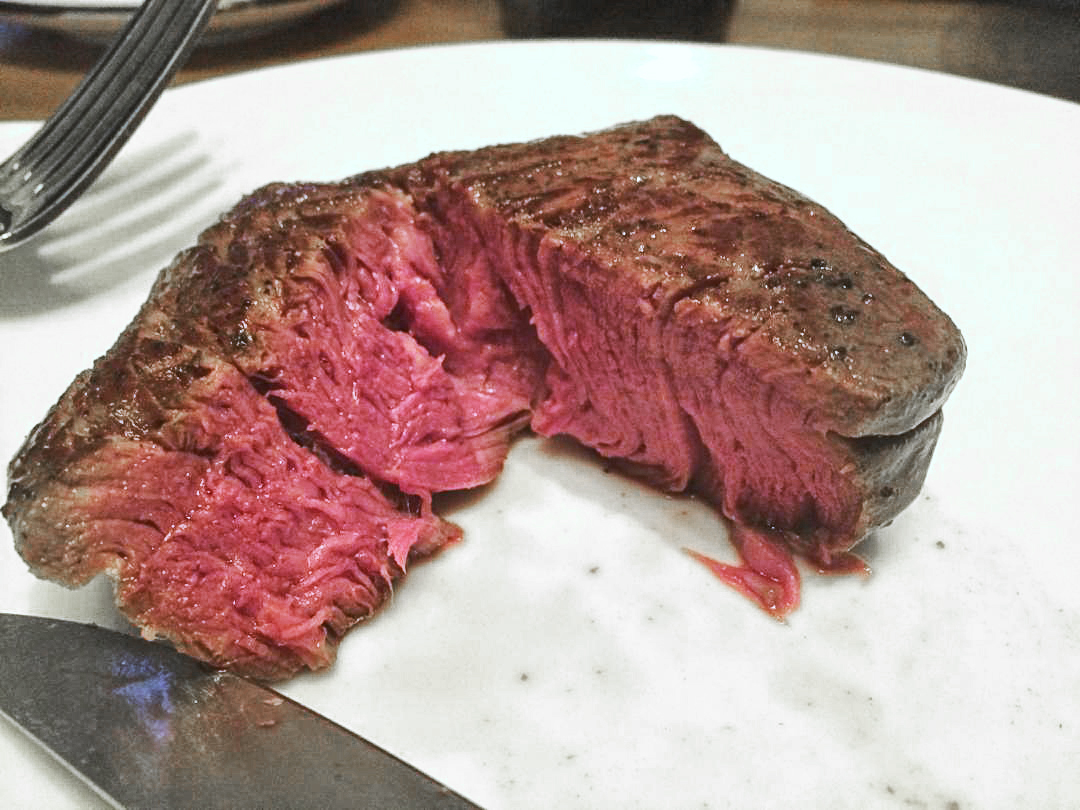
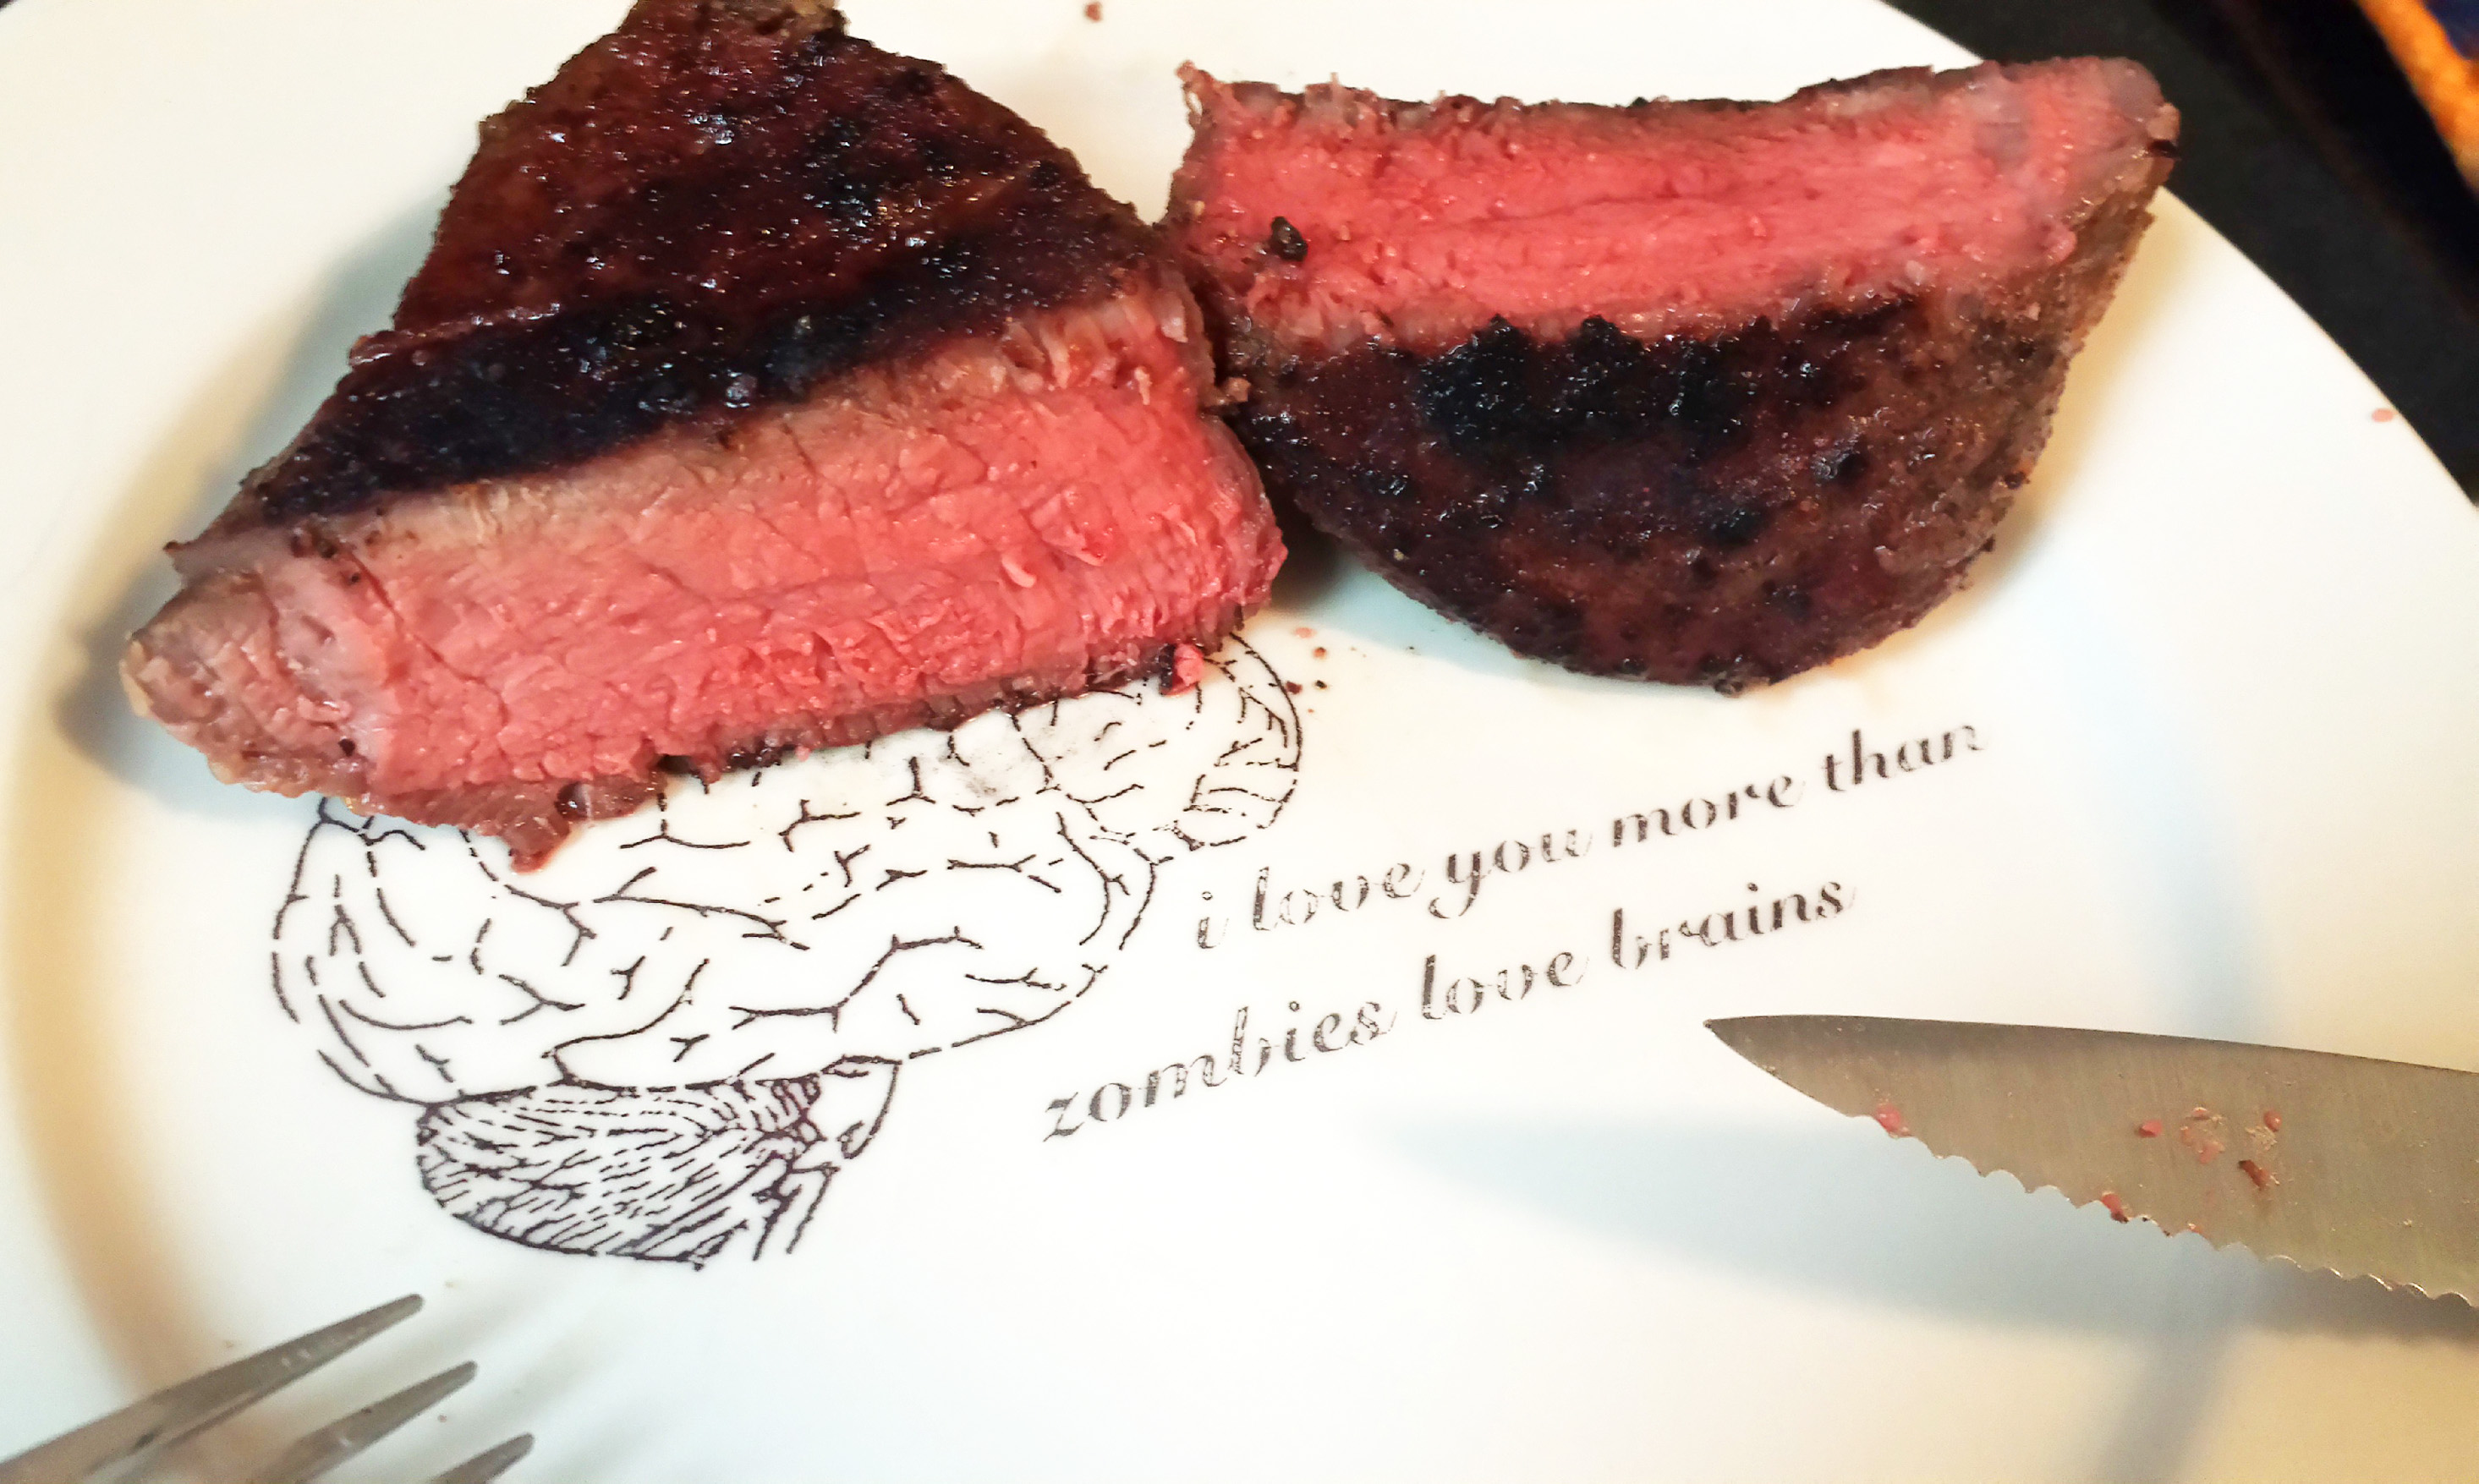
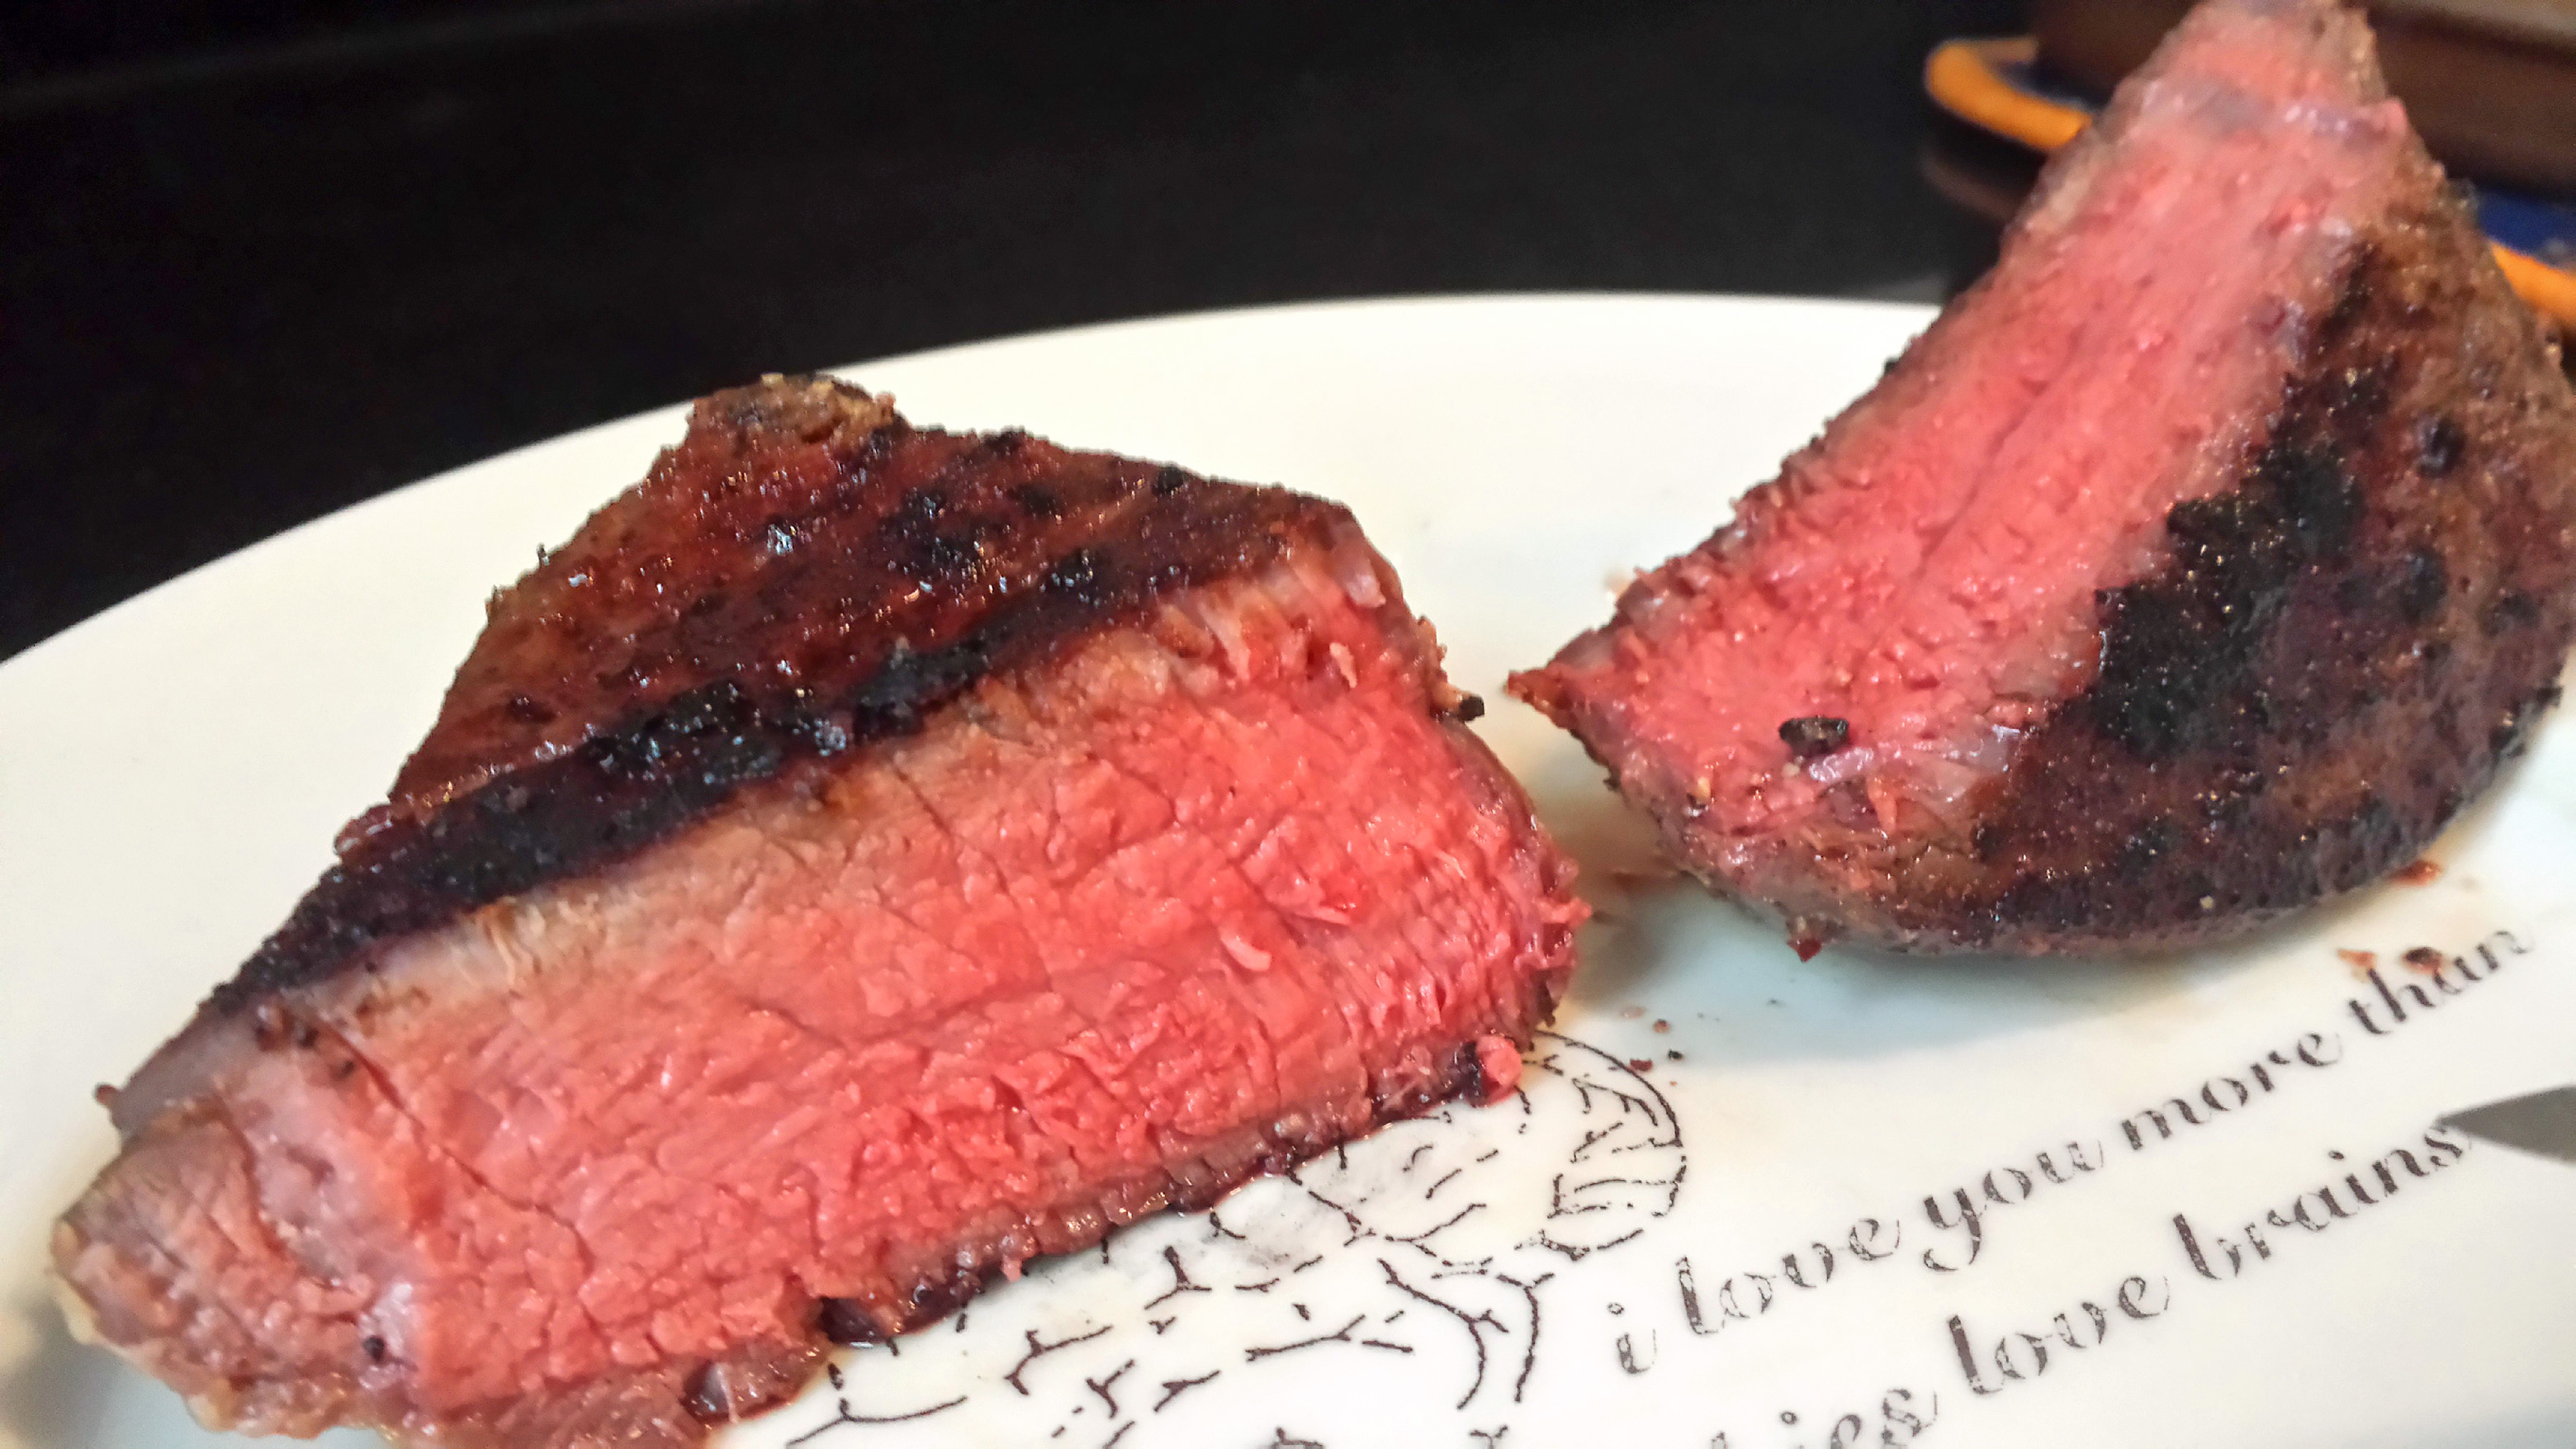
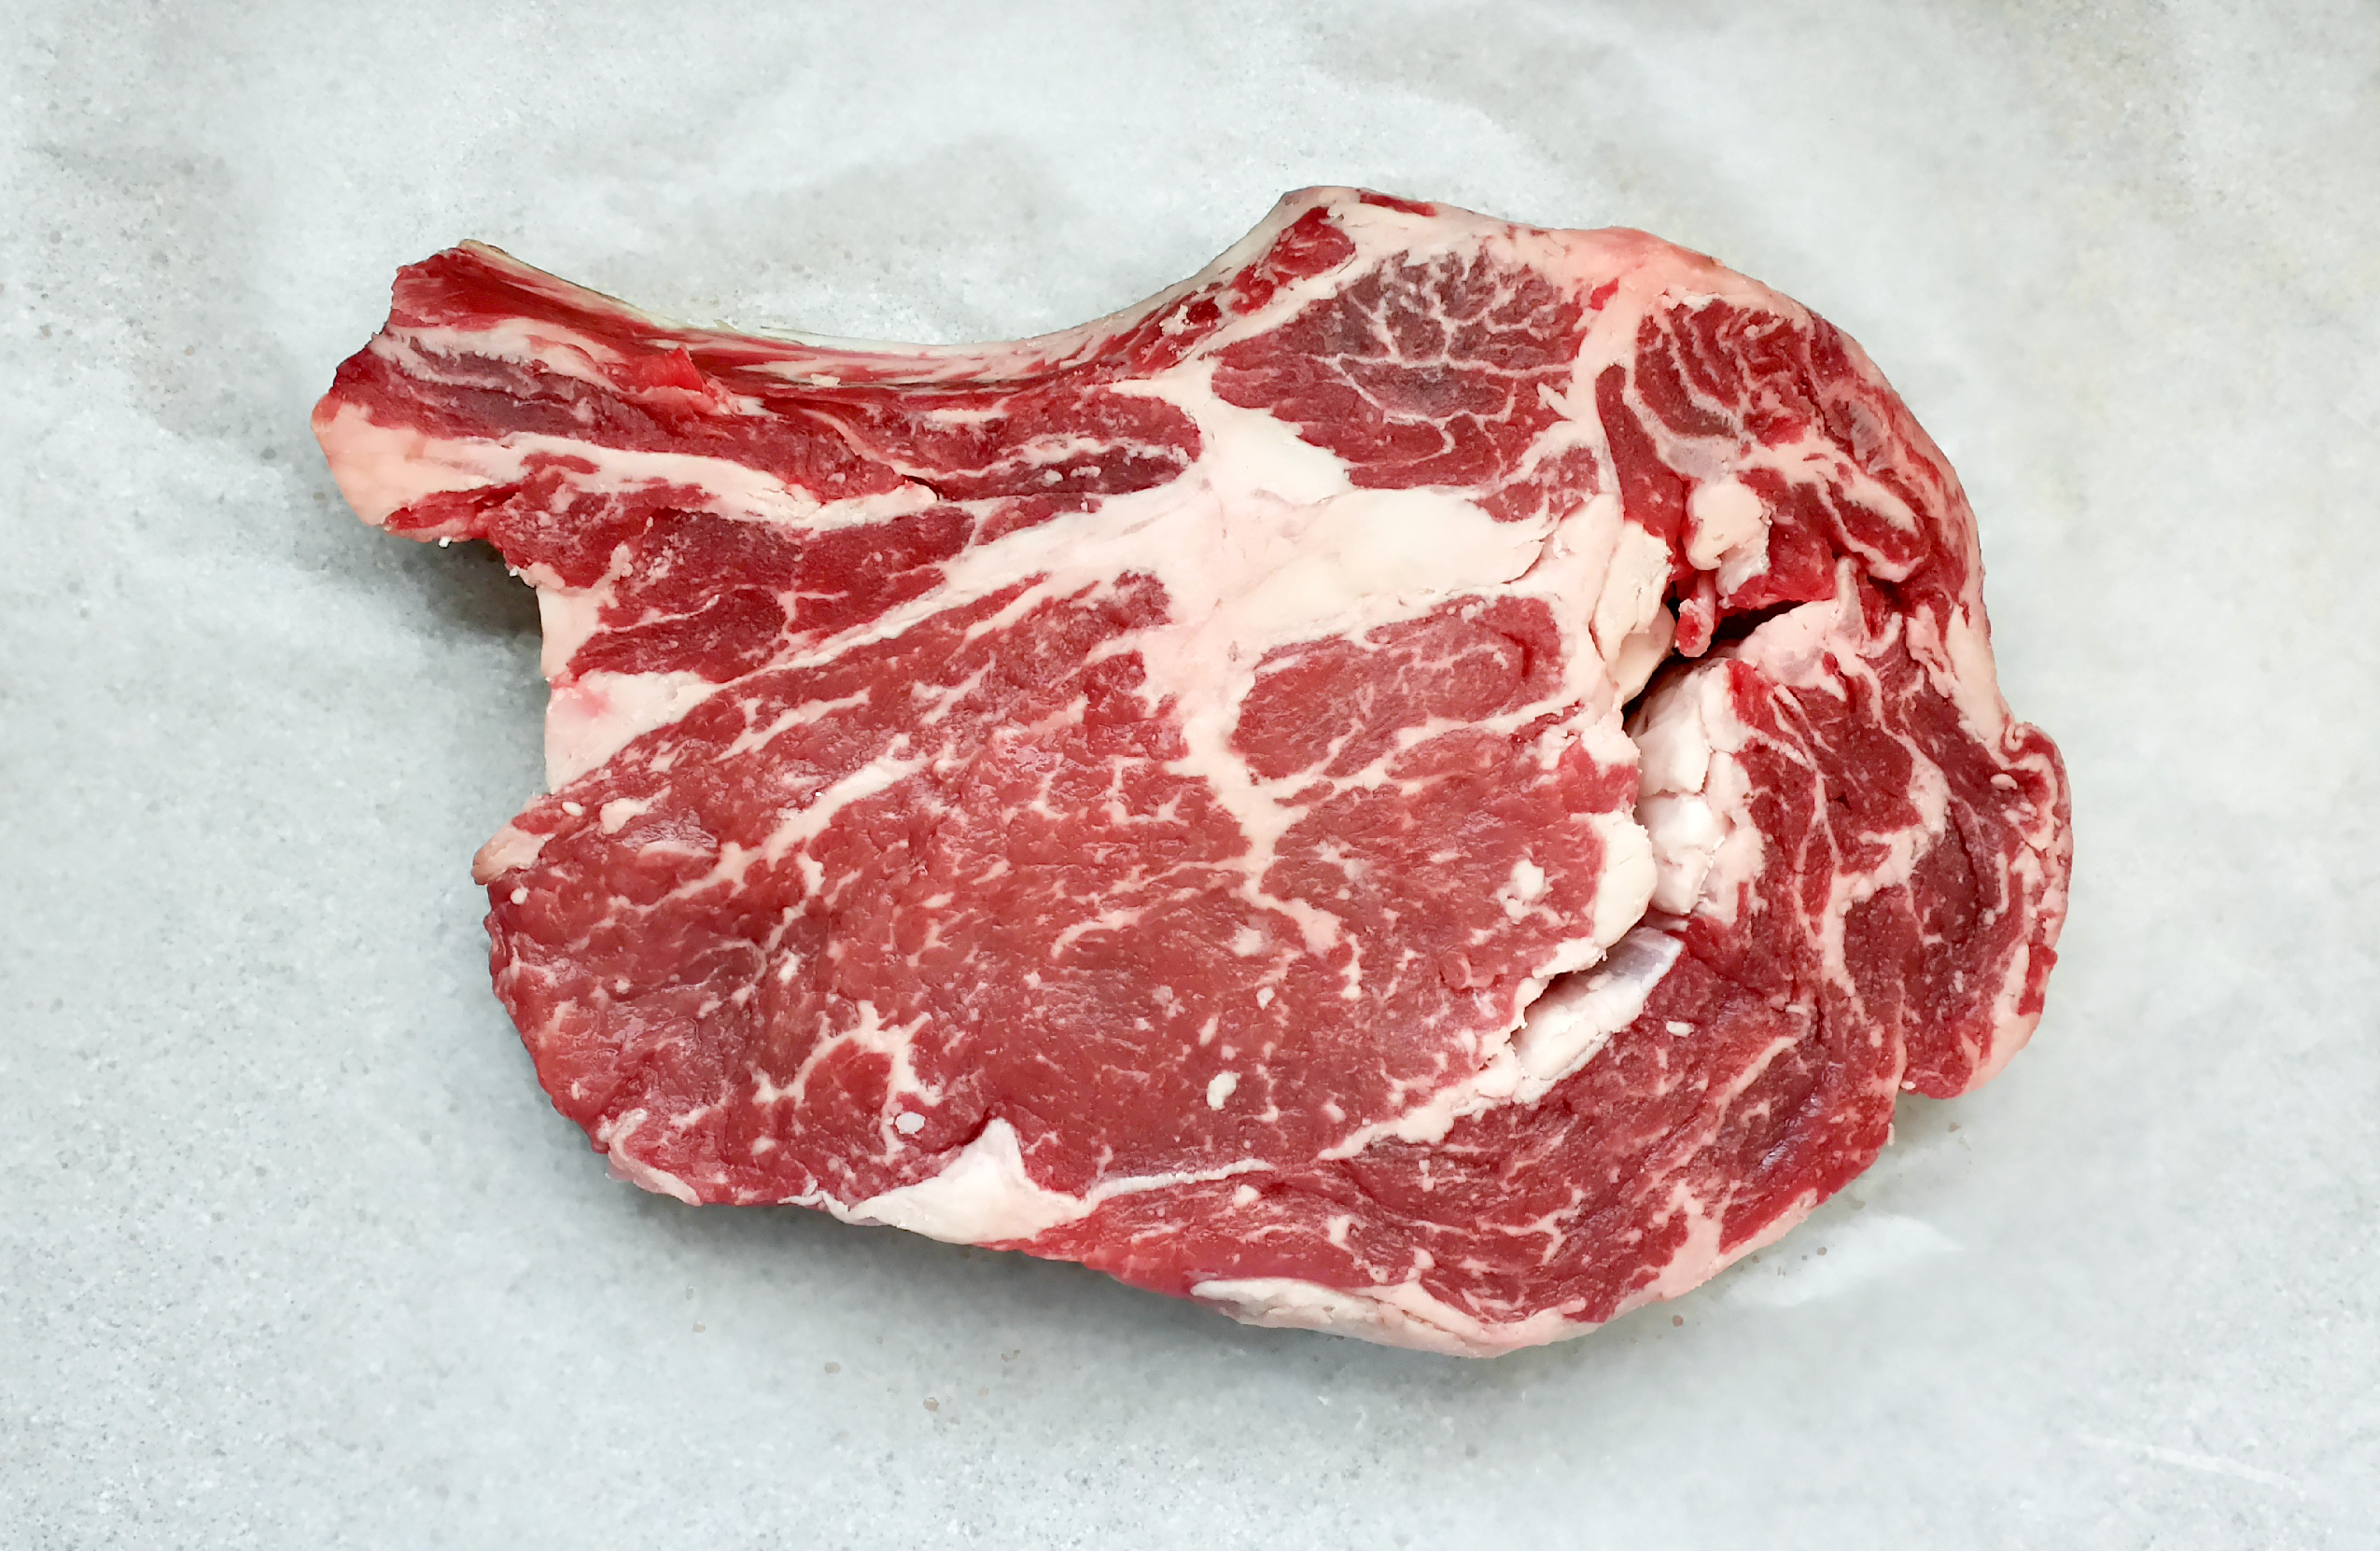
I picked up an extra filet from the grocery store as well, which I cooked the same way. This was mainly as extra meat, in case we didn’t have enough, and also as a control group to compare the meat quality from a nice grocery store cut against Pat LaFrieda. The cut I picked from Morton Williams looked nicely marbled and it was reasonably thick for just under $12.

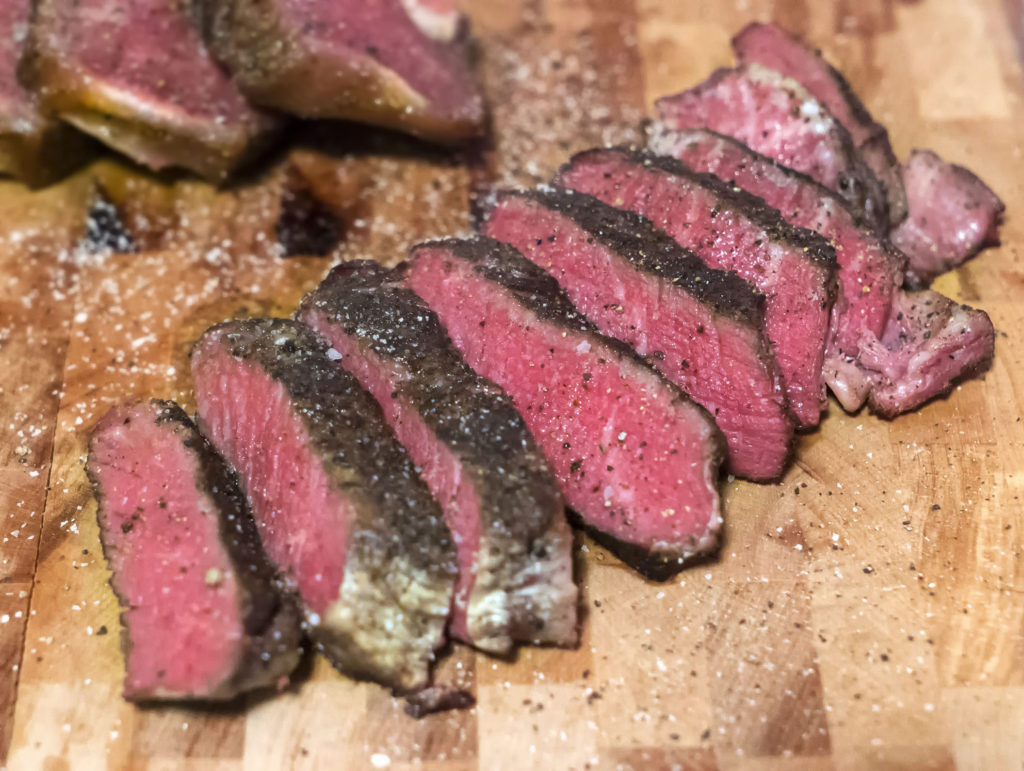
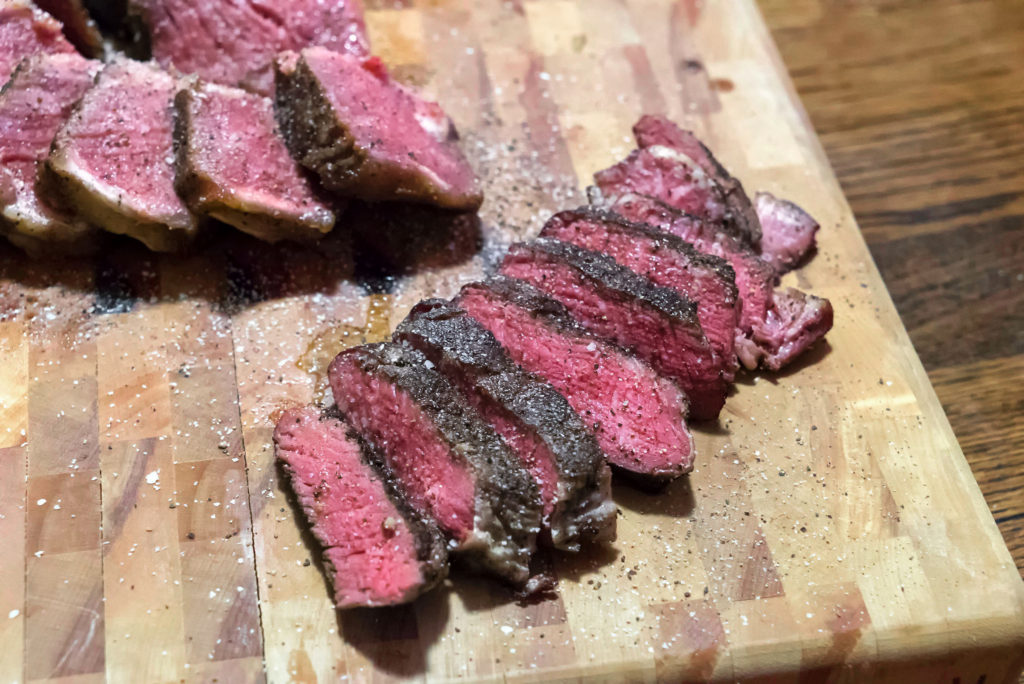
When comparing the filet side of the LaFrieda porterhouse to the grocery store filet, the LaFrieda steak was hands down WAY better. There is no question about it. That 60-day dry-aging process really infuses an incredible amount of flavor into the meat.

If you are a beef lover, then Pat LaFrieda cuts are the way to go. In fact, one of my friends cooks up Pat LaFrieda steaks every Friday, and he calls it “LaFrieda Fridays.” HA!

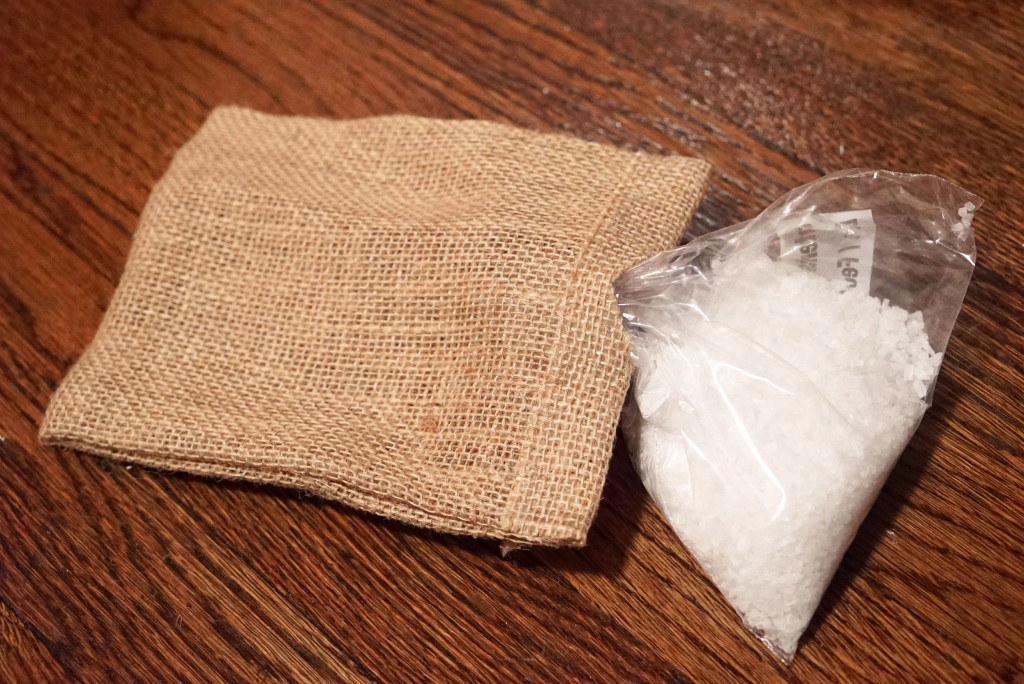
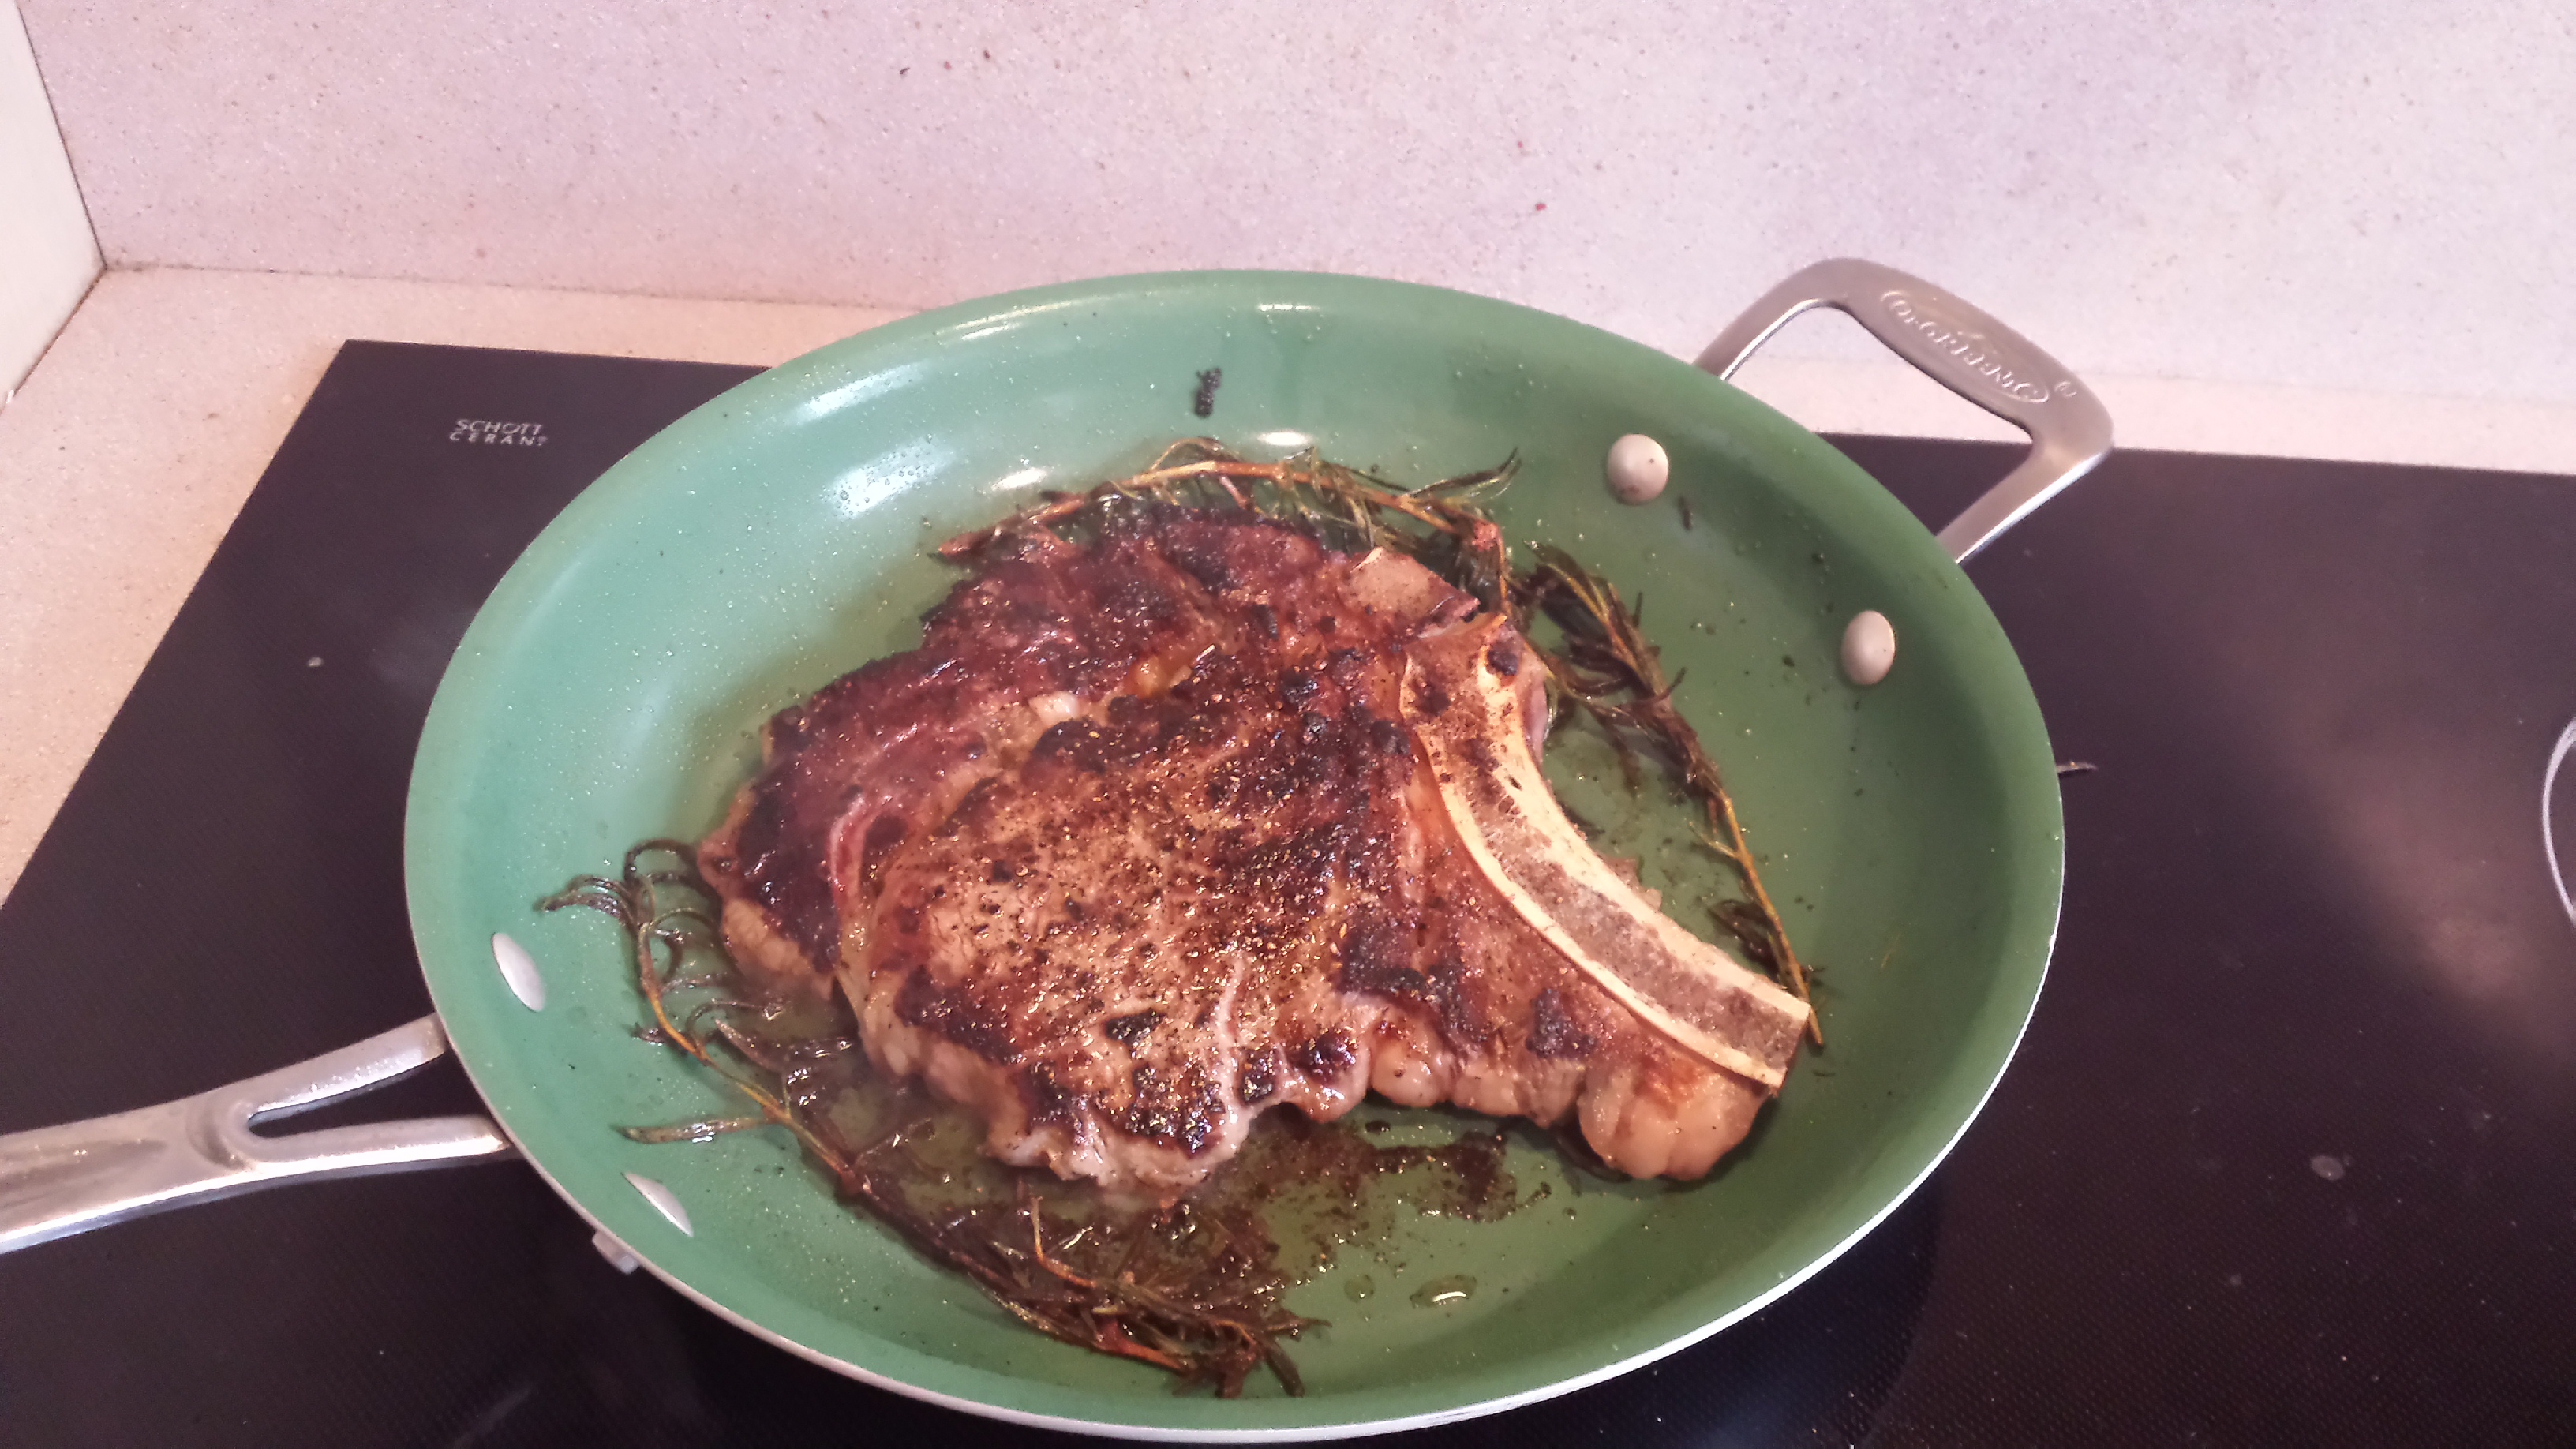
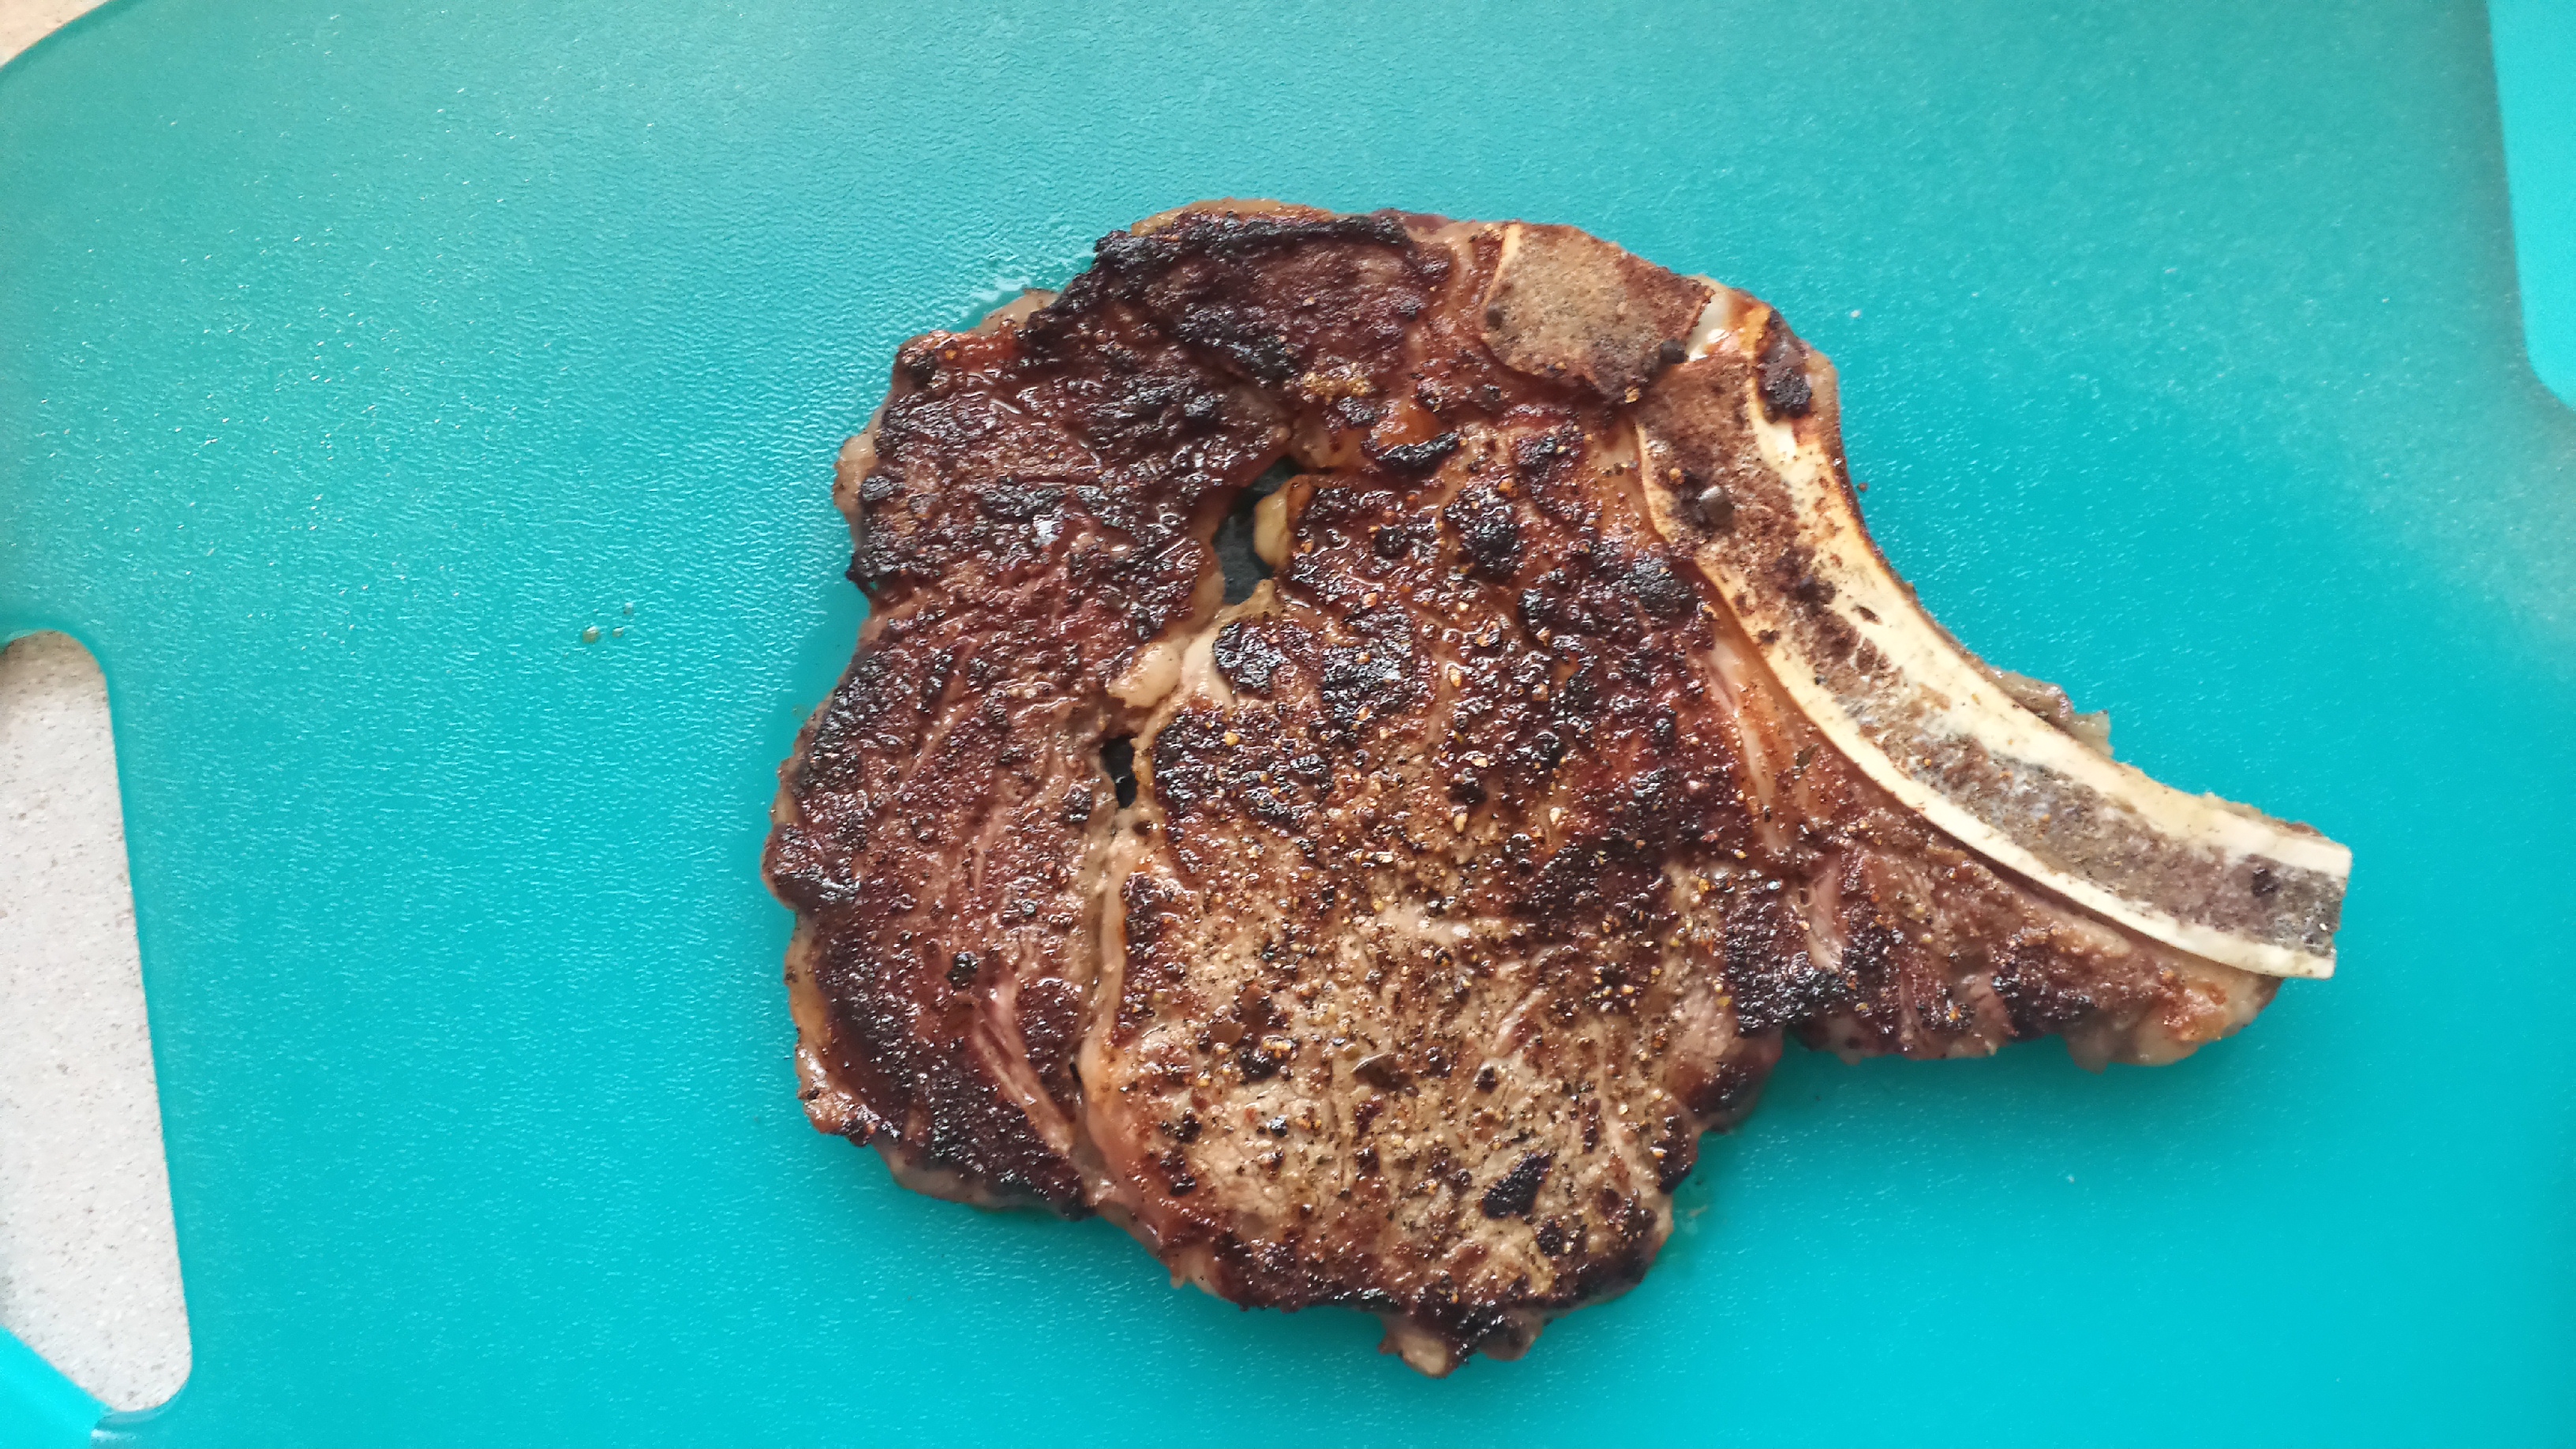
For the rib eye, I went with a traditional cast iron skillet sear with maple bacon fat and herbs, and then I finished it in the oven. I let it rest, and then sliced that up and served it on a salt block, also with a drizzle of truffle oil.

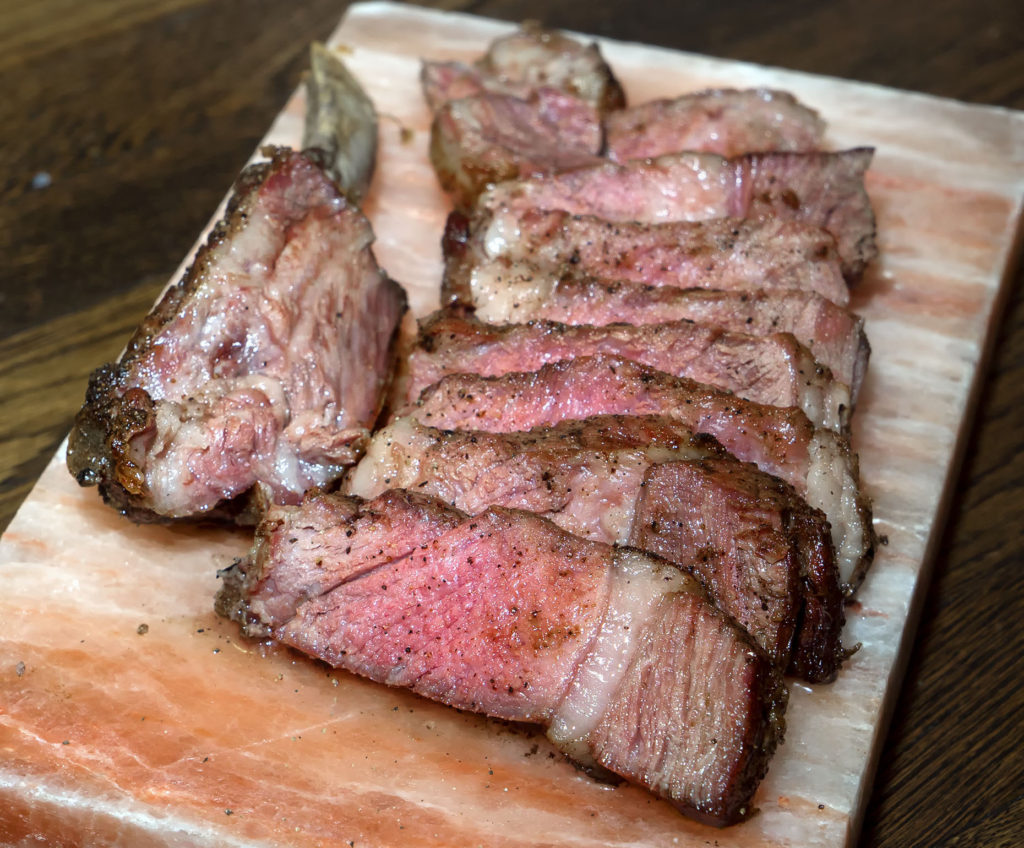
Unfortunately for me, the temperature jumped from 120 to 145 WAY faster than it was climbing while going from 68 to 120. I turned around to snap pics of the porterhouse and BOOM. The steak went beyond medium rare. Lesson learned. In any event, it was still incredibly delicious at medium. The fat cap was heavenly!

To go with these steaks, I roasted some bulbs of garlic for slathering onto the meat and grilled some lemons.

Sides

I put together a nice side of roasted mushrooms and onions, sauteed broccolini (got to have something green I guess), and made a big bowl of tater tots.

Dessert

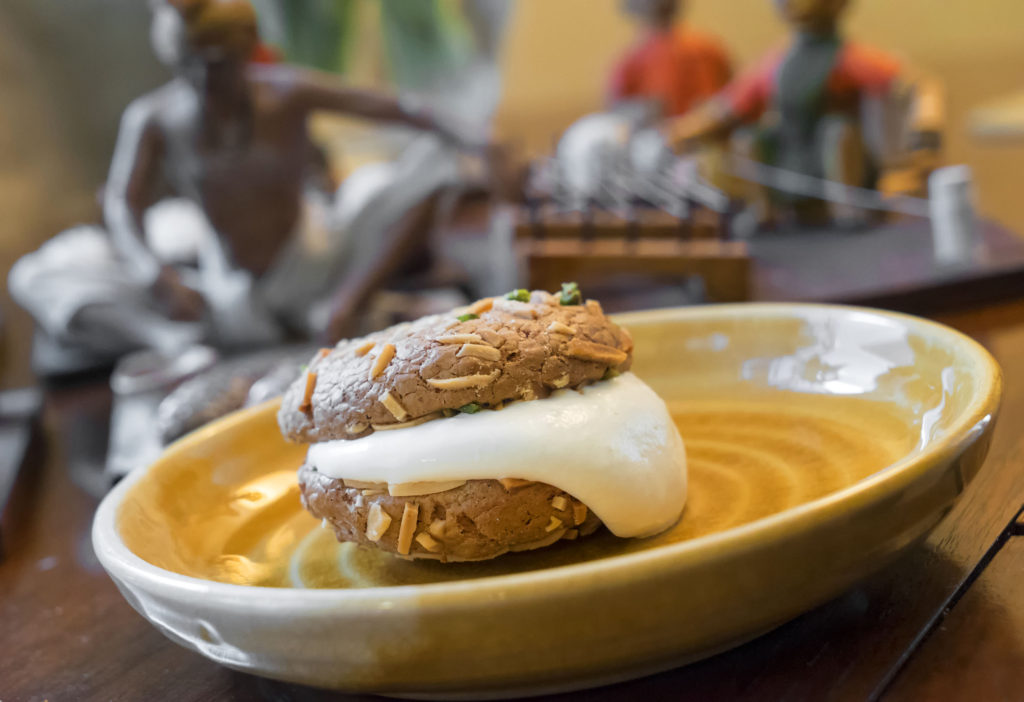
But no meal at Johnny Prime’s Food Research Lab would be complete without a dessert by The Cake Dealer!

The inside of the cupcakes were marbled vanilla and red velvet, which was perfect to represent the marbling of good prime beef!

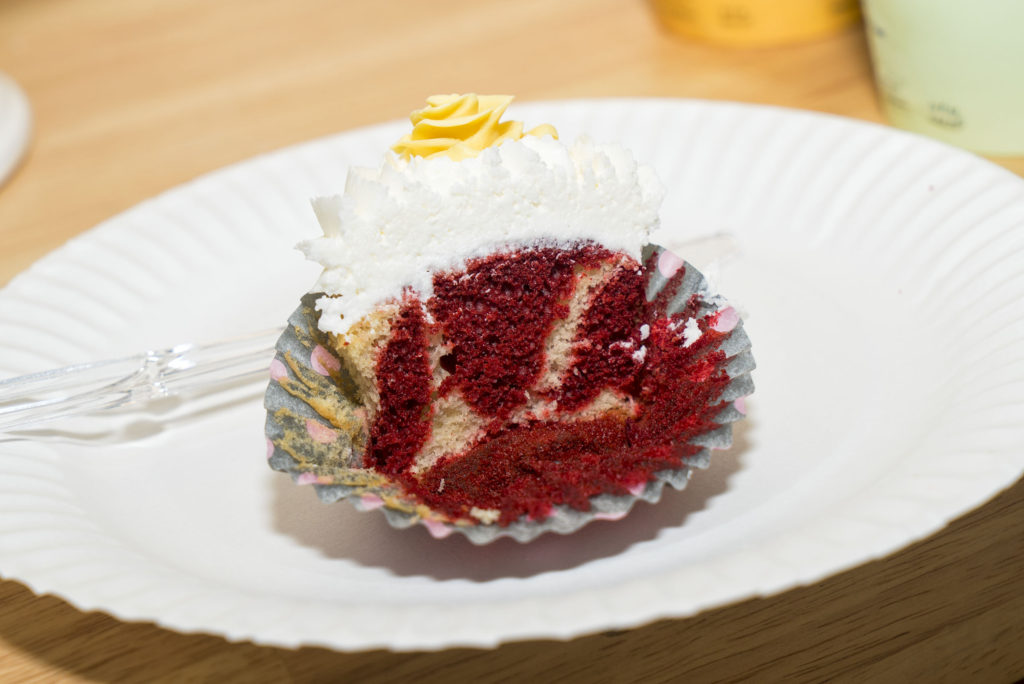
Or it was just because Valentine’s Day is right around the corner…

Oh and by the way, here are the foodies that came by. Check out their profiles for pics of the feast, if you have a chance:

@thecakedealer (she’s always there, because she’s my lovely wife)
@thedishelinguide
@theninabobo
@rebecca_chews_nyc
@dequinix

Indian Brunch with Restaurant Fairy

One of my foodie friends, The Restaurant Fairy, hosted a beautiful and delicious Indian brunch at her home and invited a bunch of us fellow foodies to come by.

They say that, in India, the best food is found either in the streets or in peoples’ homes. I can honestly say that I’ve never had better Indian food than I did at this homemade brunch. No restaurant in the city even comes close.

STARTERS

Puri, Indian street food snacks with chickpea spread filling:

dsc03305

Sweet potato and squash spread with Indian spices and flat bread:

dsc03336

Chaat (Indian savory snack food) consisting of chickpeas, avocado, yogurt and spicy sauces with crunchy puffs:

dsc03307

dsc03328

Chickpea and lentil slider:

dsc03345

Entrees

Full plates:

dsc03425

dsc03394

Biryani rice:

dsc03378

Yogurt sauce for rice:

dsc03379

Daal (spiced lentils):

dsc03387

Egg curry:

dsc03355

dsc03392

Cabbage slaw with curry leaves:

dsc03364

We also had some Chicken Tikka Masala toward the tail end but I didn’t shoot it. It was the best version of that dish I’ve ever had.

Dessert

Treats from Iran, similar to Turkish Delight:

dsc03443

dsc03432

Walnut cookies with cream:

dsc03477

The SteakAger

CHECK OUT: MY BUTCHER SHOP

I recently received an email from the gent who co-created The SteakAger. He offered to send me a unit to review here on the site. I had no idea what the product was until I clicked over to their website to check it out. It’s an in-fridge box for dry-aging steaks at home!!! Check out their video:

Okay so just what is aged beef and dry-aging? I have a nice article about all that HERE, but the quick and dirty summary is that aging is a way to concentrate and intensify beef flavor and create a more tender steak.

I have had some limited experience dry-aging steaks with dry aging bags in the past, and the results were, surprisingly, very good! Since then, I have been secretly trying to figure out a way to fit a dedicated dry-aging fridge in our small NYC apartment. Needless to say, I was not excited about using more cubic footage for food stuff. In addition to our fridge, we have a drop-freezer, a baking work bench, and extra shelving for all of our cooking dedications. So The SteakAger was perfect for us; it goes right into the fridge! Most days the fridge is pretty empty anyway. We eat out a lot, as you can imagine, since NYC is pretty abundant with awesome restaurants. I do, however, like to cook steaks at home on occasion, to save a little dough here and there.

Anyway, my package arrived and I rushed home to get it before the package room in our building closed for the night. Here are some unboxing photos:

DSC01797

DSC01800

AC power and extension cable, along with other materials:

DSC01803

Keys are in there so you can get an idea of the sizing:

DSC01804

DSC01805

Charcoal pad slips into air passage:

DSC01807 new

Salt goes into the burlap bag and then gets placed at the bottom of the SteakAger, inside the box:

DSC01808

Sizing in my fridge:

DSC01809

It also fits if I turn it sideways, and it even has a viewing window on the side as well. Awesome! This orientation leaves me with a bit more space in the fridge.

DSC01810

So the way this works, is you connect an extension wire to the back of The SteakAger, which you can see above on the upper left portion of the unit. You then snake that through the door hinge of the fridge and plug it into a socket behind the fridge. I was apprehensive at first, wondering whether the wire coming out of the fridge would mess with my fridge’s efficiency, but it does not. The seal is still tight, and everything in the fridge is still nice and cold.

So after monitoring my local grocery stores and butchers, I found a good sale on beef. I picked up about 7lbs of top sirloin and popped it into The Steak Ager.

DSC03216

DSC03218

DSC03220

I adjusted my fridge setting down a bit to keep the temperature slightly colder than usual, at about 37 degrees. Then came the hard part: waiting… I started this baby on April 11th, 2016. Here’s a peek at it after 34 days in the box:

DSC04139

As you can see, a nice dark bark formed around the outside. I carved that off and portioned the meat into two top sirloin cap filets (aka Culotte), and two top sirloin steaks.

DSC04144

DSC04147

Here’s a time-lapse video of me doing that:

Right away, I cooked up a culotte. I seasoned it with salt, pepper and garlic powder, and seared it in a cast iron skillet with some butter.

DSC04148

DSC04149

DSC04181

I’m really happy with this product. It costs less than $250 with shipping. That’s a great deal for the ability to access dry-aged beef any time you want from your own fridge. I highly recommend this product to all beef aficionados.

UPDATE: Standalone Unit – Master 45 Series. AMAZING!

Homemade Pasta

Making fresh pasta is easy as hell. First make a volcano well out of flour. Then add two egg yolks and one whole egg. Start to “scramble” the eggs within the flour well, adding a little bit of flour from the well into the eggs as you beat them. Add a pinch of salt and a teaspoon of olive oil, and keep going.

Once the dough starts to thicken and stick to the fork pretty heavily, you can switch off to mixing with your hands (make sure they’re clean first, you filthy bastard). Knead the dough with your fingers and hands, picking up some flour here and there to keep it from sticking to your hands too much. Knead some more. Eventually you’ll get a nice dough that snaps back a little bit when you squish it in your hands. That means you’re done. Coat with a little bit of olive oil and refrigerate in plastic wrap (or freeze to use at a later date).

After about a half hour in the fridge, my wife and I rolled the dough out into log shapes, or snakes, and then cut them into a rustic cavatelli style pasta, using the prongs of a fork to get a little bit of texture onto the pasta. That texture helps the sauce cling to the pasta better.

DSC01644

You can watch the whole process come together below:

Fresh pasta cooks up much quicker than boxed pasta. Fettuccine, for example, takes only about two minutes. The kind we made here is a bit thicker, so it’ll take longer to cook through.

My wife made a kickass carbonara for them, using minced pancetta, peas, heavy cream and various cheeses. This shit was delicious.

DSC01652

“Homemade” Pizza

I put the word “homemade” in quotes because, well, nothing about this recipe is really homemade. It’s just a really incredible combination of store-purchased ingredients that comes together as one of the best pizzas you will ever eat in your fucking life.

DSC07061

I will 100% guarantee that this fucking pizza is better than where you get your delivery, and I don’t give a fuck if you regularly order from fucking Di Fara!

DSC07060

What Do You Need?

  • Small can of sauce (8oz)
  • Small package of mozzarella cheese (8oz block/ball is preferred)
  • Parmesan cheese (to taste)
  • Pre-made pizza dough (the fresh kind)
  • Olive oil (just a few ounces)
  • Bread crumbs or cornmeal (2 teaspoons)
  • Various spices (to taste)
  • Perforated metal pizza pan

Directions:

Pretty simple. Watch the time lapse video below, and if you can’t fucking figure it out from that, you can read on below…

Pre-heat your oven to 375 degrees. While waiting, coat your pizza pan with some olive oil. Shake a few teaspoons of bread crumbs or cornmeal across the pan. Stretch your pizza dough across the pan to get full coverage. Pour sauce evenly over the dough and add a few drizzles of olive oil. Add parmesan cheese and spices to taste. Cut up the block of mozzarella cheese and arrange slices evenly across the pizza dough. Bake 20-25mins or until cheese begins to bubble and turn brown. Remove from oven and allow pizza to cool down a bit before slicing.

DSC07056

DSC07067

This shit also comes out really nice with fresh ingredients. I did the same type of thing with sliced tomatoes, fresh mozzarella, herbs and some sliced onion. Check it out:

Before the oven:

IMG_20160207_133645 small

After the oven:

IMG_20160207_134613 small

The tomatoes actually make each vote really juicy, so this was a much better pie than the ones I make with canned sauce.

Once in a while I even add eggs into the mix:

DSC04240

DSC04230

DSC04242

DSC04245

DSC04254

DSC04250

DSC04256

DSC04257

Sous Vide Filet Mignon

This is one of the simplest things to make, now that I have a sous vide machine at home. I honestly don’t think I will ever order a filet mignon out at a restaurant ever again, because this shit comes out so fucking perfect at home.

The only catch here: you need a sous vide machine (the vacuum sealer and Searzall are optional). They can be pricey, but if you have the balls, you can make one yourself like a real man (or have your cousin make you one, like I did) for a quarter of the cost of a store-bought machine.

Step 1: Buy filets

Step 2: Season filets however the fuck you want. I used salt, pepper, garlic powder, garlic oil and crushed red pepper.

Step 3: Place filets into vacuum seal bag and seal it the fuck up, with some butter and herbs inside (thyme and rosemary are always nice).

sous vide steak recipe

If you’re a poor bastard and can’t afford a vacuum sealer, you can use ziplock bags. Place your meat into the bag and begin to submerge the bag into the water bath. Once you are all the way close to the zipper, zip it shut. The water surrounding the outside of the bag will push out all the air from inside – poor man’s vacuum sealer. If you do this, you may want to put a smooth, clean rock in there too, just for good measure, to keep the meat from floating.

ziplock

Step 4: Set your temperature to however the fuck you like your steak cooked. I put mine at 138º F for a nice medium rare / medium. I’m dealing with grocery store meat here, people. Don’t give me any bullshit about that being too well done.

Step 5: Wait. About an hour or two. Don’t panic, assholes! You can’t overcook your steak in a sous vide bath. That’s the whole point of it!

Step 6: Remove your steak from the water bath and re-season it a bit, if so desired.

Step 7: SEAR THE FUCK OUT OF IT. I used a Searzall, because I am a fucking badass with a massive bag dangling in the area between my asshole and my dick shaft. Listen to that fucking sizzle just before I flip it over:

But you can easily just toss this baby into a real hot cast iron pan with some more butter and herbs to get that brown and crispy coating. That’s how my cousin does it – see his results below:

IMG_2345

IMG_2346

As for mine? Check it out below… Seared to a fucking crisp on the outside, and pink as a snatch inside:

outside crust

sliced filet home 2

sliced filet home

Step 8: Pour yourself a hefty glass of Scotch whisky.

The ice sphere is so much cooler than the ice cube. The ice cube is such a square.

Step 9: Drink it, then refill it, and then EAT while you drink that second glass of Scotch. Here: watch me devour one of the filets in under two minutes and then lick the damn plate.

Step 10: Jerk the fuck off and brag about how awesome you are, which I clearly did in the video above, shit the booze out of your system, and then fall asleep drunk and naked in the bathroom.

Feel free to use any cut that you want for this. I recently did the same thing with some Mosner grass-fed rib eyes, with some added duck fat to round them out. See below for the setup and results:

DSC04703

DSC04704

DSC04707

DSC04710

DSC04713

Roman Ramen

Taking inspiration from Maialino, I tried making my own homemade “Roman Ramen.” It turned out pretty fucking awesome, so I figured I would share my technique with you, my loyal meat minions.

Shit you’ll need:

  • Package of Boneless Pork Ribs or Pork Shoulder
  • Package of Hormel “Salt Pork”
  • Slow Cooker
  • Rosemary
  • Turkey Stock
  • Chicken Stock
  • Beef Bullion Cubes
  • Onion
  • Garlic
  • Garlic Oil
  • Garlic Powder
  • Onion Powder
  • Onion Oil
  • Olive Oil
  • Szechuan Pepper Oil
  • Fresh Cilantro
  • Fresh Italian Basil
  • Oregano
  • Salt
  • Cracked Black Pepper
  • Crushed Red Pepper
  • Egg
  • Mushrooms

Prep: Step 0
Sear or quickly brown your pork meat and salt pork in a frying pan with a little bit of olive oil and seasonings. Then put into a slow cooker with dry spices (oregano, red pepper, salt, black pepper, garlic powder, onion powder), and add water so that meat is just covered with water. Set on low for 6 hours.

Step 1
Put your chicken and turkey stock to a pot. Add two or three beef bullion cubes in, as well as a healthy handful of rosemary, twiggy bits and all. Bring to a simmer, then add your dry spices to taste (oregano, red pepper, salt, black pepper, garlic powder, onion powder). Now add your oils in to taste (garlic, olive, pepper, onion) – all of which are optional, but they really do boost the flavors incredibly.

Step 2
Meanwhile, you should rinse and prep your toppings, which will be fresh cilantro, fresh basil, raw thinly sliced onions, and raw thinly sliced mushrooms.

Step 3
Add water to a large pot and turn on high. Add a few eggs in (these will eventually be part of the toppings). Once the water reaches a boil, remove the eggs and add a box of dry spaghetti. After about nine minutes your spaghetti should be done. Strain it and hit it with some olive oil to prevent sticking.

Step 4
Strain your soup base to get all the rosemary bits out. Then ladle some soup into a bowl. Add a portion of spaghetti, and arrange your toppings neatly, as the Japanese do. Don’t forget your eggs! Peel and slice.

Step 5 (optional)
One thing I wish I added here was a few stalks of broccolini. I had a bunch in the fridge but completely overlooked the shit. A few nicely sauteed stalks laying across the top of the soup bowl would have been a perfect way to get some healthy greens into the meal. Plus it would have looked even more beautiful than it did:

20140428_195739_LLS

20140428_202105_LLS

20140428_202124_LLS

20140428_202124_LLS_20140428203133708

20140428_202147_LLS

collage_20140428203822243

Garlic & Rosemary Rib Eye

Since we had to pay Uncle Sam a fat wad of dough for tax season, I figured I’d save a little money and do a steak from home. Since I was in the spirit of giving, I also figured I may as well share the process with you meat-heads.

Here’s what you’ll need:

  • A Rib Eye Steak
  • A Few Sprigs Of Rosemary
  • A Few Tablespoons Of Soy Sauce
  • A Cup Of Olive Oil
  • Three Cloves Of Garlic
  • Course Salt
  • Black Pepper
  • Crushed Red Pepper
  • Onion Powder
  • A Frying Pan
  • Tongs
  • A Source Of Heat
  • A Plate
  • A Cutting Board
  • Something Sharp
  • Balls

You’ll also need at least one eye and one ear, to watch and hear the demonstration I put together below:

And no post is complete without a smattering of food porn photos. Here are some before, during and after shots:

20140322_091905_LLS edits

20140322_095108 edits

20140322_125651_LLS

20140322_130712_LLS

20140322_130802_LLS

20140322_131802 edits