Tag Archives: homemade

The SteakAger

CHECK OUT: MY BUTCHER SHOP

I recently received an email from the gent who co-created The SteakAger. He offered to send me a unit to review here on the site. I had no idea what the product was until I clicked over to their website to check it out. It’s an in-fridge box for dry-aging steaks at home!!! Check out their video:

Okay so just what is aged beef and dry-aging? I have a nice article about all that HERE, but the quick and dirty summary is that aging is a way to concentrate and intensify beef flavor and create a more tender steak.

I have had some limited experience dry-aging steaks with dry aging bags in the past, and the results were, surprisingly, very good! Since then, I have been secretly trying to figure out a way to fit a dedicated dry-aging fridge in our small NYC apartment. Needless to say, I was not excited about using more cubic footage for food stuff. In addition to our fridge, we have a drop-freezer, a baking work bench, and extra shelving for all of our cooking dedications. So The SteakAger was perfect for us; it goes right into the fridge! Most days the fridge is pretty empty anyway. We eat out a lot, as you can imagine, since NYC is pretty abundant with awesome restaurants. I do, however, like to cook steaks at home on occasion, to save a little dough here and there.

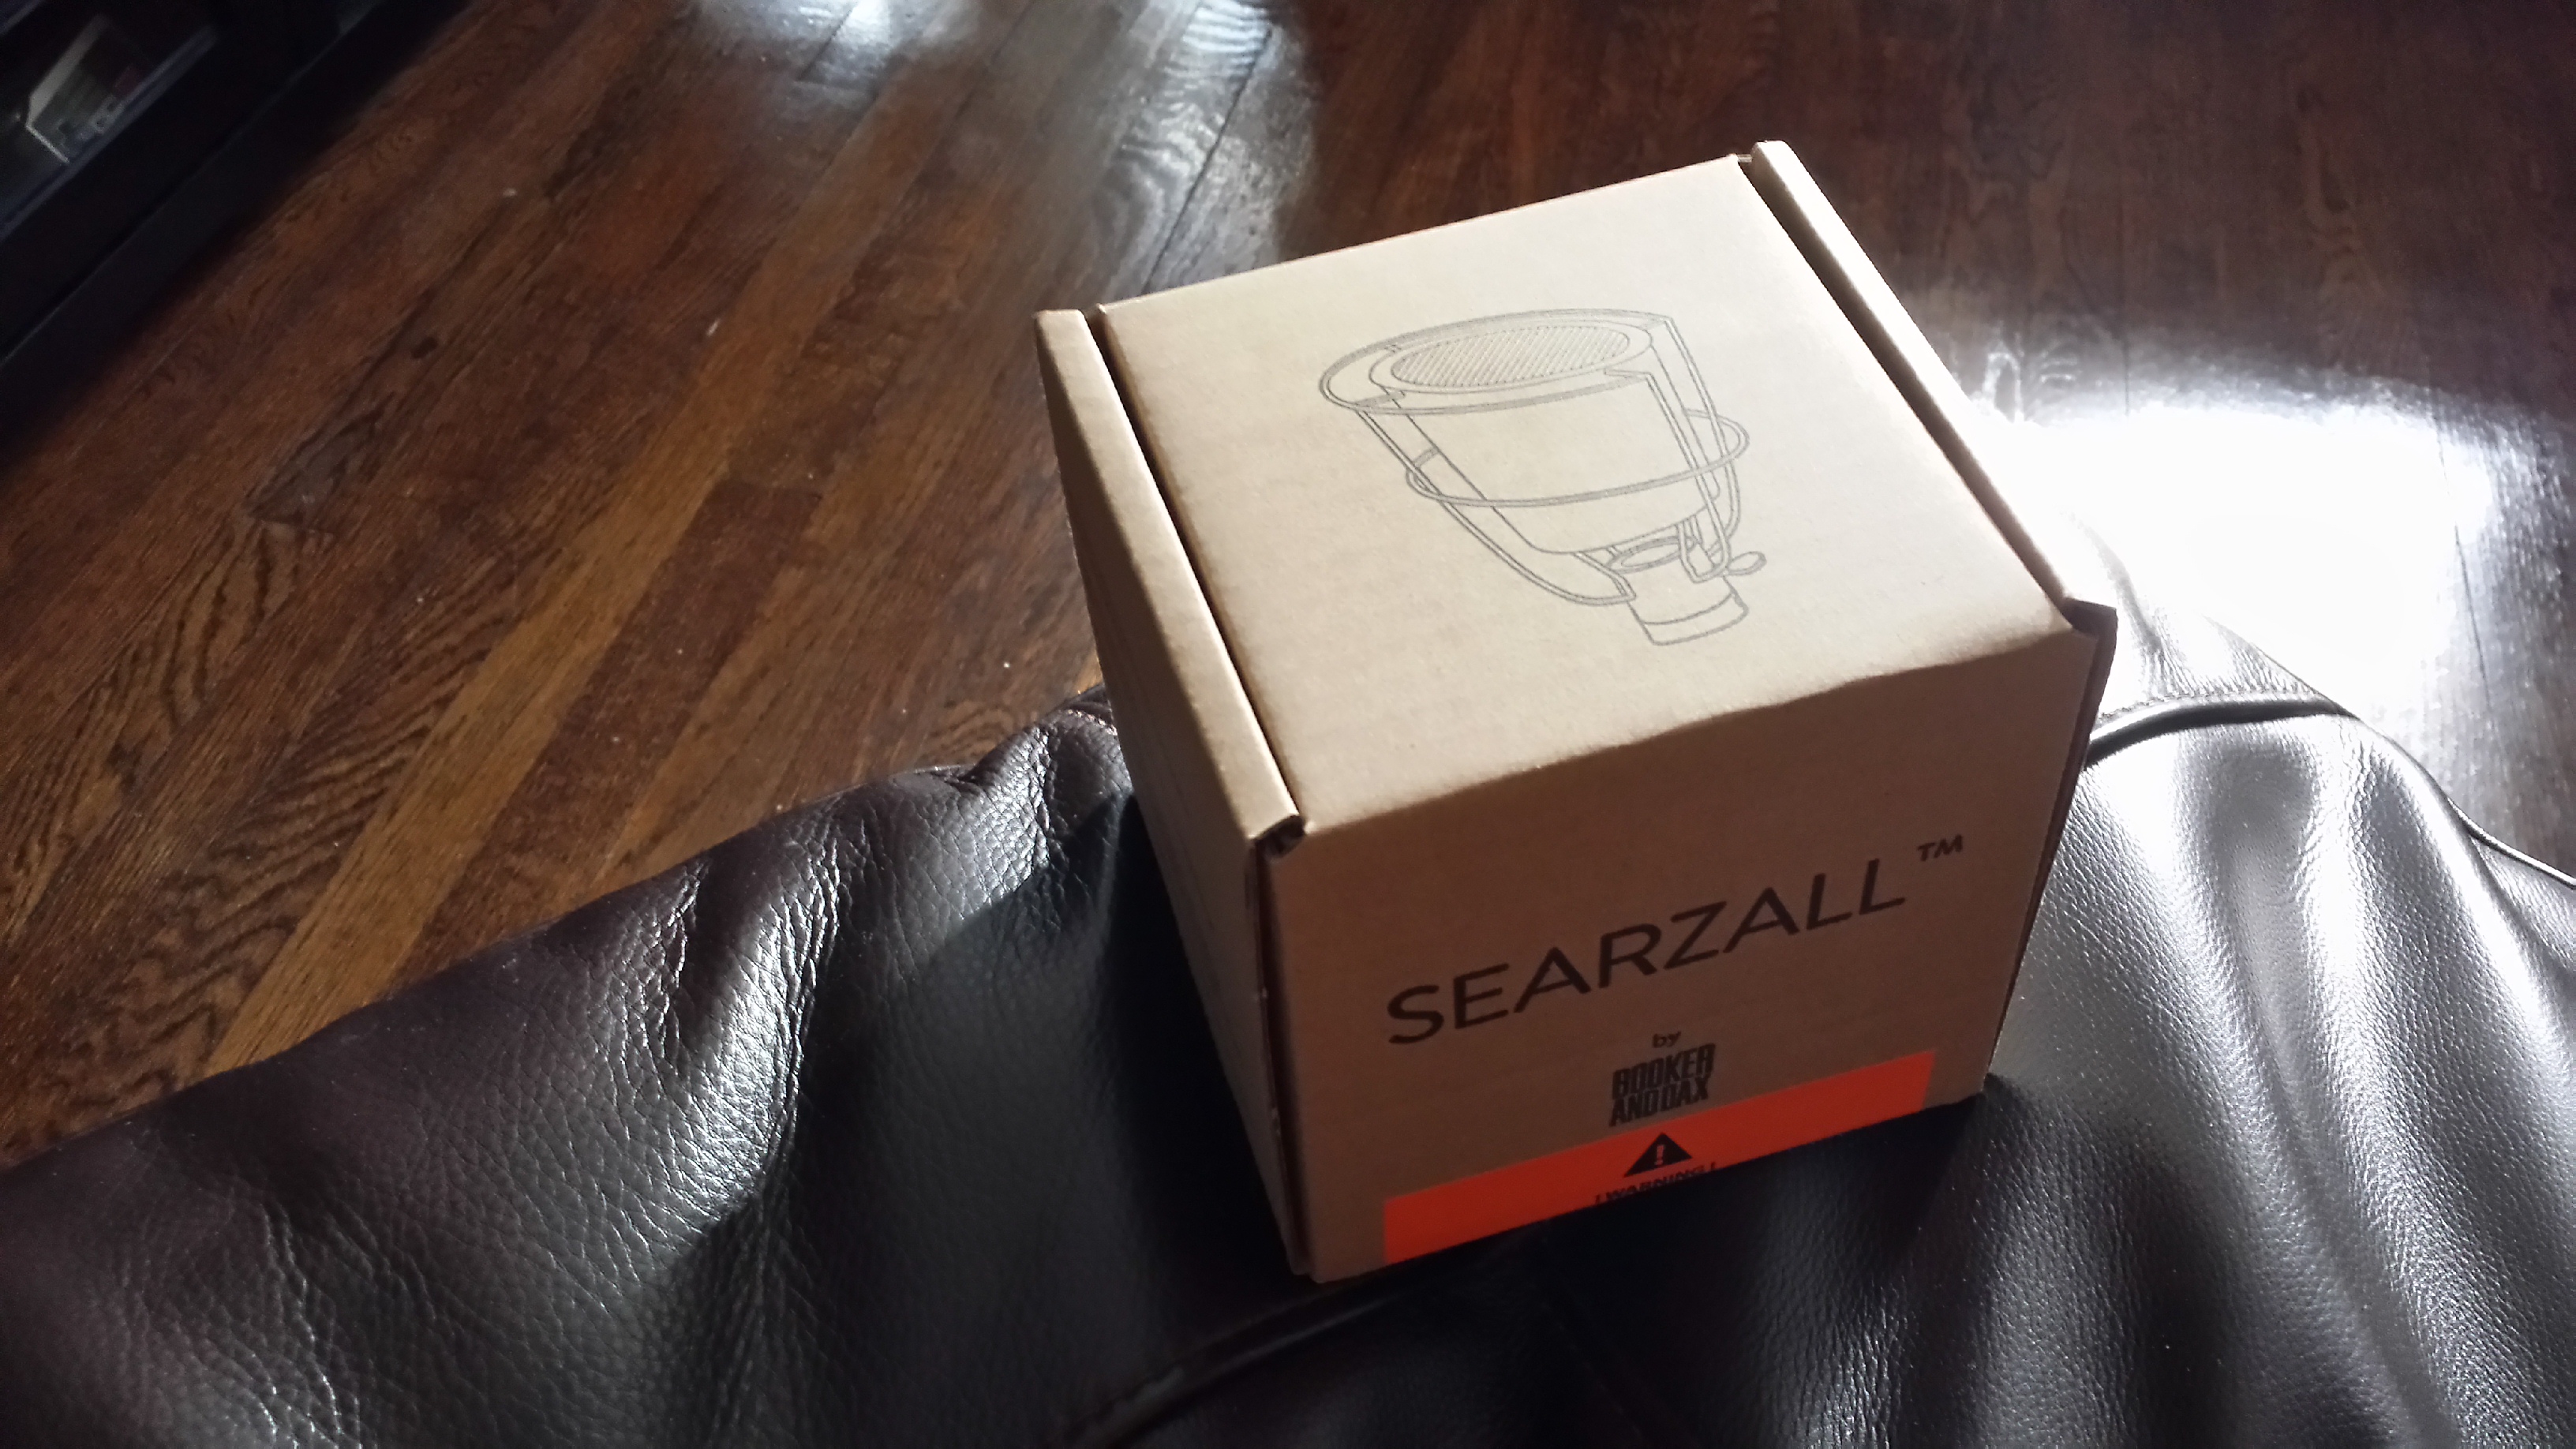
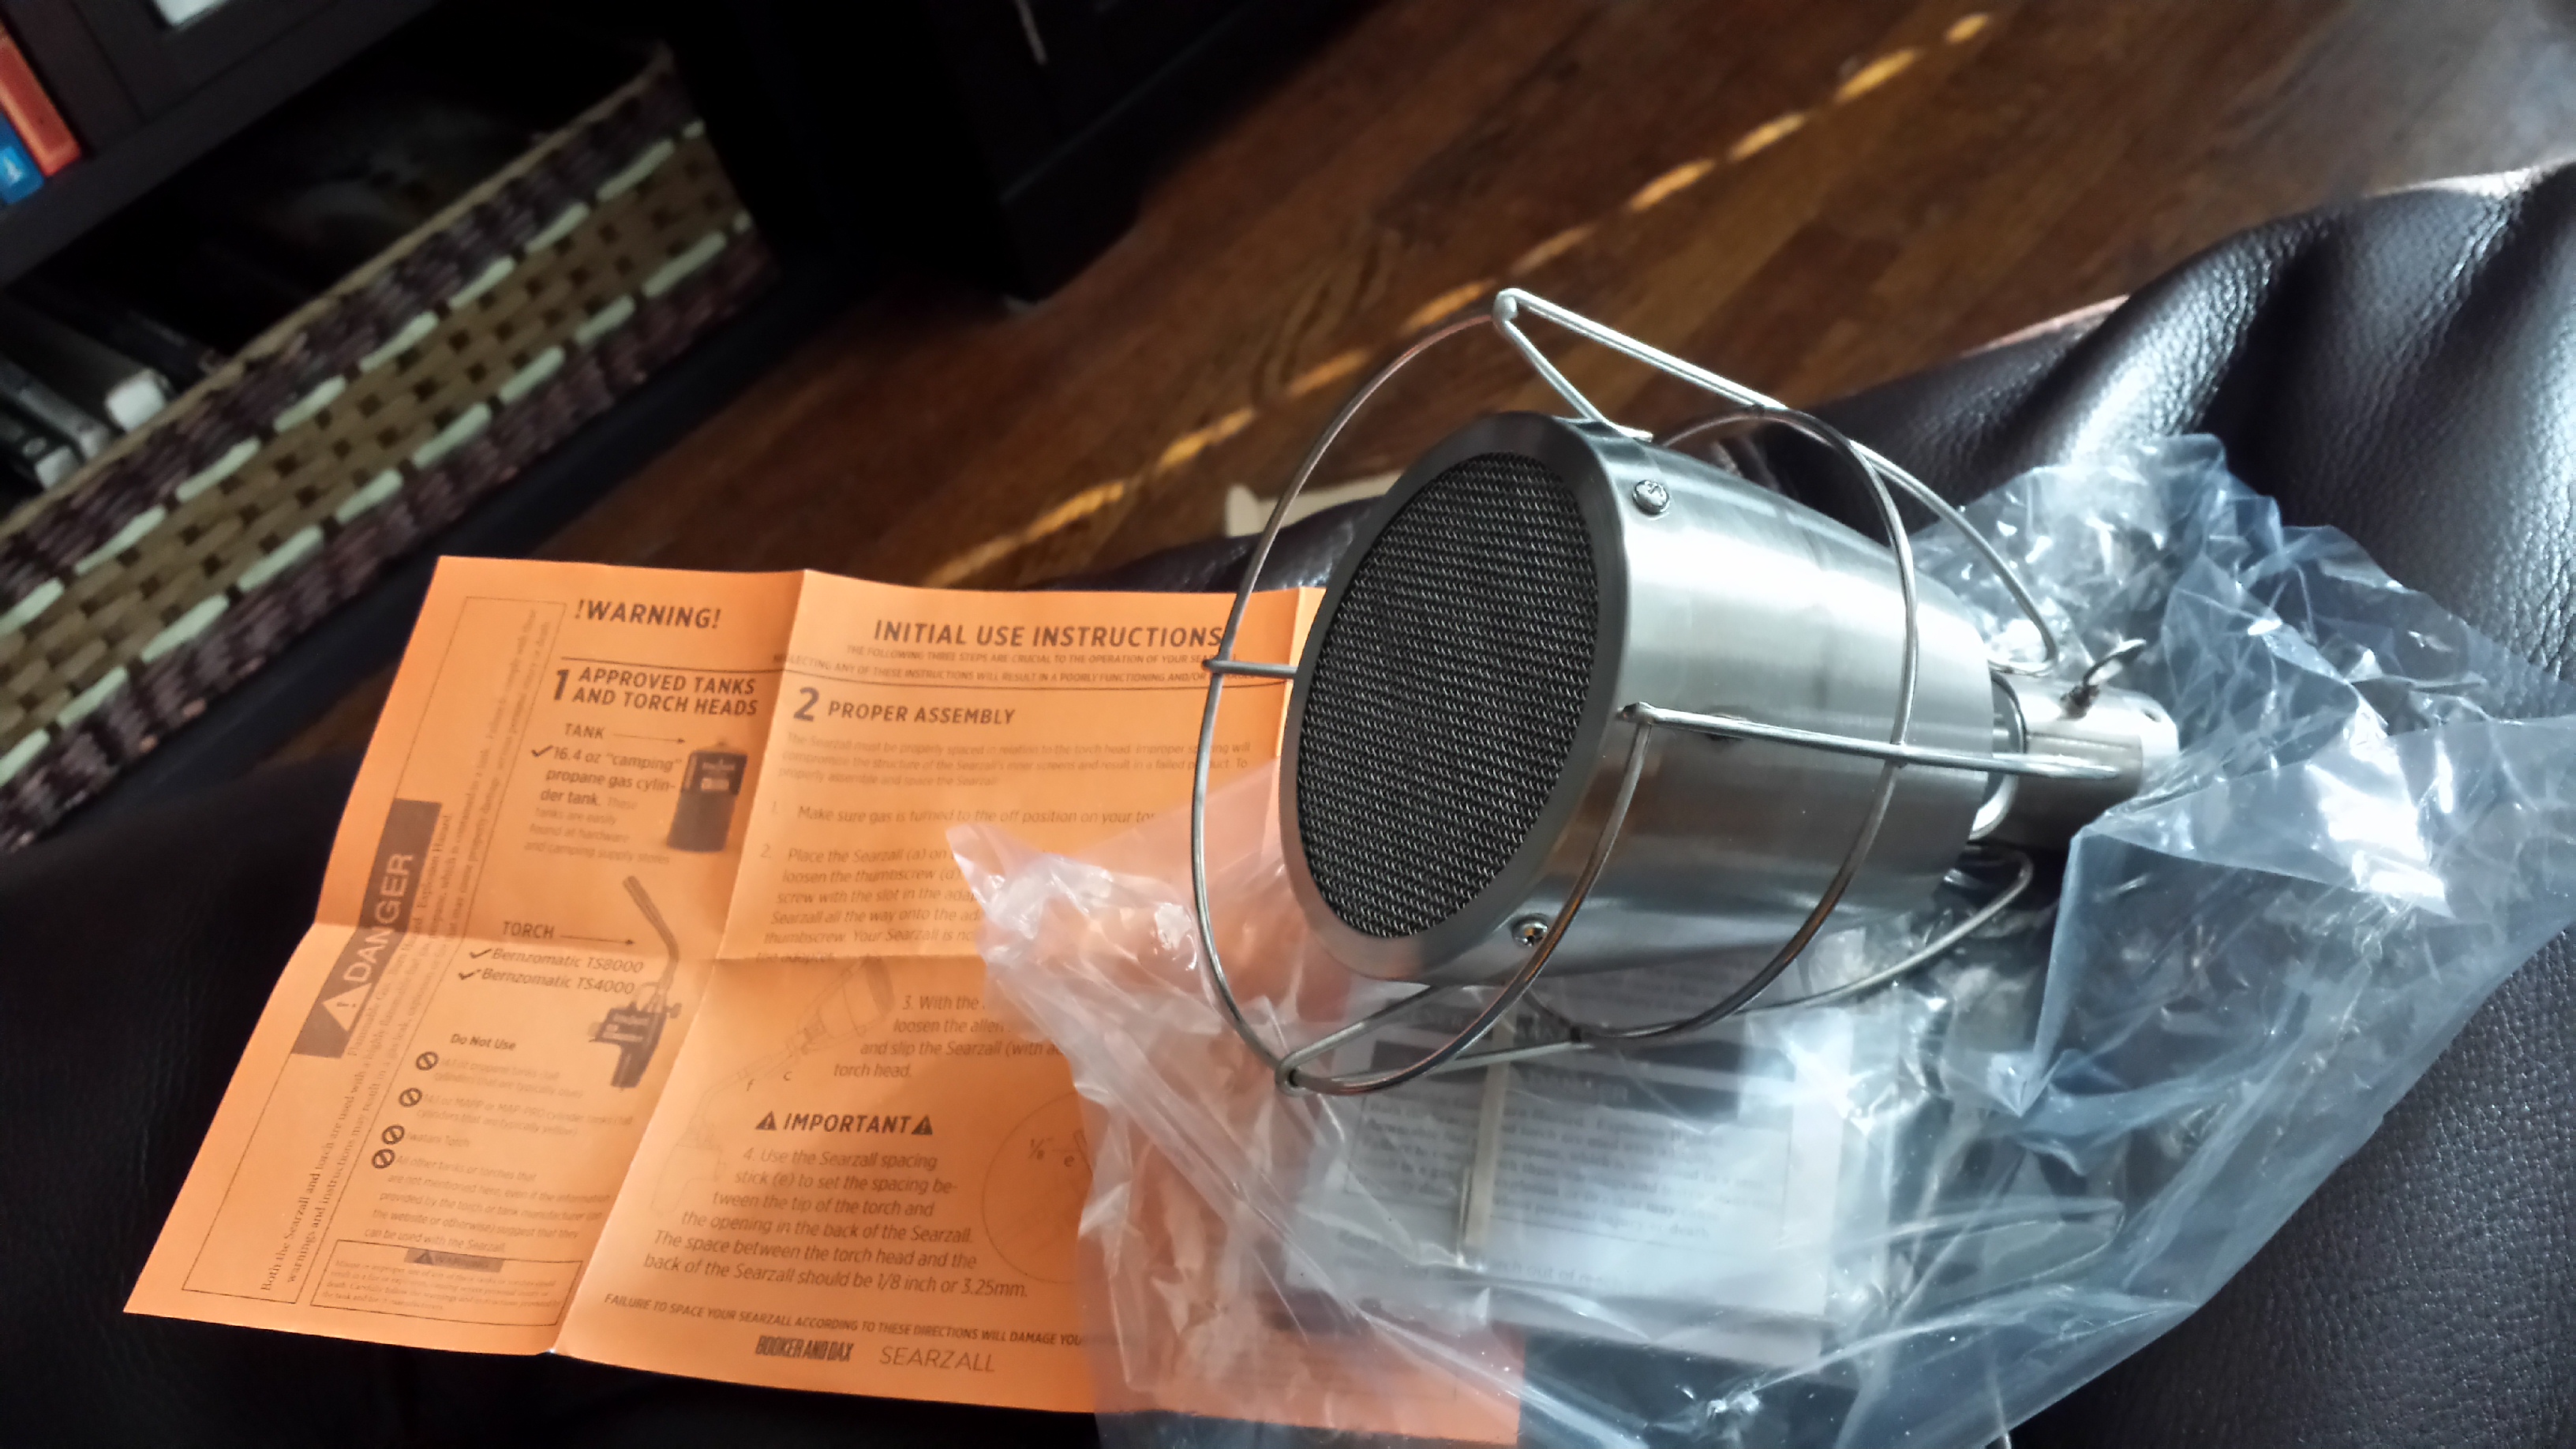
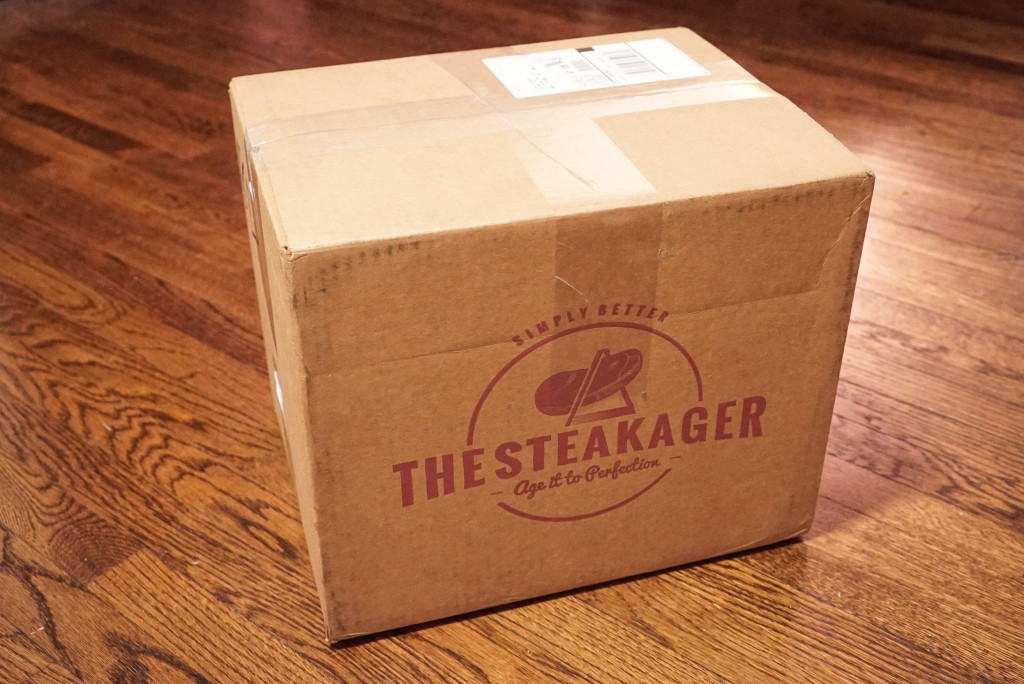
Anyway, my package arrived and I rushed home to get it before the package room in our building closed for the night. Here are some unboxing photos:

DSC01797

DSC01800

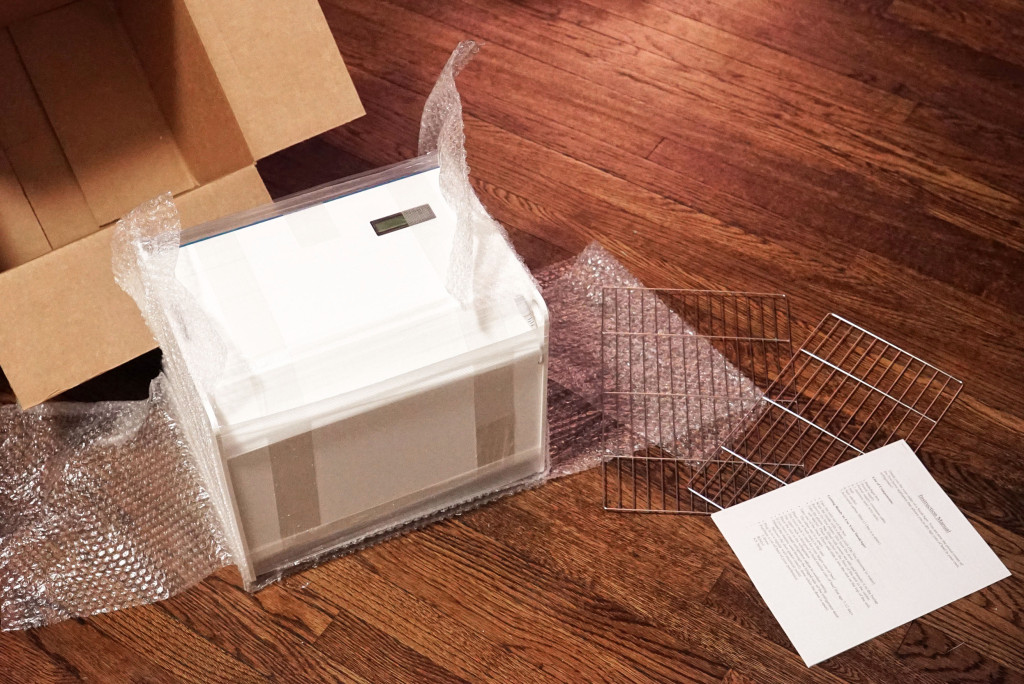
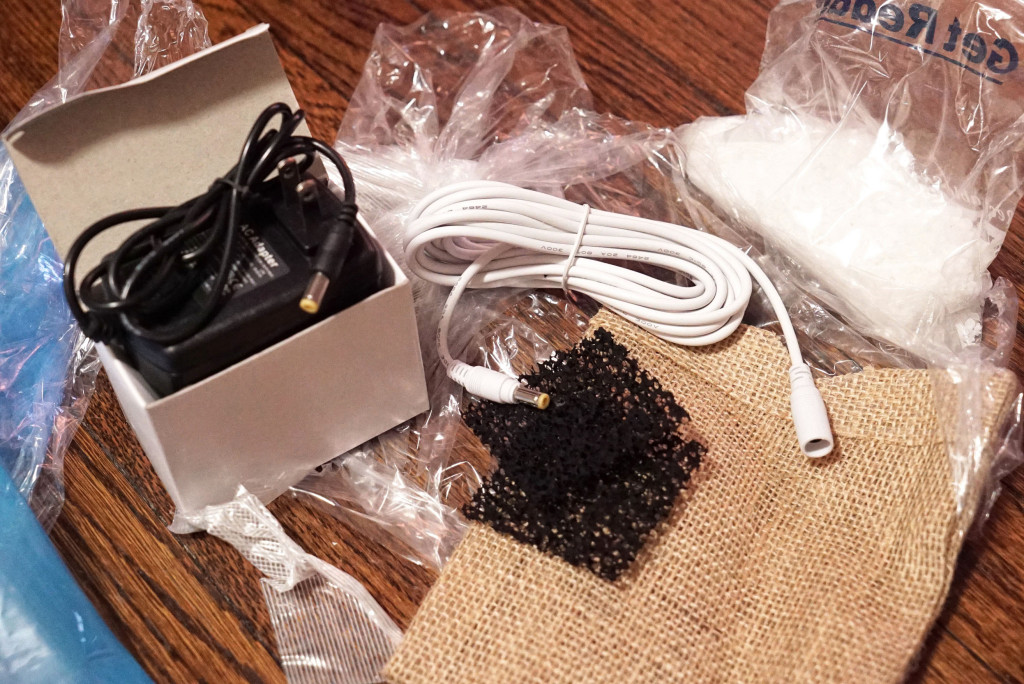
AC power and extension cable, along with other materials:

DSC01803

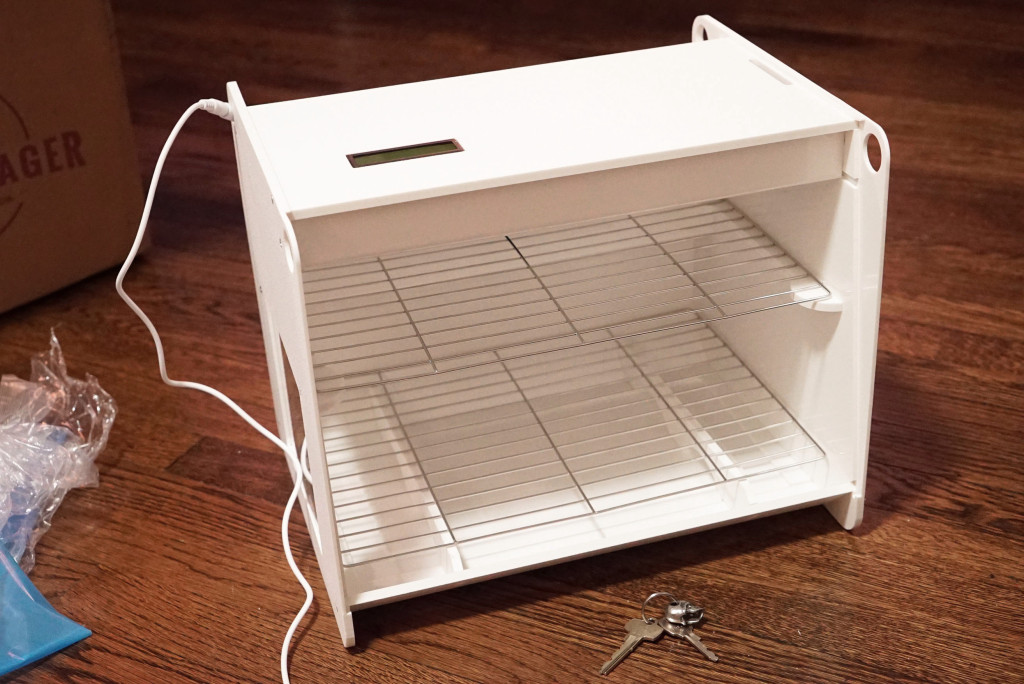
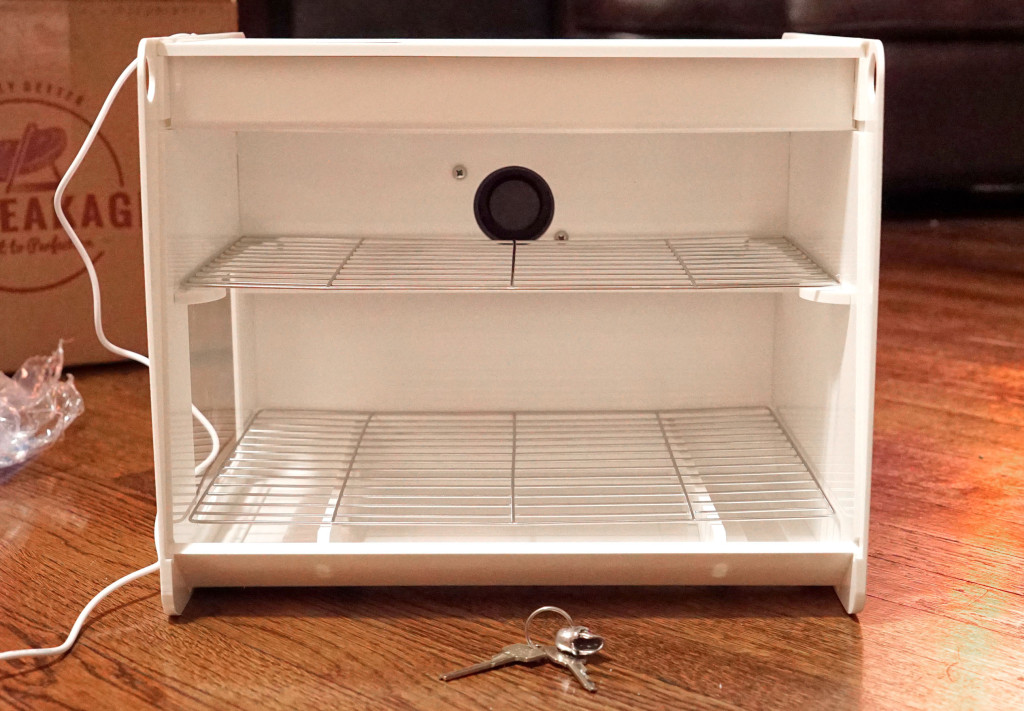
Keys are in there so you can get an idea of the sizing:

DSC01804

DSC01805

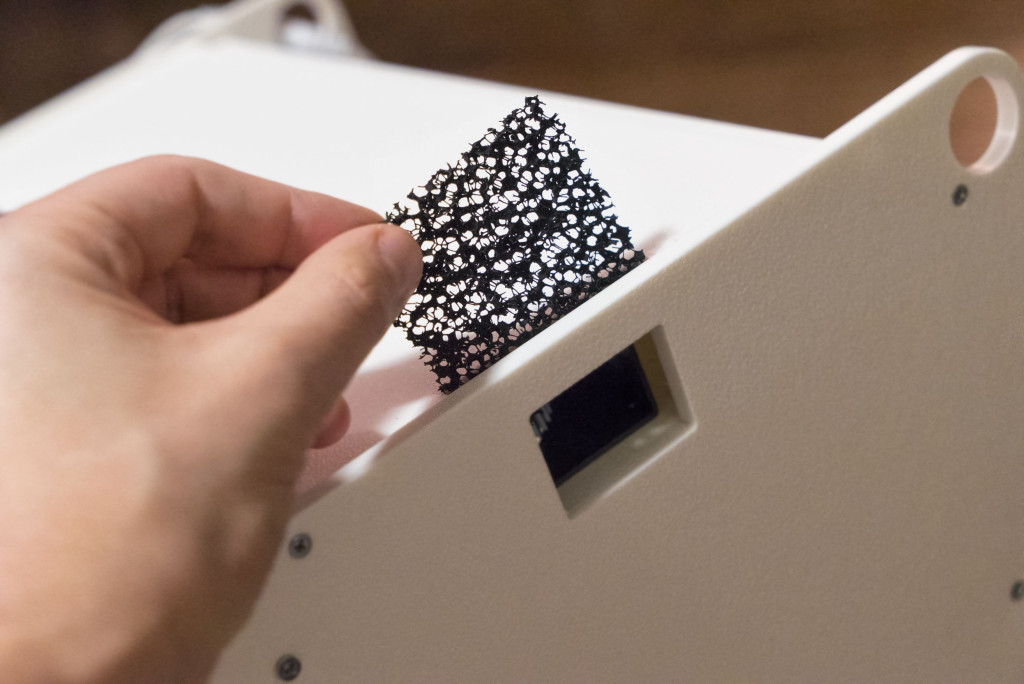
Charcoal pad slips into air passage:

DSC01807 new

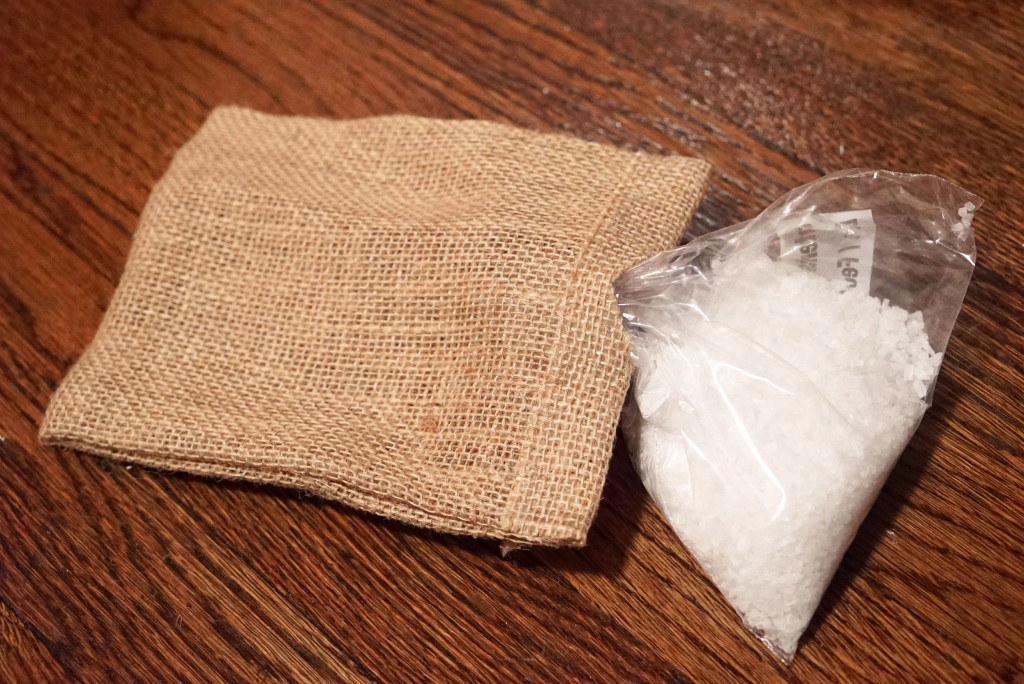
Salt goes into the burlap bag and then gets placed at the bottom of the SteakAger, inside the box:

DSC01808

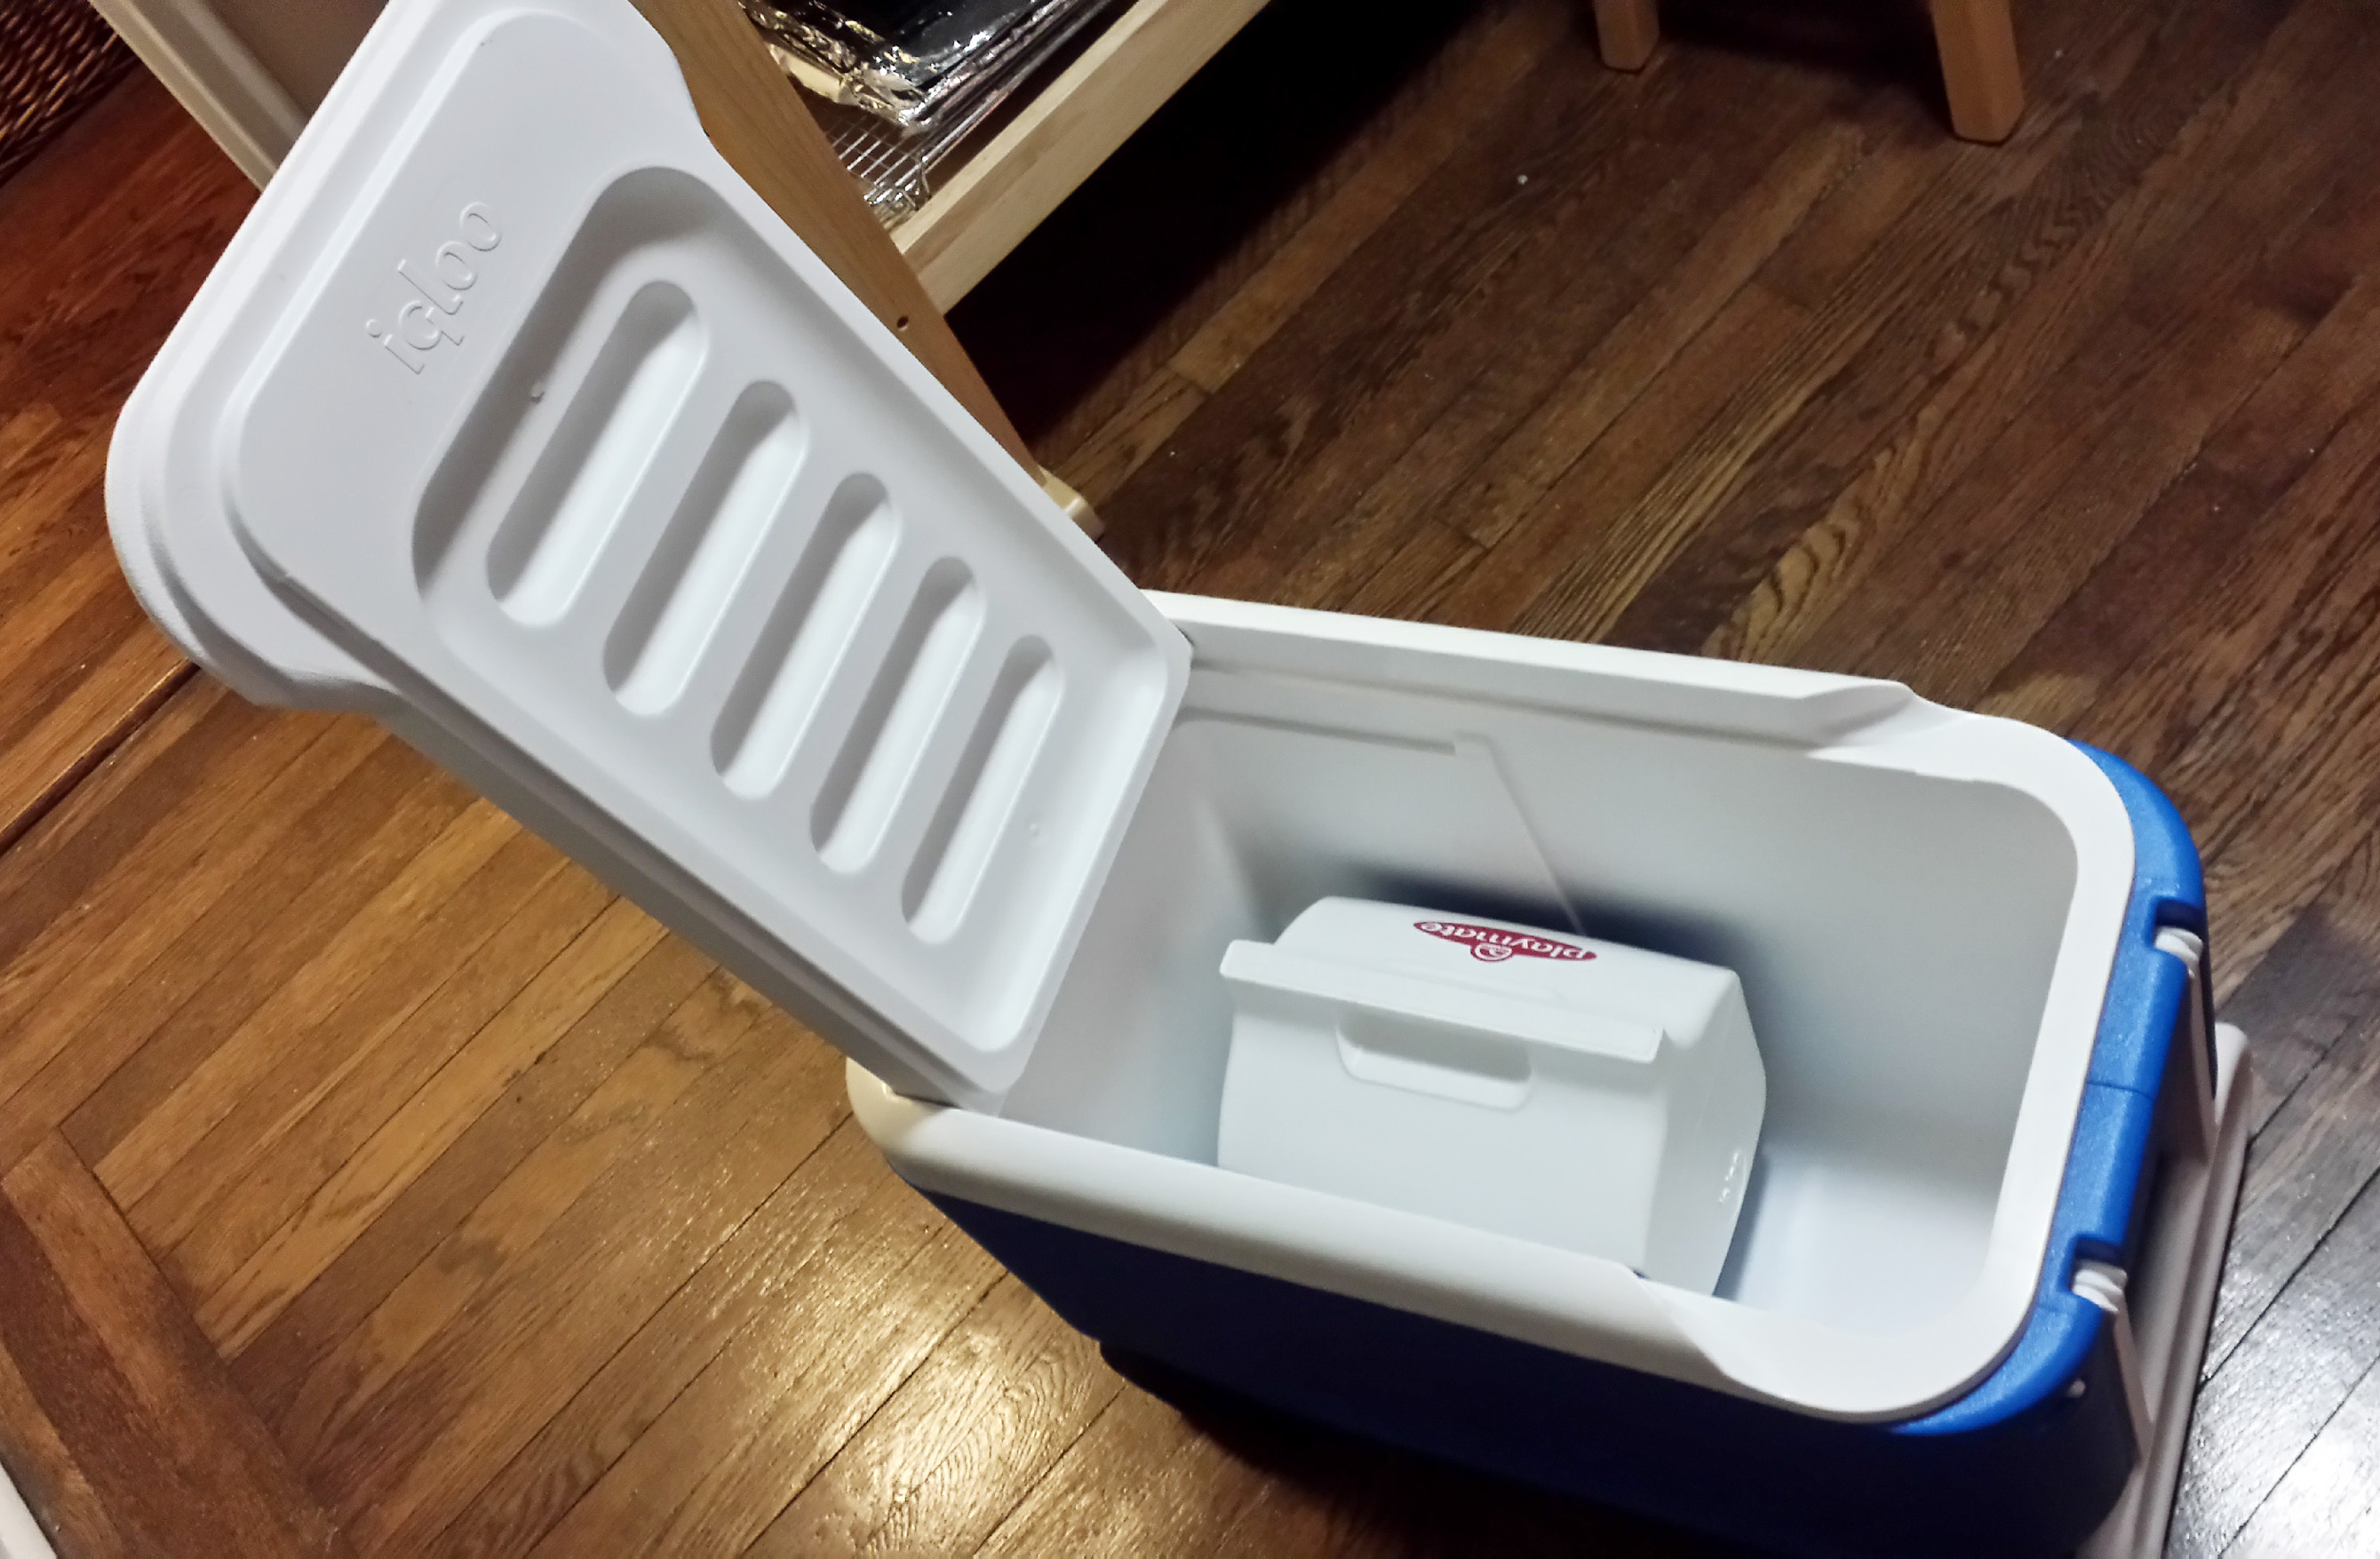
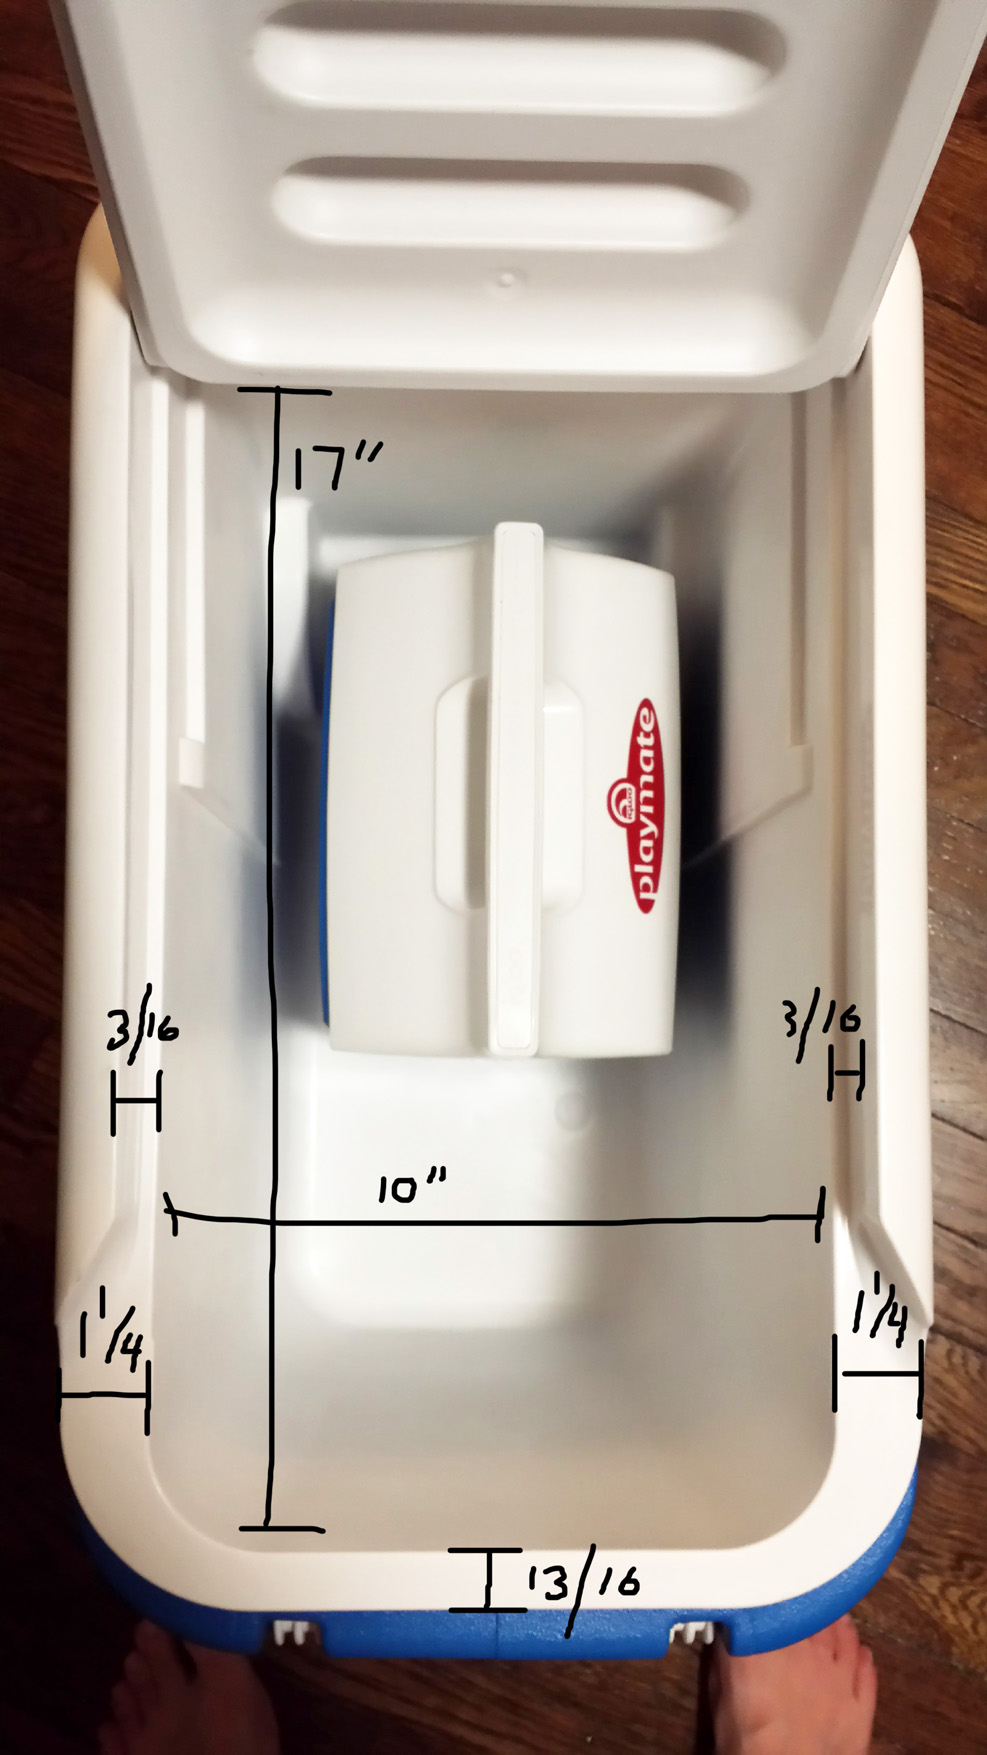
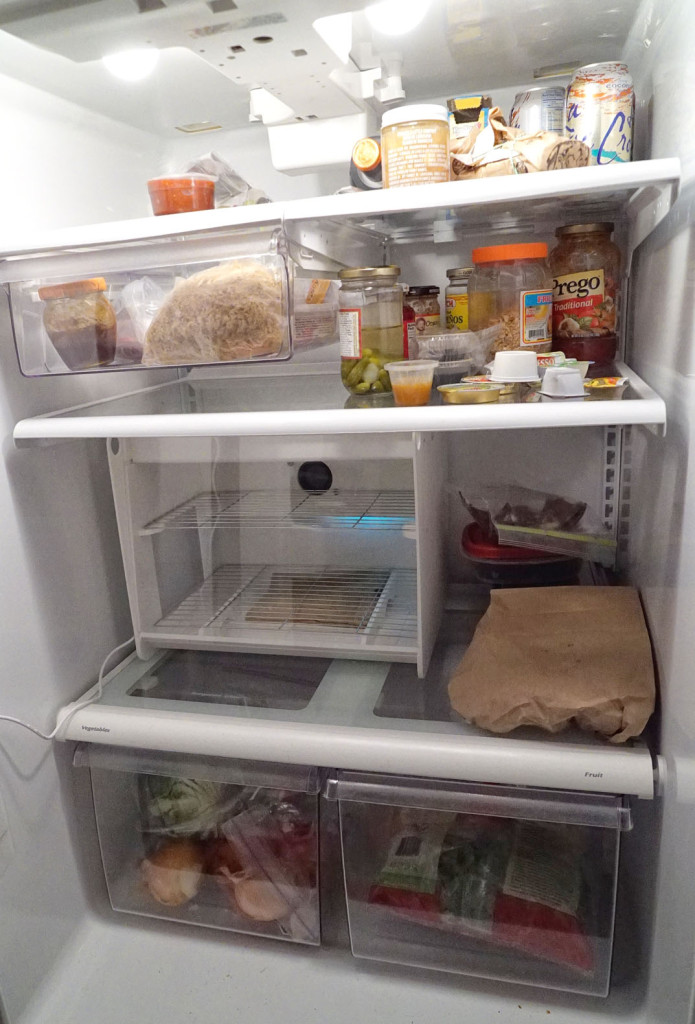
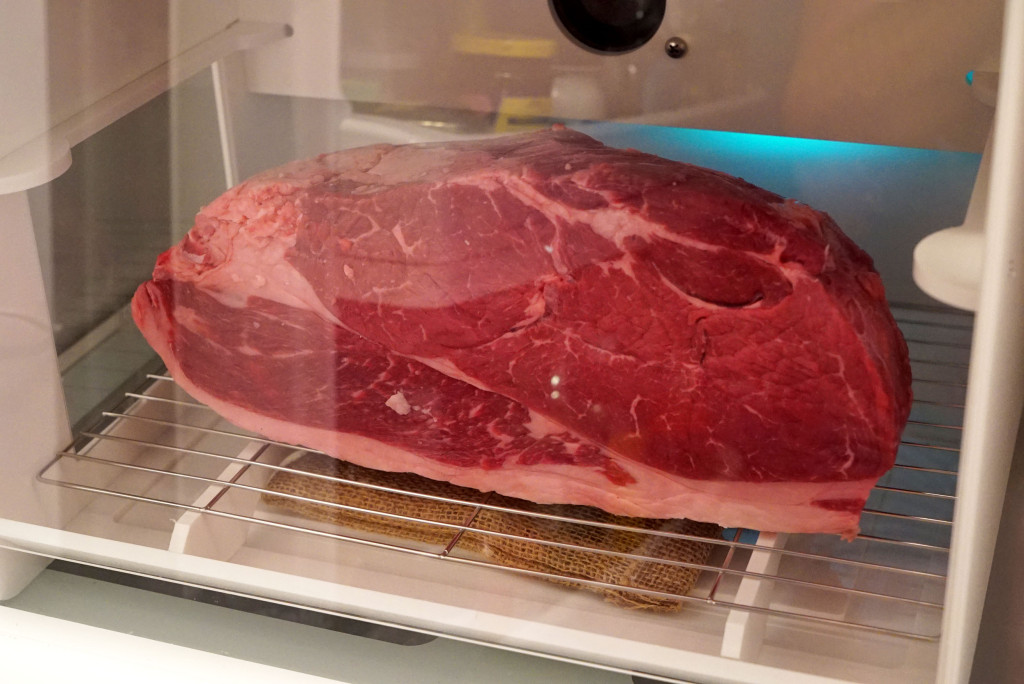
Sizing in my fridge:

DSC01809

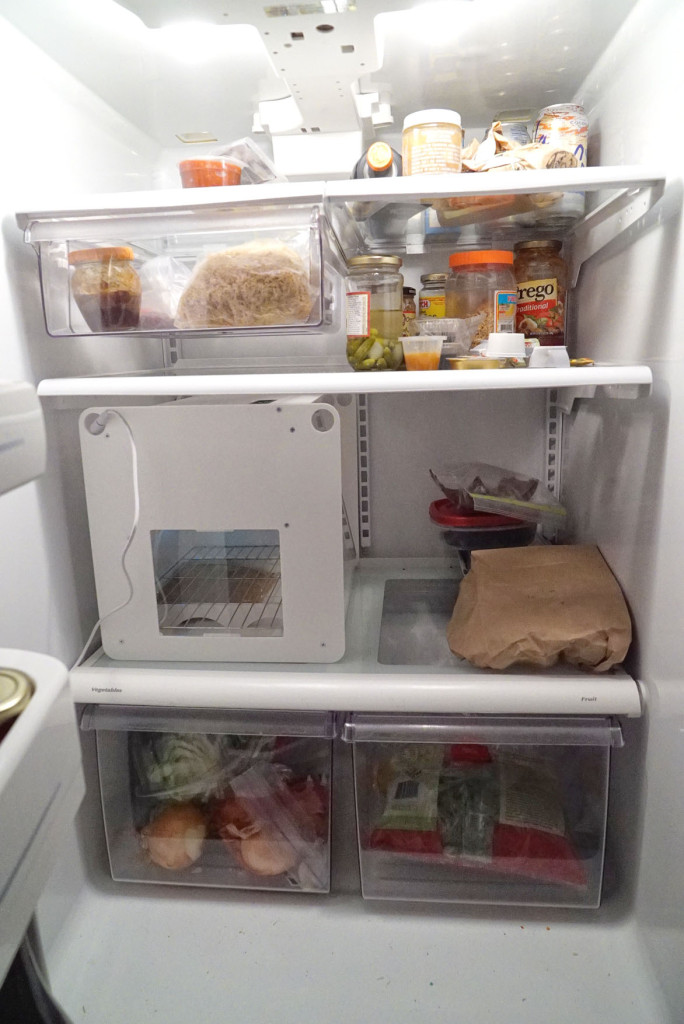
It also fits if I turn it sideways, and it even has a viewing window on the side as well. Awesome! This orientation leaves me with a bit more space in the fridge.

DSC01810

So the way this works, is you connect an extension wire to the back of The SteakAger, which you can see above on the upper left portion of the unit. You then snake that through the door hinge of the fridge and plug it into a socket behind the fridge. I was apprehensive at first, wondering whether the wire coming out of the fridge would mess with my fridge’s efficiency, but it does not. The seal is still tight, and everything in the fridge is still nice and cold.

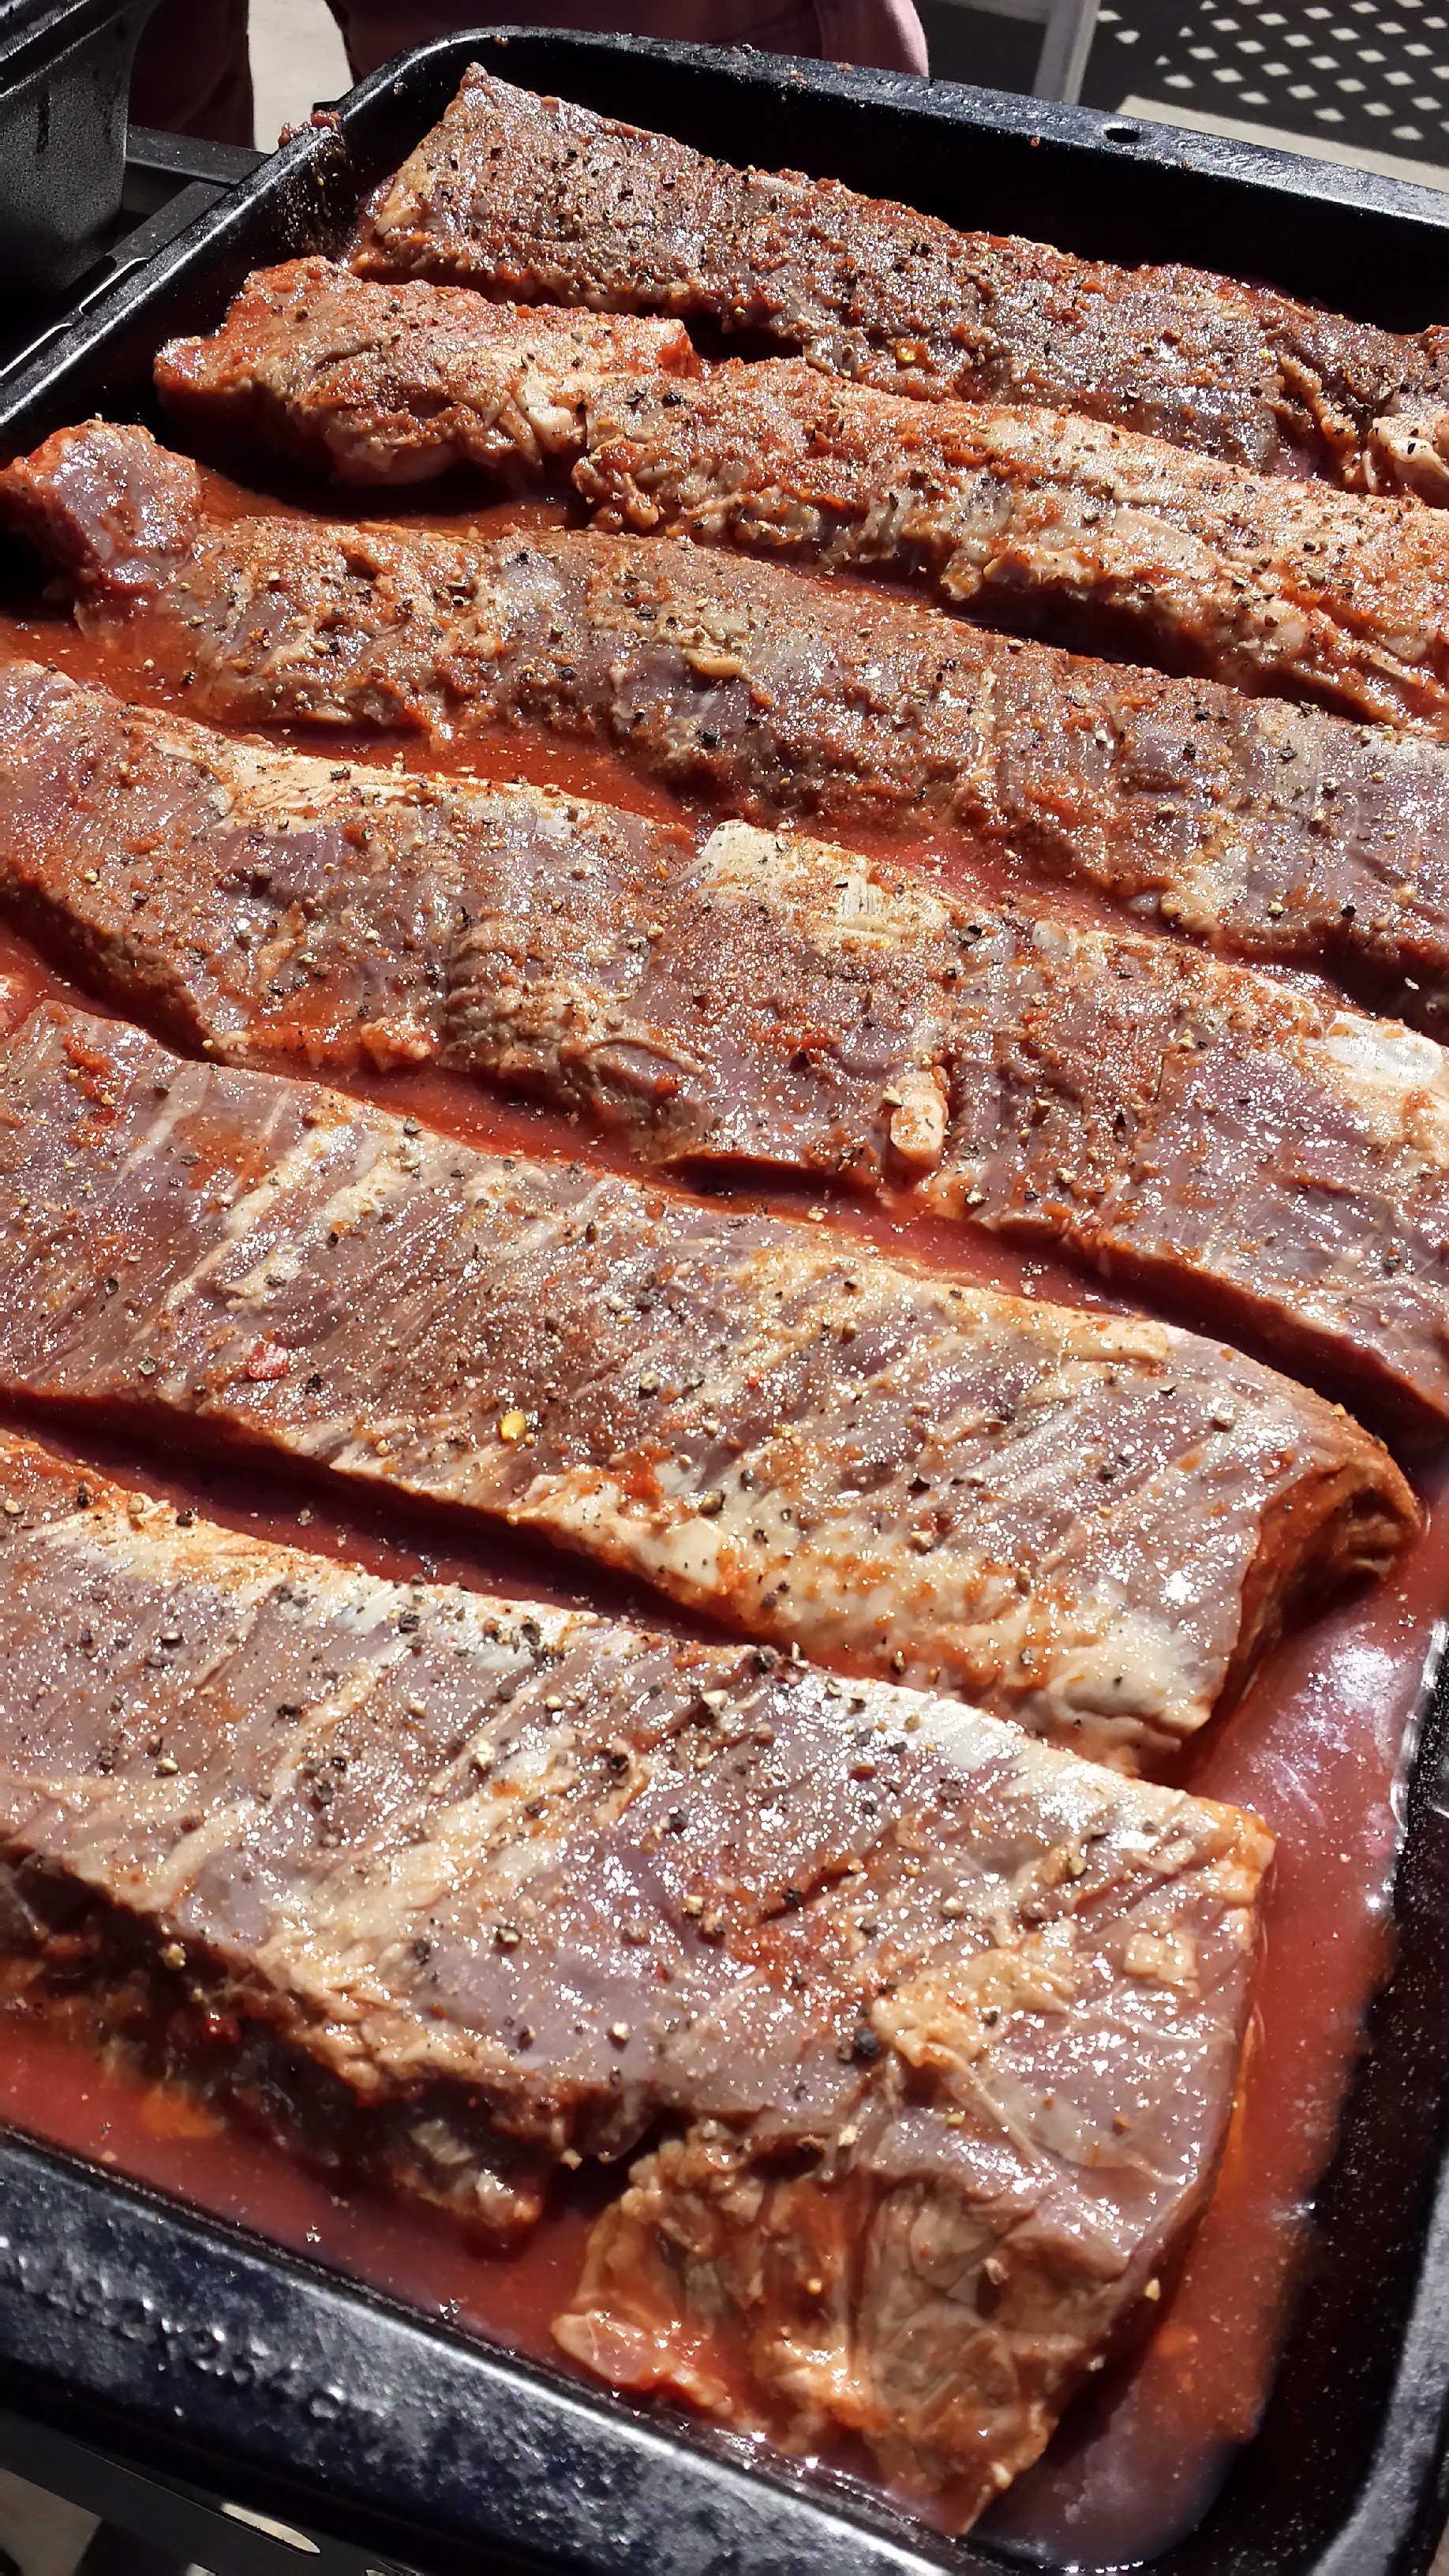
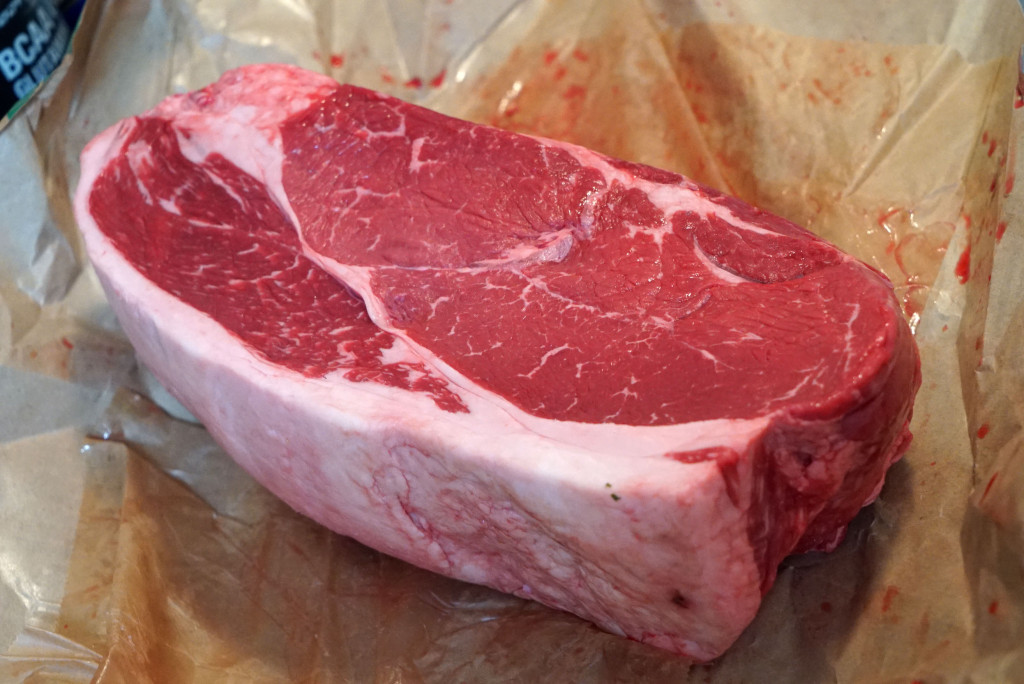
So after monitoring my local grocery stores and butchers, I found a good sale on beef. I picked up about 7lbs of top sirloin and popped it into The Steak Ager.

DSC03216

DSC03218

DSC03220

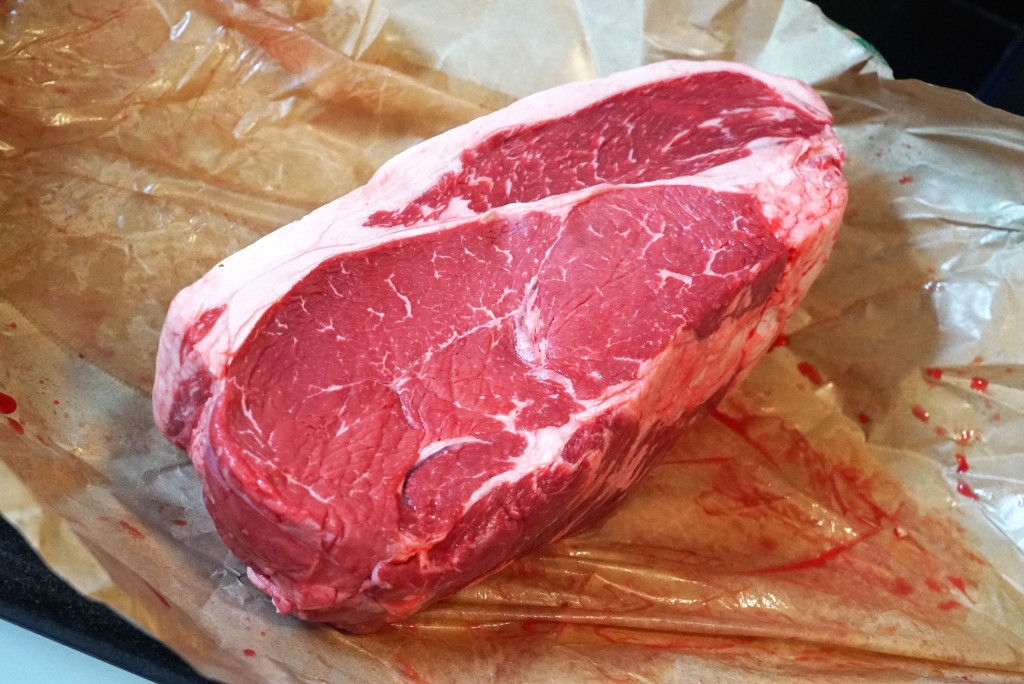
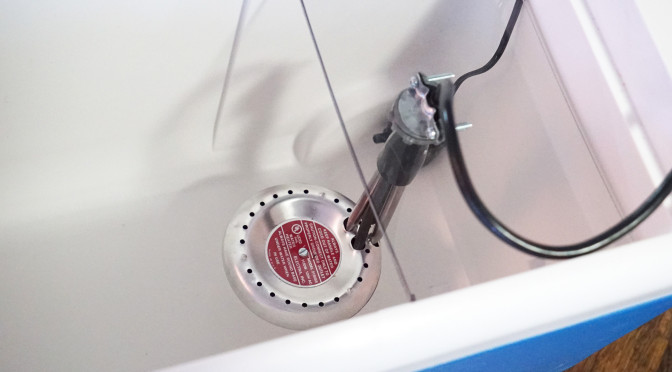
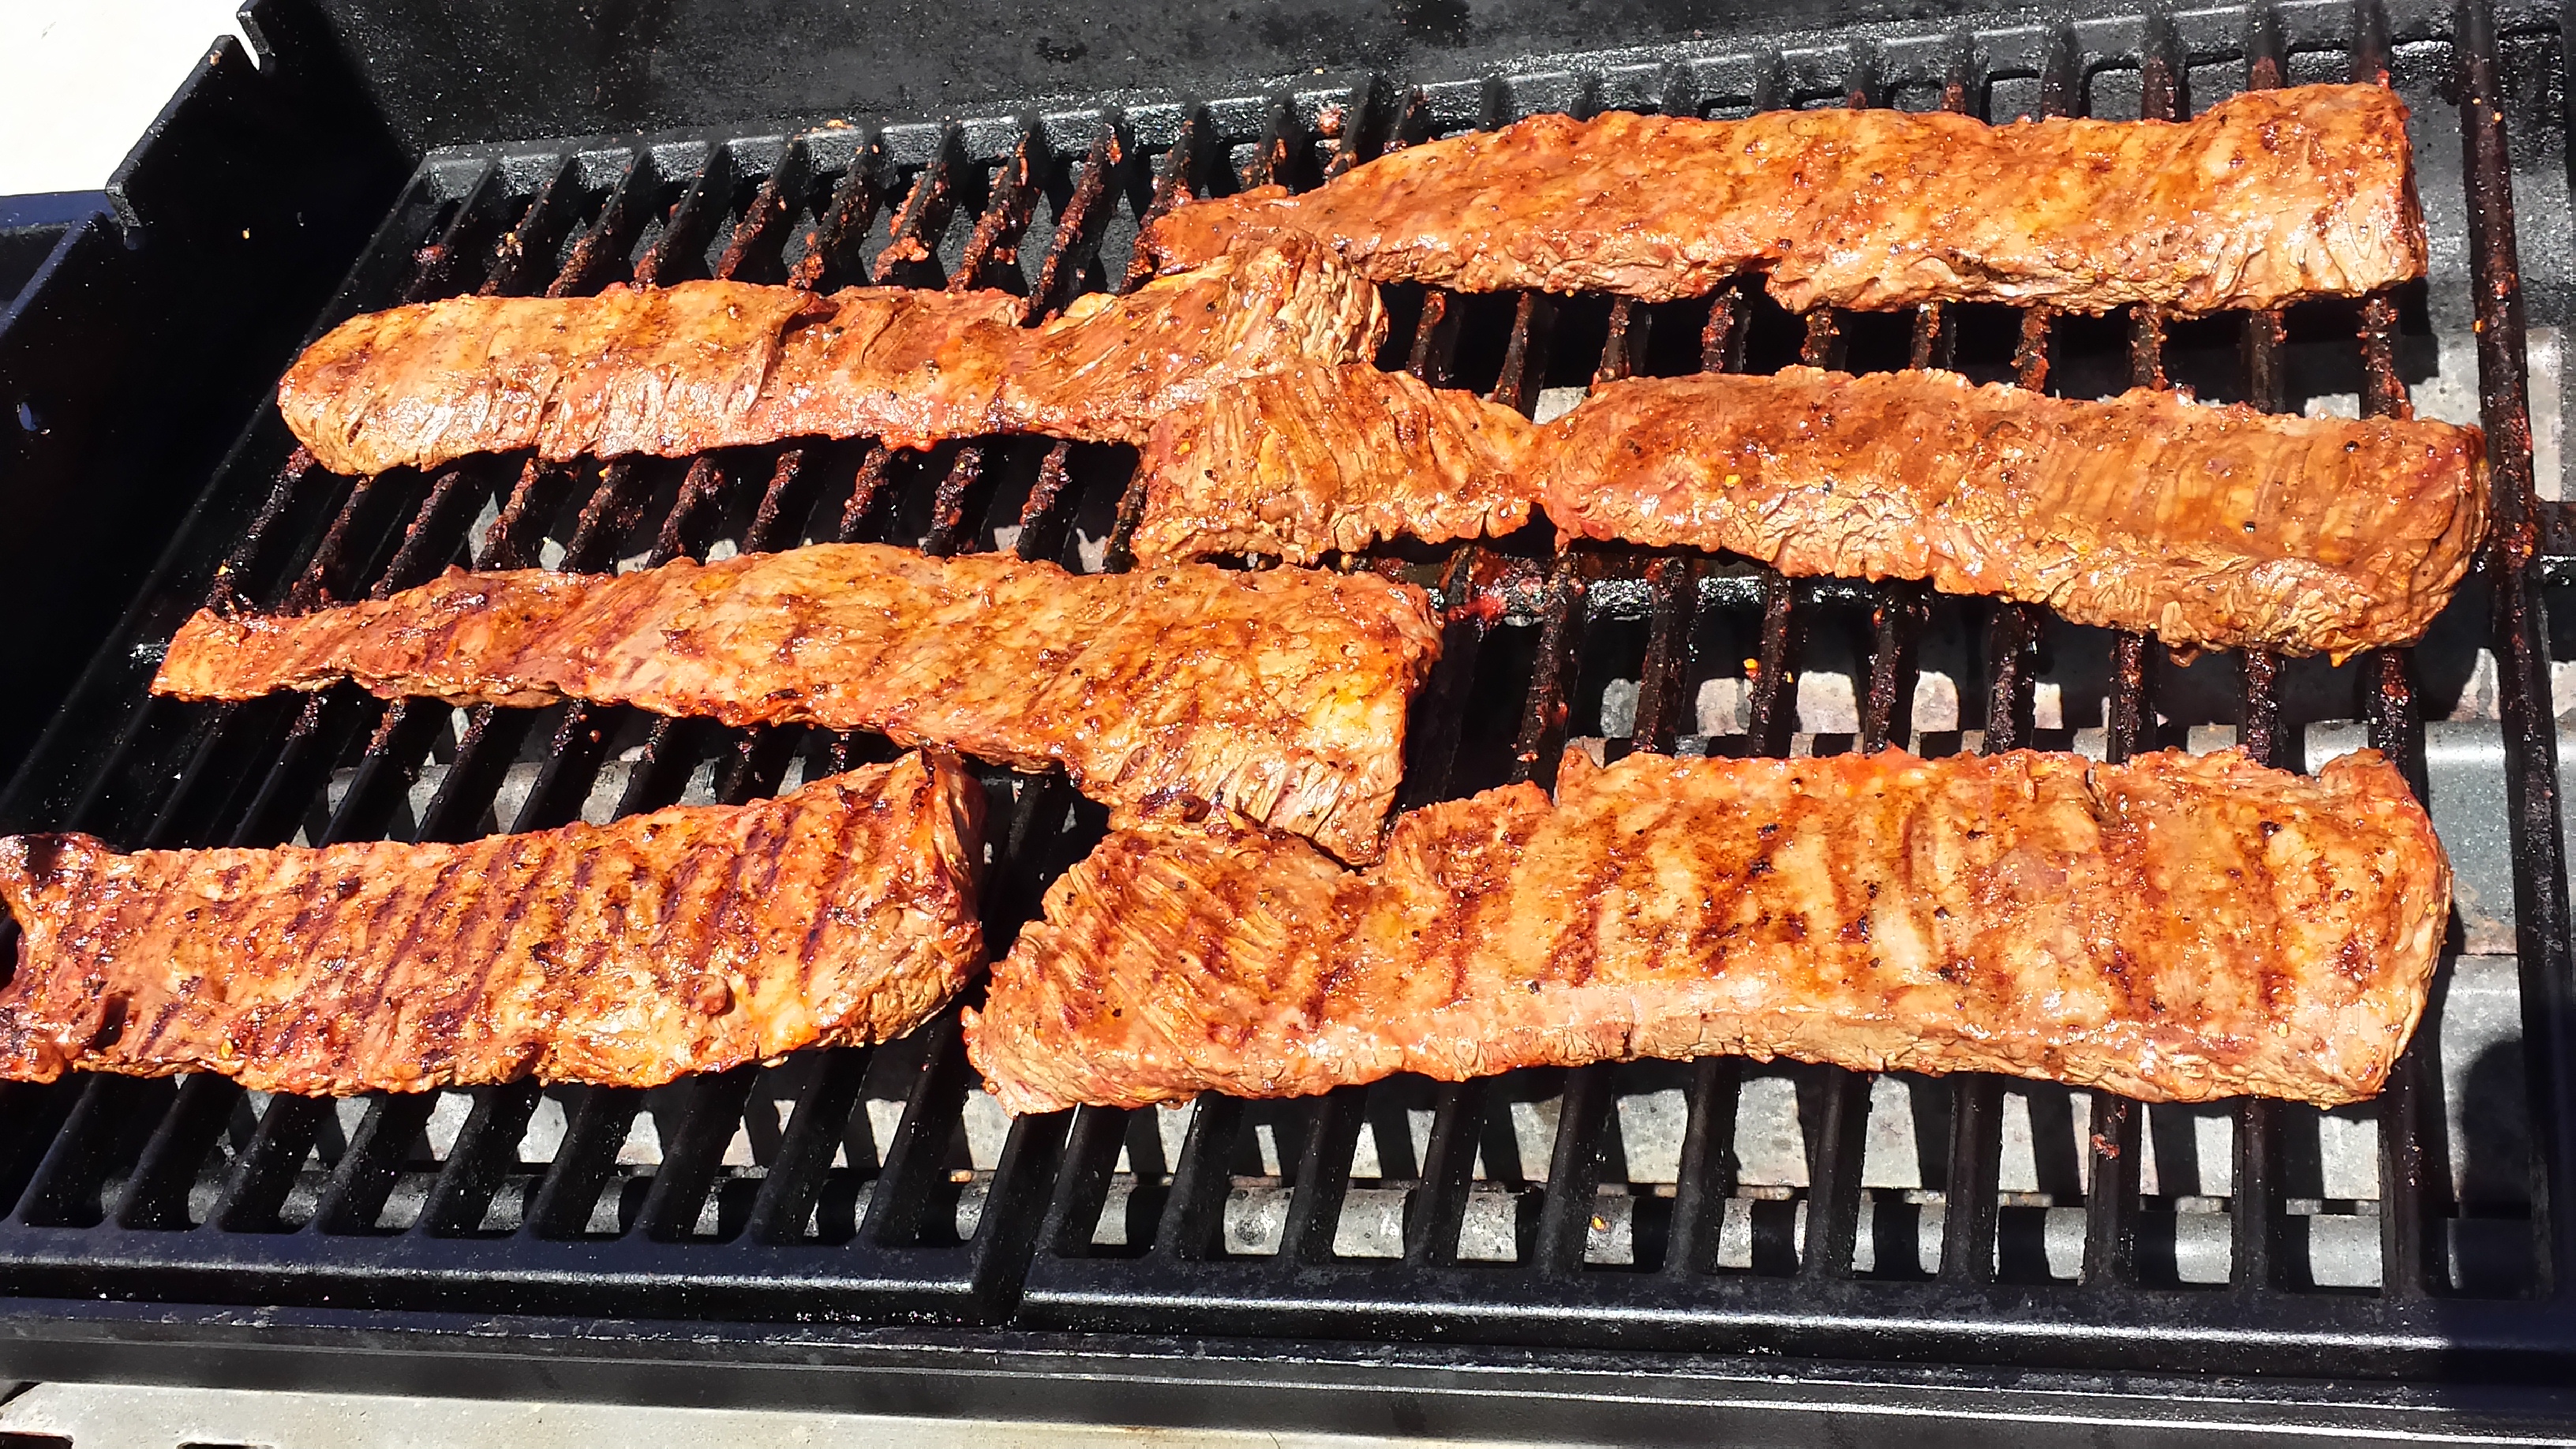
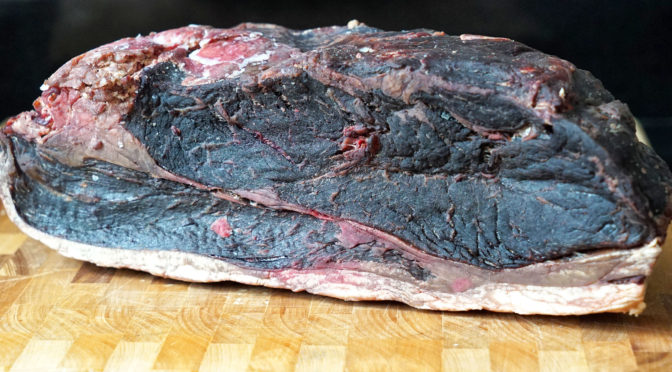
I adjusted my fridge setting down a bit to keep the temperature slightly colder than usual, at about 37 degrees. Then came the hard part: waiting… I started this baby on April 11th, 2016. Here’s a peek at it after 34 days in the box:

DSC04139

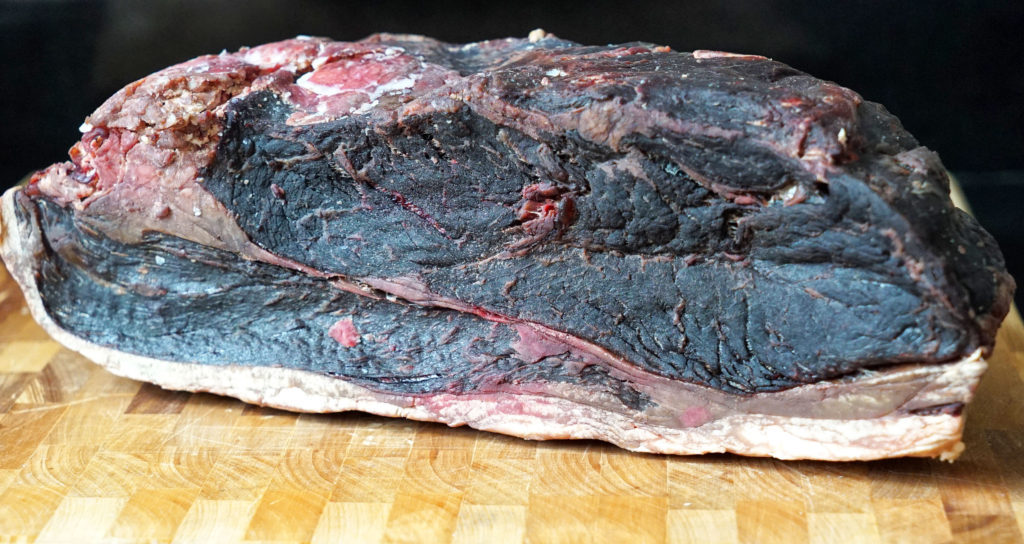
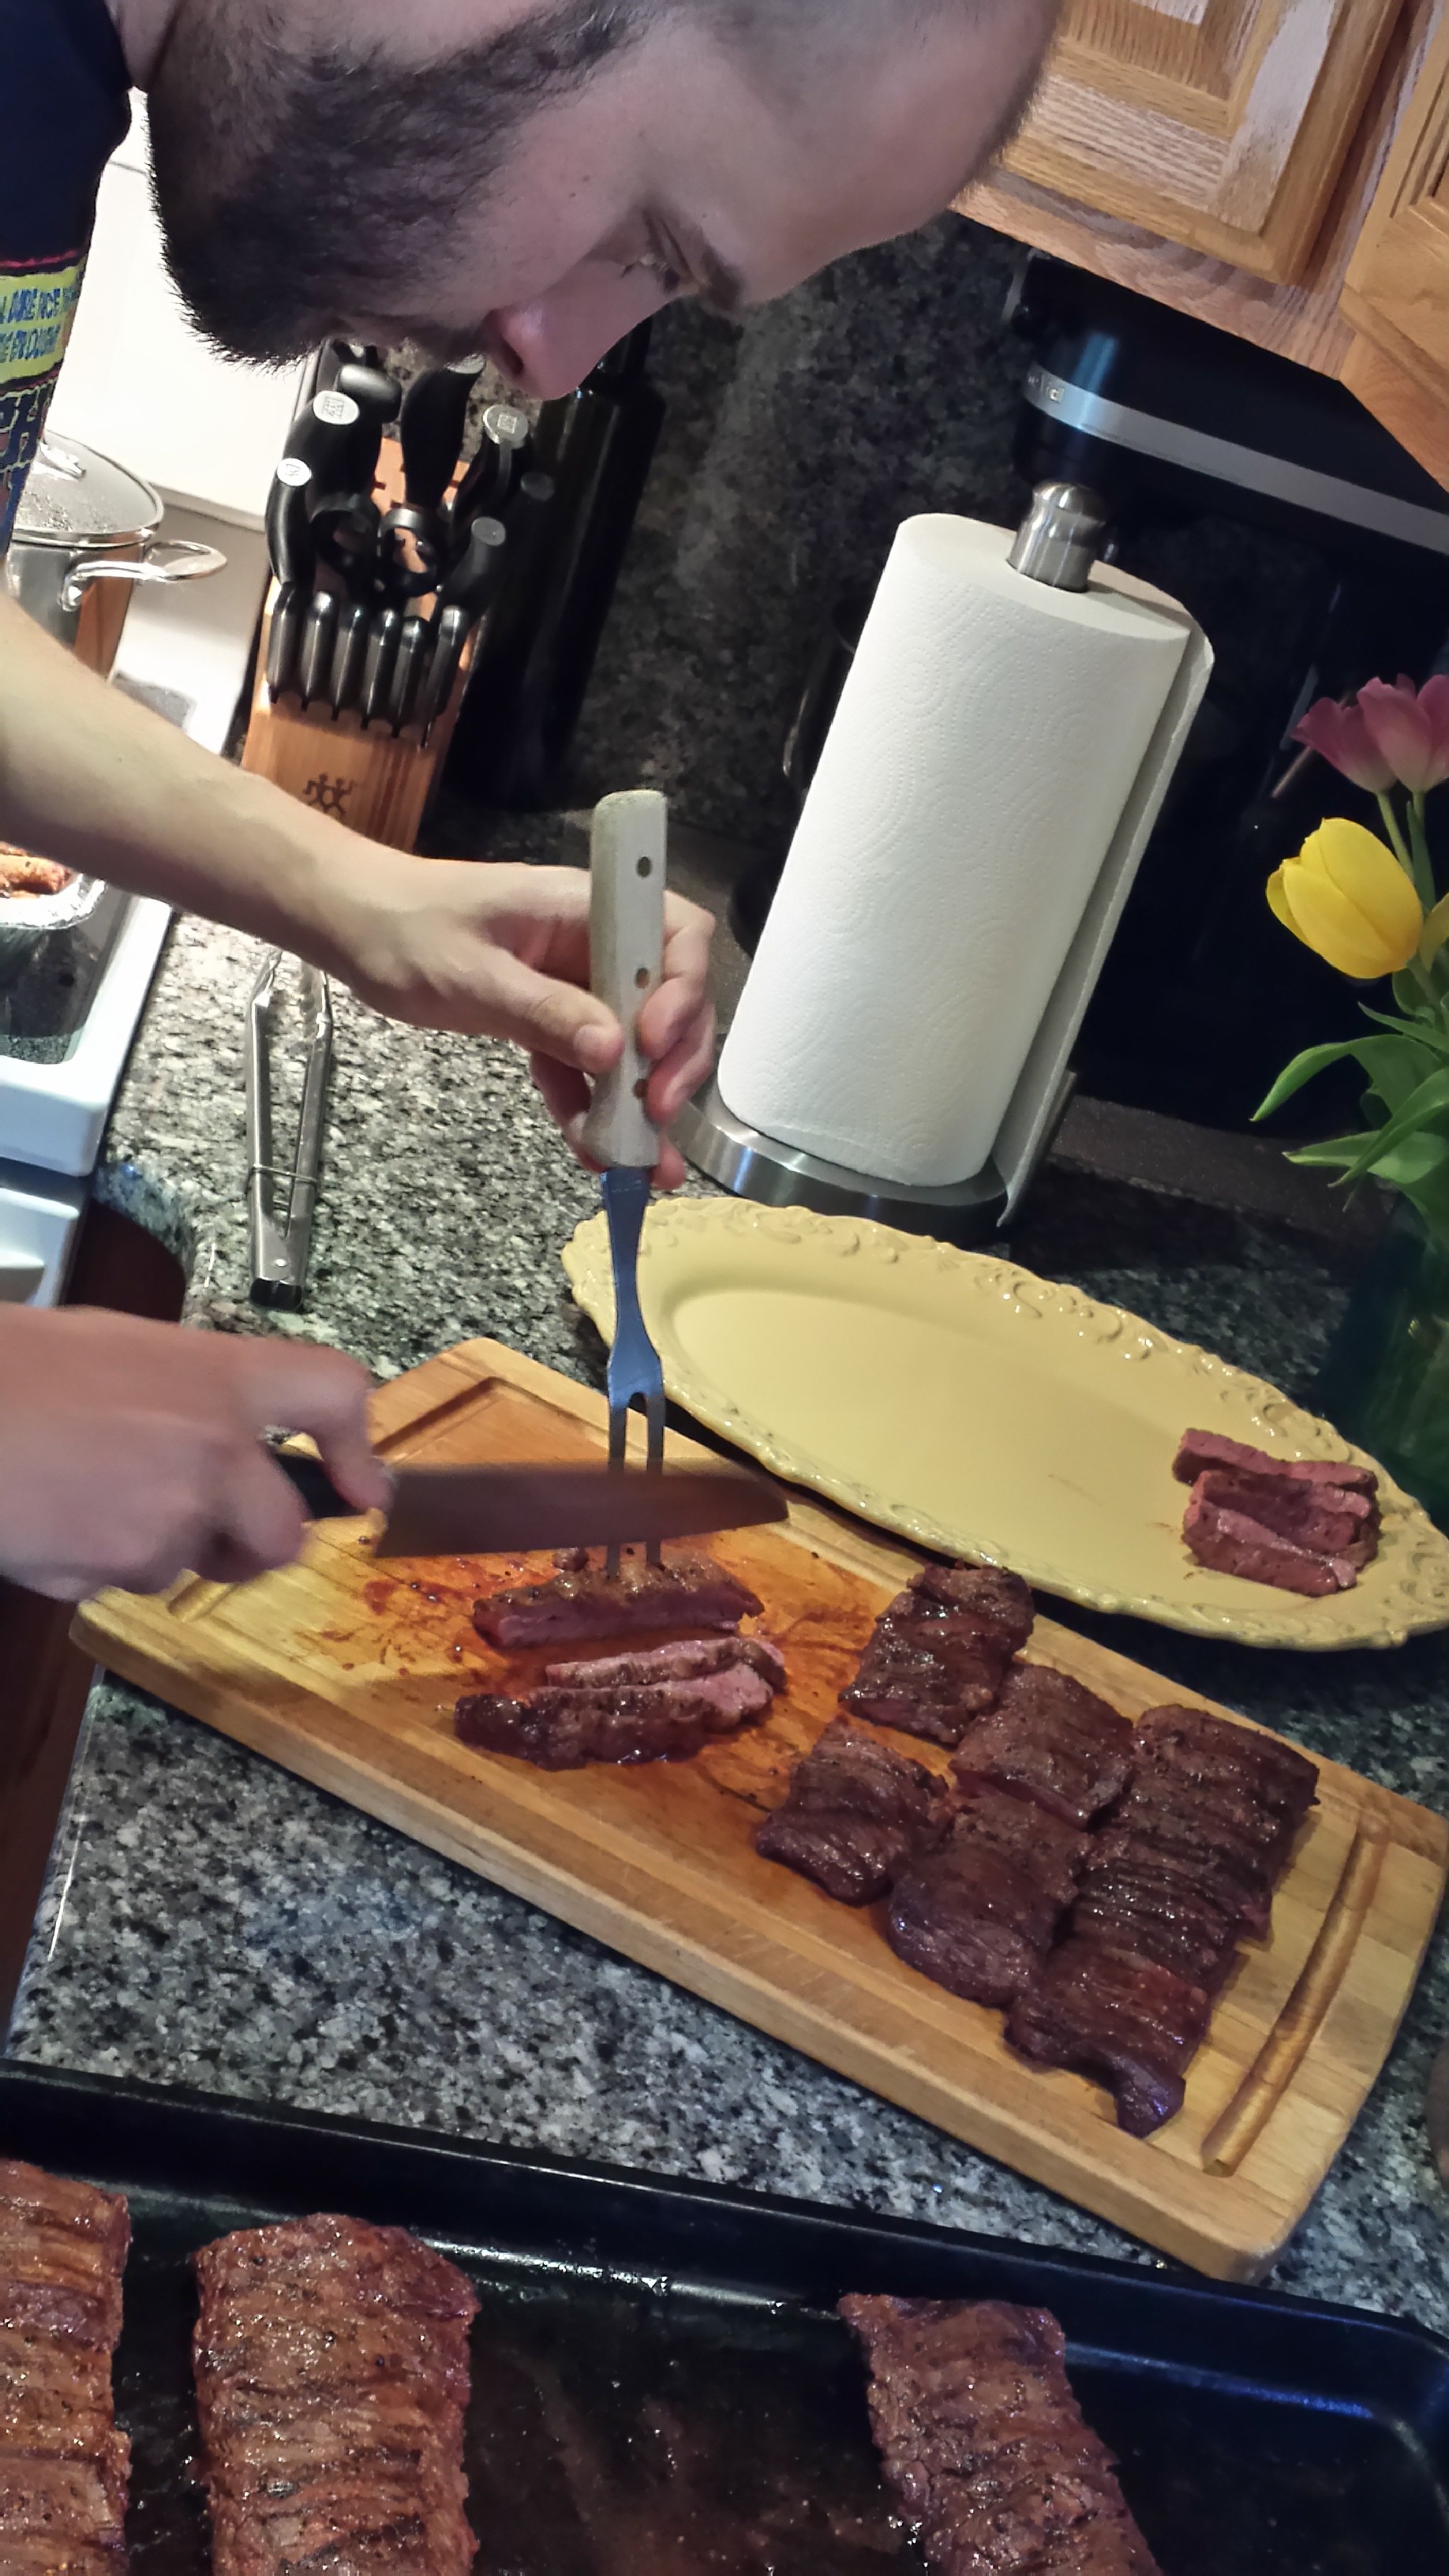
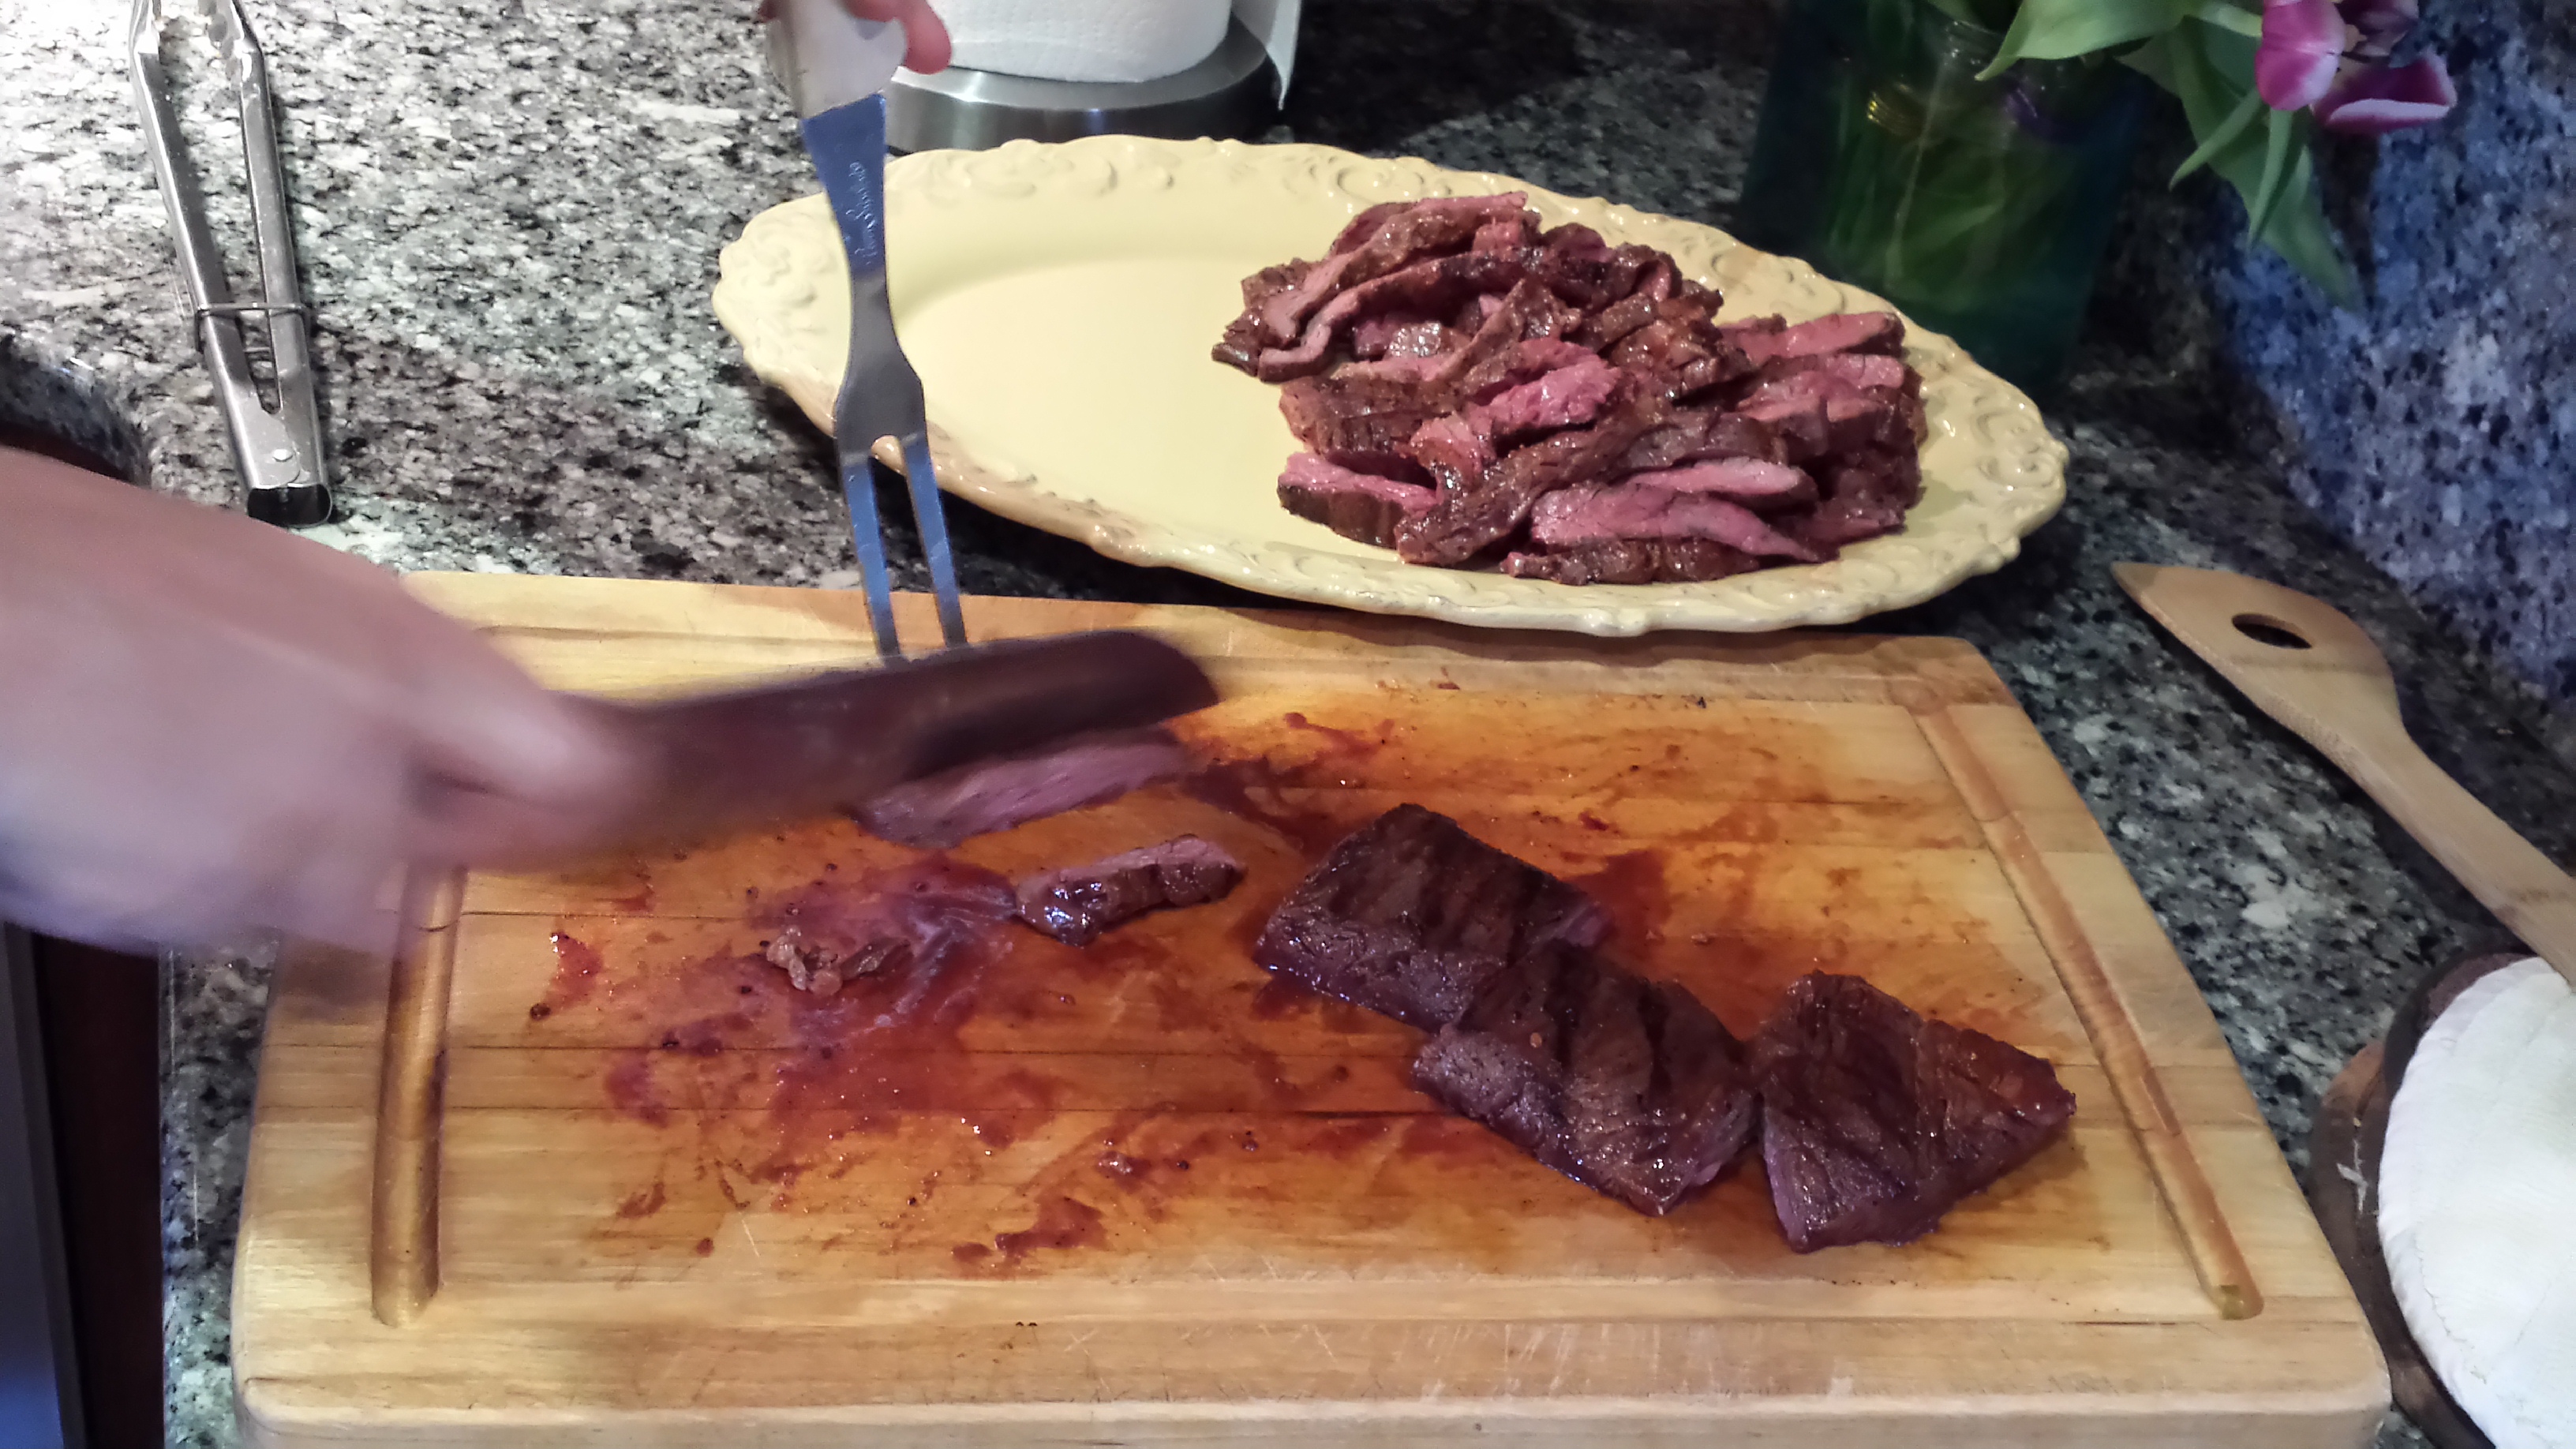
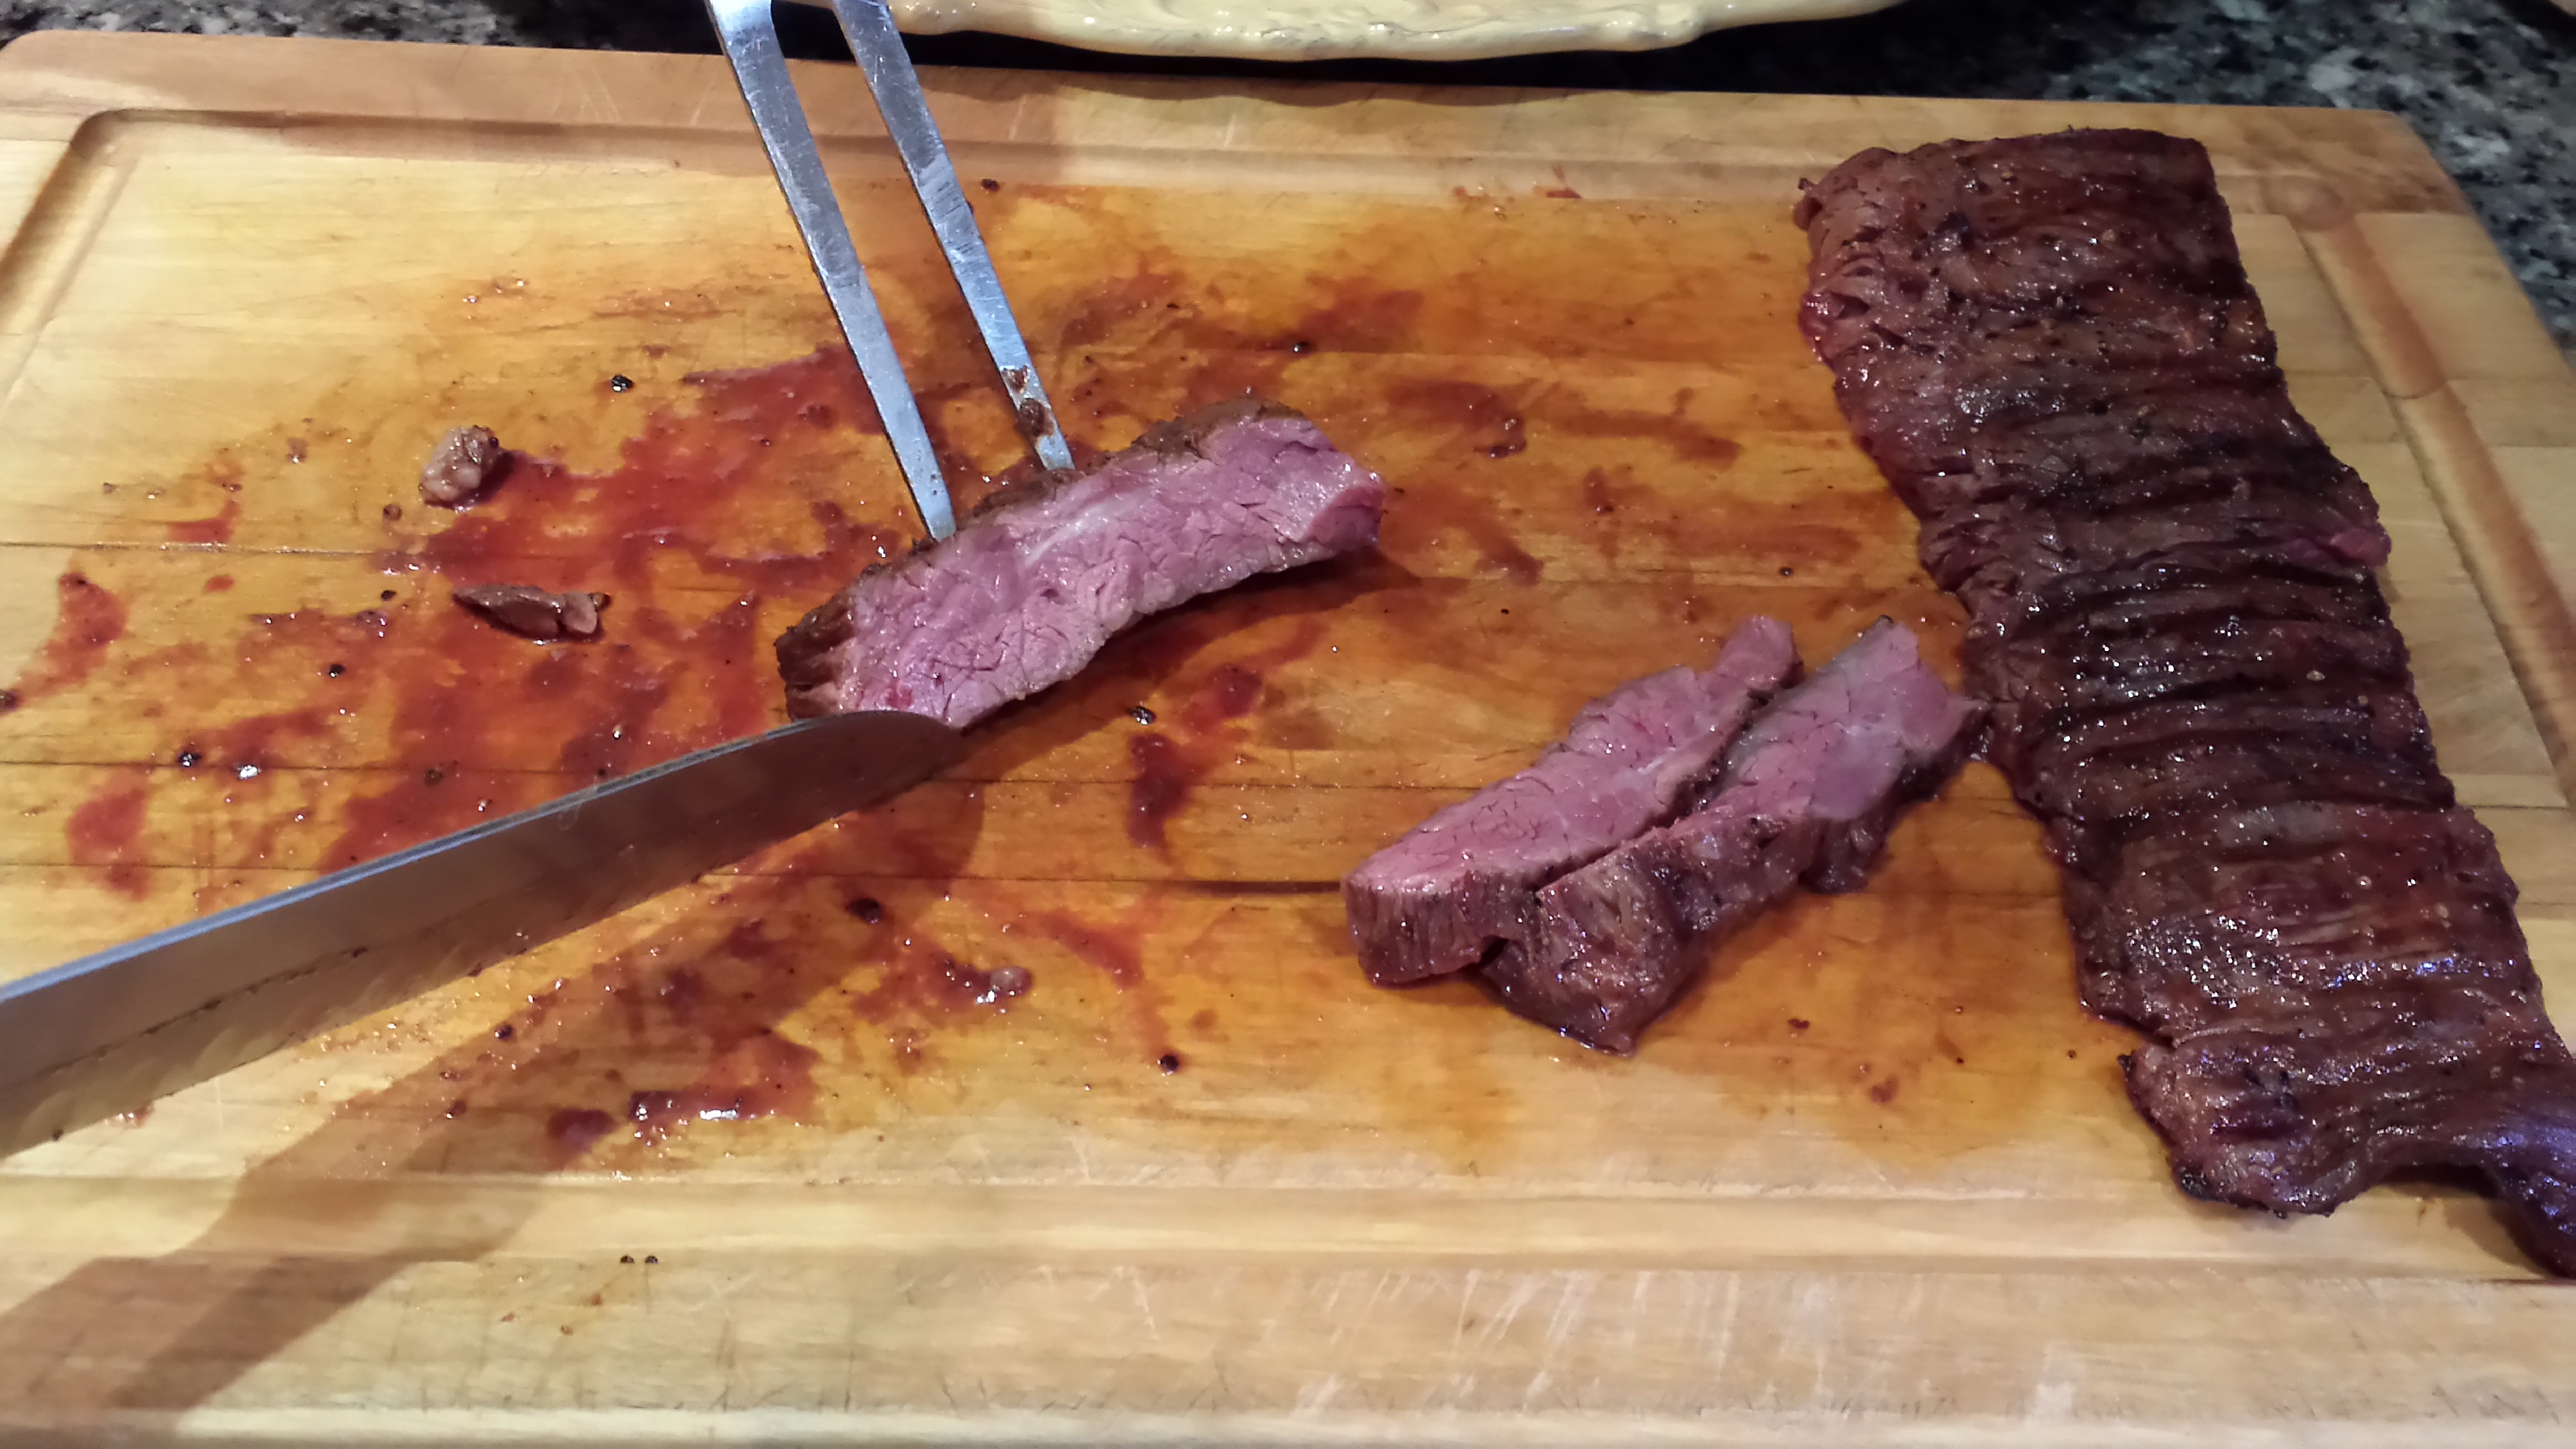
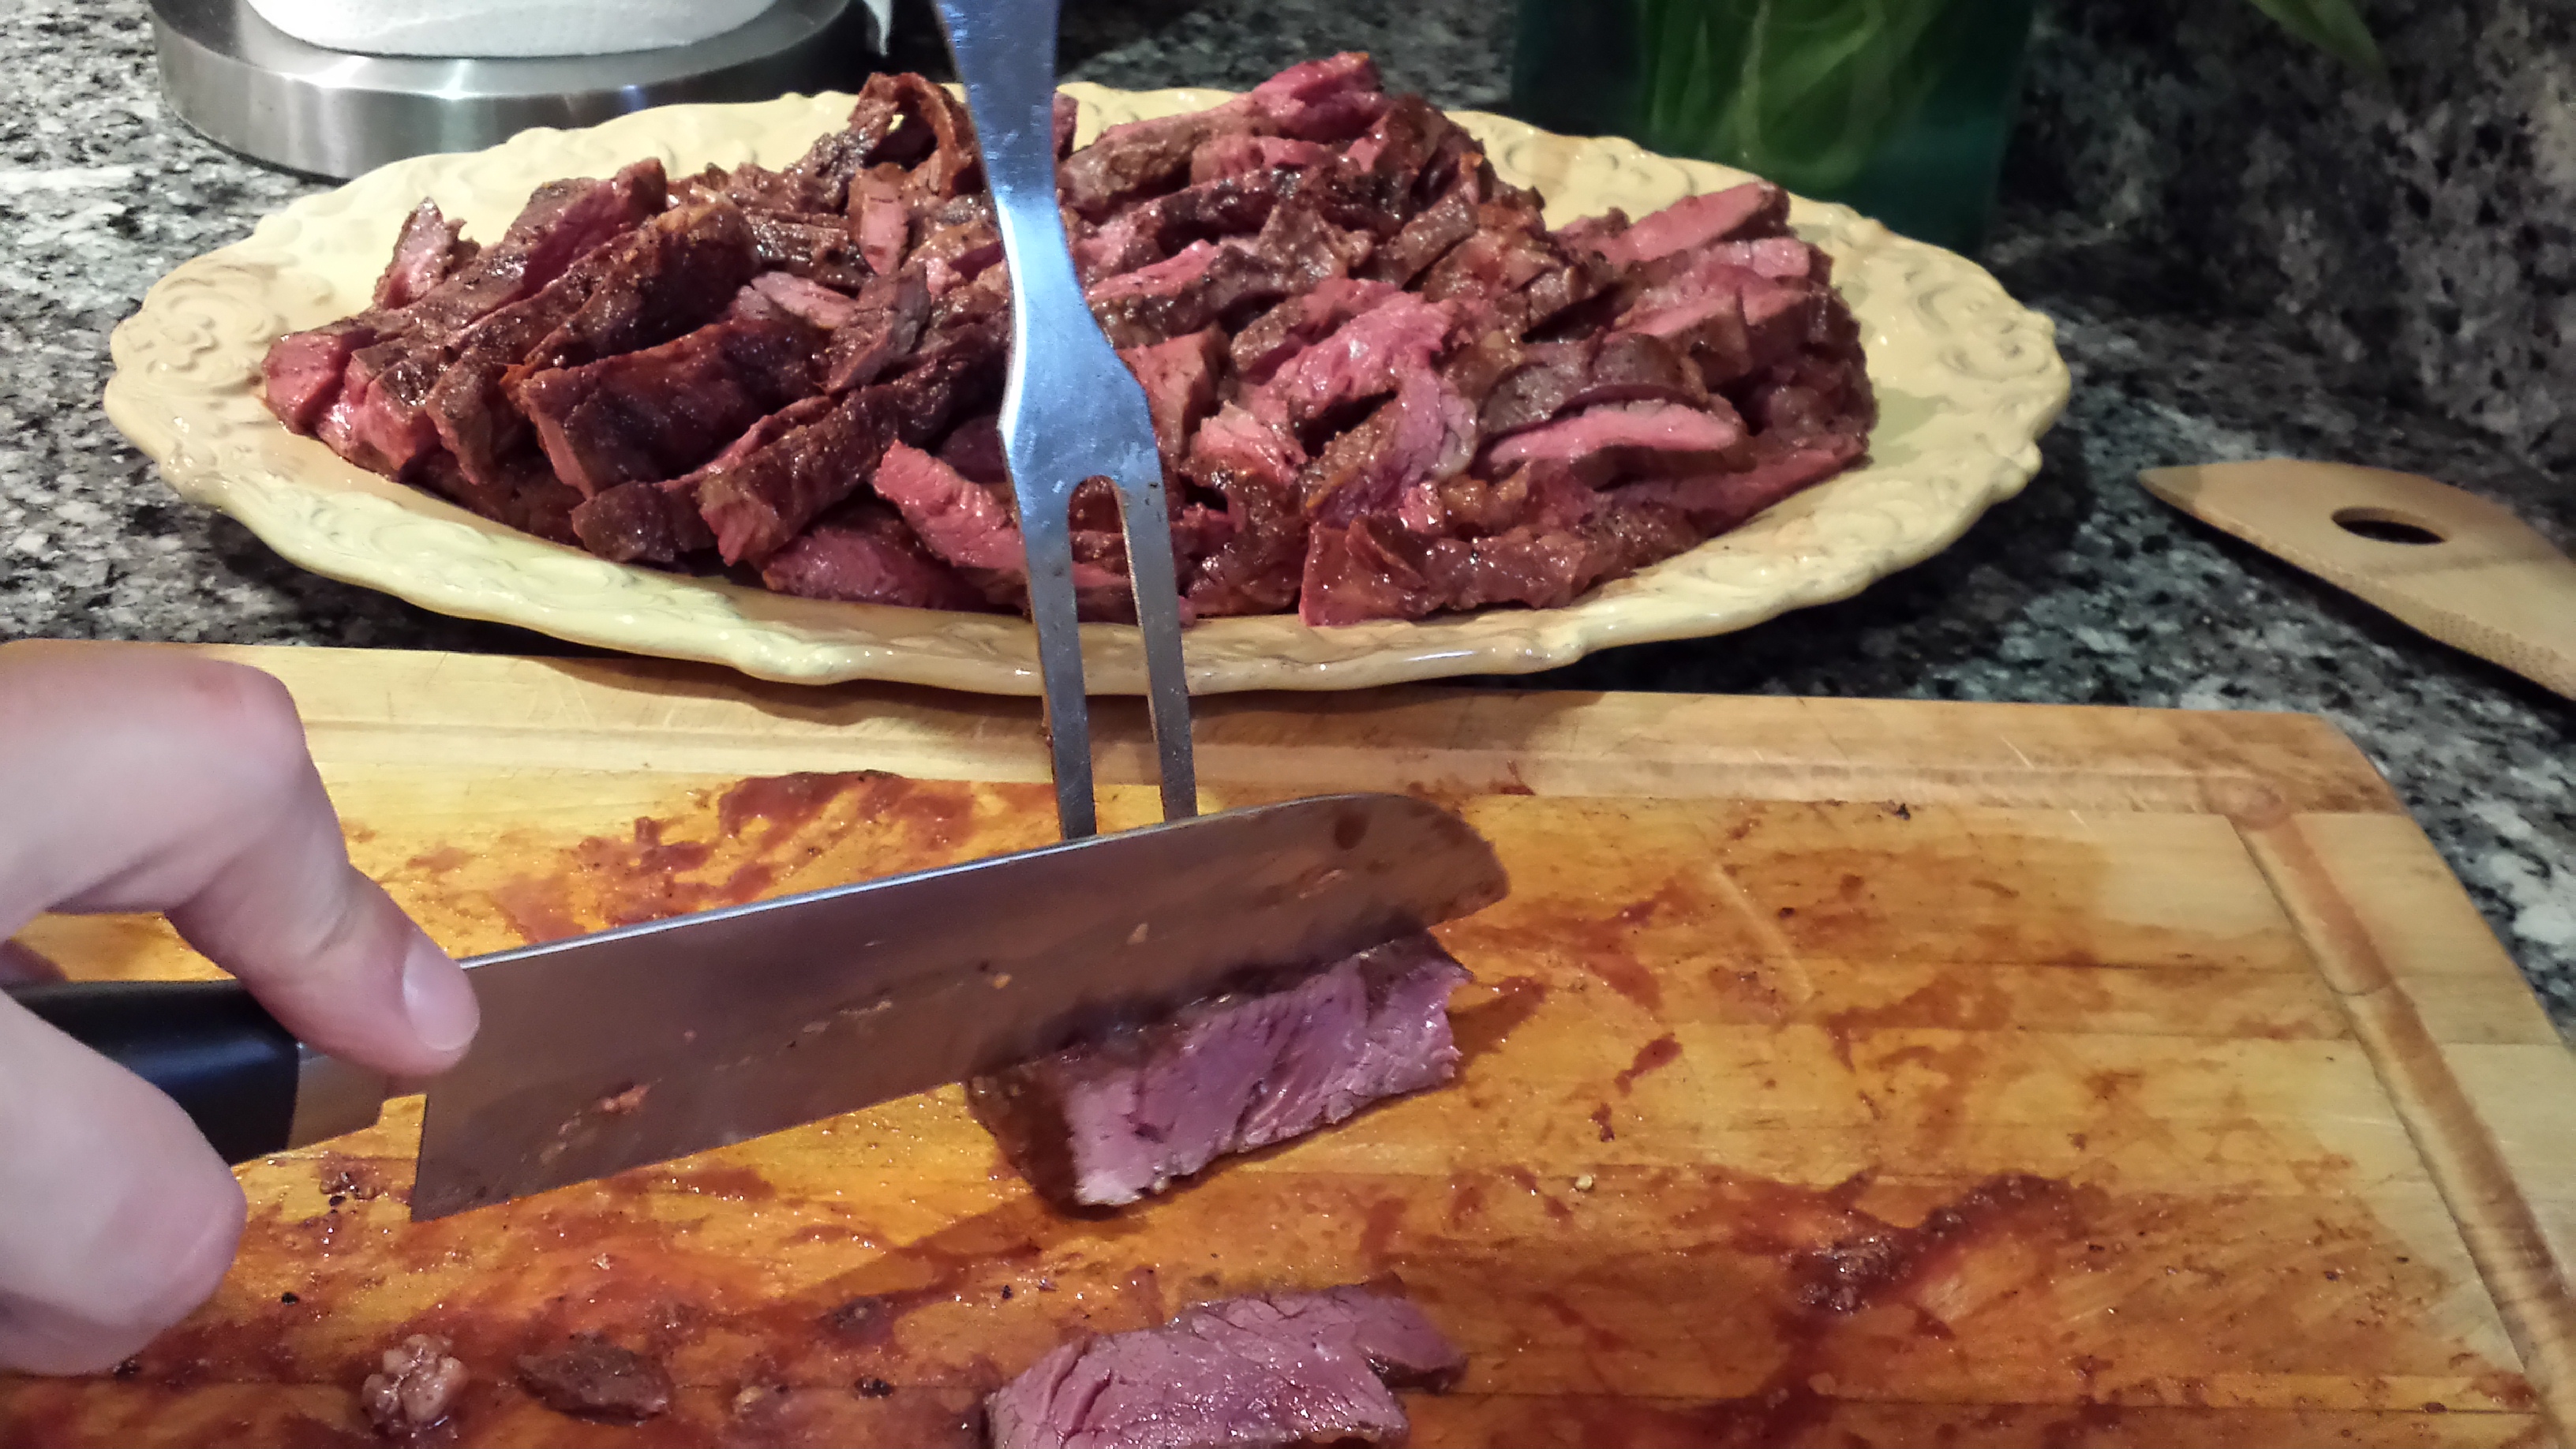
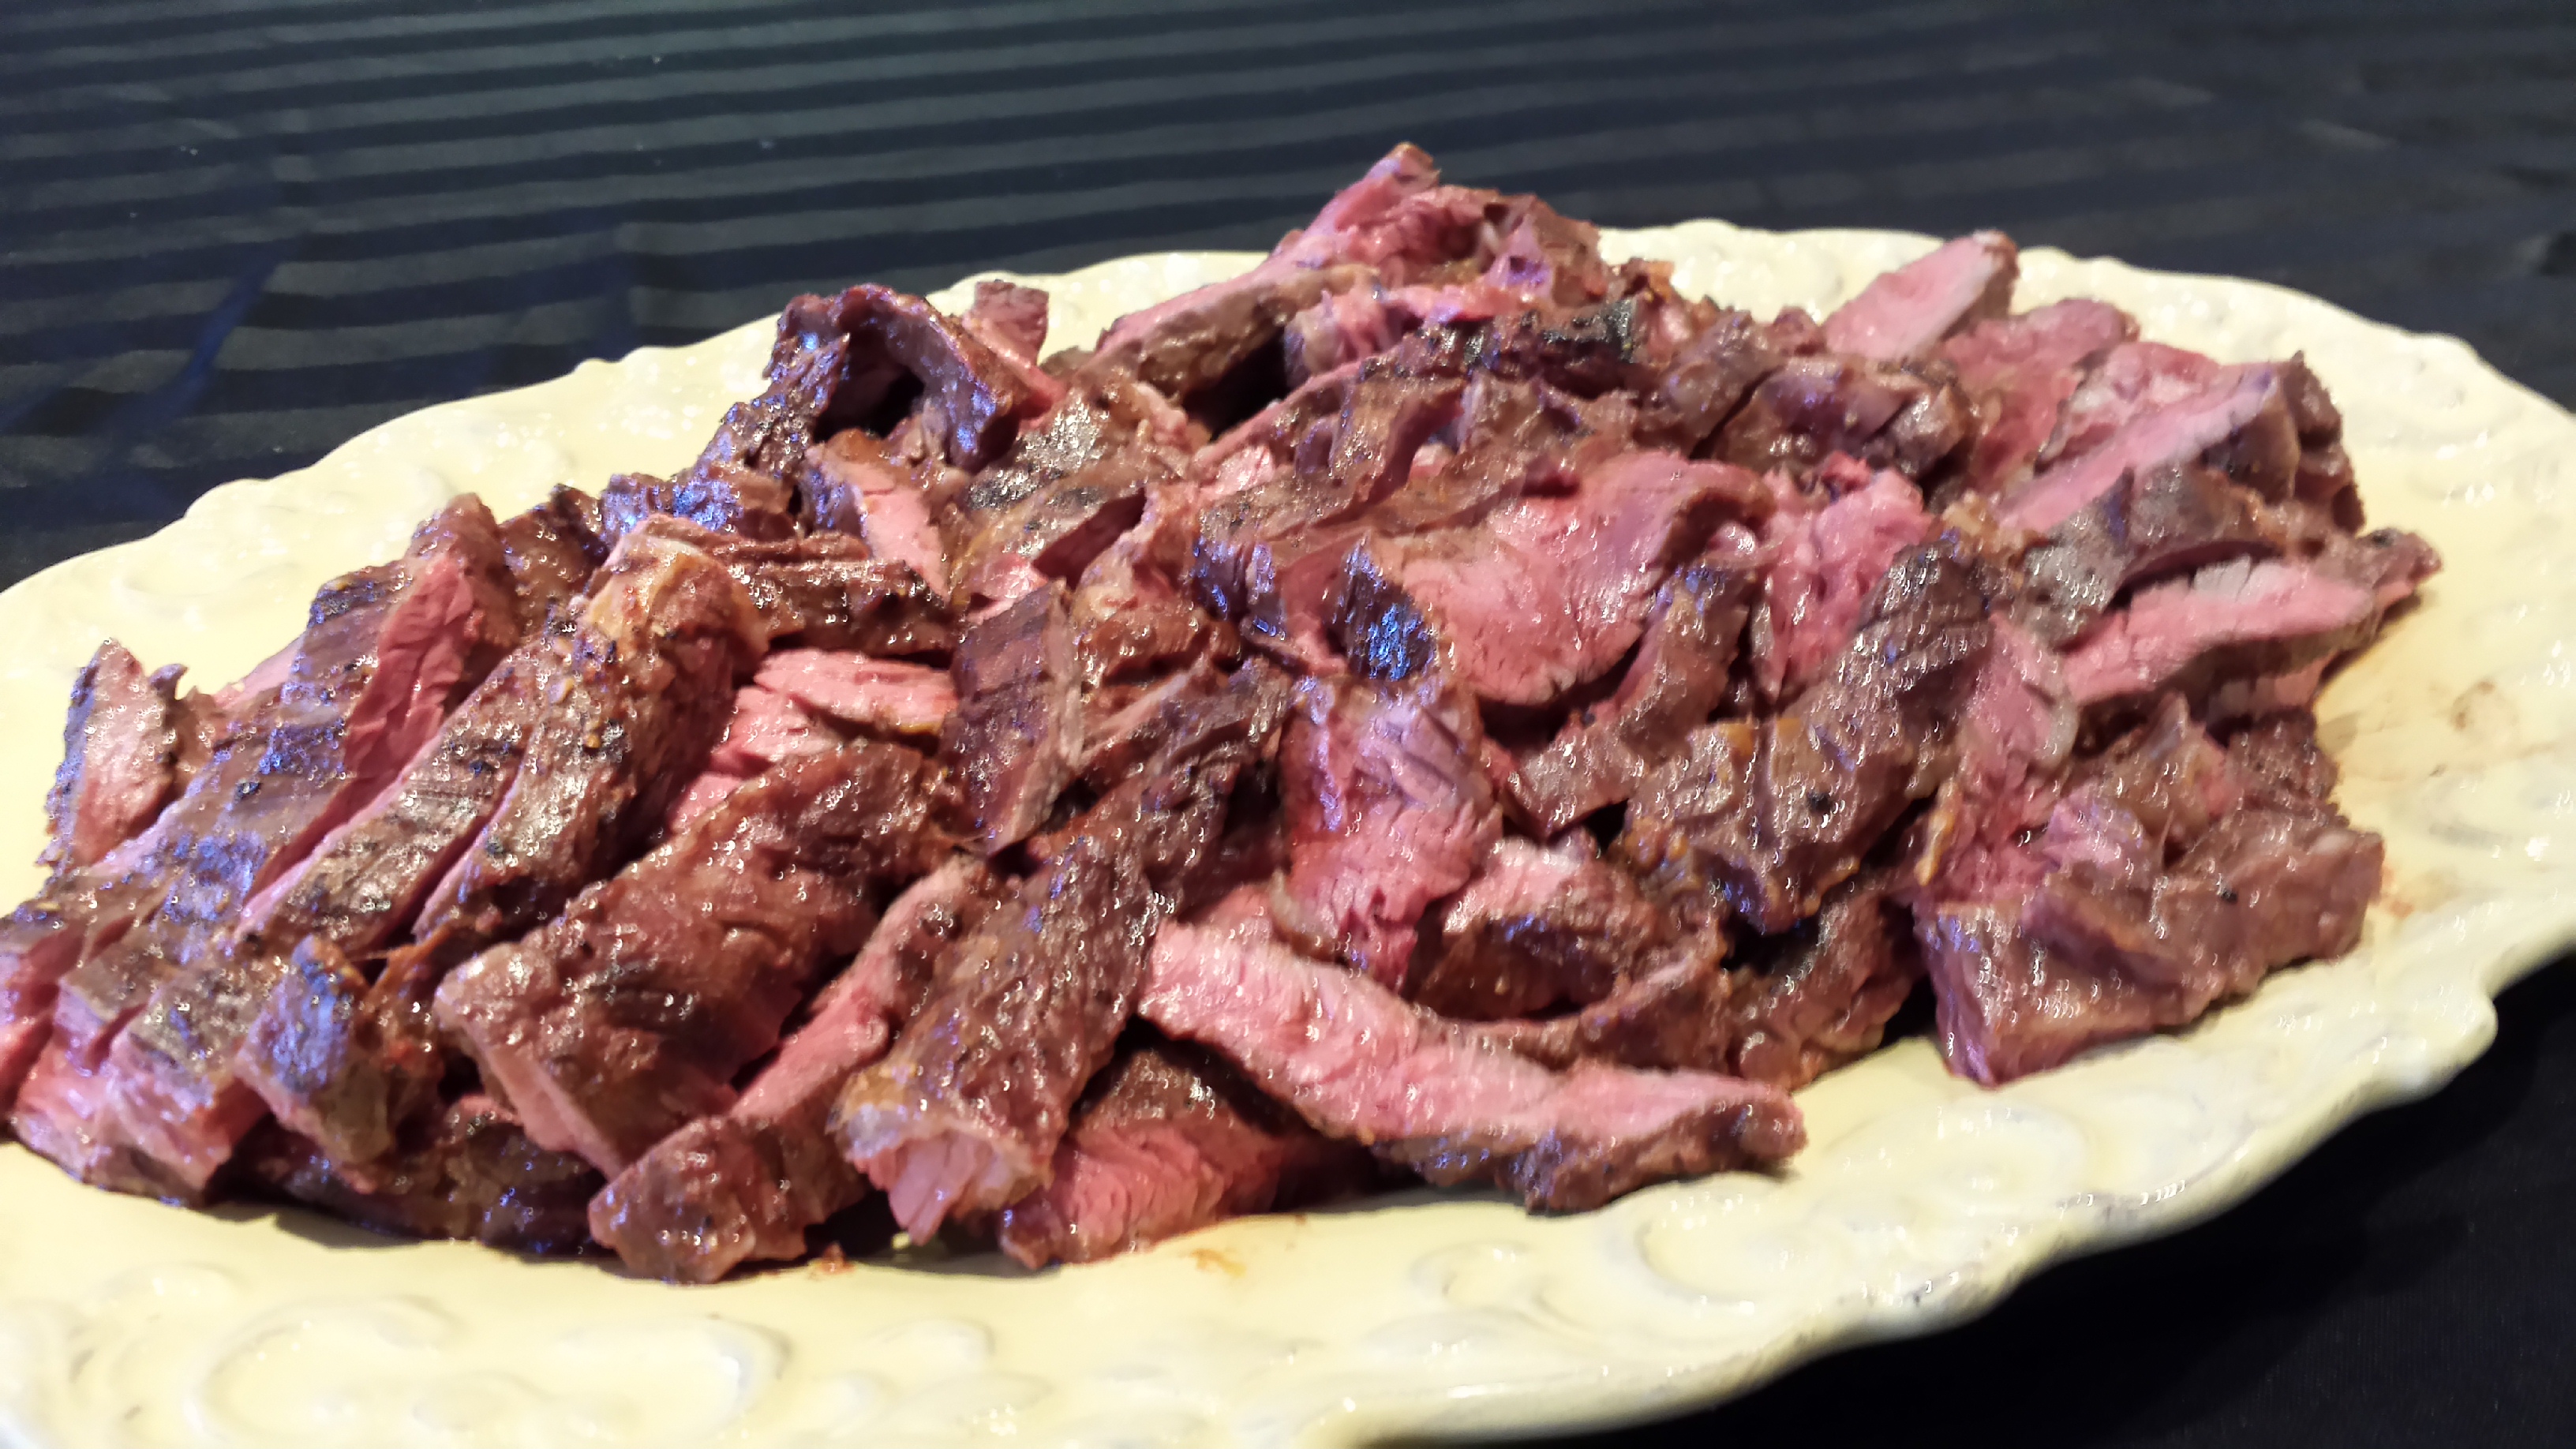
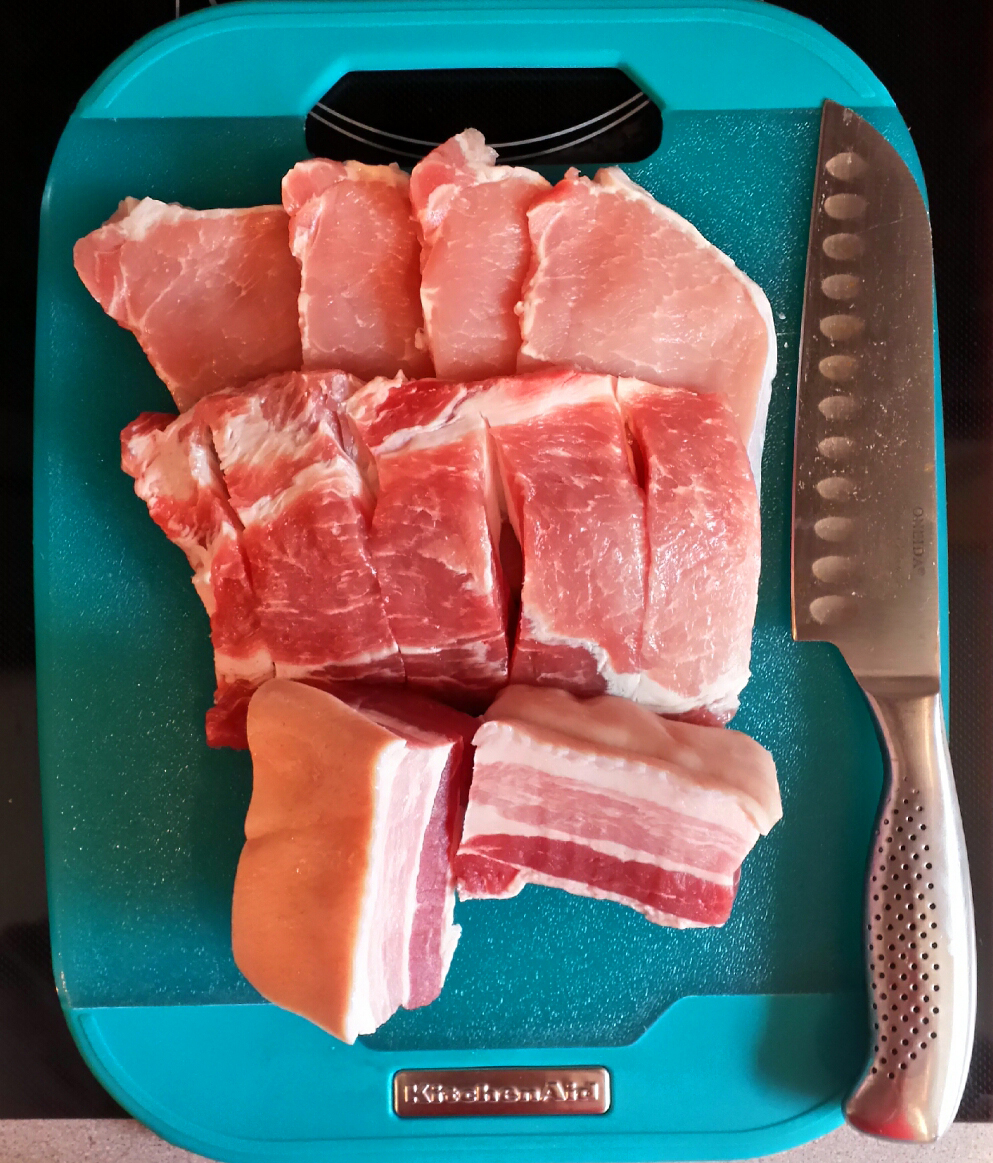
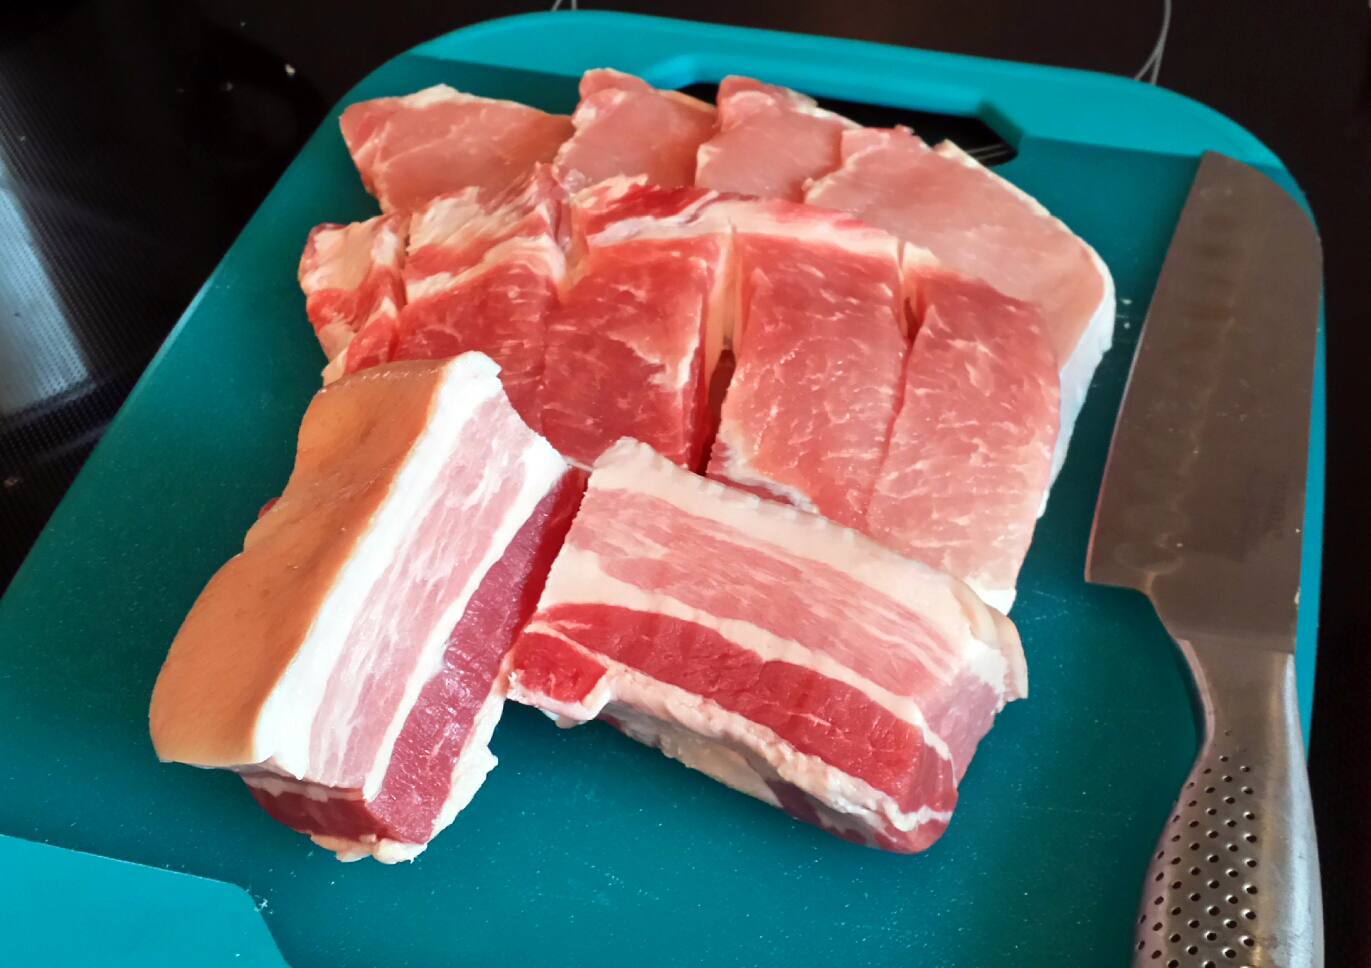
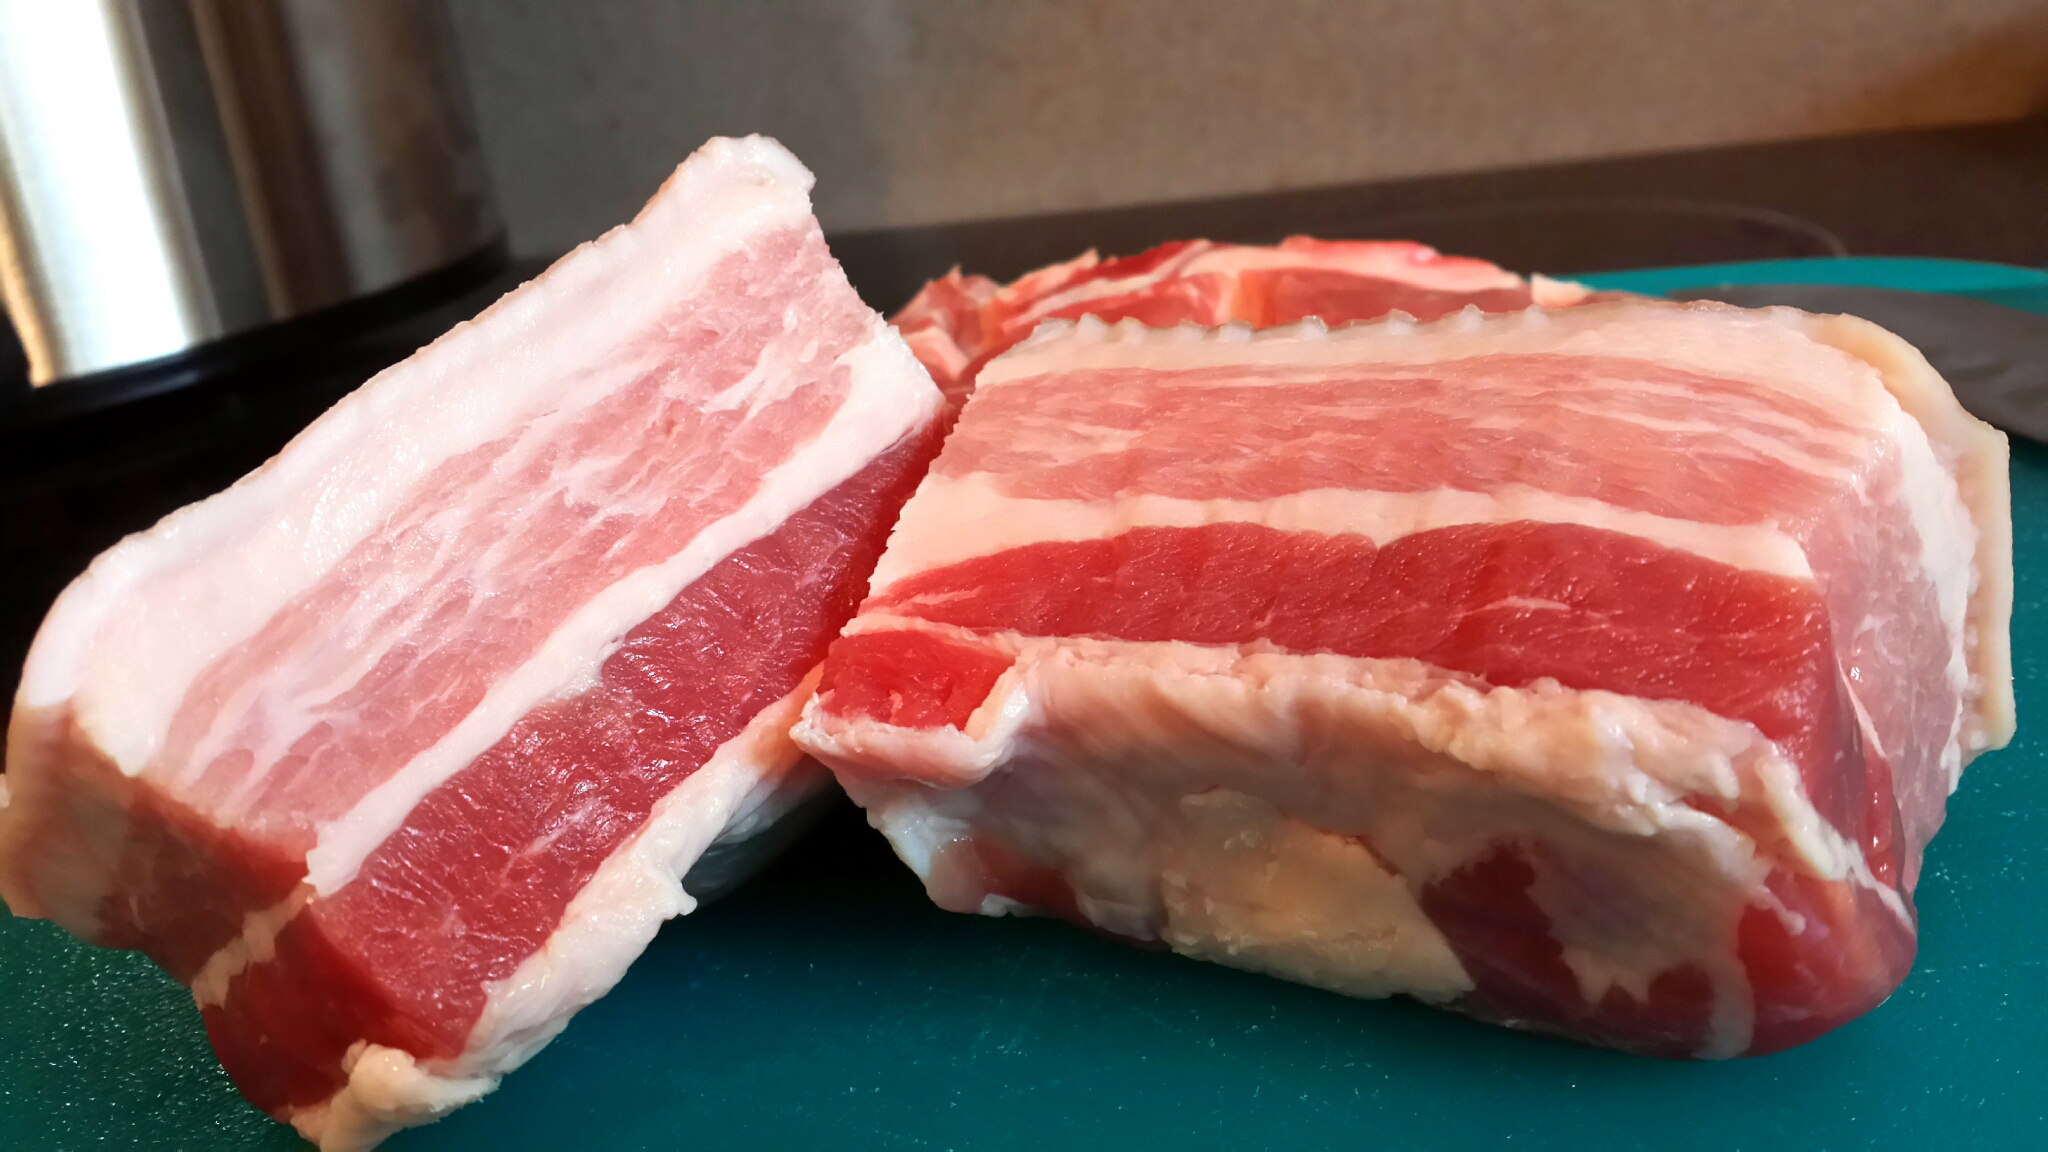
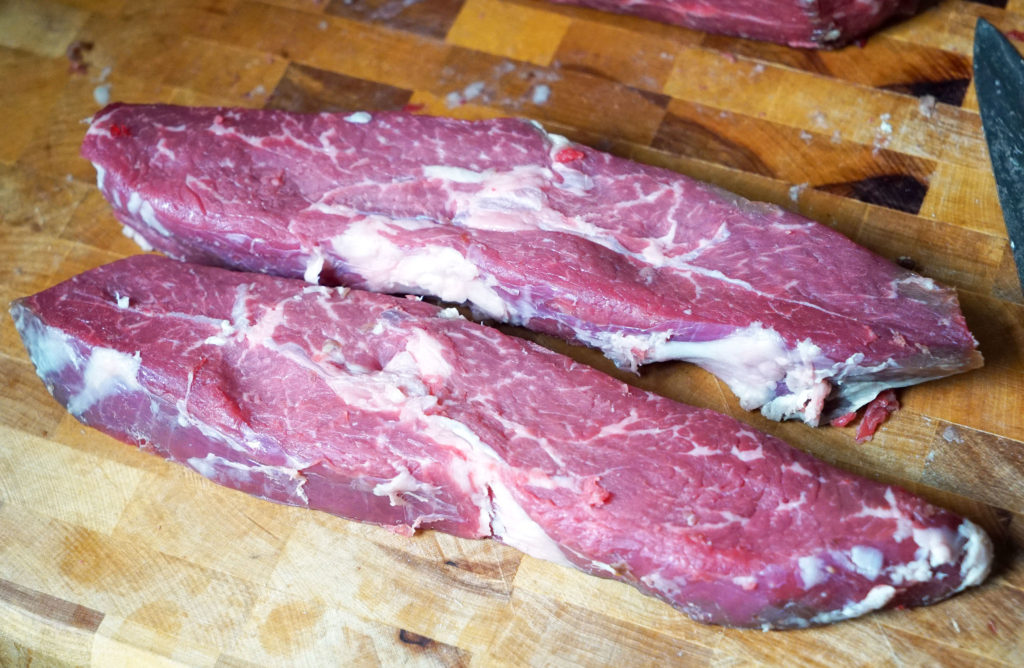
As you can see, a nice dark bark formed around the outside. I carved that off and portioned the meat into two top sirloin cap filets (aka Culotte), and two top sirloin steaks.

DSC04144

DSC04147

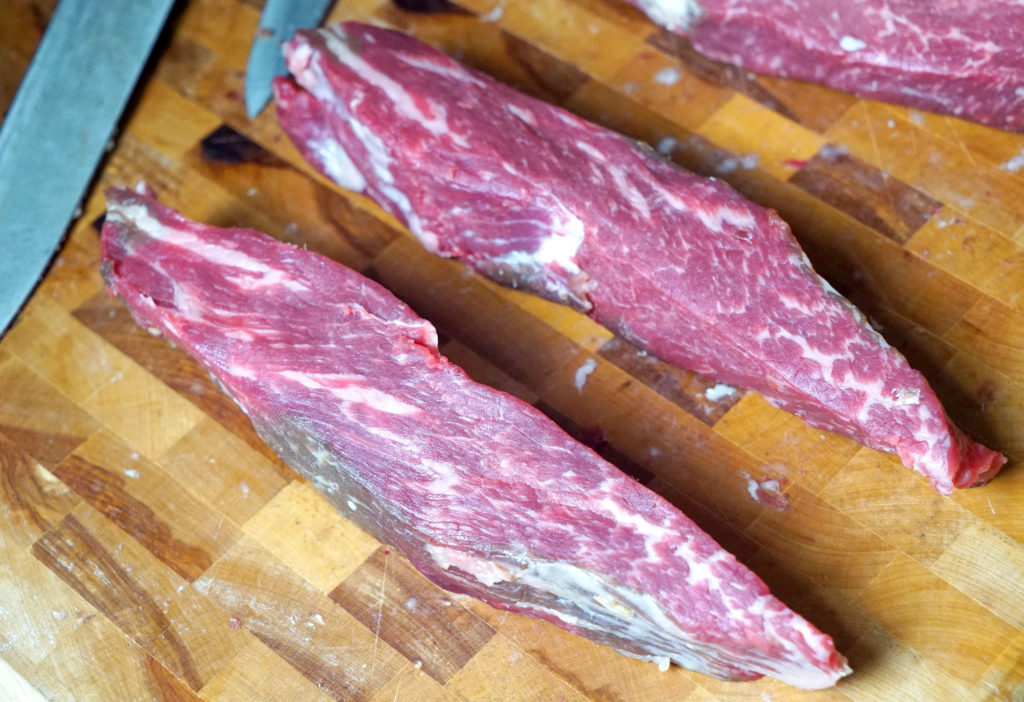
Here’s a time-lapse video of me doing that:

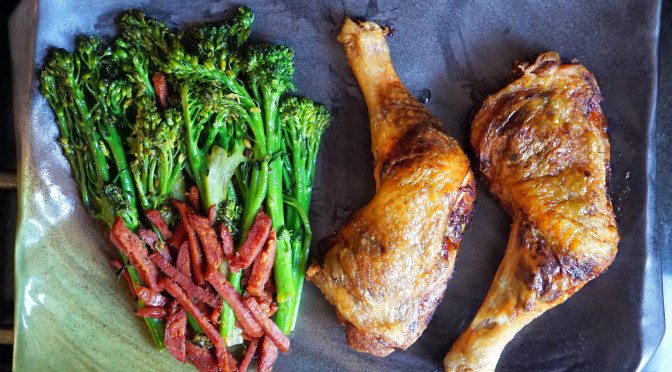
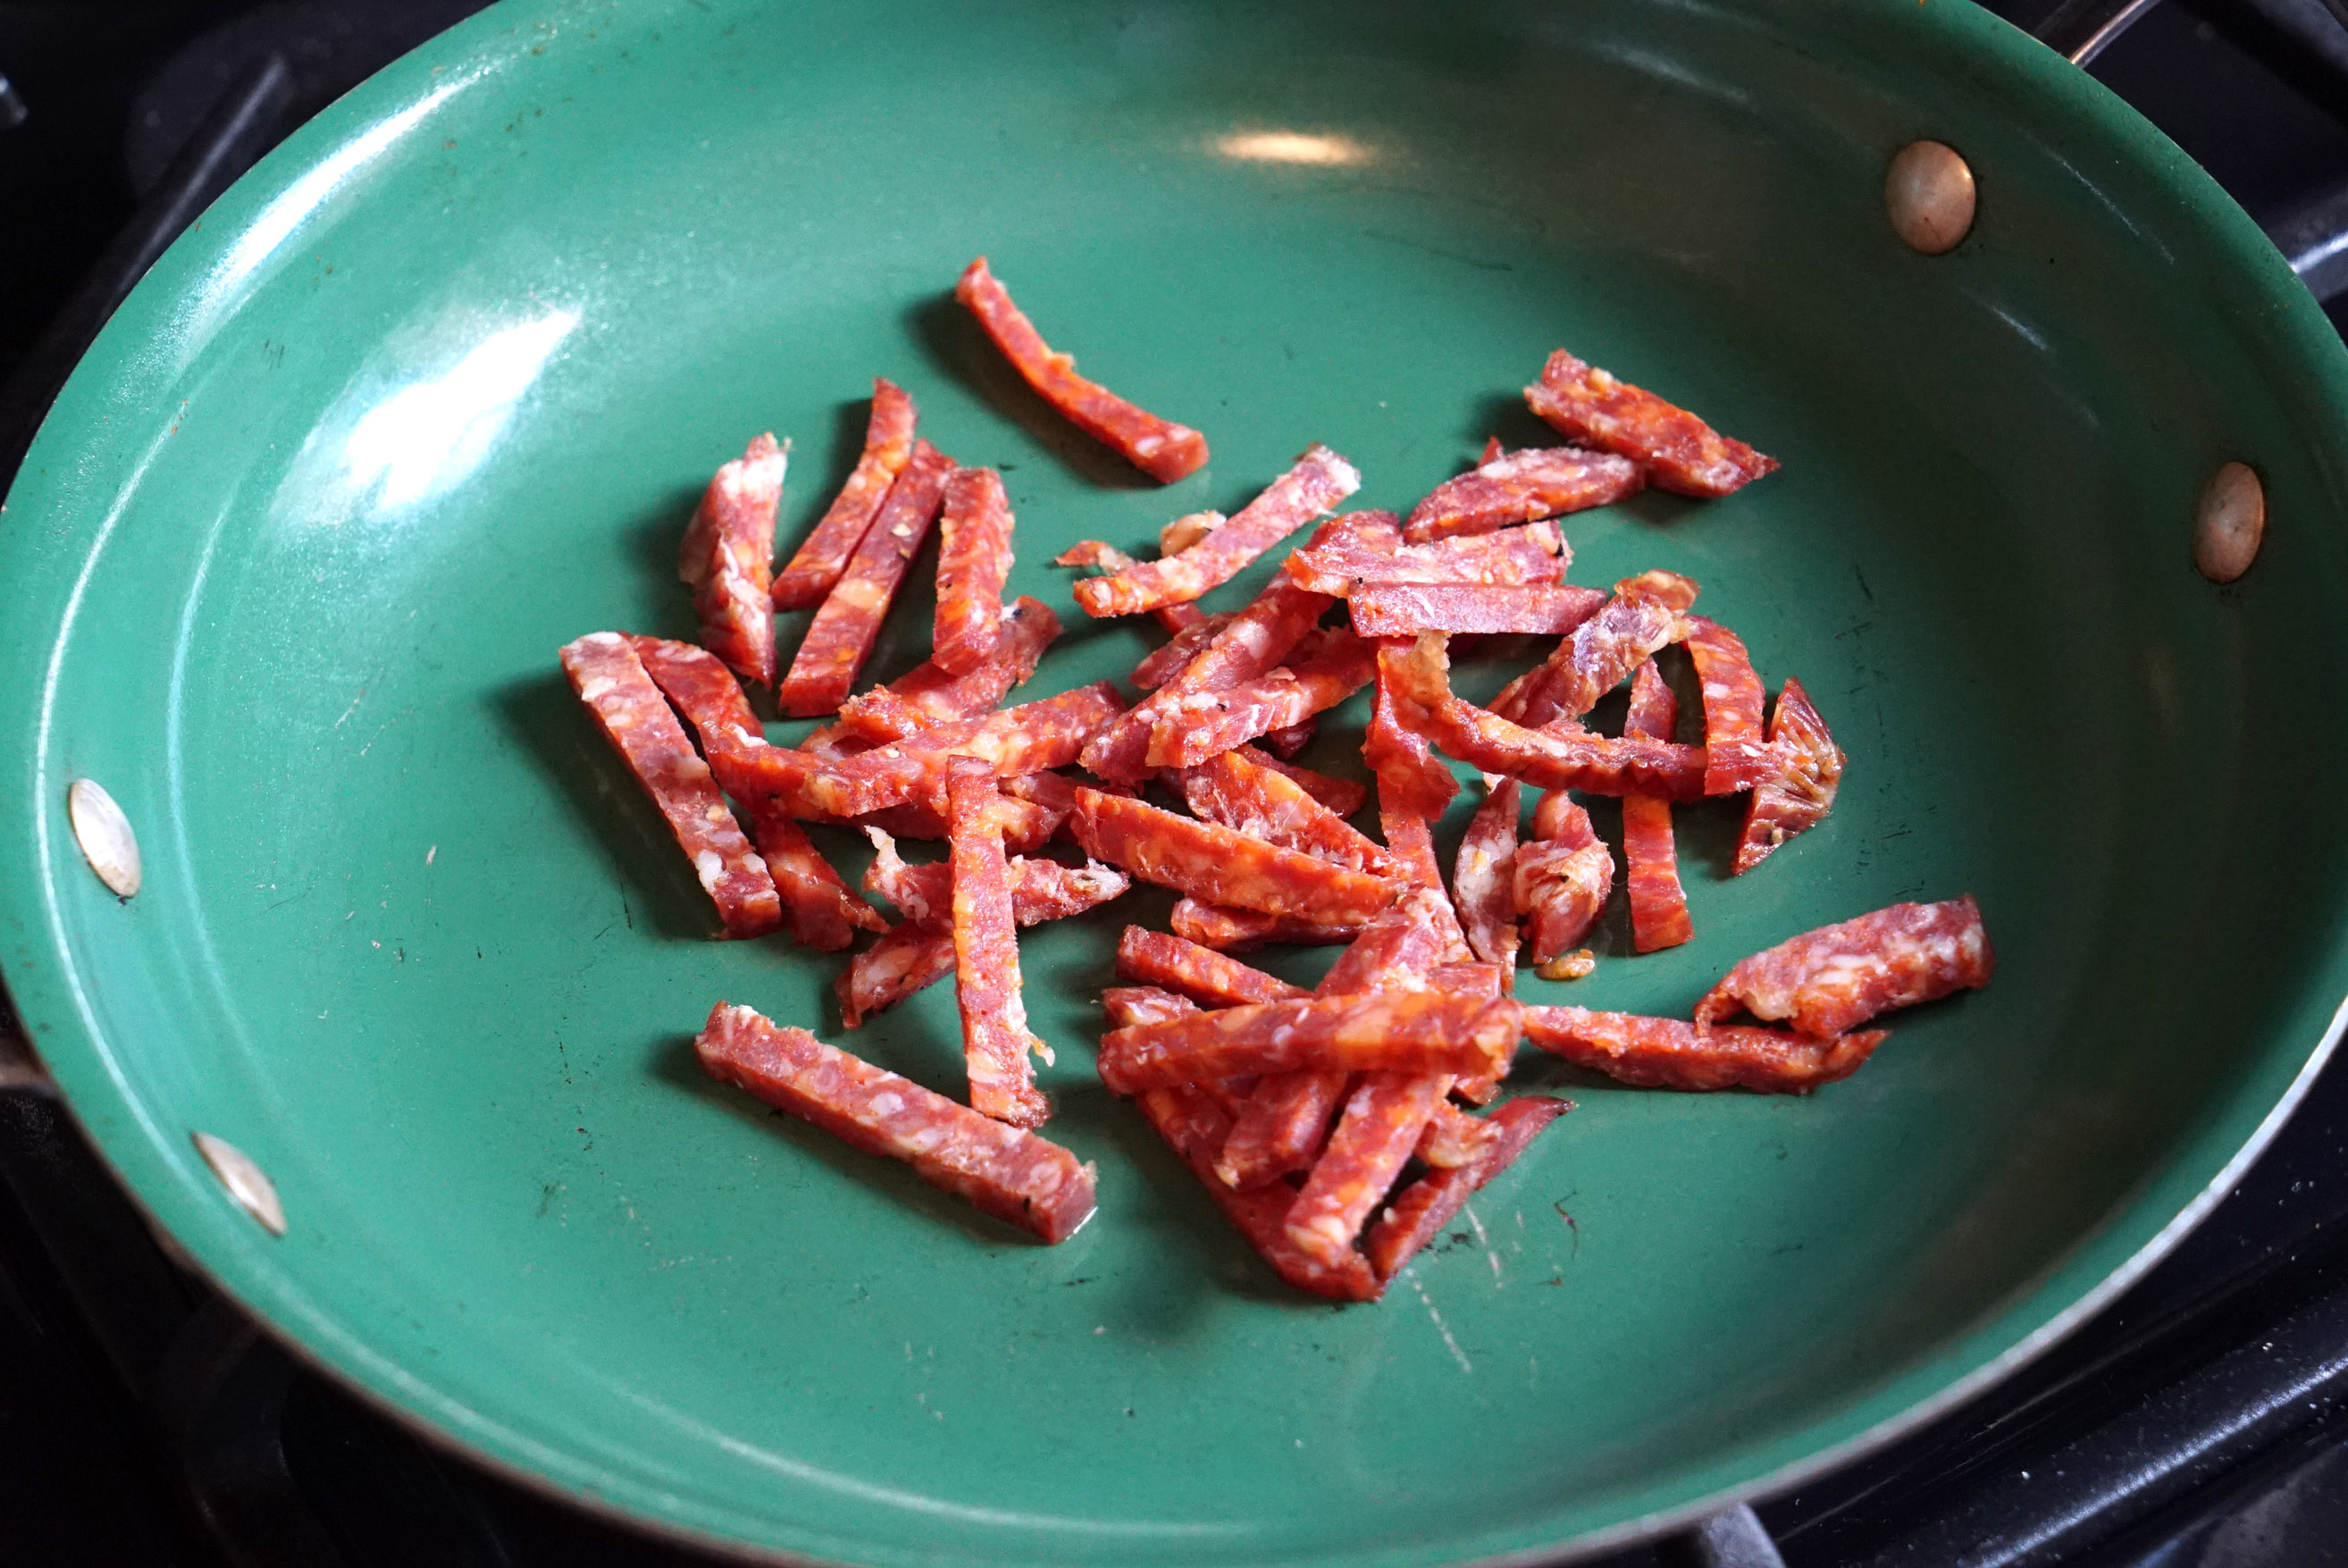
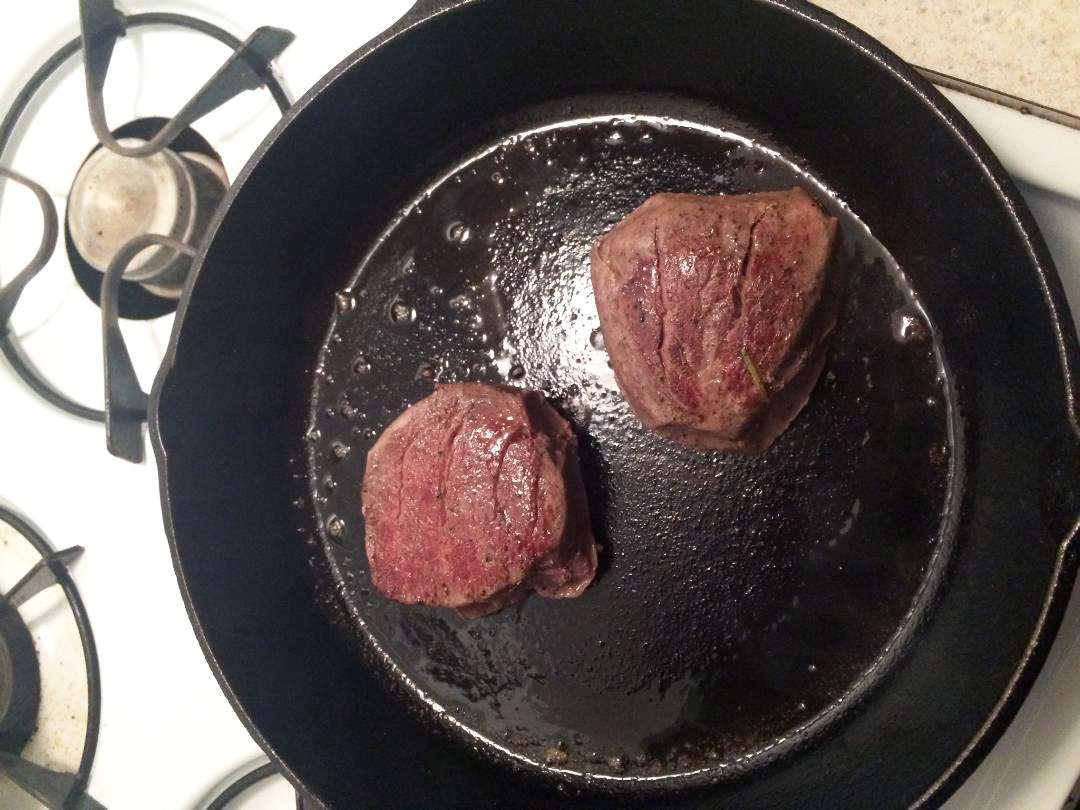
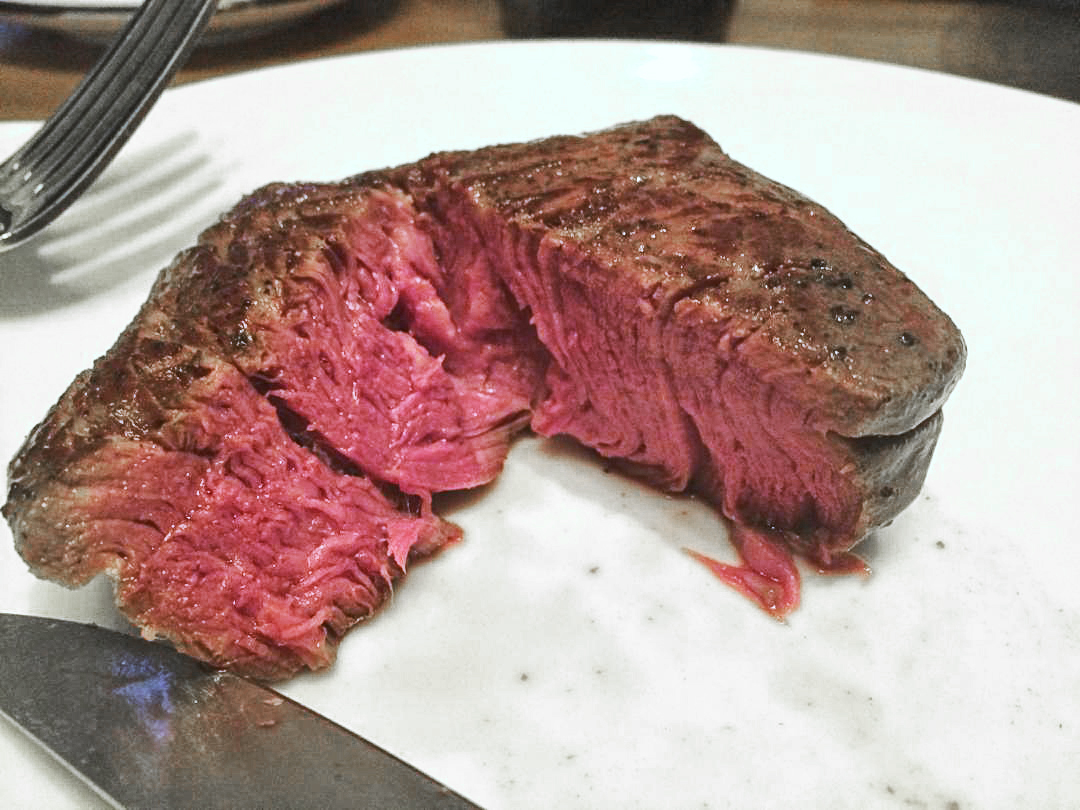
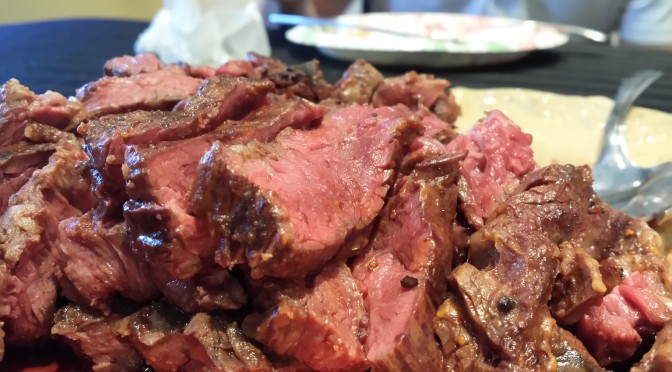
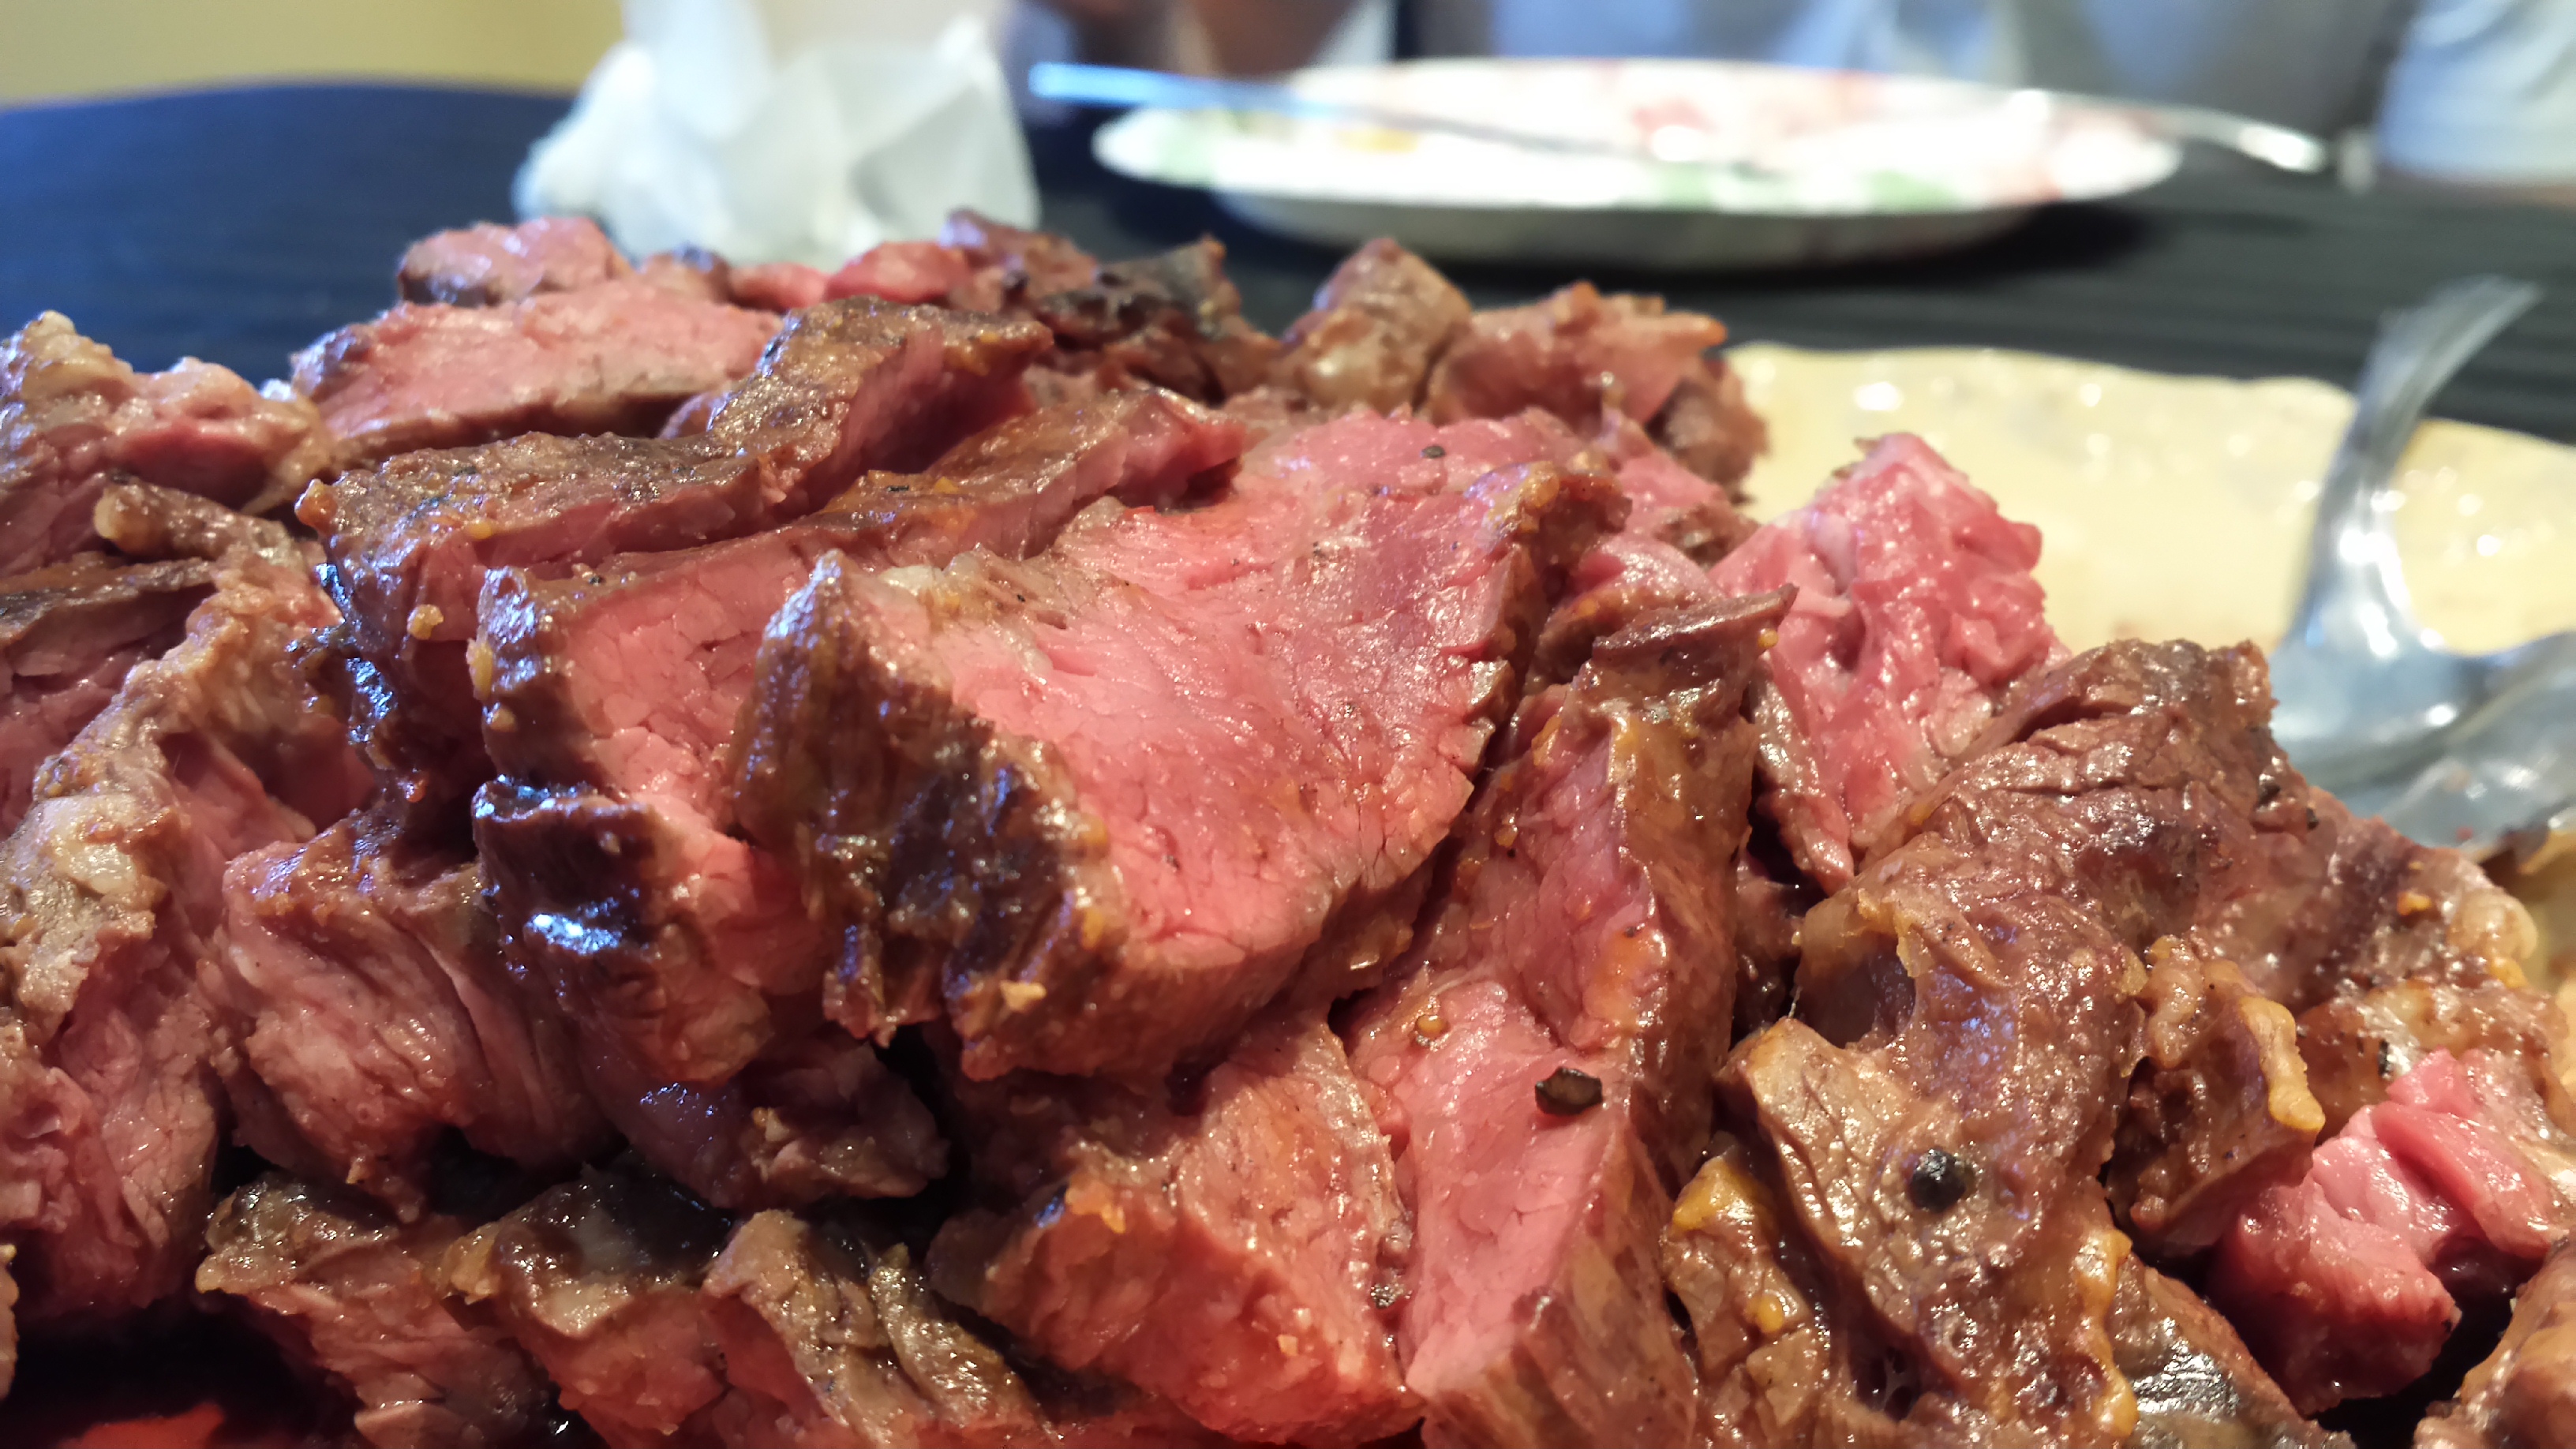
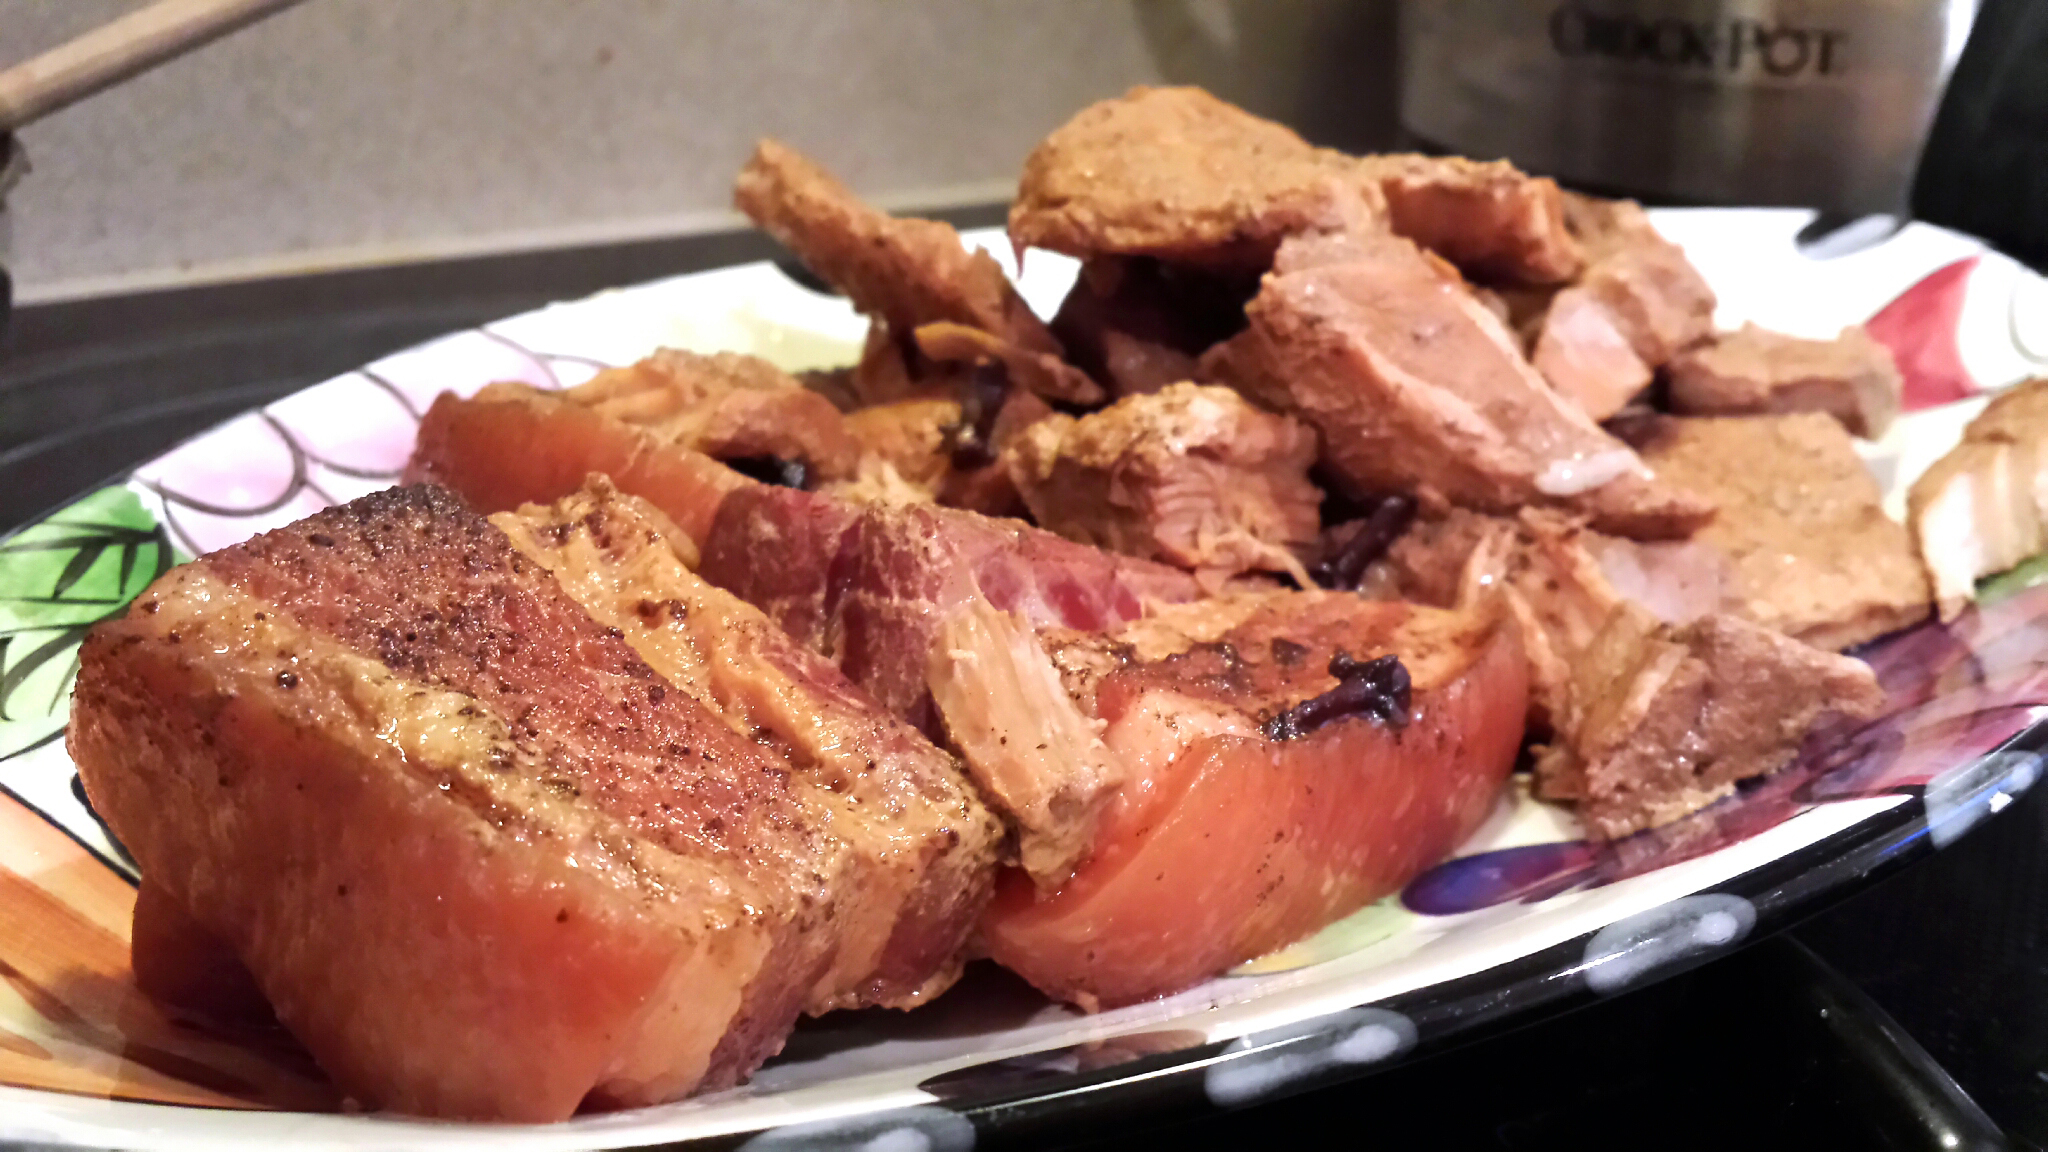
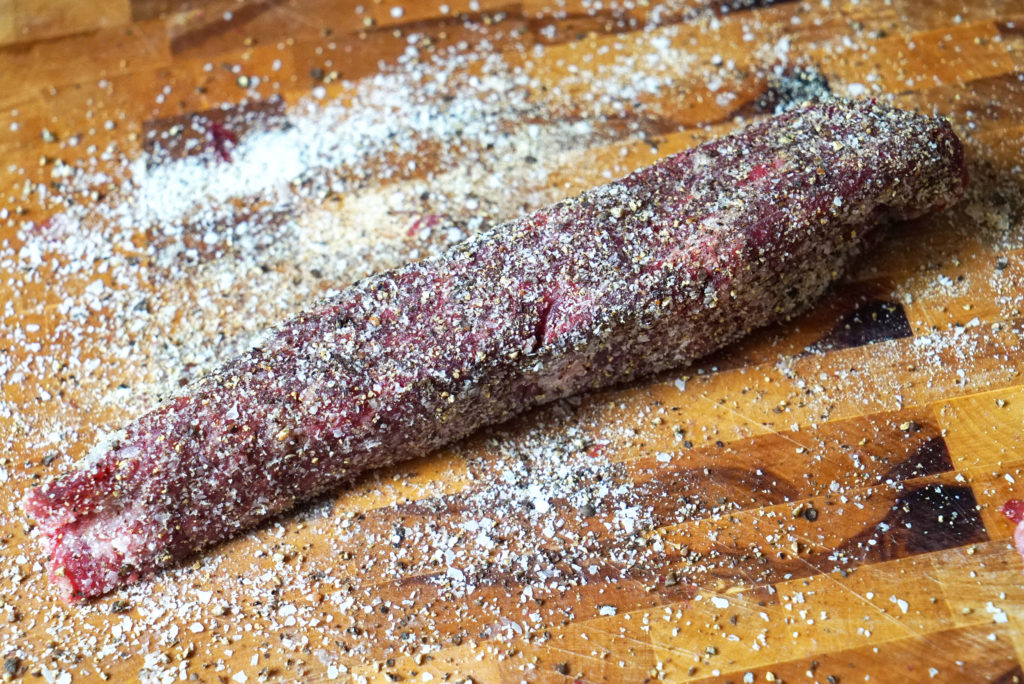
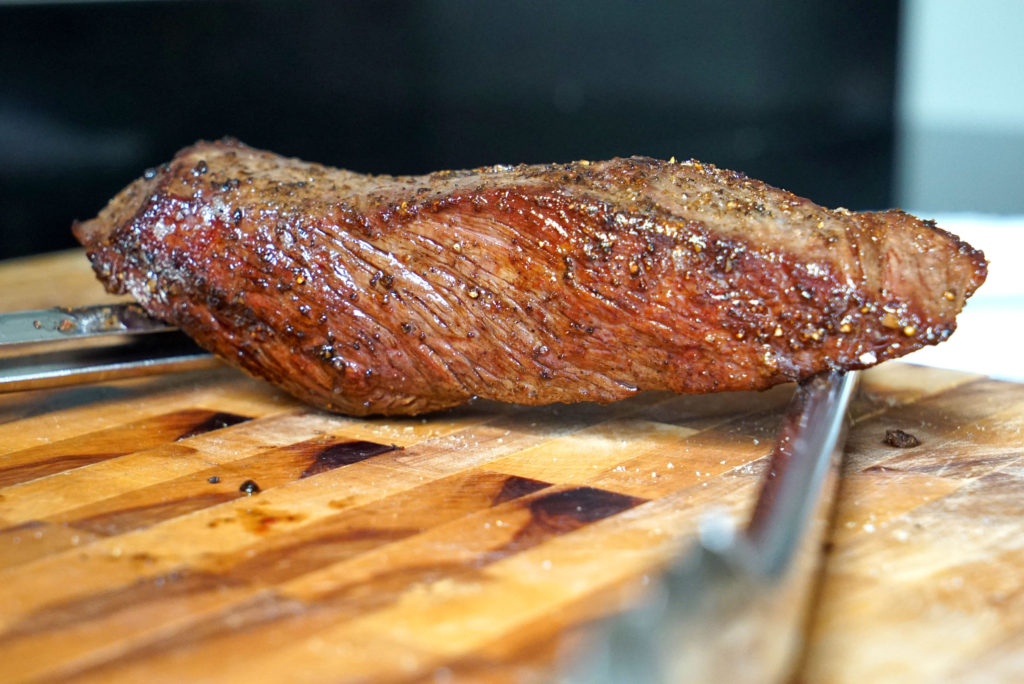
Right away, I cooked up a culotte. I seasoned it with salt, pepper and garlic powder, and seared it in a cast iron skillet with some butter.

DSC04148

DSC04149

DSC04181

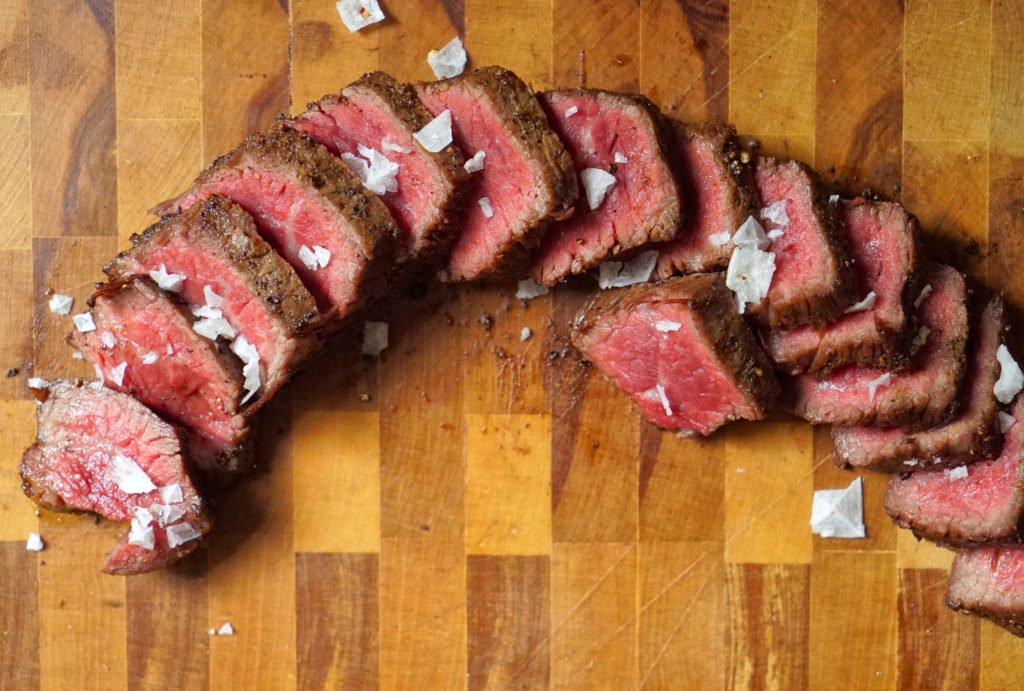
I’m really happy with this product. It costs less than $250 with shipping. That’s a great deal for the ability to access dry-aged beef any time you want from your own fridge. I highly recommend this product to all beef aficionados.

UPDATE: Standalone Unit – Master 45 Series. AMAZING!

Homemade Pasta

Making fresh pasta is easy as hell. First make a volcano well out of flour. Then add two egg yolks and one whole egg. Start to “scramble” the eggs within the flour well, adding a little bit of flour from the well into the eggs as you beat them. Add a pinch of salt and a teaspoon of olive oil, and keep going.

Once the dough starts to thicken and stick to the fork pretty heavily, you can switch off to mixing with your hands (make sure they’re clean first, you filthy bastard). Knead the dough with your fingers and hands, picking up some flour here and there to keep it from sticking to your hands too much. Knead some more. Eventually you’ll get a nice dough that snaps back a little bit when you squish it in your hands. That means you’re done. Coat with a little bit of olive oil and refrigerate in plastic wrap (or freeze to use at a later date).

After about a half hour in the fridge, my wife and I rolled the dough out into log shapes, or snakes, and then cut them into a rustic cavatelli style pasta, using the prongs of a fork to get a little bit of texture onto the pasta. That texture helps the sauce cling to the pasta better.

DSC01644

You can watch the whole process come together below:

Fresh pasta cooks up much quicker than boxed pasta. Fettuccine, for example, takes only about two minutes. The kind we made here is a bit thicker, so it’ll take longer to cook through.

My wife made a kickass carbonara for them, using minced pancetta, peas, heavy cream and various cheeses. This shit was delicious.

DSC01652

Chicken Legs and Broccolini

This recipe is pretty easy to execute, and every time I make it, it delivers with amazing flavor and texture. Crispy skin lemon and herb chicken legs with sautéed chorizo broccolini.

What The Fuck Do You Need?

  • Two chicken legs (thigh and drum X 2)
  • One bundle of broccolini (aka baby broccoli)
  • Lemon juice
  • Oregano
  • Salt
  • Cracked black pepper
  • Onion powder
  • Garlic powder
  • Crushed red pepper
  • Vegetable oil
  • Butter
  • Dry, cured sausage (the hard kind, like a pepperoni or chorizo)

How The Fuck Do You Make It?

STEP 1
The first thing you need to do is make the lemon-herb paste. This is basically made “to taste,” so you can vary the proportions and amounts to your liking. Just keep the consistency to a paste and not too liquidy. Combine your salt, cracked black pepper, crushed red pepper, oregano, onion powder and garlic powder into a small dish or bowl and add lemon juice. Stir until mixed into a paste.

DSC07074

That shit is going to smell amazing: very Greek/Italian. Try not to shove it down your throat just yet, because you need it for the later steps.

STEP 2
pre-heat your oven to 350, rinse and prep your broccolini, and chop up your sausage as such:

DSC07072

DSC07071

STEP 3
Next, you’re going to shove some butter and your lemon-herb paste underneath the chicken skin, without completely removing the skin from the meat, of course. Spread it around evenly so you don’t get any blank spaces of flavor. Don’t worry either – you’d be surprised how much the butter helps to slosh the spices around once it gets cooking. Get down into those drumsticks too!

DSC07068

DSC07075

STEP 4
Get your vegetable oil in a pan and heat it up. You shouldn’t need more than two cups of oil. Just enough to get the majority of the chicken skin into the hot oil should do the trick. Then drop your chicken legs in, top-side down.

DSC07077

You’re going to flip these bitches once they get golden and crispy. Try to keep the skin covering the meat too on the bottom side when you flip it (that part of the skin doesn’t quite connect to the meat as well as it does in other areas).

DSC07080

STEP 5
Remove the chicken from the frying pan once the other side gets nice and crispy brown, and place the legs onto a baking sheet. Pop that shit into the oven for another 20-30 minutes, top-side up.

DSC07081

STEP 6
Clean your pan (or use a second one), and then begin to sautee your sausage/chorizo. When they start to release some grease, you can add your broccolini in there as well.

DSC07083

DSC07084

STEP 7
When the pan is nice and hot, and your broccolini is really cooking, I want you to hit the pan with a few ounces of water to deglaze the pan. Doing this releases all that nice brown sausagey goodness from the pan and puts that flavor directly into the broccolini.

DSC07085

Once the water is all evaporated from the pan again, your broccolini should be fully cooked and your chorizo should be slightly crisped and browned. Plate that shit.

DSC07090

STEP 8
Remove your chicken from the oven and plate that shit alongside your broccolini.

DSC07086

DSC07091

That’s it. Super simple, and this will feed two people, unless you’re a fat fuck like me and can eat it all by yourself.

DSC07087

I also like to add sliced onion and fresh garlic into the broccolini sautee as well sometimes. When I did this recipe, I didn’t have that stuff handy, but here’s a shot of the finished plate from a previous night when I made the dish with onions and fresh garlic. As you can see, the skin actually came out a little nicer that time, due to better butter coverage and frying technique.

chicken leg and broccolini

“Homemade” Pizza

I put the word “homemade” in quotes because, well, nothing about this recipe is really homemade. It’s just a really incredible combination of store-purchased ingredients that comes together as one of the best pizzas you will ever eat in your fucking life.

DSC07061

I will 100% guarantee that this fucking pizza is better than where you get your delivery, and I don’t give a fuck if you regularly order from fucking Di Fara!

DSC07060

What Do You Need?

  • Small can of sauce (8oz)
  • Small package of mozzarella cheese (8oz block/ball is preferred)
  • Parmesan cheese (to taste)
  • Pre-made pizza dough (the fresh kind)
  • Olive oil (just a few ounces)
  • Bread crumbs or cornmeal (2 teaspoons)
  • Various spices (to taste)
  • Perforated metal pizza pan

Directions:

Pretty simple. Watch the time lapse video below, and if you can’t fucking figure it out from that, you can read on below…

Pre-heat your oven to 375 degrees. While waiting, coat your pizza pan with some olive oil. Shake a few teaspoons of bread crumbs or cornmeal across the pan. Stretch your pizza dough across the pan to get full coverage. Pour sauce evenly over the dough and add a few drizzles of olive oil. Add parmesan cheese and spices to taste. Cut up the block of mozzarella cheese and arrange slices evenly across the pizza dough. Bake 20-25mins or until cheese begins to bubble and turn brown. Remove from oven and allow pizza to cool down a bit before slicing.

DSC07056

DSC07067

This shit also comes out really nice with fresh ingredients. I did the same type of thing with sliced tomatoes, fresh mozzarella, herbs and some sliced onion. Check it out:

Before the oven:

IMG_20160207_133645 small

After the oven:

IMG_20160207_134613 small

The tomatoes actually make each vote really juicy, so this was a much better pie than the ones I make with canned sauce.

Once in a while I even add eggs into the mix:

DSC04240

DSC04230

DSC04242

DSC04245

DSC04254

DSC04250

DSC04256

DSC04257

DIY Sous Vide & The Searzall

Recently my cousin sent me a text message with some pretty alarming and exciting photos and videos.

Yeah, that’s right… the motherfucker made his own sous vide machine, cooked up some filets to medium rare, and then seared them the fuck off in a cast iron skillet to get some texture on the edges.

IMG_2345

IMG_2346

What exactly is a sous vide machine, for you non-food nerds? The words translated from French mean “under vacuum.” It is essentially a hot tub for meat. How it works: you place vacuum sealed meats into the water bath and leave them there until the meat comes up to the proper temperature, which is set and regulated with a water heater and temperature controller. You can’t overcook the meat! You get perfect medium rare shit every time, evenly cooked through and through.

As you can imagine, I was flipping out at what my cousin had achieved. I browsed some DIY sous vide instructional websites a few years back when I was living in a house on Long Island, but it seemed like a ton of effort. I thought to myself, “I’ll just get a real-deal machine someday.” But once I saw these things from my cousin, I knew it was time to pull the trigger.

Lucky for me, my cousin is super handy and craftsmanlike when it comes to stuff like this, and he has access to a bunch of great tools like dremels and drill presses.

A flurry of texts immediately ensued. It’d be fun to build one together, I thought. THIS LINK is the instructional we worked from. My cousin ordered a bunch of the materials online…

I pulled my cooler out of the closet, which would serve as the main cooking vessel or “hot tub” (and it saved me some bucks for not having to buy a plastic tub).

cooler

and I ordered a vacuum sealer via Amazon Prime…

81QTeq8J67L._SL1500_

I also nabbed a blow torch, a can of propane, and a Searzall, because I want to flame that shit sometimes instead of finishing in a pan. Plus, this works great if I ever do fish – the skin… oh maaaaan it gets crispy…

20150307_192249_LLS

20150308_154451_LLS

20150308_154609_LLS

20150308_160920_LLS

IMG_1925

I sent the dimensions of my cooler lid area to my cousin:

mark up

He used this to figure out how to cut the plexi down to size to serve as the top portion that suspends the water heater in position. He also built the temperature control housing, and wired the power supply for the temperature control unit and heater probe (thermometer).

IMG_2366

IMG_2373

IMG_2374

IMG_2376

IMG_2375

IMG_2368

DSC04698_2

DSC04699

I was initially concerned that the hinged top of my cooler wouldn’t close properly with the plexi in place. It turns out that closing the top tight isn’t too big of a problem when you’re using a nicely insulated vessel like a cooler. Also, we dropped the plexi to a lower lip within the cooler, so the thing closes nicely now:

DSC04701

Then you suction this to one of the walls. Essentially this is a water circulator. It keeps the water swirling around so that there are no warm or cold spots within the bath, which makes for a nice even cooking temperature.

DSC04700

BOOM! I can’t wait to fire this fucker up. I’m going to pick up some fish and beef right the fuck now.

Bloody Mary Skirt Steak

This is a pretty simple one, and a close riff on one of my earlier skirt steak recipes. Buy yourself a bunch of skirts, some habanero peppers and some tomato juice (or Bloody Mary mix), and you should be pretty much set with the rest of the shit in your pantry.

Shit you’ll need:

  • Tomato Juice or Bloody Mary mix
  • Garlic Powder
  • Sea Salt
  • Cracked Black Pepper
  • Crushed Red Pepper
  • Fresh Habanero Peppers (optional)
  • Horseradish (optional)

Grab a large, long piece tupperware and pour some tomato juice into the bottom to create a little layer of marinade. Season with crushed red pepper, cracked black pepper, salt, and garlic powder. Drop a few slices of your habanero pepper in too. Then place two of your steaks in, and repeat in layers until you run out of steaks. I like to use a whole pepper per layer, because I like spicy shit. Top off your tupperware with a little more juice and spices so every square milimeter of meat is covered with the marinade. Then throw that shit in the fridge for several hours, or overnight.

collage_20140511073503937

When you’re ready to eat, get your grill screaming hot. I’m talking 500 degrees or more. Drip-dry or paper-towel-dry the meat before you slap it on the grill. You want to get as much of the liquid off as you can, so that you end up with GRILLED meat instead of STEAMED meat. If you need that sauce for some reason, you can boil up the remainder of the marinade in a sauce pot to use as gravy topping, or you can baste lightly as the meat grills. If you have a little more time, you can reduce the marinade into a really awesome, thick BBQ sauce. It comes out delicious when you do it right.

20140511_102656_LLS

You’ll only need about three minutes per side, max, to get a nice medium rare temperature. So three minutes, flip, three minutes, then pull them off and let them rest.

20140511_103625_LLS

20140511_103805_LLS

Now here’s the key part of the process – the slicing… First, cut your skirts WITH the grain into four or five inch chunks. Then, spin each piece 90 degrees and slice AGAINST the grain for plating and serving. This cross-grain cutting is absolutely key to eating this kind of steak. It makes for an easier-to-chew bite of meat; way more tender.

20140511_104551_LLS

20140511_104838_LLS

20140511_104717_LLS

20140511_105205_LLS

The finished product: a plate of delicious meat. Pour some of your boiled marinade over the slices if you want, and throw a little horseradish on top. Enjoy with a refreshing Bloody Mary to double down on the flavors.

20140511_105343_LLS

20140511_105328_LLS

20140511_110636_LLS

A fun part of this – take your leftover meat and broil in the oven on some garlic bread smothered with mozzarella cheese to make an incredible sandwich. Good shit.

Homemade Ramen – Just Like The Real Thing

My wife recently went to a food expo at the Javitz Center, where she sampled some ramen that contained black garlic oil. She was blown away by it, so naturally I started looking for black garlic oil online. I couldn’t find anything like a bottle of it. But I DID find this on Amazon, so I ordered it:

20140307_175115_LLS

I figured it can’t be any worse than Maruchan, right? Shit – maybe it would even be good.

So the shipment came. I had a serious hankering for good hearty ramen, REAL ramen, but I didn’t feel like getting back on the train to the city to go find a decent bowl (there’s nothing good out on Long Island in terms of ramen – same goes for pho and Vietnamese food in general). So I decided to doll-up some of this instant ramen with some ground pork and various other cuts of pork.

What you see below is center cut pork chops (top/back), boneless country style pork ribs (center) and pork belly (the ground pork was not pictured). That slab of bacon isn’t anything special either, by the way. My grocery store doesn’t normally sell big hunks of pork belly, so I picked up a $4 package of Hormel brand “salt pork.” I figured if I cooked it correctly, it would taste like the real thing.

20140308_111058_LLS 20140308_111029_LLS 20140308_111202_LLS

So what did I do to the meat? I prepared the pork by using a slow cooker for about 6 hours on low. I filled the pot with about a half cup of soy sauce, 2 Tbsp duck sauce, 2 Tbsp sugar in the raw simple syrup, 2 tsp Chinese 5-spice, a stick of cinnamon along with a few shakes of ground cinnamon, 3 red chili peppers, 2 cloves of garlic, 1 tsp ginger powder, a few shakes of garlic powder, 1 tsp Sriracha sauce, a shake of nutmeg, 1 roughly cut scallion shoot, and about 8 or 10 cloves. I whisked it all together with 2.5 pints of water. At first I was thinking this was too much liquid, but as it turns out it was just the right amount. You’ll see why later.

Then all I had to do was wait… But I bore easily. So I went out and got a little drunk with some friends at a local St. Patrick’s Day parade. There’s nothing quite like day-drinking. My wife was at a baby shower, so I would have just been sitting around playing with myself or watching horror flicks anyway. She picked me up after the shower and the timing was perfect. I came home to this, which I scooped out of the slow cooker:

20140308_174852_LLS

I tasted it. Holy shit. Fucking perfect! Four beers and two shots didn’t take me off my cooking game, either. With all that excess slow-cooker liquid that I thought was too much, I decided to make a concentrated reduction to use later on as a dressing of sorts for plain noodles, or for SOMETHING. I’d figure out a way to use it because it was delicious. But then I had this brilliant idea to make the freeze-dried instant ramen noodles taste better: I boiled them in the slow-cooker liquid as it reduced. As a bonus, the starch helped to thicken the reduction as well.

In the meantime I cooked the ground pork with soy sauce and garlic, and made the ramen broth, which essentially was just the seasoning packets from the ramen package + water + heat. I also sliced some fresh scallions and some baby bella mushrooms for garnish, and sliced some boiled eggs that we already had in the fridge.

When we put it all together, we popped open the little package of elusive black garlic oil. Here’s the end result:

20140308_184701_LLS 20140308_184413_LLS 20140308_184200_LLS

It came out a slight bit salty, so next time I will adjust seasonings accordingly. But if I ordered this in a NYC ramen shop for $15 I would be none the wiser that it was made with instant packets, and I would love it.